
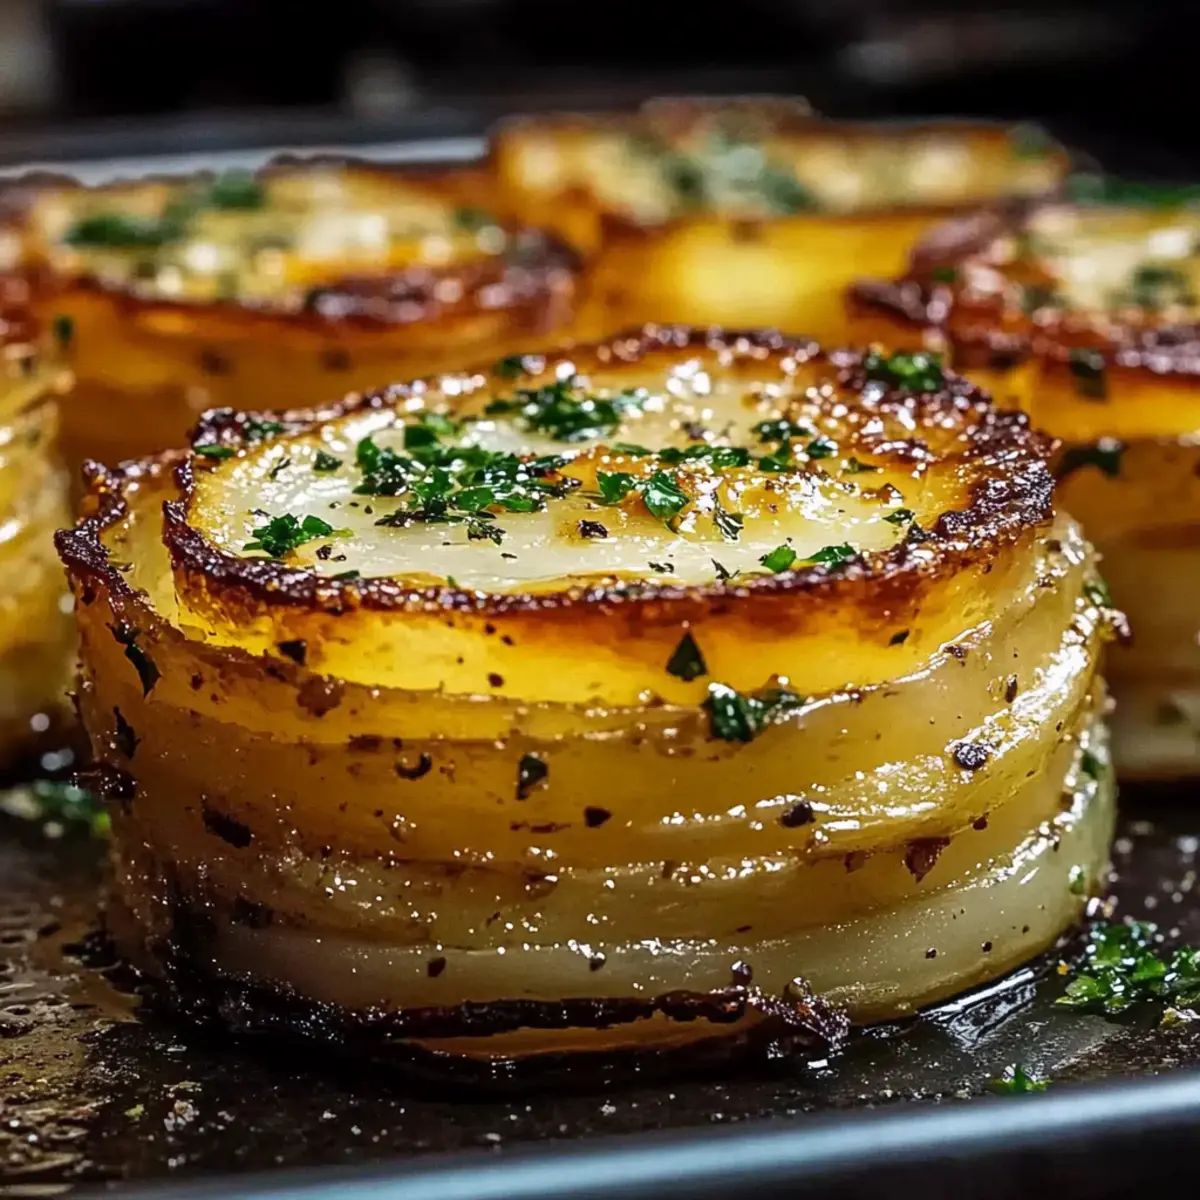
As the aroma of crispy, caramelized potatoes fills the kitchen, I can’t help but feel a wave of excitement. There’s something magical about creating a dish that feels both elegant and comforting, like Potato Pave. This French-inspired recipe transforms simple Yukon Gold potatoes into a luxurious side that’s perfect for impressing guests or elevating a weeknight meal. With its make-ahead convenience and gluten-free appeal, this layered delight is not only satisfying but also allows you to reclaim your culinary creativity away from fast food. Imagine serving golden squares with a crispy exterior and velvety interior, making it a feast for the senses. Are you ready to dive into this delectable journey? Let’s turn those humble potatoes into a work of art!
Why is Potato Pave a Must-Try?
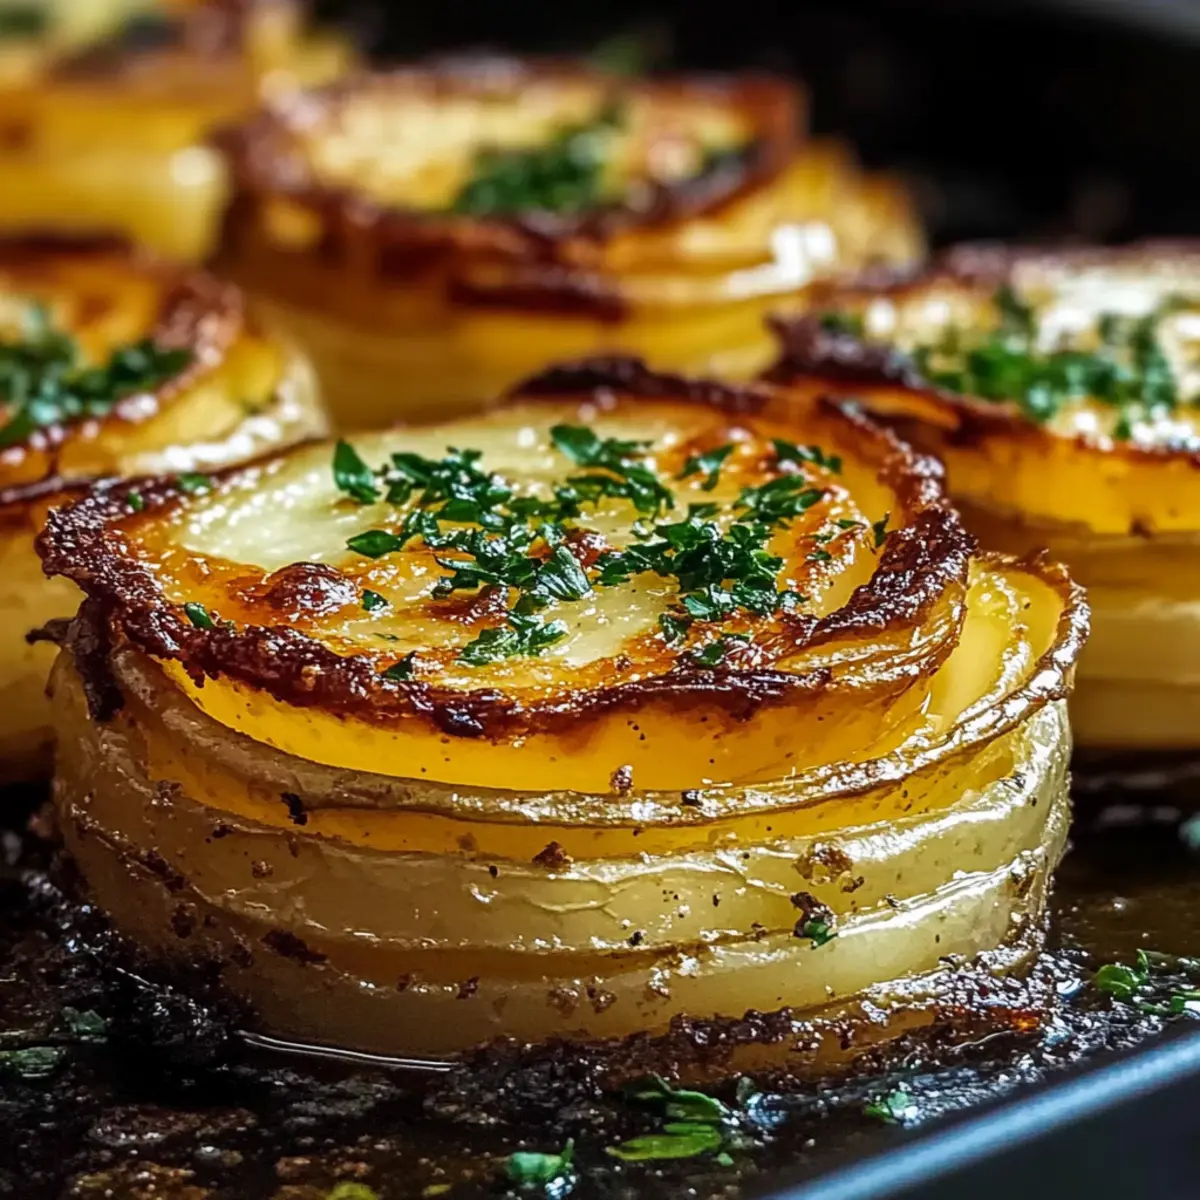
Luxurious texture: Enjoy the crispy, buttery layers that transform ordinary potatoes into a gourmet dish.
Make-ahead magic: Prepare this stunning side dish in advance for hassle-free entertaining.
Versatile pairing: Serve it alongside roasted meats or a vibrant salad for an exquisite dining experience.
Gluten-free friendly: Delight in a dish that caters to various dietary needs without sacrificing flavor.
Impressive presentation: Cut into perfect squares, each bite offers a blend of crispy and creamy that will wow your guests!
You’ll love how easy it is to create a masterpiece with just a few ingredients, making this Crockpot Garlic Potatoes recipe another great option for delightful meals.
Potato Pave Ingredients
For the Base
• Yukon Gold Potatoes – The cornerstone of this luxurious dish, known for its creamy texture; Russet potatoes can be an alternative, but they may not hold their shape as well.
• Salt – Essential for enhancing the flavors throughout; feel free to adjust according to your taste.
• Black Pepper – A dash adds just the right touch of heat; modify to your preference.
For Layering
• Clarified Butter or Ghee – Provides rich, buttery flavor while enhancing crispiness; regular butter isn’t recommended as it can burn during cooking.
• Garlic Cloves (optional) – Infuses aromatic depth when used; simply smash them to release maximum flavor.
• Fresh Herbs (Thyme or Rosemary) (optional) – Introduces a fresh touch between the layers; choose based on your flavor preference.
• Parmesan Cheese (optional) – Adds a sharp, umami quality between the potato layers; swap for a non-dairy cheese for a dairy-free option.
For Cooking
• Olive Oil or Additional Butter (for searing) – Needed for pan-frying the slices to achieve that delightful golden crust; opt for oils with a high smoke point to ensure best results.
Create your stunning Potato Pave dish that promises to become a family favorite and shines at any gathering!
Step‑by‑Step Instructions for Potato Pave
Step 1: Preheat and Prepare
Preheat your oven to 325°F (160°C) and line a loaf pan with parchment paper, allowing some overhang for easy removal later. Ensure that the pan is well-prepared, as this will help the luxurious Potato Pave to release smoothly once baked.
Step 2: Slice the Potatoes
Using a mandoline, slice the Yukon Gold potatoes into 1/16-inch thick rounds to ensure even cooking and texture. To prevent browning, keep the slices submerged in cold water until ready to layer. Once all slices are cut, thoroughly dry them to encourage crispy edges.
Step 3: Layer the Potatoes
Start layering the potato slices in the prepared loaf pan, brushing each layer generously with clarified butter and seasoning with salt and pepper to taste. Perform this methodically, ensuring that each slice is coated well, creating that delightful, buttery flavor throughout the Potato Pave.
Step 4: Add Optional Ingredients
For added depth of flavor, consider sprinkling fresh herbs like thyme or rosemary as well as grated Parmesan cheese every three to four layers of potato. This creates a delightful combination with the creamy layers that will enhance the overall taste of your Potato Pave.
Step 5: Cover and Compress
Once you’ve completed your layers, cover the top of the loaf pan with a sheet of parchment paper, followed by tightly sealing it with aluminum foil. To ensure a firm layer, place a weight on top (such as canned goods), which will help compress the Potato Pave while baking.
Step 6: Bake Thoroughly
Place the prepared pan in the oven and bake for 1 hour and 45 minutes to 2 hours. You’ll know it’s done when a knife inserts easily into the center, indicating that the potato layers are tender and cooked through.
Step 7: Cool and Refrigerate
After baking, remove the Potato Pave from the oven and allow it to cool to room temperature. Once cooled, refrigerate it overnight to allow it to firm up, which makes slicing easier and helps maintain its elegant shape.
Step 8: Unmold and Slice
Carefully remove the Potato Pave from the loaf pan by lifting the parchment overhang. Use a sharp knife to slice it into beautiful squares or rectangles. Each cut should showcase the stunning, layered structure of your gourmet creation.
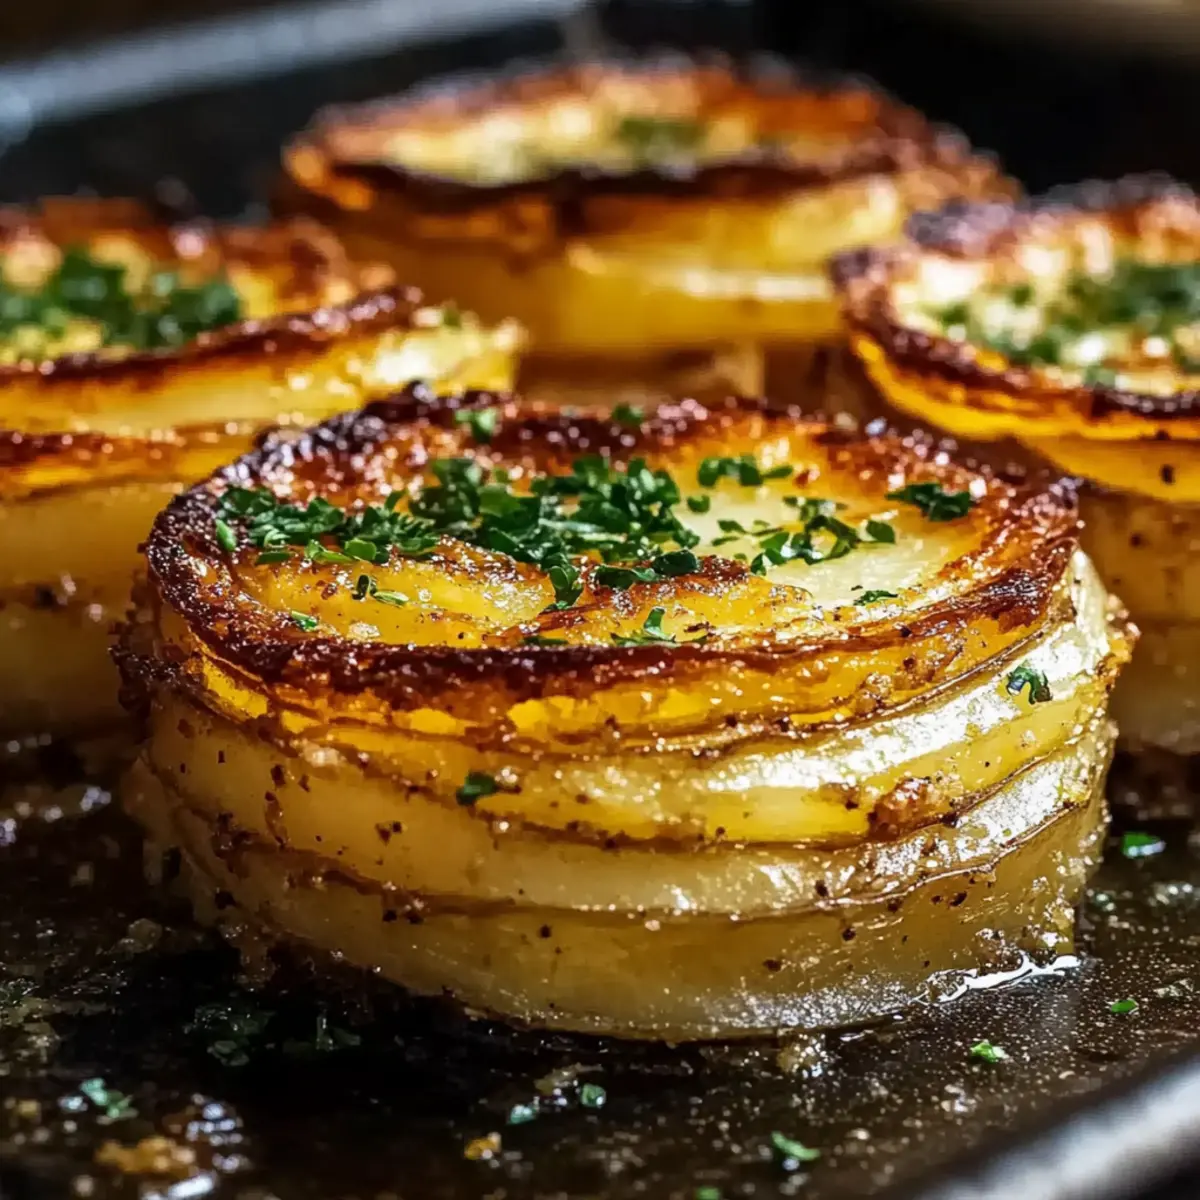
Step 9: Sear for Crispiness
Heat a nonstick pan over medium heat and add clarified butter. Sear each slice of Potato Pave for about 3-4 minutes on each side, or until golden brown and crispy. This step transforms your layered masterpiece into a crunchy experience that contrasts beautifully with the creamy interior.
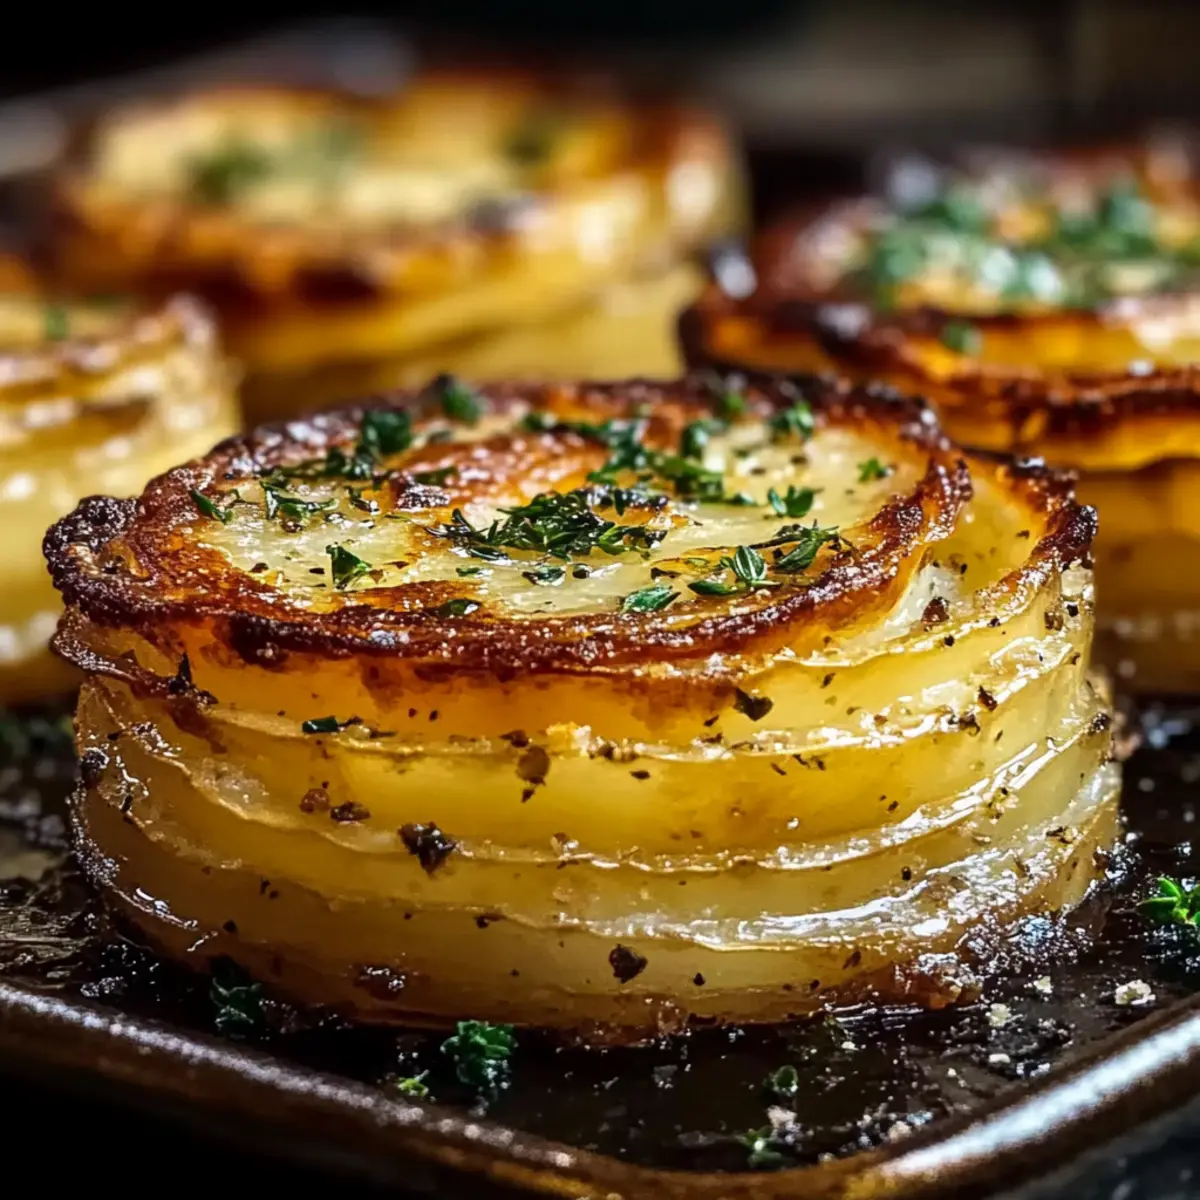
Step 10: Serve Warm
Arrange the slices on a serving platter while still warm. You can optionally garnish with fresh herbs or a drizzle of truffle oil for an extra touch of elegance. Your tasty Potato Pave is now ready to impress!
How to Store and Freeze Potato Pave
Fridge: Store Potato Pave tightly covered in the refrigerator for up to 5 days. This helps retain its flavor and texture without losing its luxurious character.
Freezer: For longer storage, freeze slices wrapped in plastic wrap and then placed in an airtight container for up to 3 months. Thaw in the fridge before reheating.
Reheating: Reheat slices in a nonstick pan over medium heat until warmed through and crispy, maintaining that perfect texture you love in your Potato Pave.
Make-Ahead: Prepare the dish up to 3 days in advance. Once baked and cooled, ensure it chills well before slicing for neat portions.
What to Serve with Luxurious Potato Pave?
Indulging in the layers of crispy, buttery potato perfection is just the beginning of a delightful meal experience.
- Fresh Green Salad: A vibrant mix of greens and a tangy vinaigrette balances the richness of the pave.
- Garlic Butter Shrimp: Juicy shrimp sautéed in garlic butter adds a seafood touch, complementing the creamy potato layers beautifully.
- Grilled Lemon Chicken: The bright, citrusy flavors of the lemon chicken contrast nicely against the buttery texture of the pave.
- Roasted Vegetables: A medley of roasted seasonal vegetables provides a hearty, wholesome side that offers great color and flavor.
- Braised Short Ribs: Savory, tender short ribs bring an exquisite richness that pairs perfectly with the elegant potatoes.
- Cranberry Relish: Tart and sweet, this relish cuts through the creaminess of the pave, refreshing the palate at each bite.
- Truffle Oil Drizzle: Enhancing the flavors with a drizzle of truffle oil elevates the dish to gourmet status, adding earthiness.
- Sparkling White Wine: Effervescent bubbles in sparkling wine cleanse the palate, making each mouthful of potato pave a celebration.
- Chocolate Fondant: Finish your meal with a rich chocolate dessert that provides a delightful contrast to dinner’s savory notes.
Make Ahead Options
Potato Pave is an ideal dish for meal prep, allowing you to impress guests without the last-minute rush! You can prepare the layered potato structure up to 3 days in advance by following the baking steps, allowing it to cool, and then refrigerating it overnight. For the best quality, store the baked Pave tightly wrapped in plastic wrap within an airtight container. When you’re ready to enjoy, simply slice it and sear in clarified butter over medium heat for about 3-4 minutes on each side until golden and crisp. This ensures that your Potato Pave maintains its delicious texture while saving precious time, making weeknight dinners feel luxurious!
Potato Pave: Delightful Variations Await
Feel free to get creative with Potato Pave! Each variation is a wonderful opportunity to explore new flavors and textures while still enjoying this luxurious dish.
-
Sweet Potato Twist: Substitute Yukon Gold with sweet potatoes for a hint of sweetness; add cornstarch to improve texture and adjust bake time as needed. The result is a vibrant, colorful twist that sings with flavor.
-
Dairy-Free Delight: Replace ghee with high-quality olive oil for a non-dairy version. While the crispiness might vary, the flavor remains deliciously rich. This option expands your culinary horizons while accommodating dietary preferences.
-
Herb-Infused Layers: Experiment with different fresh herbs such as basil or dill to switch up the flavor profile. Each herb brings its unique notes, making every bite a taste adventure.
-
Cheese Variations: Swap the Parmesan for sharp cheddar or a crumbled feta for a different cheesy flavor. These options not only enhance the taste but also complement the buttery layers beautifully.
-
Spicy Kick: Add finely chopped jalapeños or a sprinkle of red pepper flakes between the layers for a subtle heat that elevates the dish. The spiciness pairs wonderfully with the creamy texture of the potatoes.
-
Smoky Flavor Boost: A touch of smoked paprika or chipotle powder can add a beautiful depth and warmth to the flavor. It’s a delightful way to surprise your guests with a smoky twist.
-
Nutty Addition: Incorporate a layer of ground hazelnuts or walnuts for a crunchy textural surprise. This twist adds a delightful crunch and nutty flavor, making your Potato Pave even more luxurious.
-
Saucy Pairing: Serve alongside a homemade garlic cream sauce or a rich mustard sauce for added flavor. The sauce can elevate the experience, making every bite more indulgent.
No matter which variation you choose, each delicious option can transform your experience of Potato Pave. For even more inspiration in the kitchen, consider exploring my delightful Cheesy Beef Potato combination or the gorgeous flavors of Feta Sweet Potato. Embrace your culinary creativity and enjoy!
Expert Tips for Perfect Potato Pave
- Uniform Slices: Ensure your potato slices are even for consistent cooking and texture; using a mandoline helps achieve the perfect thickness.
- Clarified Butter Importance: Always use clarified butter for superb crispiness; its higher smoke point prevents burning and enhances flavor.
- Don’t Rush the Searing: Allow the slices to form a crust before flipping; moving them too early prevents achieving that delightful golden texture.
- Cool Before Refrigerating: Let the baked Potato Pave cool to room temperature before refrigerating; this helps it firm up properly for clean slices later.
- Garnish for Elegance: Enhance your serving with fresh herbs or a drizzle of truffle oil, bringing an upscale finish to your luxurious Potato Pave.
Potato Pave Recipe FAQs
How do I select the best Yukon Gold potatoes for Potato Pave?
Absolutely! Look for Yukon Gold potatoes with smooth, blemish-free skins and a firm texture. Avoid any with dark spots or soft areas, as they won’t provide the creamy texture you desire. Fresh potatoes will have a vibrant yellow color.
What is the best way to store leftover Potato Pave?
Very! To preserve its deliciousness, store the cooled Potato Pave tightly covered in the refrigerator for up to 5 days. Make sure it’s in an airtight container to avoid any flavor loss. This way, it remains perfect for a quick reheat later!
Can I freeze Potato Pave? How should I do it?
Of course! To freeze your luxurious Potato Pave, wrap individual slices tightly in plastic wrap. Next, place them in an airtight container or a freezer bag. Make sure to label it with the date, and it will be good for up to 3 months. When you’re ready to enjoy it again, simply thaw in the fridge overnight before reheating.
What if my Potato Pave doesn’t seem crispy enough after cooking?
Don’t worry! If you find it’s not crispy enough, make sure to let it cool properly before slicing—this helps firm it up. When it comes to searing, give each slice ample time in the pan; resist the urge to move them too soon to let a crust form beautifully. If needed, you can also increase the heat slightly for a more golden finish.
Is Potato Pave suitable for gluten-free diets?
Yes! Potato Pave is a naturally gluten-free side dish, making it a fantastic choice for those with gluten sensitivities. Always check to ensure that any additional ingredients like cheese or broth you might use are also gluten-free to keep your dish safe!
Can I use other types of potatoes or substitutes?
Definitely! While Yukon Gold is ideal, you can use Russet potatoes; just keep in mind they may not hold their shape as well. You might also try making a sweet potato variation—just add a teaspoon of cornstarch to help improve the texture and adjust the bake time as needed for this different flavor profile.
Buttery Potato Pave: A Luxurious Twist on Comfort Food
Ingredients
Equipment
Method
- Preheat your oven to 325°F (160°C) and line a loaf pan with parchment paper.
- Using a mandoline, slice the Yukon Gold potatoes into 1/16-inch thick rounds.
- Start layering the potato slices in the prepared loaf pan, brushing each layer with clarified butter and seasoning.
- For added depth, consider sprinkling fresh herbs and grated Parmesan every few layers.
- Cover the top with parchment and tightly seal it with aluminum foil, placing a weight on top.
- Bake for 1 hour and 45 minutes to 2 hours until tender.
- Allow to cool to room temperature, then refrigerate overnight.
- Carefully unmold and slice into squares or rectangles.
- Sear each slice in a nonstick pan over medium heat until golden brown and crispy.
- Serve warm, optionally garnished with fresh herbs or a drizzle of truffle oil.
Leave a Reply