
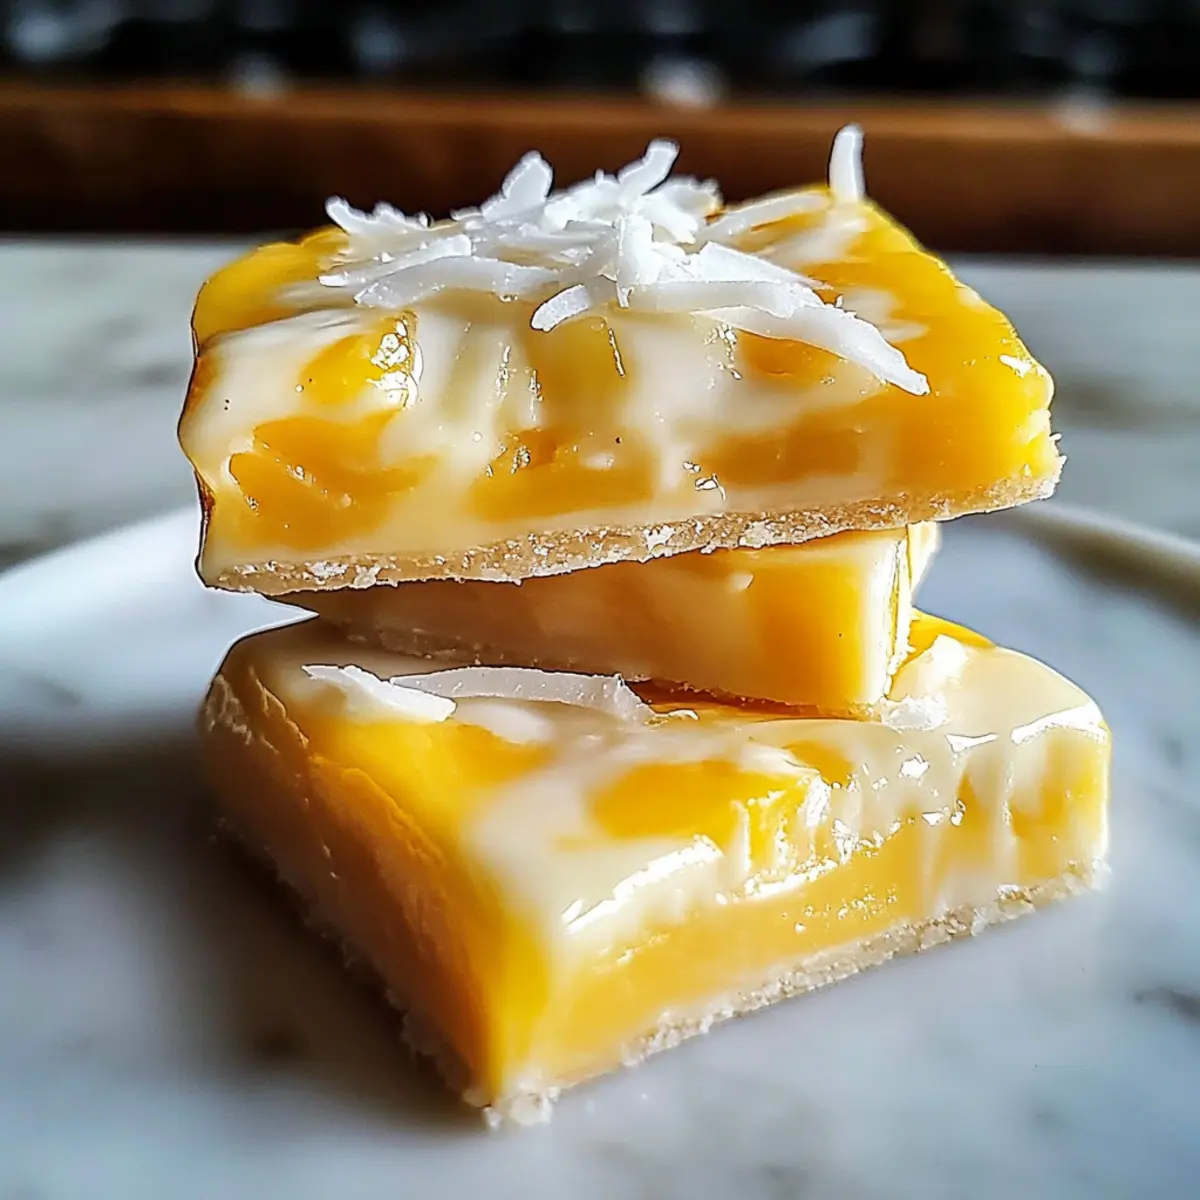
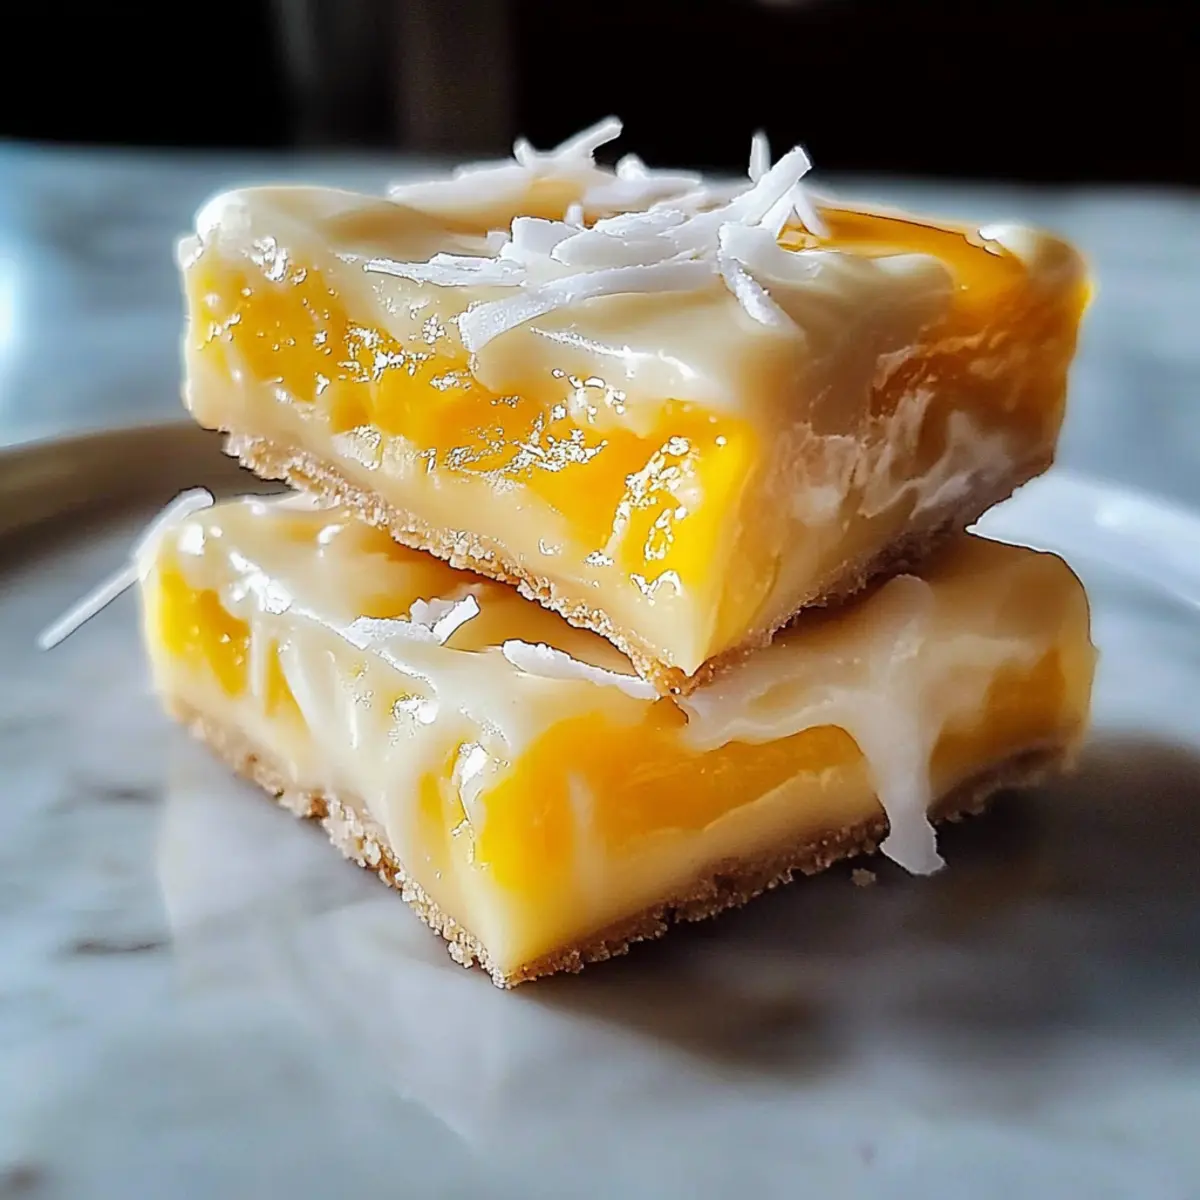
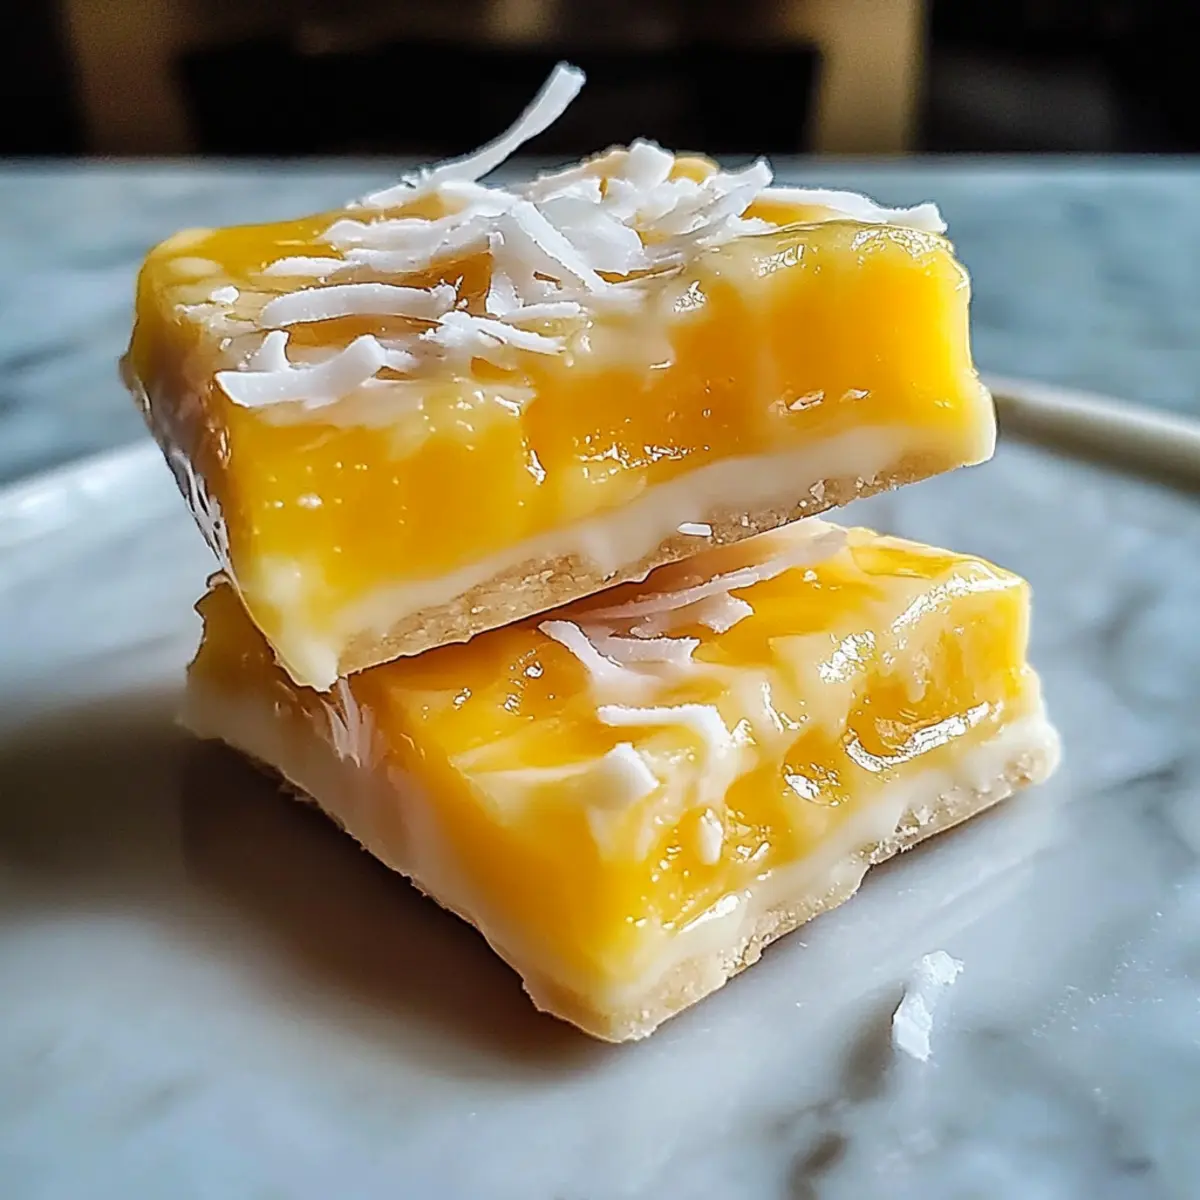
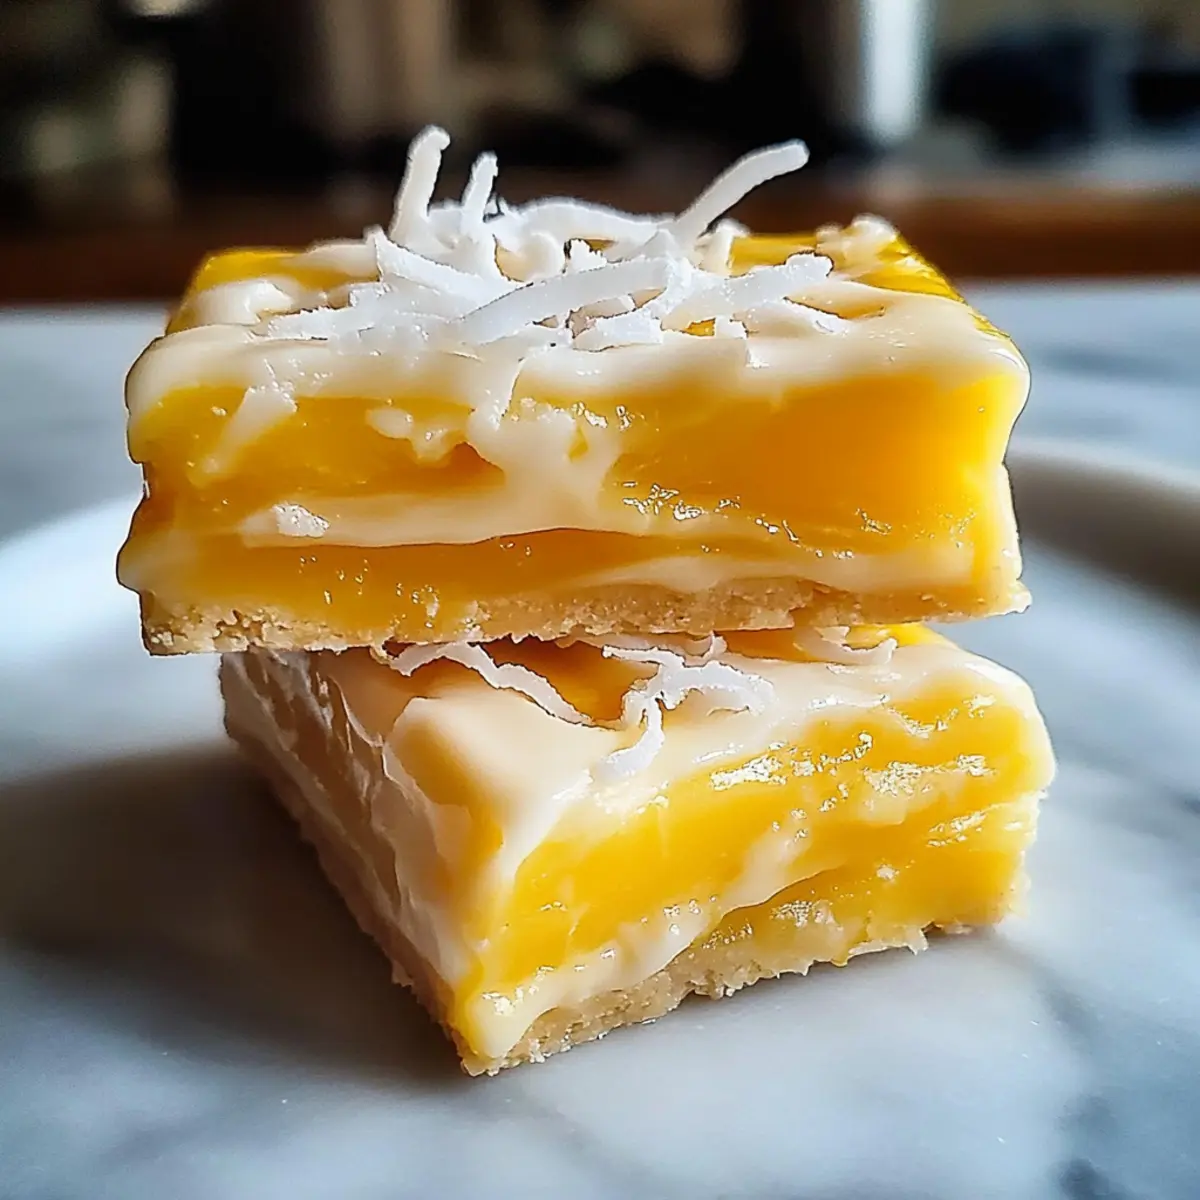
As I carefully sliced into the chilled Mango Dream Bars, a wave of tropical nostalgia washed over me, taking me back to sun-soaked beaches and vibrant summer days. These delightful bars are not just a dessert; they capture the sunny essence of ripe mangoes paired with a buttery crust that perfectly complements the creamy filling. Ideal for summer gatherings or any occasion that calls for a sweet escape, these bars are easy to make and require only simple ingredients. Plus, they’re customizable, allowing you to get creative with toppings or substitutions. Ready to transport yourself to a tropical paradise with every bite? Let’s dive into making your very own Mango Dream Bars!
Why are Mango Dream Bars a must-try?
Tropical Escape: Every bite of these bars offers a refreshing burst of mango flavor that brings the sunshine to your table, making them an ideal summer treat.
Simple Ingredients: With just a handful of straightforward ingredients, you can whip up these dreamy bars without stress, even on a busy day.
Customizable Delight: You can easily personalize the recipe with your favorite toppings or alternate fruits, fueling your creativity in the kitchen. Add a sprinkle of shredded coconut or a drizzle of honey for a unique touch!
Crowd-Pleaser: These bars are perfect for gatherings, sparking smiles and compliments as people delight in their sweet, creamy texture and tangy taste.
Make Ahead: They’re great for prepping in advance; the flavors deepen as they chill, ensuring you always have a delicious treat on hand. Just like my Pumpkin Oatmeal Bars, they’re equally enjoyable the next day!
Mango Dream Bars Ingredients
For the Crust
- All-Purpose Flour – Provides structure to the crust; substitute with gluten-free flour for a gluten-free version.
- Unsalted Butter – Adds richness and flavor; can use coconut oil for a dairy-free option.
- Granulated Sugar – Sweetens both the crust and filling; consider using coconut sugar for a less processed option.
- Vanilla Extract – Enhances overall flavor; almond extract can create a unique twist.
- Salt – Balances sweetness in both crust and filling.
For the Filling
- Mango Puree – The key ingredient delivering tropical flavor; fresh, ripe mangoes are best, but frozen mango or canned puree work as substitutes.
- Large Eggs – Helps to set the filling; for egg replacement, use flax eggs (1 tablespoon ground flaxseed mixed with 2.5 tablespoons water per egg).
- Cornstarch – Acts as a thickener for the filling; arrowroot starch is a gluten-free alternative.
- Lemon Juice – Provides acidity to balance sweetness; lime juice can be used for a different flavor.
Optional Topping
- Shredded Coconut – A delightful addition for texture and flavor; sprinkle on top for a tropical touch!
These Mango Dream Bars are truly a versatile treat that can be easily customized to suit your taste, so let your culinary imagination run wild!
Step‑by‑Step Instructions for Mango Dream Bars
Step 1: Preheat the Oven
Begin by preheating your oven to 350°F (175°C). While the oven warms up, prepare an 8×8 inch baking pan by lining it with parchment paper or greasing it with butter. This will ensure that your Mango Dream Bars will release easily after baking and have a lovely crust.
Step 2: Prepare the Crust
In a mixing bowl, combine all-purpose flour, granulated sugar, and salt. Then, add in softened unsalted butter and vanilla extract. Using a pastry cutter or your hands, mix until the mixture resembles coarse crumbs. Press this crumbly mixture evenly into the bottom of your prepared pan, creating a solid base for your Mango Dream Bars.
Step 3: Bake the Crust
Place the pan in your preheated oven and bake the crust for 12-15 minutes. You’ll know it’s ready when the edges turn a light golden brown and the crust is set. Once baked, remove the pan from the oven and let the crust cool slightly while you prepare the filling.
Step 4: Make the Filling
In a medium saucepan, combine mango puree, granulated sugar, cornstarch, lemon juice, and a pinch of salt. Cook this mixture over medium heat, stirring continuously until it thickens, which should take about 5-7 minutes. Once thickened, allow the filling to cool for a few minutes while you prepare to add the eggs.
Step 5: Add Eggs to Filling
Once the mango mixture has cooled slightly and is no longer hot, add the large eggs and a splash of vanilla extract. Whisk everything together until the filling is smooth and well combined. This step is crucial for ensuring your Mango Dream Bars will have a luscious, creamy texture.
Step 6: Combine and Bake Again
Pour the smooth mango filling over the cooled crust in the pan, spreading it evenly. Return the pan to the oven and bake for another 20-25 minutes. You want the filling to be set and slightly golden on top, indicating that the Mango Dream Bars are perfectly done.
Step 7: Cool Completely
After baking, take the pan out of the oven and let it cool to room temperature. Once cool, place the bars in the refrigerator for at least 1-2 hours to firm up fully. This chilling time is essential to achieve the right texture for your Mango Dream Bars.
Step 8: Slice and Serve
After chilling, use a sharp knife to cut the Mango Dream Bars into squares for serving. Enjoy them chilled and feel free to garnish with shredded coconut for an extra tropical touch. These delightful bars are now ready to be enjoyed at any summer gathering!
Expert Tips for Mango Dream Bars
-
Cool the Filling: Allow the mango filling to cool slightly before adding the eggs; this prevents scrambling and ensures a smooth texture in your Mango Dream Bars.
-
Chill Thoroughly: For optimal texture, let the bars chill in the refrigerator for at least 1-2 hours before cutting. This ensures they firm up perfectly for easier slicing.
-
Sharp Knife: Use a sharp knife to cut the bars into squares. A clean cut helps maintain the structure and appearance of your delightful tropical treat.
-
Ingredient Temperature: Ensure the butter is softened and the eggs are at room temperature. This helps create a creamy and well-blended filling.
-
Substitutions Are Key: Don’t hesitate to make substitutions based on your preferences—coconut oil for dairy-free bars or lime juice for a zesty twist—keeping the Mango Dream Bars fresh and exciting!
What to Serve with Mango Dream Bars?
Picture yourself enjoying these luscious bars while basking in the sun, surrounded by friends and laughter. Complementing them with the right side dishes and drinks elevates the experience to pure bliss.
-
Coconut Cream: A dollop of light and airy coconut cream enhances the tropical theme while adding a luxurious texture. It’s a classic pairing that will sweep you away to a beachy paradise.
-
Tropical Fruit Salad: Fresh-cut fruits like pineapple, kiwi, and berries burst with flavor, creating a delightful contrast with the creamy bars. Plus, the vibrant colors are sure to impress your guests!
-
Sparkling Lemonade: A refreshing glass of sparkling lemonade, with a hint of mint, provides a zesty balance to the sweetness of the Mango Dream Bars. Its effervescence invigorates the senses and brings lightness to the meal.
-
Mango Sorbet: For a double dose of mango goodness, serve a scoop of mango sorbet on the side. It’s the perfect way to cool down, making every bite feel like a tropical treat!
-
Iced Green Tea: The subtle earthiness of iced green tea cleanses the palate and adds a mellow complexity to your dessert experience. Consider infusing it with mint or lemongrass for an extra kick!
-
Creamy Yogurt Parfait: Layering yogurt with granola and fresh fruit makes for a charming and nutritious side. It complements the rich bars while providing a crunchy texture that keeps every mouthful interesting.
Embrace your inner host, and let these pairings turn your Mango Dream Bars into an unforgettable summer celebration!
Make Ahead Options
These Mango Dream Bars are perfect for meal prep enthusiasts looking to save time during busy weeks! You can prepare the crust and filling up to 24 hours in advance. To do this, bake the crust as directed and let it cool completely. Then, make the mango filling, but instead of baking it with the crust, cover it tightly and refrigerate. When you’re ready to serve, simply pour the filling over the crust and bake as instructed. To maintain quality, ensure the crust is fully cooled before adding the filling, and refrigerate the completed bars for at least 1-2 hours after baking for the best texture. Enjoy creamy, tropical Mango Dream Bars with minimal effort!
Storage Tips for Mango Dream Bars
-
Fridge: Store your Mango Dream Bars in an airtight container in the refrigerator for up to one week. This helps them maintain their creamy texture and refreshing taste.
-
Freezer: For longer storage, you can freeze the bars for up to three months. Wrap them tightly in plastic wrap and then in aluminum foil or place in a freezer-safe container to prevent freezer burn.
-
Thawing: To enjoy frozen bars, simply transfer them to the refrigerator and let them thaw overnight. This will preserve their creamy consistency while keeping that delightful tropical flavor intact.
-
Reheating: These bars are best enjoyed chilled, so no need to reheat. Serve them directly from the fridge for a refreshing treat!
Mango Dream Bars: Customization Ideas
Invite your culinary spirit to shine and personalize these bars with your favorite flavors and ingredients—every twist adds a delightful charm!
-
Dairy-Free: Use coconut oil instead of butter for a rich, plant-based alternative that keeps those tropical vibes alive.
-
Gluten-Free: Swap out all-purpose flour with a gluten-free blend to make these bars accessible for gluten-sensitive friends.
-
Sweetness Level: For a healthier touch, replace granulated sugar with honey or maple syrup. This adds a unique flavor while reducing the processed sugar content.
-
Tropical Twist: Experiment with fresh purees! Use ripe bananas or crushed pineapple in place of some or all of the mango puree for a deliciously fruity variation. With a delicious flavor shift, every bite feels like a mini-vacation!
-
Coconut Crust: For a fun texture boost, mix shredded coconut into the crust. It adds a lovely chewiness that complements the smooth filling beautifully.
-
Citrus Zing: Infuse your filling with a hint of orange zest along with the lemon juice for a fragrant burst of bright flavor that enhances the mango’s sweetness.
-
Decadent Topping: Serve with a dollop of whipped cream or a scoop of coconut ice cream on top for an indulgent treat. It pairs fabulously with the creamy filling of the bars!
-
Fruit Garnish: Top off each bar with fresh mango slices or a sprinkle of toasted coconut flakes. Not only does this make for a stunning presentation, but it also elevates the tropical experience.
Whichever variation you choose, these bars are sure to become a cherished dessert, just like my soulful Churro Cheesecake. Enjoy the journey of flavor with every delightful slice!
Mango Dream Bars Recipe FAQs
What should I look for when selecting ripe mangoes?
Absolutely! When selecting ripe mangoes for your Mango Dream Bars, look for fruit that gives slightly when gently squeezed, indicating it’s juicy. The skin may also have some dark spots or a slight wrinkling, which is normal. Avoid mangoes that are overly soft or have large brown blemishes, as these can indicate overripeness.
How should I store leftover Mango Dream Bars?
To keep your Mango Dream Bars fresh, store them in an airtight container in the refrigerator for up to one week. The creamy texture of these bars allows them to stay delicious while also giving the flavors a little time to meld together, making them even better the next day!
Can I freeze Mango Dream Bars and how?
Yes, you can easily freeze your Mango Dream Bars! To do this, first, let the bars cool completely, then cut them into squares. Wrap each square tightly in plastic wrap, followed by aluminum foil, or place them in a freezer-safe container to prevent freezer burn. They can be stored in the freezer for up to three months. When you’re ready to enjoy them, just transfer the desired number to the refrigerator and let them thaw overnight.
What if my Mango Dream Bars are too gooey after baking?
No worries! If your Mango Dream Bars turn out too gooey, it’s likely the filling needs more time to bake. Make sure the filling is set and slightly golden on top before removing it from the oven. Also, chilling the bars for at least an hour in the refrigerator will help firm them up significantly. If they’re still not setting properly, you can try adding a bit more cornstarch next time to help with thickening.
Are there any allergies to consider with this recipe?
Very! When making Mango Dream Bars, consider any allergies to eggs, dairy, or gluten. For a dairy-free option, substitute the unsalted butter with coconut oil. If someone has an egg allergy, you can replace each egg with a flax egg, which is made with 1 tablespoon of ground flaxseed mixed with 2.5 tablespoons of water. For a gluten-free version, simply use a gluten-free flour blend for the crust!
Can I use frozen mangoes instead of fresh?
Of course! Frozen mangoes are a great alternative and can work well for your Mango Dream Bars. If you’re using frozen mango, just be sure to thaw and drain any excess liquid before pureeing it for the filling. This will help maintain the perfect texture you’re aiming for!
Mango Dream Bars: A Refreshing Tropical Treat to Savor
Ingredients
Equipment
Method
- Preheat the oven to 350°F (175°C) and prepare an 8x8 inch baking pan.
- Combine flour, sugar, and salt in a mixing bowl, then add butter and vanilla. Mix until crumbly and press into the bottom of the pan.
- Bake the crust for 12-15 minutes until golden brown. Let it cool slightly.
- Combine mango puree, sugar, cornstarch, lemon juice, and salt in a saucepan. Cook over medium heat, stirring, until thickened (5-7 minutes).
- Allow the mango mixture to cool slightly, then whisk in eggs and vanilla until smooth.
- Pour the filling over the cooled crust and spread evenly. Bake again for 20-25 minutes until set and slightly golden.
- Cool bars to room temperature, then refrigerate for 1-2 hours to firm up.
- Slice into squares and serve, optionally garnished with shredded coconut.
Leave a Reply