
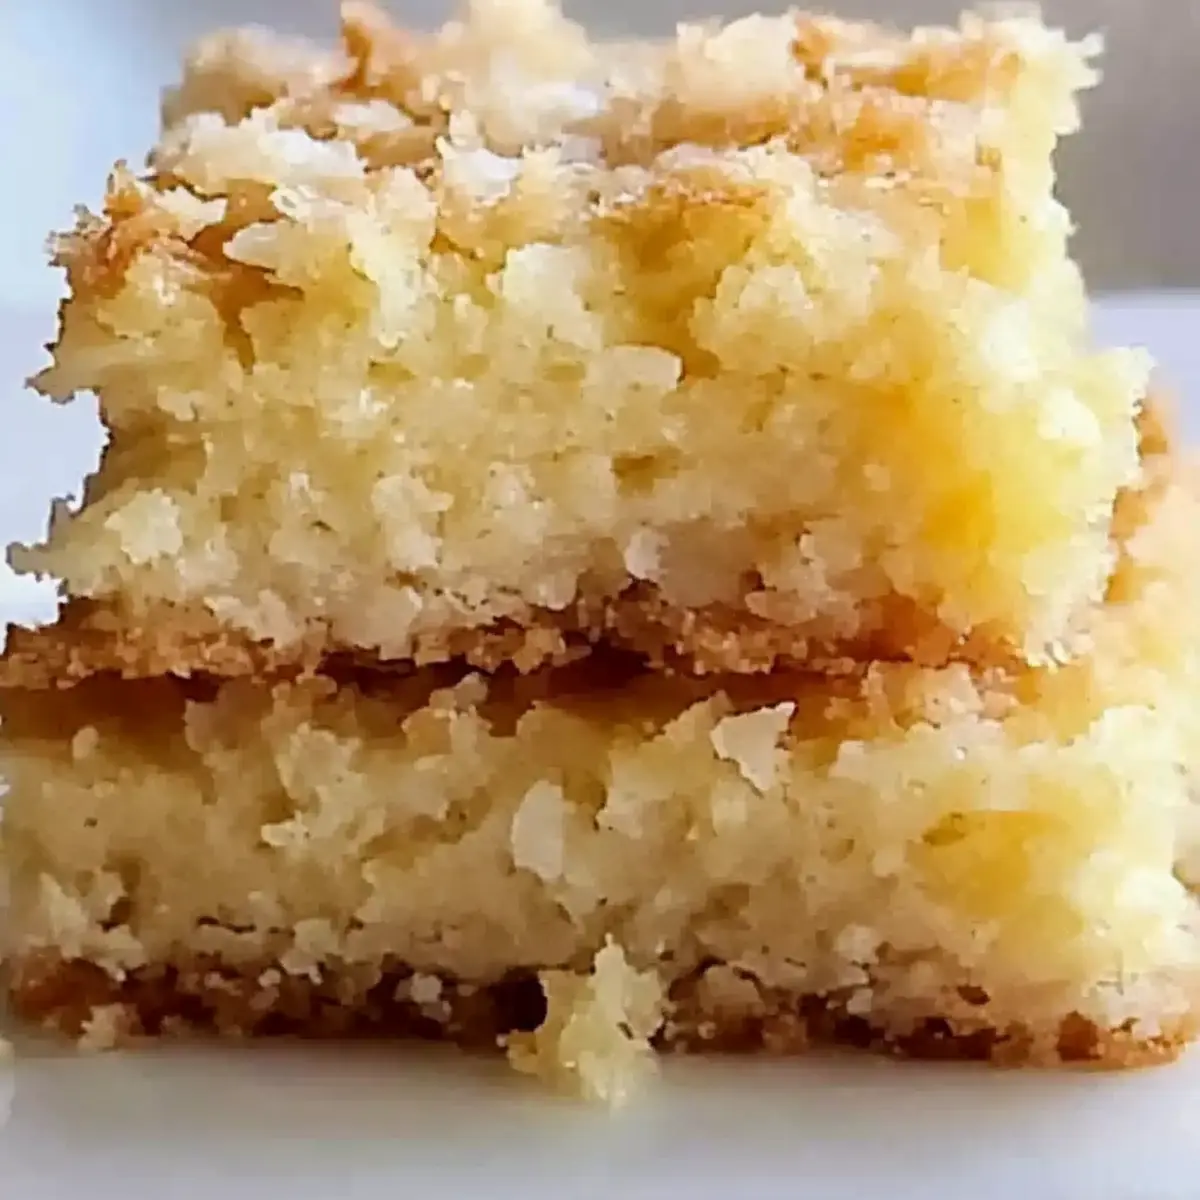
I remember the first time I took a bite of a Coconut Butter Bar—suddenly, the kitchen felt like a tropic haven, with warm coconut sunshine and buttery bliss in every mouthful. These Coconut Butter Bars are more than just a treat; they’re the ultimate dessert bars that blend a golden crust with a chewy coconut filling, perfect for any gathering or an afternoon pick-me-up. Not only are they simple to whip up, but they can cater to your dietary preferences—gluten-free and keto-friendly options ensure that everyone can enjoy this sweet delight. Trust me, once you make this recipe, you’ll find it hard to resist going back for seconds—or even thirds. Are you ready to create your own little piece of paradise? Let’s dive into the recipe!
Why Are Coconut Butter Bars So Irresistible?
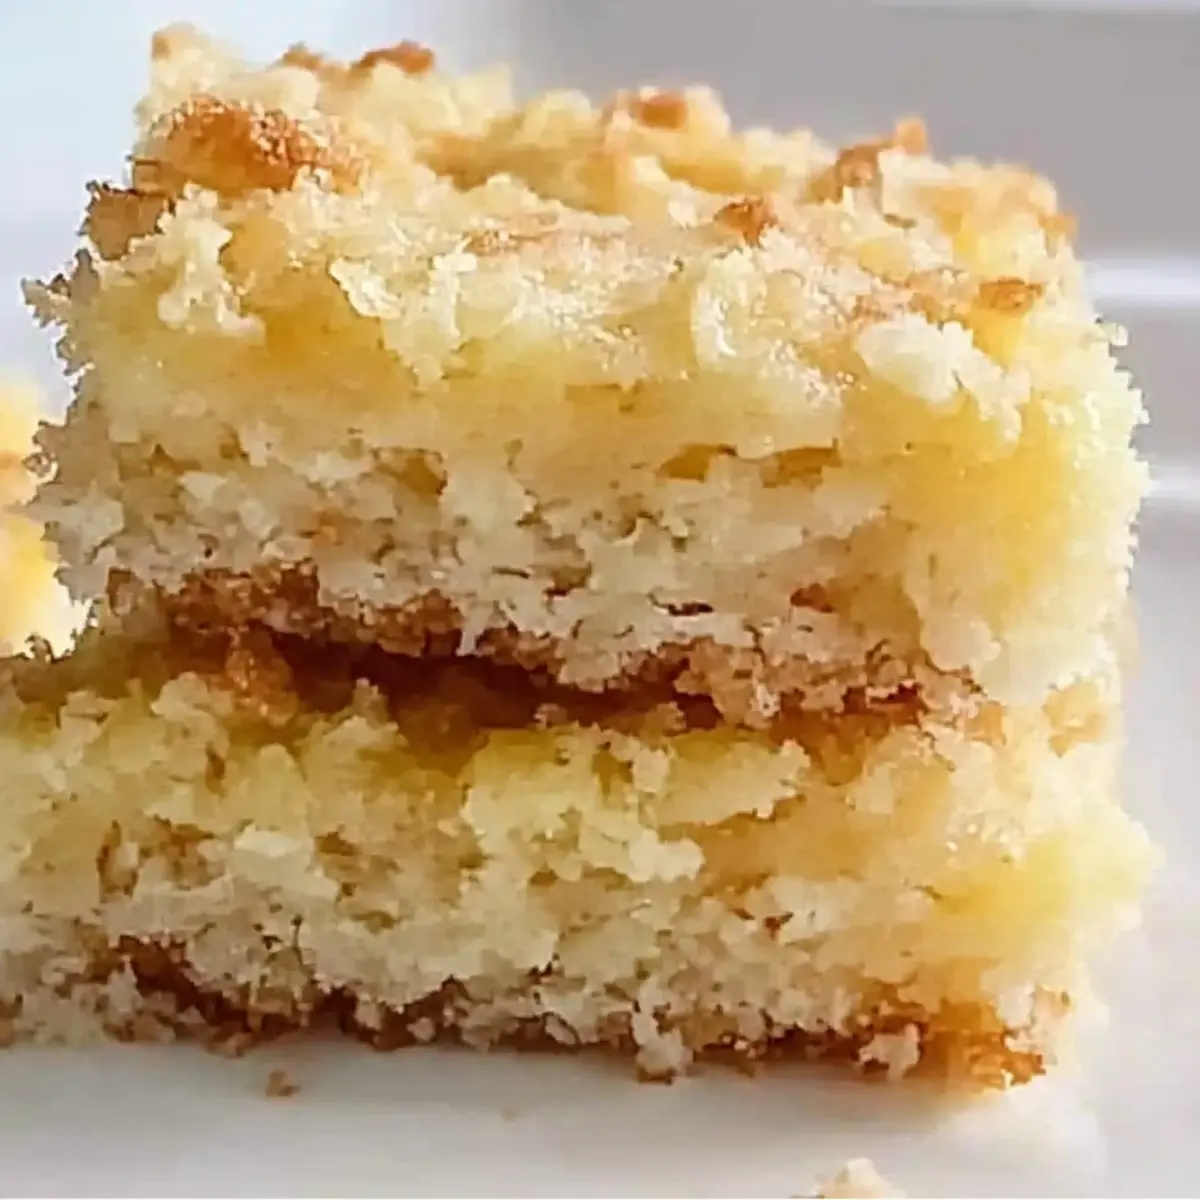
Heavenly Flavor: With their rich buttery crust and sweet coconut filling, these bars offer a truly delightful taste experience that transports you to a sunny paradise.
Easy to Make: No complicated techniques needed—just mix, bake, and savor! In no time, you’ll have a delicious treat ready to impress family and friends.
Versatile Choices: Whether you’re looking for a gluten-free alternative or a keto-friendly dessert, these bars can easily adapt to your dietary needs, like swapping sugars or flours.
Perfect for Sharing: They’re great for gatherings, potlucks, or even as a personal treat—everyone will be coming back for more!
Beautiful Presentation: A dusting of powdered sugar or a dollop of whipped cream elevates the appearance, making them not just tasty but stunningly appetizing too.
Coconut Butter Bars Ingredients
For the Crust
• Butter – Provides rich flavor and structure; use unsalted for better control over saltiness.
• Granulated Sugar – Sweetens the filling; can be replaced with a keto-friendly sweetener such as erythritol.
• Brown Sugar – Adds depth of sweetness; substitute with coconut sugar for a caramelized flavor.
• All-Purpose Flour – Forms the crust structure; for gluten-free, substitute with a gluten-free flour blend.
For the Filling
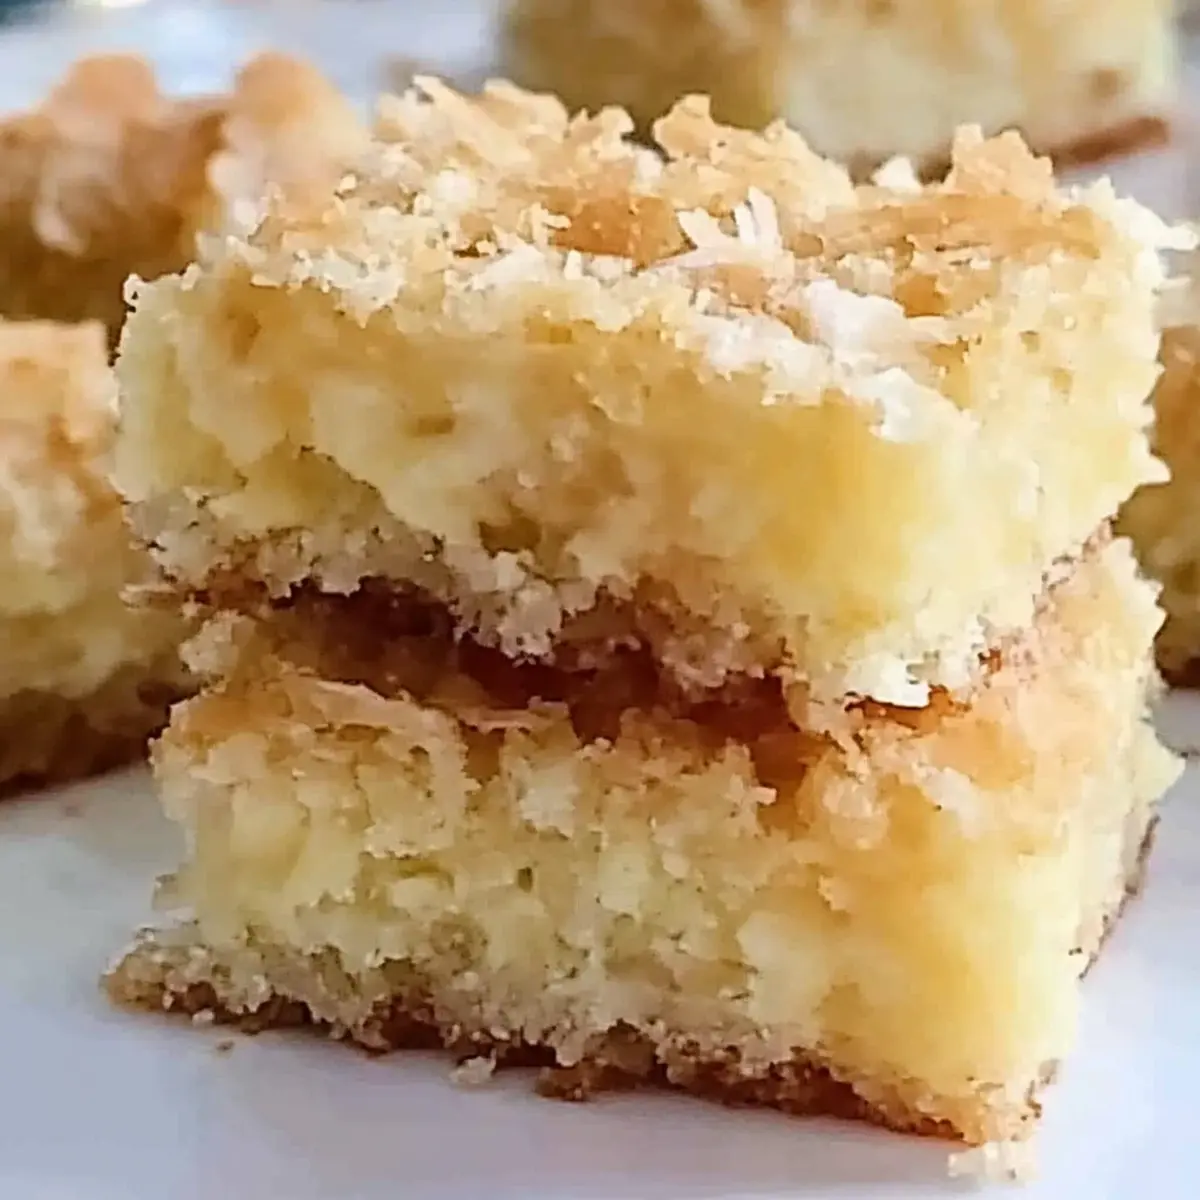
• Unsweetened/Sweetened Shredded Coconut – Adds texture and flavor; unsweetened can be used for a less sweet option.
• Eggs – Acts as a binder and adds richness; no substitution recommended for binding purposes.
These Coconut Butter Bars are not only mouthwatering but also adaptable to various dietary preferences, ensuring everyone can enjoy a slice of paradise!
Step‑by‑Step Instructions for Coconut Butter Bars
Step 1: Preheat the Oven
Start by preheating your oven to 350°F (175°C). While waiting, grease a 9×13-inch baking dish to ensure the Coconut Butter Bars won’t stick after baking. A light coat of cooking spray or butter will do the trick. This initial step is crucial for achieving that perfectly golden crust.
Step 2: Prepare the Crust
In a mixing bowl, combine softened unsalted butter, granulated sugar, and all-purpose flour. Use a fork or your hands to blend the mixture until it resembles coarse crumbs. Once combined, pour the dough into your prepared baking dish, pressing it evenly into the bottom. This will create a solid base for your delicious Coconut Butter Bars.
Step 3: Bake the Crust
Place the baking dish in the preheated oven and bake for 15 to 20 minutes. You’re looking for a light golden color on the crust; it should feel firm to the touch. This step is essential to provide a sturdy foundation for the sweet topping, so keep an eye on it as it bakes.
Step 4: Prepare the Filling
While the crust is baking, prepare the filling by whisking together eggs, brown sugar, and shredded coconut in a mixing bowl. Make sure all ingredients are well combined, creating a thick, luscious mixture. This coconut filling will provide that delightful chewiness on top of your Coconut Butter Bars.
Step 5: Pour Over the Crust
Once the crust is baked and slightly cooled, carefully spread the coconut filling evenly over the layer. Use a spatula to ensure an even distribution, reaching all corners of the crust. This step is key for allowing the flavors to meld beautifully as the bars bake further.
Step 6: Bake Again
Return the baking dish to the oven and bake for an additional 25 to 30 minutes. You’ll know the Coconut Butter Bars are ready when the filling is golden and set, with a slightly puffed appearance. This second baking round allows those wonderful flavors to come together perfectly.
Step 7: Cool and Serve
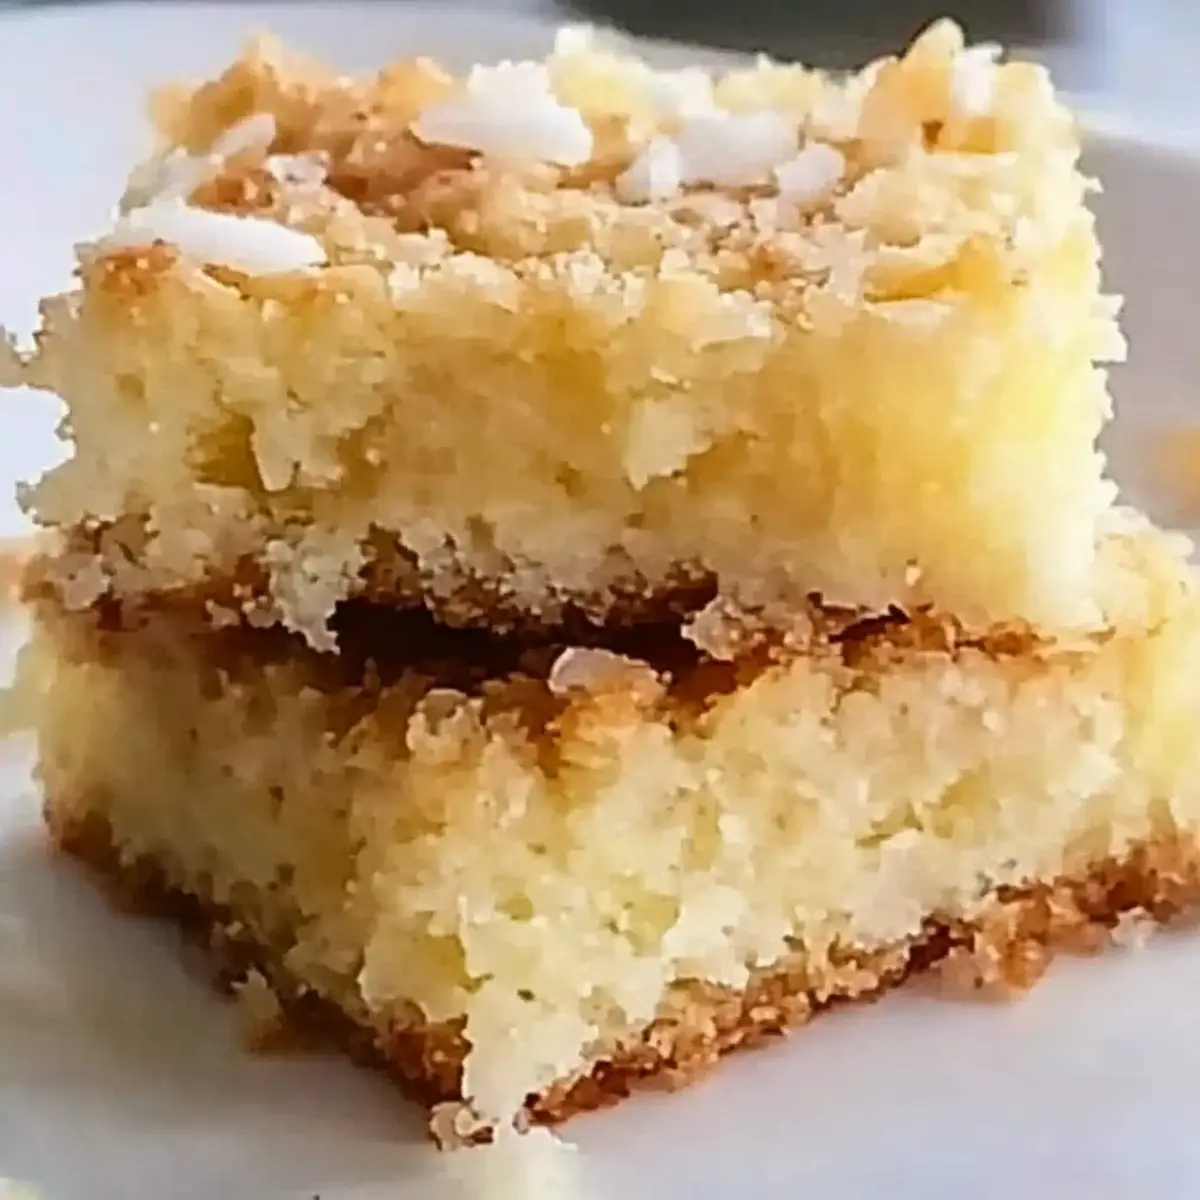
After baking, remove the dish from the oven and let the Coconut Butter Bars cool completely in the pan. This cooling step is crucial for achieving clean cuts later on. Once cooled, slice into squares and serve them chilled or at room temperature to enjoy that delightful combination of textures.
Coconut Butter Bars Variations & Substitutions
Feel free to tweak the recipe to match your taste and dietary needs—let your creativity shine with these delicious alternatives!
- Gluten-Free: Use a gluten-free flour blend in place of all-purpose flour for a delightful crust that everyone can enjoy.
- Keto-Friendly: Switch granulated and brown sugar for keto-friendly sweeteners like erythritol or monk fruit to cater to low-carb diets.
- Nutty Crunch: Replace shredded coconut with crushed nuts such as almonds or pecans for a delightful texture twist; this adds a new dimension of flavor.
- Chocolate Lovers: Melt some dark chocolate and drizzle it over the top after baking for an indulgent chocolate-coconut fusion that will satisfy your sweet tooth.
- Flavor Variations: Experiment with flavored extracts like vanilla, almond, or even coconut extract to amplify the taste of the filling and create a unique twist each time.
Adding these flavor bursts can take your Coconut Butter Bars to exotic new heights, making you feel like you’re enjoying a tropical getaway with every bite! If you’re craving something savory alongside these sweet bars, why not try Herb-Infused Garlic Butter Chicken for a wonderful pairing?
- Coconut Cream Topping: For a creamy finish, whip up some coconut cream to serve on the side when serving the bars, making them even more indulgent.
- Spicy Kick: Add a pinch of cayenne or chili powder to your filling for a surprise warmth that contrasts beautifully with the sweetness of the coconut.
These variations will surely suit any palate and give life to your Coconut Butter Bars recipe, whether you’re making them for a special get-together or simply treating yourself to a sweet delight.
What to Serve with Coconut Butter Bars
Indulging in these Coconut Butter Bars creates the perfect opportunity to craft a full meal that tantalizes the taste buds.
- Fresh Fruit Salad: A medley of ripe fruits brings a refreshing contrast to the sweet bars, enhancing your dessert experience. The vibrant colors and textures awaken the senses, making each bite a celebration.
- Coconut Whipped Cream: Elevate your bars with a dollop of light, airy coconut whipped cream. This addition mirrors the bar’s flavors while adding a luscious creaminess that your friends and family will adore.
- Iced Coffee or Tea: A chilled beverage pairs beautifully with the warm flavors of coconut. Opt for lightly sweetened iced coffee or refreshing iced tea to create a balanced dessert moment.
- Chocolate Drizzle: Consider drizzling melted dark chocolate over each bar before serving. The rich, bittersweet chocolate complements the sweetness of the coconut, creating an irresistible combo.
- Chopped Nuts: Garnish your Coconut Butter Bars with toasted chopped nuts for added crunch. This texture variation elevates the dessert, bringing delightful surprise in every bite.
- Vanilla Ice Cream: For a showstopper, serve warm bars with a scoop of vanilla ice cream. The creamy ice cream will soften the slightly chewy texture of the bars, resulting in a decadent treat.
Storage Tips for Coconut Butter Bars
Room Temperature: Store Coconut Butter Bars in an airtight container at room temperature for up to 3 days to maintain freshness.
Fridge: For longer-lasting bars, refrigerate them for up to a week. Just remember to keep them covered to prevent any drying out.
Freezer: You can freeze Coconut Butter Bars for up to 2 months. Wrap them tightly in plastic wrap and place them in a freezer-safe container.
Reheating: When ready to enjoy again, let frozen bars thaw in the fridge overnight, then serve chilled or at room temperature for the best taste.
Make Ahead Options
These Coconut Butter Bars are a dream for meal prep enthusiasts! You can prepare the crust up to 24 hours in advance—just mix the butter, sugars, and flour, then press it into your baking dish. Store it wrapped in the refrigerator to keep it fresh. Additionally, the coconut filling can be mixed a day ahead; simply combine the eggs and shredded coconut without baking. When you’re ready to serve, pour the filling over the pre-baked crust and bake as directed—this way, you enjoy freshly baked bars with minimal effort. Trust me, prepping in advance not only saves time but preserves that heavenly flavor and texture, so you can indulge anytime you want!
Expert Tips for Coconut Butter Bars
Cooling Time: Allow bars to cool completely before slicing for cleaner edges; warm bars can crumble when cut.
Butter Choice: Use unsalted butter for better control over the sweetness; this will help your Coconut Butter Bars shine.
Egg Temperature: Room temperature eggs blend more evenly into the filling, providing a smoother texture—don’t skip this tip!
Thickness Adjustment: For a thicker filling, increase the amount of shredded coconut; balance the flavors for a perfect sweet bite.
Stick Prevention: Grease the baking dish thoroughly to prevent sticking; using parchment paper can also help with easy removal.
Coconut Butter Bars Recipe FAQs
What should I look for when selecting shredded coconut?
Absolutely! When choosing shredded coconut, look for the unsweetened variety if you prefer less sweetness, and ensure it’s moist and fluffy, not dry or clumpy. If there are dark spots all over, it may be stale—fresh coconut should be bright and free of any off-smells.
How should I store Coconut Butter Bars, and how long will they last?
For optimal freshness, store your Coconut Butter Bars in an airtight container at room temperature for up to 3 days. If you want to keep them longer, you can refrigerate them for up to a week. Just be sure to cover them properly; nobody likes stale bars!
Can I freeze Coconut Butter Bars, and what’s the best way to do it?
Yes, you can freeze Coconut Butter Bars for up to 2 months! To do this, wrap each bar tightly in plastic wrap and place them in a freezer-safe container. When you’re ready to enjoy them, let them thaw in the fridge overnight, and then serve chilled or at room temperature for the best flavor.
What if my crust is too crumbly or too soft?
Very! If your crust turns out too crumbly, it may need a bit more butter to hold it together. On the flip side, if it’s too soft, it likely needs a bit more time in the oven. Keep an eye on it during baking; it should feel firm and lightly golden — that’s your sweet spot!
Are Coconut Butter Bars safe for pets or people with common allergies?
It’s vital to note that these Coconut Butter Bars contain eggs and butter, making them unsuitable for those with egg allergies or dairy intolerances. Always check for individual allergies when serving. For pets, coconut in small amounts is generally safe, but it’s best to avoid giving them dessert bars, as they are high in sugar.
Can I make substitutions for dietary restrictions?
Absolutely! To cater to gluten-free needs, simply replace all-purpose flour with a gluten-free flour blend. For a keto-friendly option, you can swap granulated sugar with erythritol and use coconut sugar in place of brown sugar. Both adjustments maintain the deliciousness while fitting different dietary lifestyles.
Coconut Butter Bars: A Sweet Tropical Escape at Home
Ingredients
Equipment
Method
- Preheat your oven to 350°F (175°C) and grease a 9x13-inch baking dish.
- In a mixing bowl, combine softened butter, granulated sugar, and all-purpose flour until it resembles coarse crumbs.
- Pour the dough into the baking dish, pressing it evenly into the bottom.
- Bake the crust for 15 to 20 minutes until light golden and firm to touch.
- In another bowl, whisk together eggs, brown sugar, and shredded coconut until well combined.
- Spread the coconut filling evenly over the baked crust.
- Return to the oven and bake for an additional 25 to 30 minutes until the filling is golden and set.
- Allow the bars to cool completely in the pan before slicing into squares.
Leave a Reply