
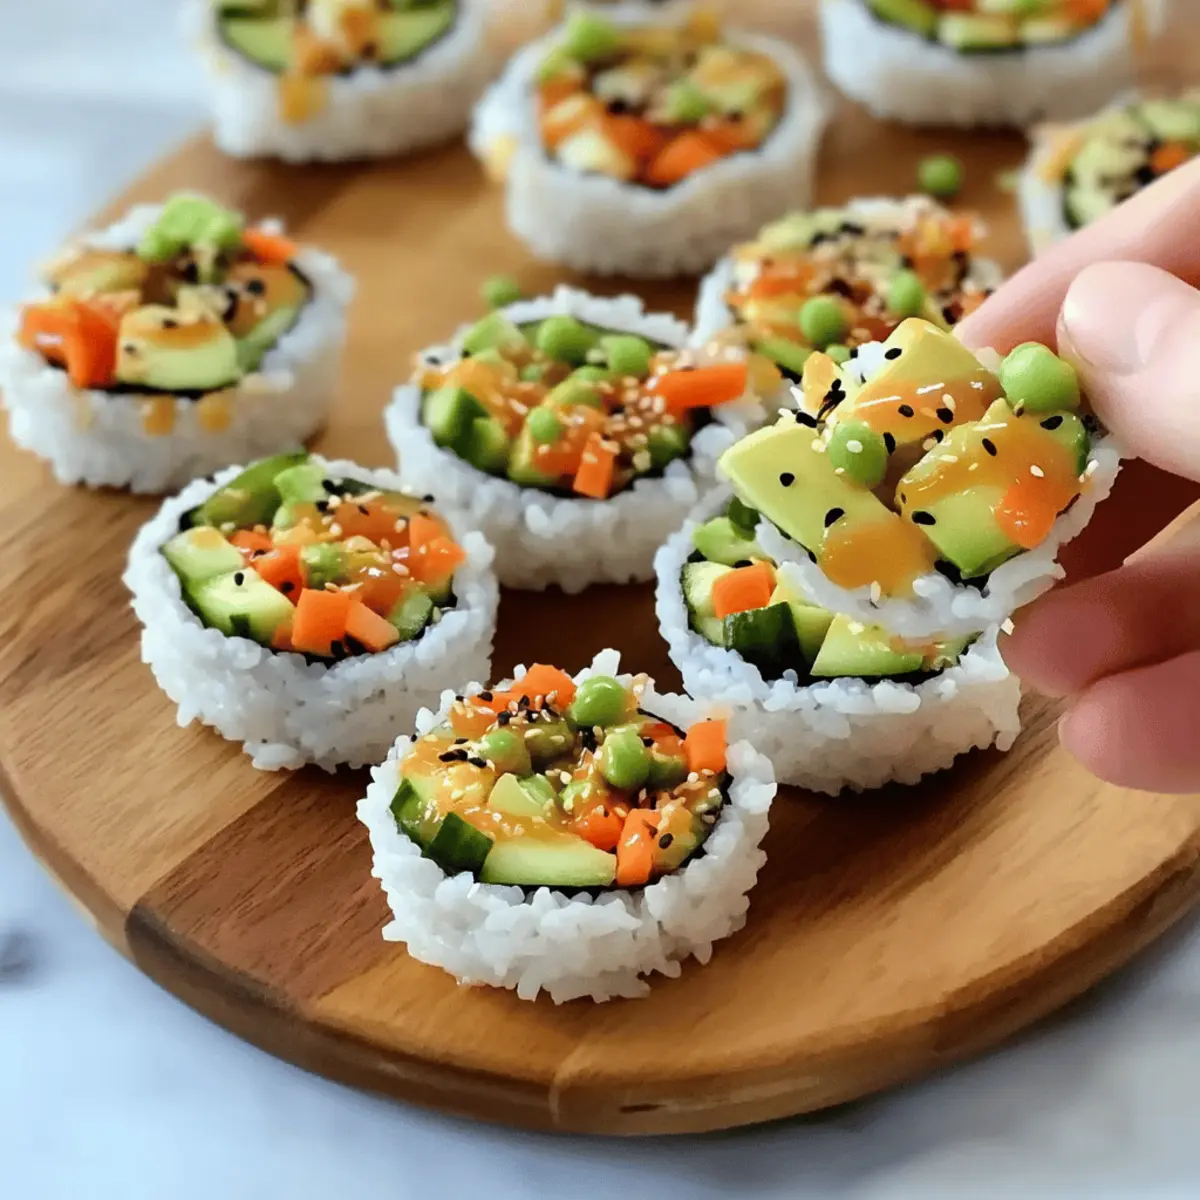
As I prepped for a casual gathering last weekend, I found myself in need of a fresh appetizer that would impress without causing a mini crisis in the kitchen. Enter my customizable sushi cups! These delightful little bites capture all the goodness of sushi, but without the need for clumsy rolling or specialized techniques. Packed with vibrant veggies, creamy avocado, and a zesty spicy mayo drizzle, they aren’t just quick to assemble—they’re also a nourishing and portable option. Whether you’re hosting friends or simply craving something different, these sushi cups are bound to be a crowd-pleaser. Curious about how to make them your own? Let’s dive into the recipe!
Why Are Sushi Cups So Amazing?
Versatile Customization: These sushi cups allow you to personalize each bite, using your favorite veggies and sauces for endless flavor combinations.
No Cooking Required: Perfect for those busy days, you can whip these up without any baking or complicated cooking techniques.
Nourishing Snack: Packed with fresh ingredients, these cups provide a nutritious snack or appetizer that won’t leave you feeling heavy.
Crowd-Pleasing Appeal: Great for parties or gatherings, they captivate with their vibrant colors and delightful taste, making them a hit with guests.
Quick Assembly: With just a few simple steps, you can have these sushi cups ready to go, making them an easy choice for last-minute get-togethers.
If you’re looking for more ways to jazz up your appetizers, check out our guide on easy vegetarian snacks. Your gatherings will never be the same!
Sushi Cups Ingredients
For the Rice Cups
• Sushi Rice – A crucial base that holds the cup shape; rinse well to achieve the perfect sticky texture.
• Water – Essential for cooking the sushi rice, ensuring each bite is tender and fluffy.
For the Filling
• Finely Chopped Veggies (e.g., carrots, cucumber, bell peppers, or sprouts) – Adds a crunchy texture and fresh flavor; choose veggies that can be enjoyed raw for the best results.
• Steamed Mukimame (Shelled Edamame) – Boosts protein content and adds a soft texture; if unavailable, regular edamame pods work just as well.
• Diced Avocado – Contributes a creamy, satisfying bite filled with healthy fats; opt for a ripe avocado for maximum flavor.
• Sauce (e.g., soy sauce, tamari, or coconut aminos) – Enhances the overall flavor profile; feel free to personalize with your preferred sauce.
For the Spicy Mayo
• Mayonnaise – Forms the creamy base for the spicy mayo; adjust the amount to suit your taste.
• Sriracha Sauce – The star of the show for adding heat; mix in more or less depending on your spice preference.
• Honey – Balances out the zing of the Sriracha with a touch of natural sweetness.
• Sesame Oil – Adds a delicious, nutty flavor to the mayo, improving the overall richness.
• Black Sesame Seeds – Perfect for garnishing, they provide a cute visual appeal and a subtle crunch.
These flavorful sushi cups make for a customizable and nourishing snack, perfect for your next gathering! Enjoy experimenting with your unique combinations.
Step‑by‑Step Instructions for Sushi Cups
Step 1: Prepare the Rice
In a medium pot, combine 1 cup of rinsed sushi rice with 1 ¼ cups of water. Bring the mixture to a boil over high heat, then reduce to low and cover. Let it simmer gently for about 20 minutes until the rice is tender and the water is absorbed. Once cooked, remove from heat and allow it to cool slightly before handling.
Step 2: Shape Rice Cups
Take the slightly cooled sushi rice and scoop about 2 heaping tablespoons into each cup of a silicone muffin tin. Use your fingers or the back of a spoon to firmly press the rice into the shape of a cup, ensuring they hold together well. Once all rice cups are formed, chill the muffin tin in the fridge for 20 minutes to set their shape before adding the filling.
Step 3: Mix Veggies
While the rice cups chill, chop your choice of vegetables, such as carrots, cucumber, and bell peppers. In a medium bowl, combine the finely chopped veggies with steamed mukimame and diced avocado. Drizzle in your choice of sauce, such as soy sauce or tamari, mixing thoroughly to ensure an even distribution of flavors among the ingredients.
Step 4: Make Spicy Mayo
In a small bowl, whisk together ¼ cup of mayonnaise, 1–2 tablespoons of Sriracha sauce, and a teaspoon of honey for sweetness. Add a drizzle of sesame oil to enhance the flavor. Taste the spicy mayo and adjust the spice level by adding more Sriracha if desired. Set aside as you prepare to assemble your delicious sushi cups.
Step 5: Assemble Sushi Cups
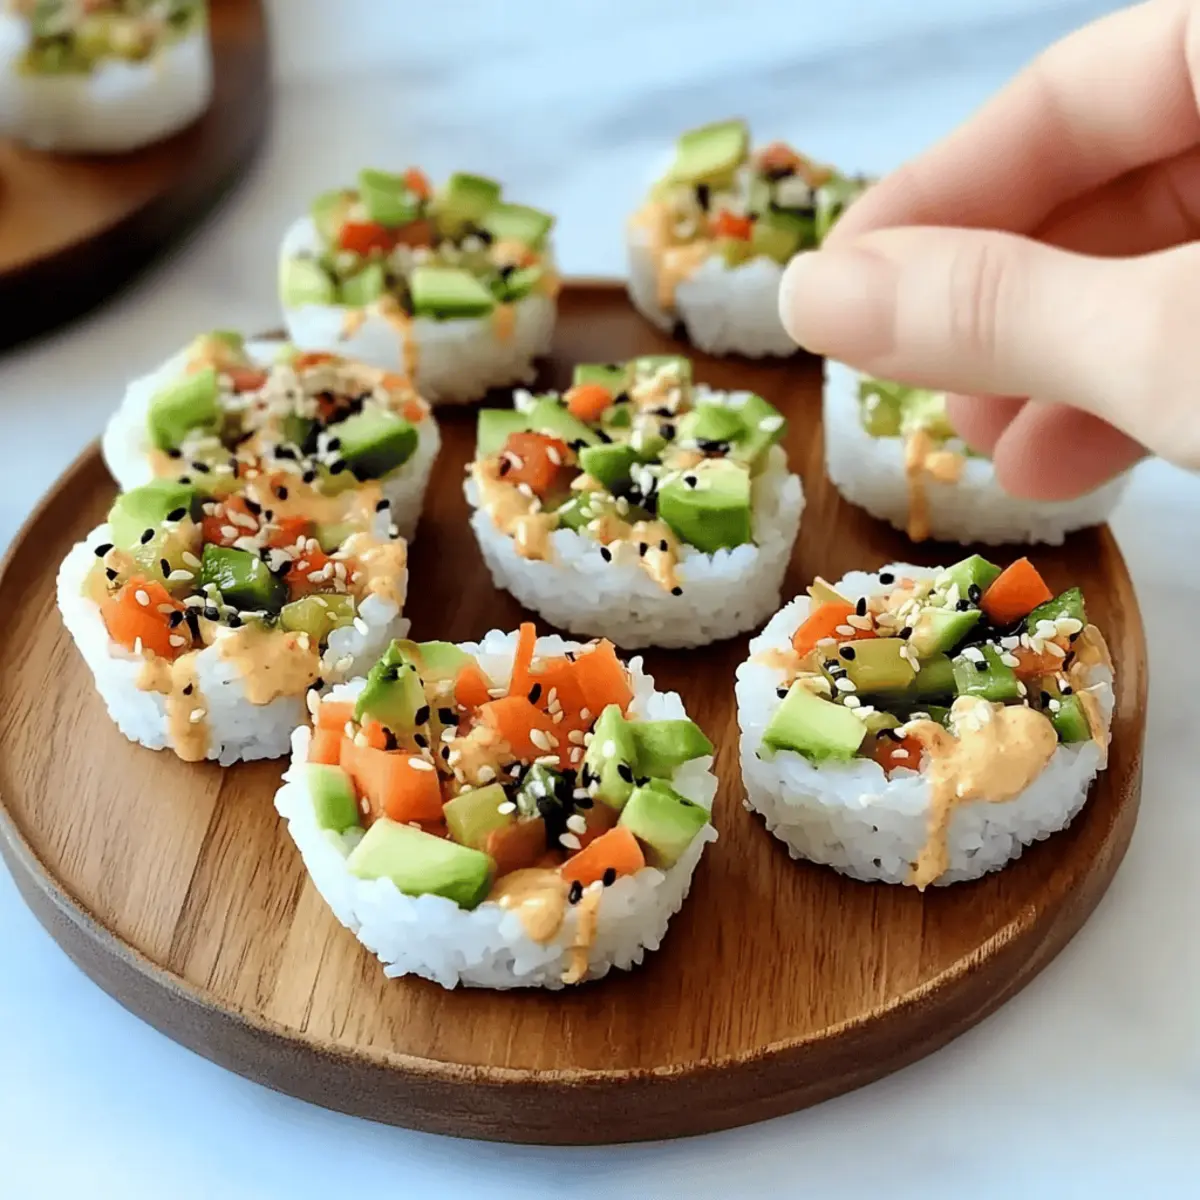
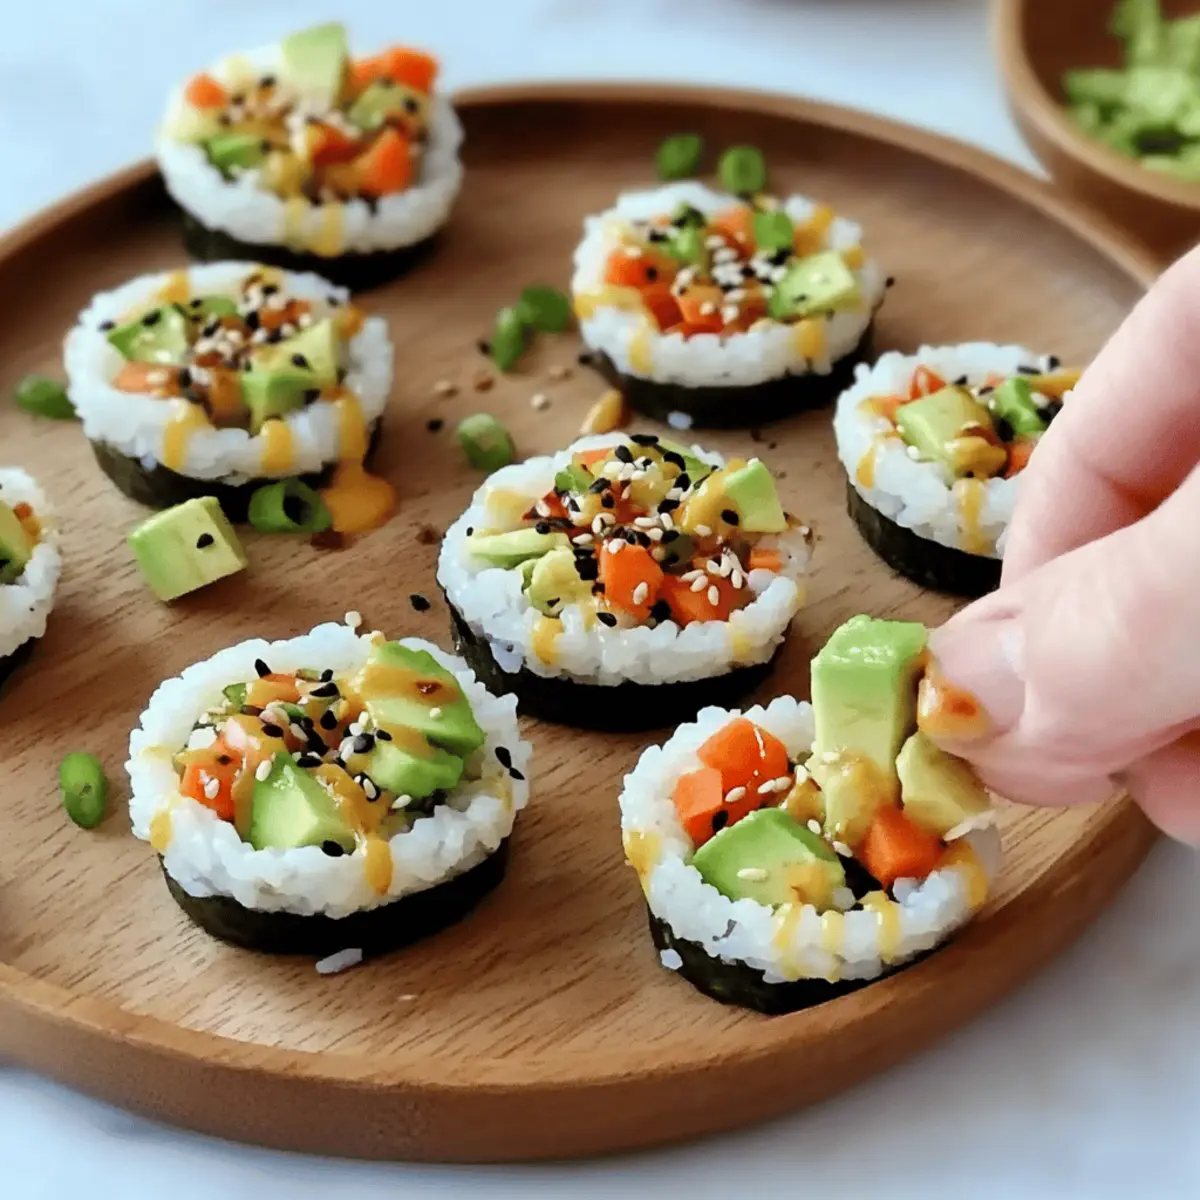
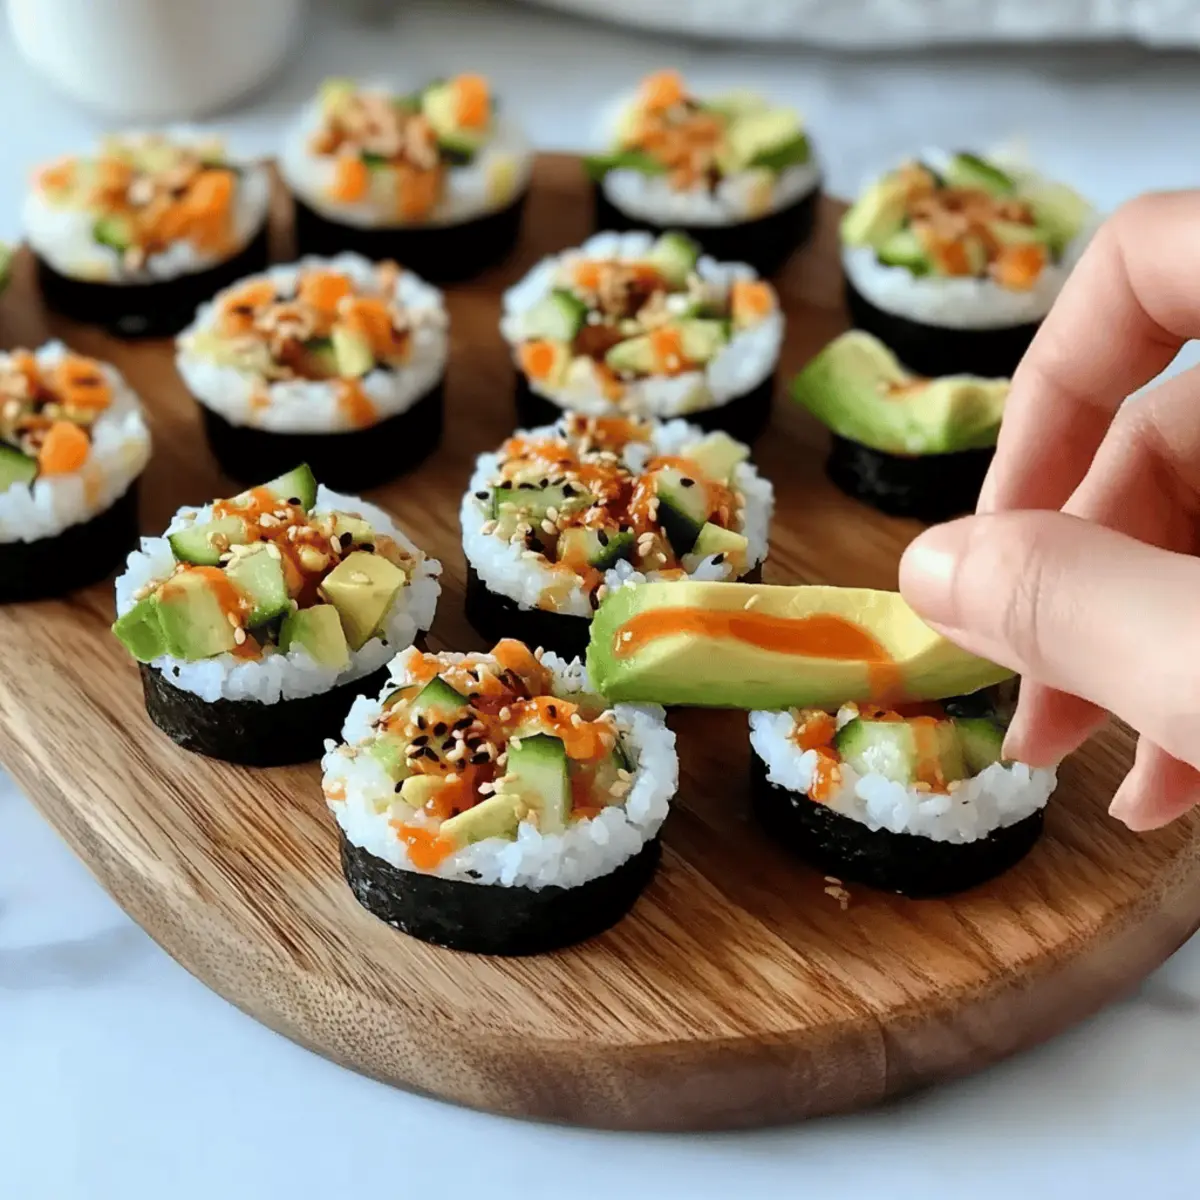
Once the rice cups have chilled and set, carefully remove them from the muffin tin. Spoon a generous portion of the veggie mixture into each rice cup, filling them up. Drizzle the prepared spicy mayo generously over the filled cups, letting it cascade for an appealing look. Finish by sprinkling black sesame seeds on top for a delightful crunch and presentation.
What to Serve with Customizable Sushi Cups?
Get ready to build a beautifully balanced meal that perfectly complements the vibrant flavors of your sushi cups.
-
Crispy Tempura Vegetables: Lightly battered and fried, these bring a wonderful crunch that pairs beautifully with the delicate sushi cups.
-
Savory Miso Soup: Warm and comforting, this umami-rich soup creates a delicious contrast to the fresh, crisp components of the sushi.
-
Chilled Edamame: These lightly salted pods add a fun, interactive element to your meal, enhancing the protein content while keeping things light.
-
Cucumber Salad: Fresh, tangy, and refreshing, a simple cucumber salad brightens up the palate and offers a lovely crunch.
-
Sesame Noodles: Cold sesame noodles with a soy-based dressing complement the flavors of your sushi cups beautifully, providing a smooth, satisfying texture.
-
Fruit Skewers: Juicy and sweet, fruit skewers made with watermelon, pineapple, and strawberries add a refreshing finish to your meal and contrast the savory elements.
-
Chardonnay or Sake: A crisp glass of Chardonnay or a smooth serving of sake elevates the dining experience and matches the sushi theme.
-
Green Tea Ice Cream: For dessert, this creamy treat offers a refreshing end to the meal, enhancing the Japanese culinary experience.
Create a memorable meal by combining these pairings, ensuring your sushi cups shine at the center of the table!
Expert Tips for Sushi Cups
-
Rice Consistency: Ensure the sushi rice is perfectly cooked and sticky enough to hold its shape when compacted. Rinsing well helps achieve the right texture.
-
Chill Time: Don’t skip the chilling step! Allowing rice cups to rest in the fridge for 20 minutes ensures they maintain their form when filled.
-
Veggie Choices: Use fresh, crunchy vegetables like cucumbers and bell peppers. Avoid soggy or overly ripe options that can compromise the sushi cups’ texture.
-
Spicy Mayo Balance: Adjust the Sriracha in the spicy mayo to match your spice tolerance. Start light and add more for a kick, ensuring the flavor remains balanced.
-
Make Ahead: Sushi cups can be prepared up to 24 hours in advance. However, for the best flavor and texture, enjoy them within 2 days.
-
Personalize: Feel free to swap ingredients! Add proteins like tofu or shrimp, or try different sauces to customize your sushi cups to your liking.
How to Store and Freeze Sushi Cups
Fridge: Store sushi cups in an airtight container in the refrigerator for up to 2 days to maintain freshness and texture.
Freezer: While not ideal for frozen storage, you can freeze leftover rice cups for up to 1 month. Seal in a freezer bag, removing excess air before freezing.
Reheating: To enjoy frozen sushi cups, thaw overnight in the fridge and reheat in the microwave for 20-30 seconds, avoiding sogginess.
Serving Tip: For best flavor, assemble and fill sushi cups on the day you plan to serve them. This ensures a delightful crunch from the fresh veggies.
Make Ahead Options
These sushi cups are a fantastic option for meal prep, perfect for busy weeknights! You can prepare the sushi rice and form the rice cups up to 24 hours in advance, simply refrigerate them after pressing into your silicone muffin tin to maintain their shape. The filling, made with chopped veggies and mukimame, can be mixed and stored separately for up to 3 days. To prevent the avocado from browning, consider adding it right before serving or coating it lightly with lemon juice. When ready to serve, simply assemble the cups with the prepared filling, drizzle with the spicy mayo, and enjoy restaurant-quality sushi cups with minimal effort!
Sushi Cups: Customize Your Way!
Feel free to mix things up and bring your personal flair to these delightful sushi cups!
-
Vegan Delight: Replace mayonnaise with vegan mayo for a deliciously creamy, plant-based spicy mayo option. A little extra kick with diced jalapeños could elevate the flavors!
-
Protein Boost: Toss in some cubed tofu or cooked shrimp for a heartier treat. These additions not only provide a satisfying bite but also enrich your sushi cups with additional nutrients.
-
Gluten-Free Option: Use Tamari instead of soy sauce to ensure gluten-free sushi cups that everyone can enjoy. Enjoy experimenting with gluten-free sauces like coconut aminos for a unique taste!
-
Fresh Herbs: Add a sprinkle of chopped cilantro or mint into the veggie mix for a refreshing herbal twist. These fragrant additions will surprise your taste buds with brightness.
-
Fruity Sweetness: Substitute finely diced mango or pineapple for some veggies for a surprising sweetness that pairs beautifully with spicy mayo. It’s a fusion that your guests will rave about!
-
Crunch Factor: Add toasted panko breadcrumbs atop the filling for a delightful crunch that contrasts beautifully with the tender rice and creamy avocado.
-
Heat It Up: If you love a fiery kick, mix in some diced fresh chili or a few drops of your favorite hot sauce into the veggie filling for a flavor punch. Just don’t forget to keep a glass of water handy!
-
Sauce Variations: Play with flavors by using a variety of sauces, like hoisin or teriyaki—both will add depth and new layers of taste that keep things exciting at every gathering.
These sushi cups are not just a recipe—they’re an opportunity to let your creativity shine! If you’re looking for more ideas, don’t miss our guide on easy vegetarian snacks. You’ll find endless inspiration for your next culinary adventure!
Sushi Cups Recipe FAQs
How do I choose the right sushi rice?
Absolutely! When selecting sushi rice, look for short-grain varieties specifically labeled as “sushi rice” or “glutinous rice.” These types contain the right amount of starch to create that desirable sticky texture. If you’re shopping at a specialty store or an Asian market, you can ask for recommendations to ensure you’re picking the best option.
How should I store leftover sushi cups?
For the best freshness, store any leftover sushi cups in an airtight container in the fridge. They will maintain their quality for up to 2 days. If you’re concerned about the texture of the rice, consider sealing with plastic wrap to minimize air exposure, keeping them from drying out.
Can I freeze sushi cups?
Very! While I recommend enjoying them fresh, you can freeze leftover rice cups for up to 1 month. To freeze, arrange the rice cups in a single layer on a baking sheet and freeze until solid. Then transfer them to a freezer bag, ensuring to remove any excess air. For best results, thaw overnight in the fridge before gently reheating in the microwave.
What can I substitute for mukimame or edamame?
If you can’t find mukimame or want to explore options, cooked chickpeas, or diced tofu make excellent substitutes for adding protein. Simply season them lightly and mix them in with the veggies for a satisfying bite that fits your taste!
Are these sushi cups suitable for allergies?
Check the ingredient labels carefully! Since sushi cups include common allergens like soy (in soy sauce) and can contain eggs (in mayonnaise), consider using alternatives such as tamari instead of soy sauce for gluten-free needs and vegan mayo for a dairy-free option. Always be mindful of the specific allergies of your guests when preparing.
What if my rice cups fall apart?
The more the merrier when it comes to compacting the rice! If you find your rice cups are falling apart, it might be due to not pressing the rice firmly enough into the muffin tin or not allowing it to chill long enough. I recommend packing the rice well—a light press with a spoon works wonders—then refrigerating them for at least 20 minutes to hold their shape.
Delicious Sushi Cups: Customize Your Perfect Bite!
Ingredients
Equipment
Method
- In a medium pot, combine 1 cup of rinsed sushi rice with 1 ¼ cups of water. Bring to a boil, reduce to low heat and cover. Let simmer for about 20 minutes until tender.
- Scoop about 2 heaping tablespoons of rice into each cup of a silicone muffin tin. Press firmly to shape. Chill in the fridge for 20 minutes.
- Chop your choice of vegetables and combine them in a medium bowl with mukimame and avocado. Drizzle with sauce and mix evenly.
- In a small bowl, whisk together mayonnaise, Sriracha, honey, and sesame oil. Adjust spice level as desired.
- Remove rice cups from the muffin tin. Spoon the veggie mixture into each cup and drizzle with spicy mayo. Garnish with sesame seeds.
Leave a Reply