
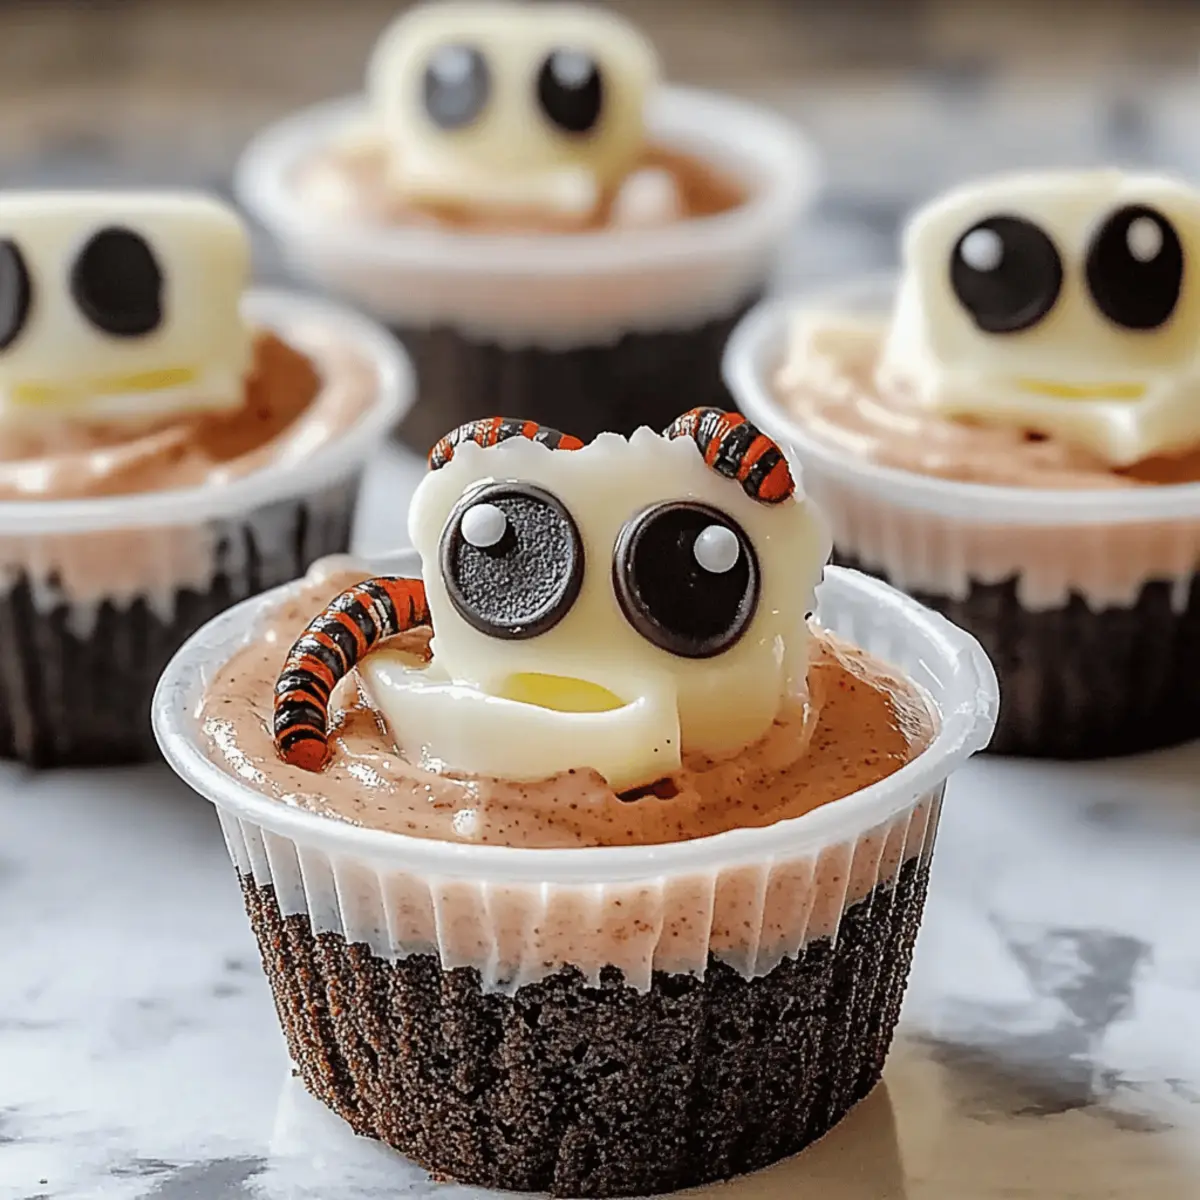
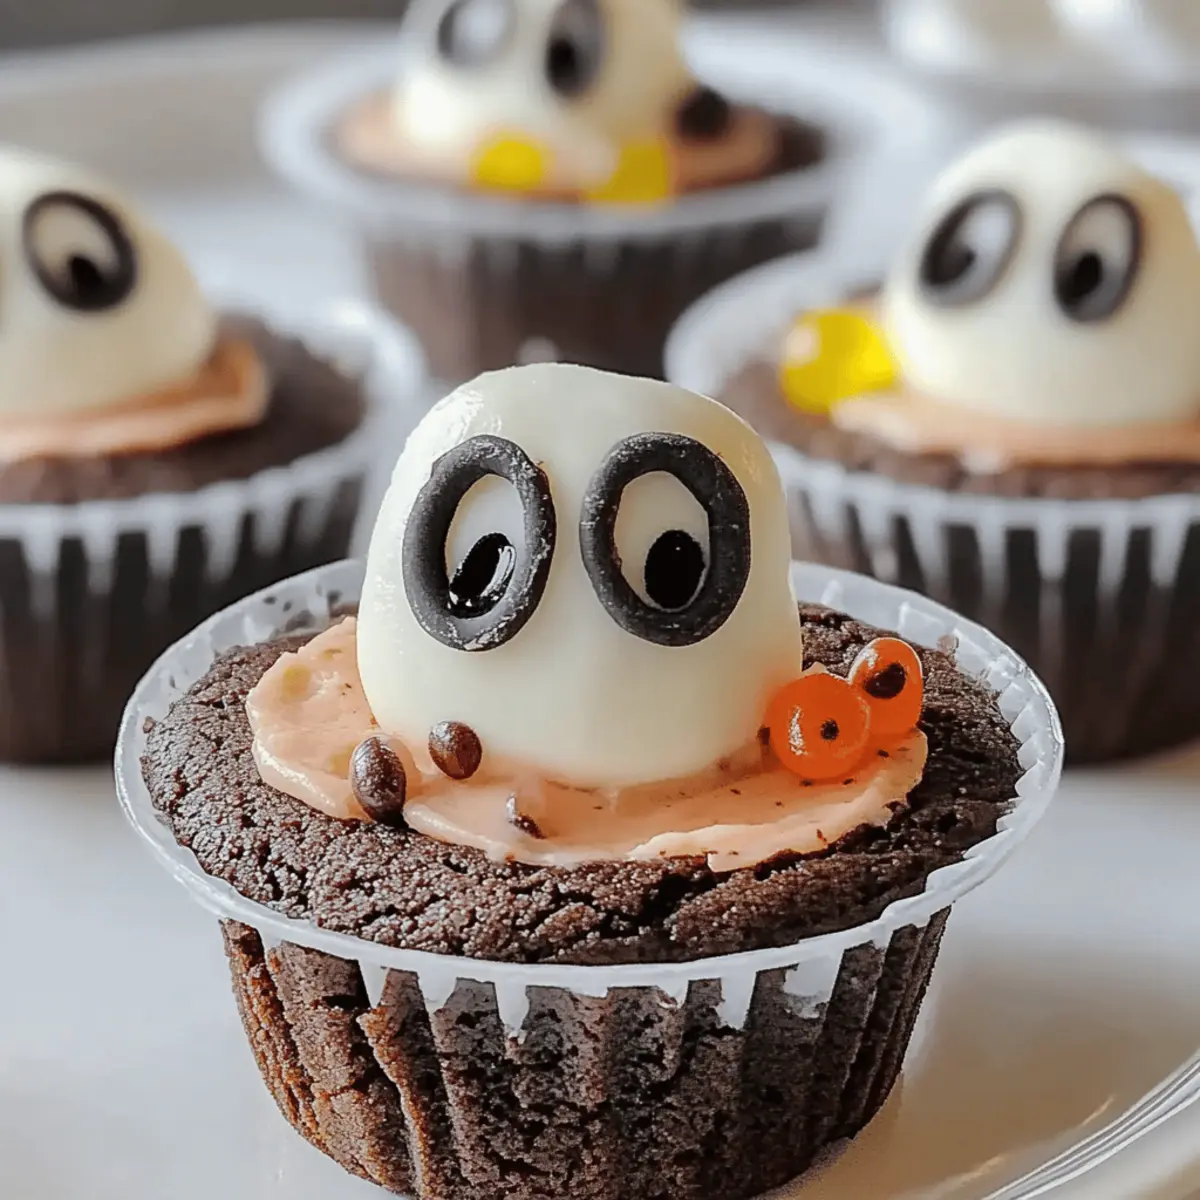
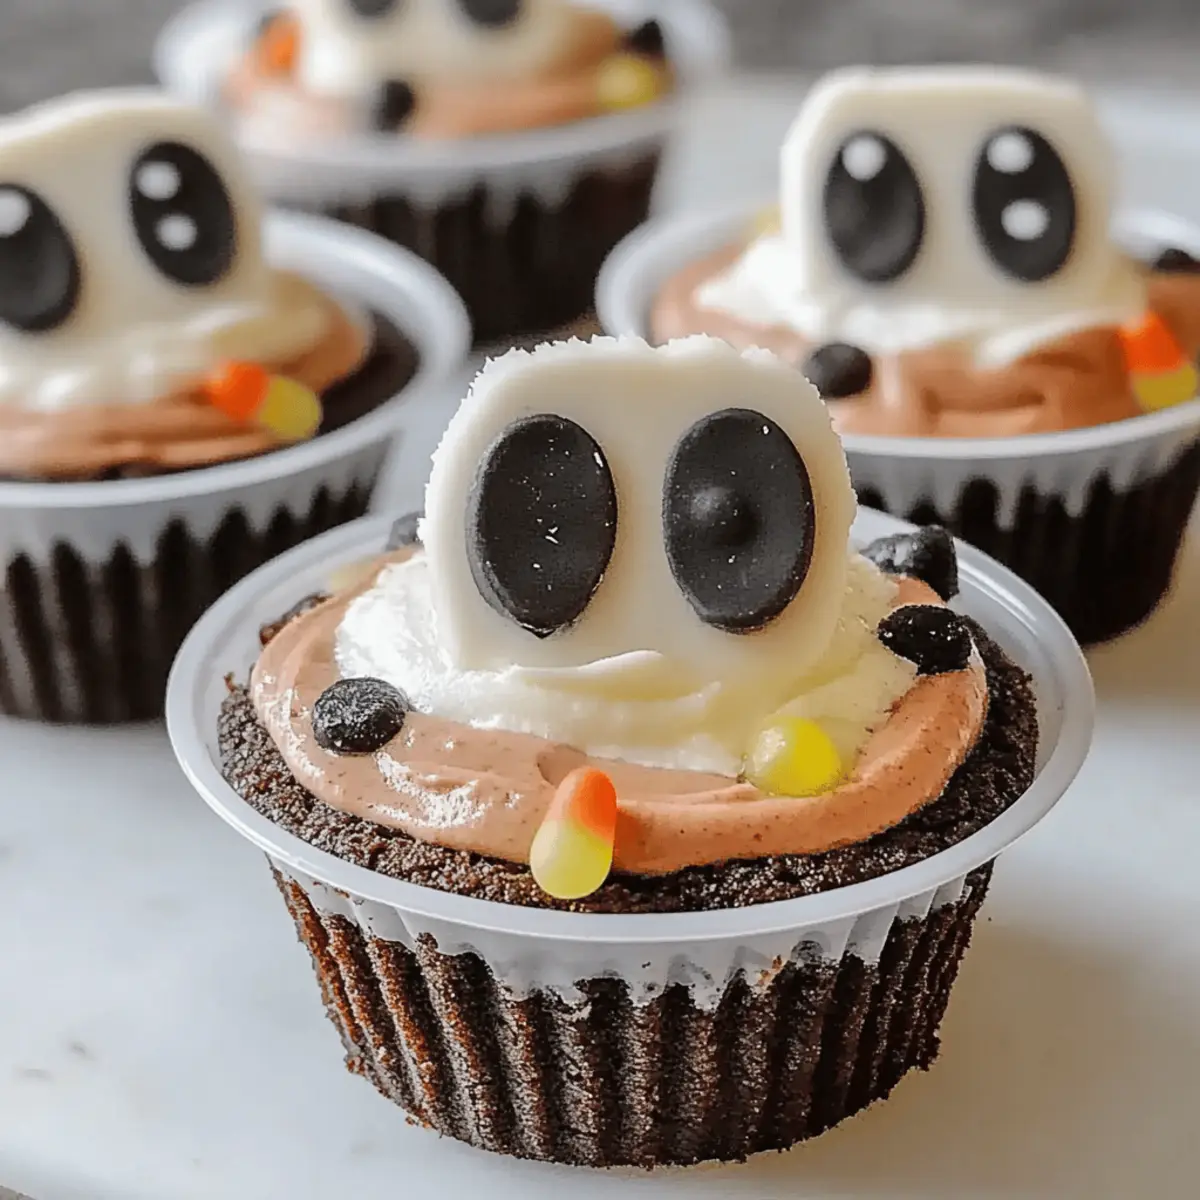
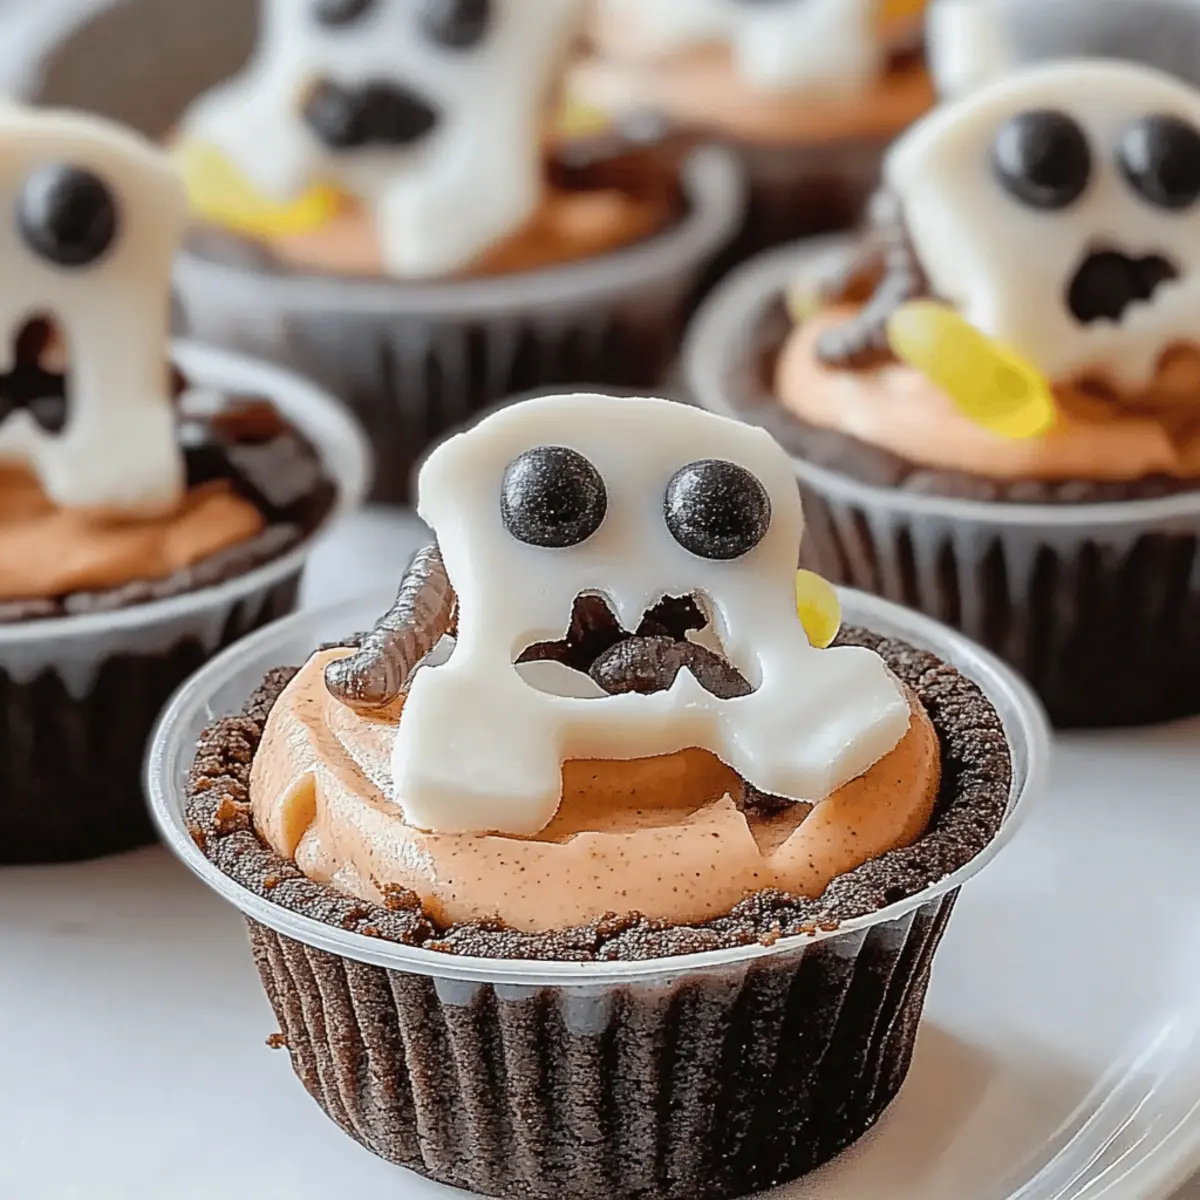
As the leaves turn vibrant shades of orange and gold, my kitchen begins to buzz with Halloween spirit. This year, I’m excited to whip up a batch of Spooky Graveyard Pudding Cookie Cups that are as delicious as they are playful. Imagine a comforting, soft chocolate cookie base cradling creamy vanilla pudding, topped with eerie gummy worms and whimsical candy eyeballs. Not only are these delightful treats a hit with kids, but they also make for a light-hearted dessert centerpiece at any Halloween gathering. Plus, they offer the flexibility to customize with your favorite pudding flavors and toppings to truly make them your own. Are you ready to add a touch of spooky charm to your dessert table? Let’s dive into the fun of making these hauntingly good cups together!
Why Are Graveyard Pudding Cookies So Fun?
Unique presentation: Everyone loves a dessert that’s not only tasty but also playful—these cookie cups resemble mini graveyards that invite creativity!
Customizable flavors: Feel free to switch up the pudding—think chocolate or butterscotch for a twist! You can even layer flavors for a marbled treat.
Kid-friendly: These are perfect for little hands, making them a fun project for family baking sessions or school Halloween parties.
Crowd-pleaser: Everyone, from kids to adults, will be drawn to these whimsical treats, sparking smiles at any gathering. Pair them with other festive desserts like Cauldron Cookies Spooky for a themed dessert spread!
Simple to assemble: The assembly is a blast! Just fill and top your cookie cups, making this a straightforward recipe anyone can succeed with. Enjoy your delicious creations!
Spooky Graveyard Pudding Cookie Cups Ingredients
For the Cookie Cups
• Chocolate Chip Cookie Dough – Provides the base structure and sweetness; opt for store-bought for a quick treat or make your own for a personal touch.
For the Pudding Filling
• Vanilla Pudding Mix – Offers creaminess and flavor; substitute with chocolate or butterscotch pudding for a spooky flavor twist.
• Whole Milk – Used to prepare the pudding mix, contributing to the rich creamy texture essential in our spooky Graveyard Pudding Cookie Cups recipe.
For the Decorations
• Gummy Worms – Fun, spooky decorations that add sweetness; you can swap these for other Halloween candies to enhance creativity.
• Candy Eyeballs – Playful toppings that embrace the Halloween theme; feel free to mix in sprinkles or other festive candies as desired.
Step‑by‑Step Instructions for Spooky Graveyard Pudding Cookie Cups Recipe for Halloween
Step 1: Preheat the Oven
Begin by preheating your oven to 350°F (175°C). While the oven warms up, take a muffin tin and line each cup with parchment paper to prevent sticking. This will help create the perfect base for your spooky Graveyard Pudding Cookie Cups, ensuring they come out easily once baked.
Step 2: Prepare Cookie Dough
Next, scoop tablespoon-sized dollops of your chocolate chip cookie dough and press them firmly into the lined muffin tin. Make sure to create a small well in the center of each cookie dough dollop; this will hold the pudding filling later. Continue pressing until all the cookie cups are formed and ready for baking.
Step 3: Bake the Cookie Cups
Place the muffin tin in your preheated oven and bake for 10-12 minutes. You’ll know they are done when they turn golden brown around the edges and are slightly soft in the center. Once baked, remove the tin from the oven and allow the cookie cups to cool completely in the tin to ensure they maintain their shape.
Step 4: Prepare the Pudding
While your cookie cups cool, whisk together the vanilla pudding mix and whole milk in a bowl according to the package instructions. Keep whisking until the mixture thickens to a creamy consistency. This thickened pudding is the delightful filling for your spooky Graveyard Pudding Cookie Cups and adds that essential creaminess.
Step 5: Fill the Cookie Cups
Once your cookie cups are completely cooled, carefully fill each cup with the thickened vanilla pudding. Use a spoon or piping bag to heap the pudding slightly above the edges of the cookie for that spooky effect. The creamy pudding against the soft cookies creates an inviting contrast that everyone will love.
Step 6: Decorate Your Cups
For the final touch, decorate each filled cookie cup just before serving. Place gummy worms and candy eyeballs on top of the pudding, using your imagination for arrangements to create playful graveyard scenes. This step adds the whimsical and festive flair that makes your Spooky Graveyard Pudding Cookie Cups truly special for Halloween.
Make Ahead Options
These Spooky Graveyard Pudding Cookie Cups are perfect for meal prep, saving you time for all your Halloween festivities! You can prepare the chocolate chip cookie cups up to 24 hours in advance; simply bake them, let them cool completely, and store them in an airtight container at room temperature. The vanilla pudding can also be made up to 2 days prior; whisk it together, cover it tightly, and refrigerate to keep it fresh and creamy. When you’re ready to serve, just fill the cooled cookie cups with pudding, then top them with gummy worms and candy eyeballs for a fun and festive touch. This prep-ahead method ensures your treats are just as delightful while allowing you to enjoy more time with family and friends!
Storage Tips for Spooky Graveyard Pudding Cookie Cups
Fridge: Store your spooky Graveyard Pudding Cookie Cups in an airtight container in the refrigerator for up to 3 days to maintain freshness and flavor.
Freezer: These cookie cups can be frozen without the pudding for up to a month. Once ready to serve, simply thaw and fill with pudding.
Reheating: If you prefer a softer cookie, warm the filled cookie cups in the microwave for about 10-15 seconds right before serving.
Assembly Tip: For the best texture, fill the cookie cups with pudding right before serving to keep cookies crisp and enhance your Halloween experience!
What to Serve with Spooky Graveyard Pudding Cookie Cups Recipe for Halloween
These delightfully eerie treats are perfect for spicing up your Halloween table, adding spooky charm and whimsical flavors.
-
Crispy Pumpkin Wedges: These oven-roasted pumpkin wedges provide a warm, sweet contrast while keeping the fall theme alive. Drizzle with maple syrup for extra yum!
-
Fresh Apple Cider: The crisp, refreshing taste of apple cider complements the sweetness of the cookie cups, creating a delightful beverage pairing that evokes fall festivities.
-
Ghostly Marshmallow Pops: These fun, edible ghost pops add a playful element to your spread. Easy to make and rich in nostalgic flavors, they invite creativity and smiles.
-
Charcuterie Board: Assemble a fun charcuterie board with assorted cheeses, crackers, and seasonal fruits. This savory addition balances the sweetness of your dessert while inviting guests to nibble.
-
Chocolate Milkshakes: Rich, creamy chocolate milkshakes bring an indulgent, festive finish to your Halloween gathering, perfectly echoing the chocolatey goodness of the cookie cups.
-
Halloween-themed Cupcakes: Bright, colorful cupcakes topped with spooky decorations create a visually appealing dessert spread that mirrors the playful presentation of the pudding cups.
Try these pairings to create a spooky yet inviting atmosphere, turning your Halloween gathering into a delightful experience for all!
Spooky Graveyard Pudding Cookie Cups Variations
Feel free to get creative and customize these delightful treats to match your family’s tastes and preferences!
-
Chocolate Pudding: Replace vanilla pudding with chocolate for a rich, decadent twist that chocolate lovers will adore.
When you go chocolate, think about pairing it with some chocolate sprinkles on top for that extra indulgence! -
Butterscotch Delight: Switch out the vanilla pudding for butterscotch for a sweet, buttery flavor.
This choice adds a nostalgic taste reminiscent of autumn treats, perfect for evoking warm memories as you enjoy each bite. -
Layered Flavors: Combine different pudding flavors in one cup to create a striking marbled effect.
Imagine the surprise of a guest as they dig into a cup and discover a dual-flavor delight! -
Gummy Candy Swap: Instead of gummy worms, use candy corn or spooky mini marshmallows as toppings.
This variation introduces vibrant colors and flavors, perfect for a dynamic dessert table at your Halloween gathering! -
Nutty Crunch: Sprinkle chopped nuts or granola on top of the pudding for added texture and crunch.
The contrast between the creamy filling and the crunchiness will bring a unique depth to every taste experience! -
Fruit Topping: Fresh raspberries or sliced bananas can add a fruity twist that balances the sweetness.
Not only do they enhance the flavor, but they also add a refreshing visual appeal to these spooky cups! -
Adjust the Heat: For a fun challenge, add a pinch of cayenne pepper to the pudding mix for an unexpected heat kick.
This fiery twist will surprise your friends—or you can scale it back to make it kid-friendly if desired! -
Crushed Cookies as Dirt: For the ultimate Halloween aesthetic, use crushed chocolate cookies or graham crackers on top for a “dirt” look.
This not only enhances the theme but also adds a delicious crunch that everyone will enjoy!
Once you’ve adventured through these variations, don’t forget to pair your spooky creations with other festive favorites like Monster Cookie Fudgy Brownies for an unforgettable Halloween dessert spread!
Expert Tips for Spooky Graveyard Pudding Cookie Cups
• Cool Completely: Be sure to let the cookie cups cool thoroughly before filling. This prevents melting and ensures your pudding stays perfect.
• Fill Just Before Serving: For the best texture, fill the cookie cups with pudding right before serving. This keeps the cookies crisp and delightful!
• Get Creative: Don’t hesitate to experiment! Use various toppings beyond gummy worms and candy eyeballs—think crushed cookies or colorful sprinkles for added flair.
• Layer Flavors: Mix and match pudding flavors for a marbled surprise inside each cup. Chocolate or butterscotch add a delicious twist to your spooky Graveyard Pudding Cookie Cups recipe.
• Storing Tips: If you need to store leftovers, keep them in an airtight container in the fridge for up to three days. For a soft treat, warm slightly in the microwave before serving.
Spooky Graveyard Pudding Cookie Cups Recipe FAQs
How do I choose ripe ingredients for this recipe?
Absolutely! For the chocolate chip cookie dough, look for a brand that uses high-quality chocolate chips for the best flavor. If you opt to make it from scratch, use fresh ingredients (like eggs and butter) for the best results. If you’re swapping the pudding flavors, a good rule of thumb is to stick to mixes with no visible lumps—this ensures a smooth pudding.
What is the best way to store leftover cookie cups?
Very good question! Keep your Spooky Graveyard Pudding Cookie Cups in an airtight container in the refrigerator for up to 3 days. This will help preserve their freshness and texture. If stored properly, the cookie cups can hold onto their delightful taste without losing their charm.
Can I freeze the cookie cups?
Yes, you can! To freeze your cookie cups, simply bake them without filling first. Allow them to cool completely, then place them in an airtight container or freezer bag, where they’ll remain good for up to 1 month. When you’re ready to enjoy them, simply thaw overnight in the fridge and fill them with pudding just before serving!
What should I do if my pudding mixture doesn’t thicken?
No need to worry! If your pudding isn’t thickening, make sure you whisk it for the full time specified on the packaging, usually about 2 minutes. If it still seems runny, you can place it in the fridge for about 10-15 minutes to help it set. Just ensure to give it a good stir before filling your cookie cups!
Are these cookie cups suitable for kids with allergies?
Great consideration! The cookie cups can easily be made allergy-friendly. You can use gluten-free cookie dough or alternative pudding mixes, such as almond or coconut-based puddings, to accommodate dietary restrictions. Always double-check the labels for potential allergens, especially if they’re for children.
How far in advance can I make these for a party?
I recommend assembling the cup bases a day ahead of your event. You can store them in an airtight container. However, leave the filling for just before your gathering to keep the cookies from becoming soft. This way, everyone gets to enjoy the delightful crunch of the cookie with the creamy filling while maintaining the festive flair you’ve created!
Spooky Graveyard Pudding Cookie Cups Recipe for Halloween Fun
Ingredients
Equipment
Method
- Preheat your oven to 350°F (175°C) and line a muffin tin with parchment paper.
- Scoop tablespoon-sized dollops of chocolate chip cookie dough into the muffin tin and create a small well in each.
- Bake the cookie cups for 10-12 minutes until golden brown around the edges.
- Whisk together the vanilla pudding mix and whole milk according to package instructions until thickened.
- Fill each cooled cookie cup with the thickened vanilla pudding.
- Decorate with gummy worms and candy eyeballs before serving.
Leave a Reply