
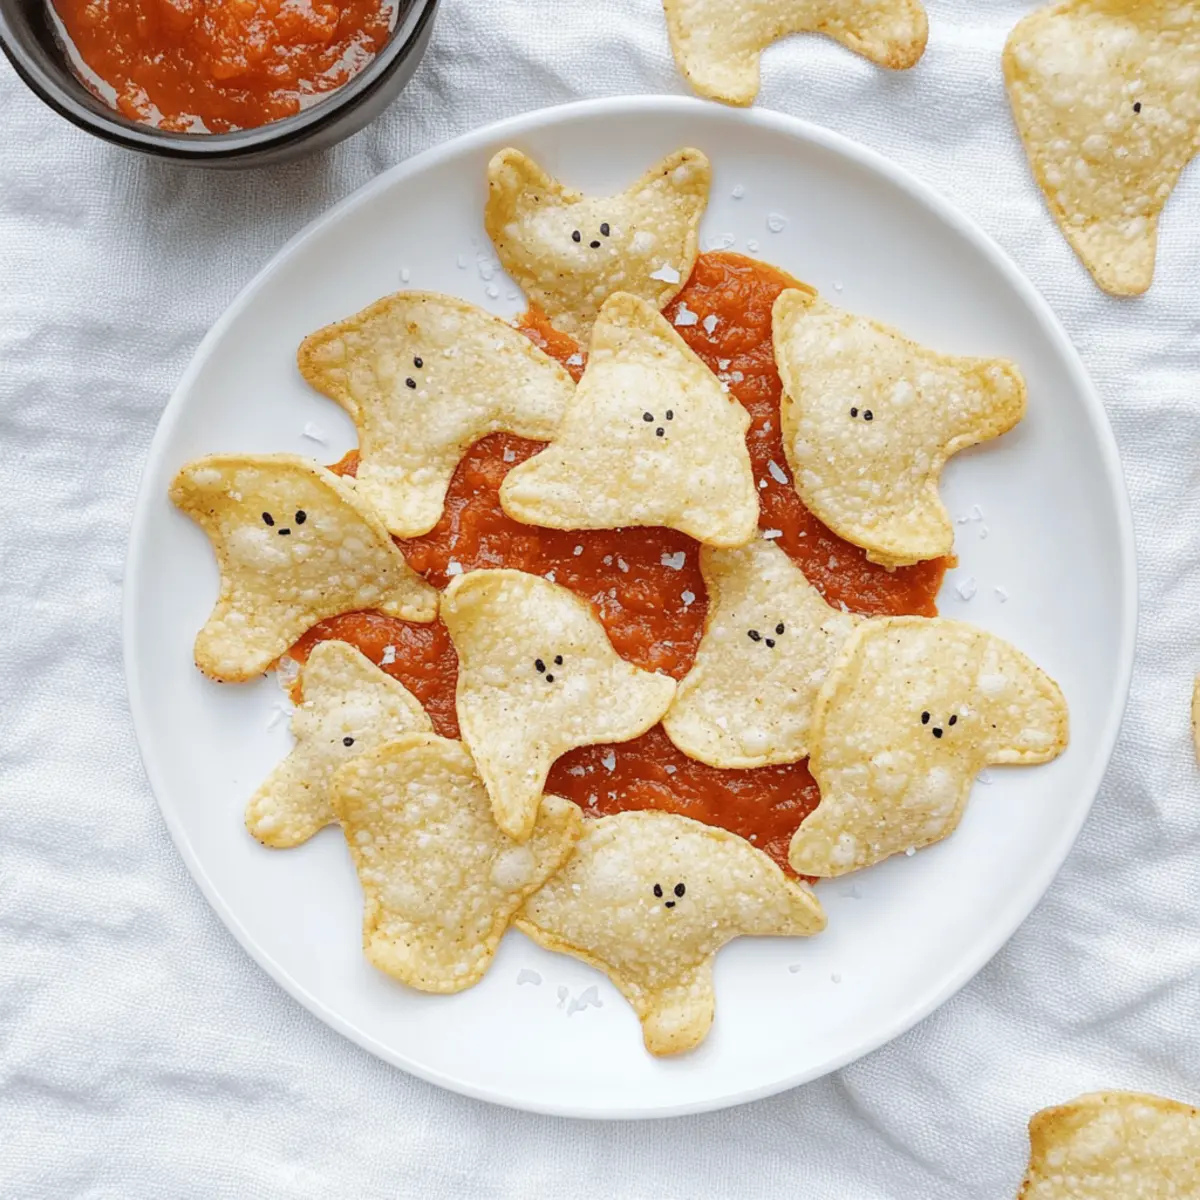
As I stood in my kitchen, the aroma of freshly baked snacks wafted in the air, and a playful idea struck me—why not make some Spooky Baked Halloween Chips? With just three simple ingredients and a mere 15 minutes of prep time, these ghostly delights are the perfect addition to your Halloween festivities. Not only are they gluten-free, allowing everyone to enjoy their crunchiness, but the light and crispy texture makes them an ideal pairing with a variety of delicious dips. Whether you’re hosting a haunted gathering or just looking to add a fun twist to your snack game, these adorable chips will win over the hearts of both kids and adults alike. So, are you ready to get your spook on and create a treat that will leave everyone asking for more?
Why Are These Chips a Must-Make?
Quick and Easy: In just 15 minutes, you can create a delicious snack that delights both young and old. Gluten-Free Wonder: These chips cater to dietary needs without sacrificing taste, ensuring everyone can join the fun. Three Ingredients: So simple! Just tortillas, oil, and salt, making them a no-fuss treat. Versatile Pairings: Perfect with themed dips like guacamole or salsa, they can elevate any Halloween spread. Fun Shapes: Use your favorite cookie cutters for a playful presentation that adds to the festive spirit. Transform snacking this Halloween into a spooky, crunchy adventure!
Spooky Baked Halloween Chips Ingredients
For the Chips
• Tortillas – The base for your spooky chips; choose gluten-free tortillas, like Mission or Siete, for a delightful twist.
• Avocado Oil or Olive Oil – This adds delicious flavor and helps the chips crisp up beautifully.
• Salt – Essential for enhancing flavor; adjust to your liking for the perfect taste.
Optional Add-Ins
• Spices – Experiment with spices like paprika or garlic powder mixed with the oil for an extra kick of flavor.
• Themed Dips – Pair with festive dips like guacamole or salsa to make your snack table even more inviting!
These Spooky Baked Halloween Chips are not just fun but also a simple and scrumptious way to celebrate Halloween with the family!
Step‑by‑Step Instructions for Spooky Baked Halloween Chips
Step 1: Preheat Your Oven
Begin by preheating your oven to 350°F (175°C). This ensures that your Spooky Baked Halloween Chips will bake evenly, resulting in perfectly crispy treats. As the oven warms up, gather your ingredients and baking sheet—keeping everything organized will make the process smooth and enjoyable.
Step 2: Shape the Tortillas
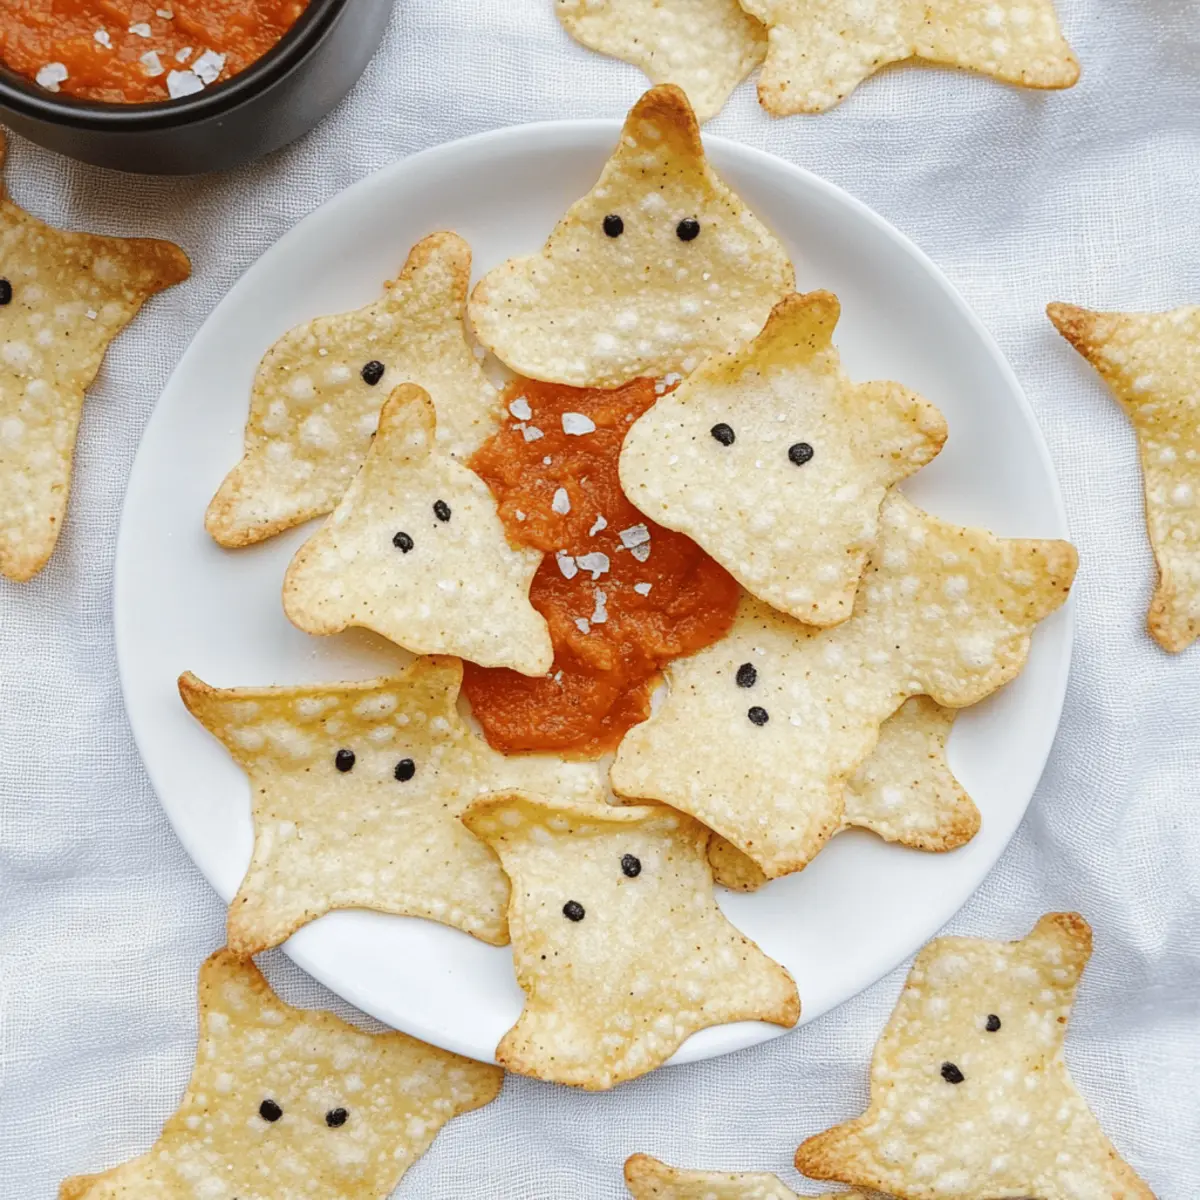
Next, take your tortillas and use a ghost-shaped cookie cutter to cut out delightful ghost forms. If you don’t have a ghost cutter, feel free to get creative with any festive shapes! As you cut, keep an eye on the scraps; you can reuse them by baking them as crunchy snack bits, reducing waste and enhancing your chip game.
Step 3: Oil the Chips
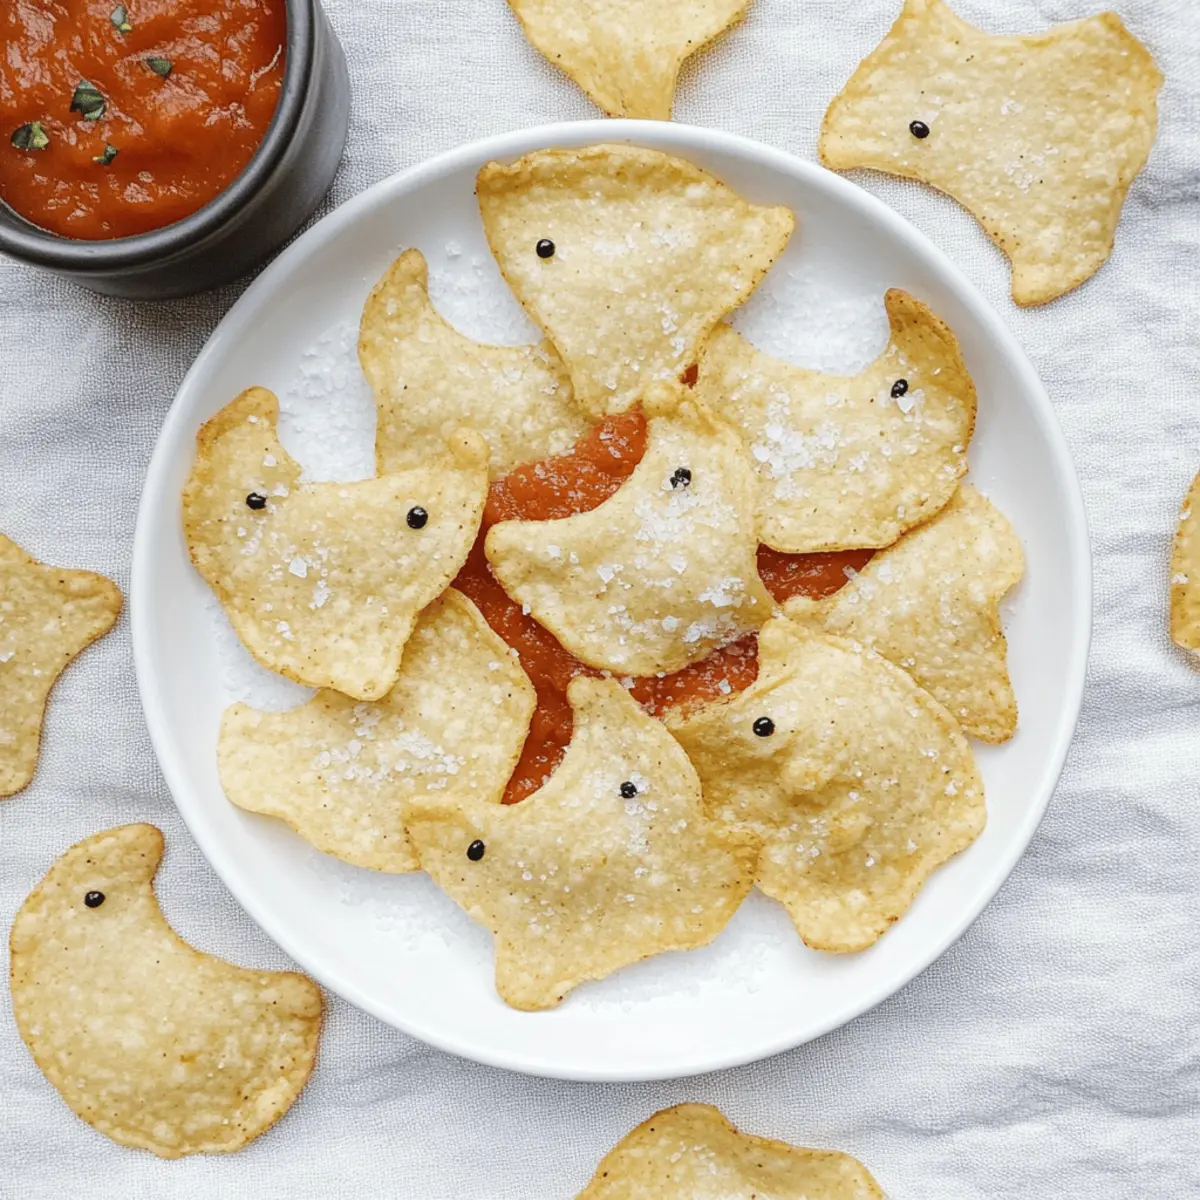
Lightly brush or spray both sides of each ghost-shaped chip with avocado oil or olive oil, ensuring a flavorful and crispy finish. The oil helps the chips cook to a golden perfection while adding a delightful taste. Take your time to coat each one evenly, allowing the oil to enhance the flavors of your Spooky Baked Halloween Chips beautifully.
Step 4: Season to Taste
Once all the chips are oiled, sprinkle salt on both sides according to your preference. This step is crucial for elevating the flavors of your spooky snacks. Don’t hesitate to get creative with your seasonings, perhaps adding a dash of garlic powder or paprika for an extra kick—these will add to the fun!
Step 5: Prepare for Baking
Lay the seasoned chips flat on a baking sheet in a single layer. This spacing is vital for ensuring that each chip cooks evenly and becomes delightfully crispy. Make sure they aren’t overlapping, as this will help the heat circulate around each one, perfecting your Spooky Baked Halloween Chips.
Step 6: Bake and Watch Closely
Slide the baking sheet into the preheated oven and bake for about 5-7 minutes. Keep a watchful eye on your chips during this time; you want them to turn a light golden color without burning. The aroma wafting through your kitchen will let you know they’re on their way to becoming a crunchy snack!
Step 7: Cool Before Serving
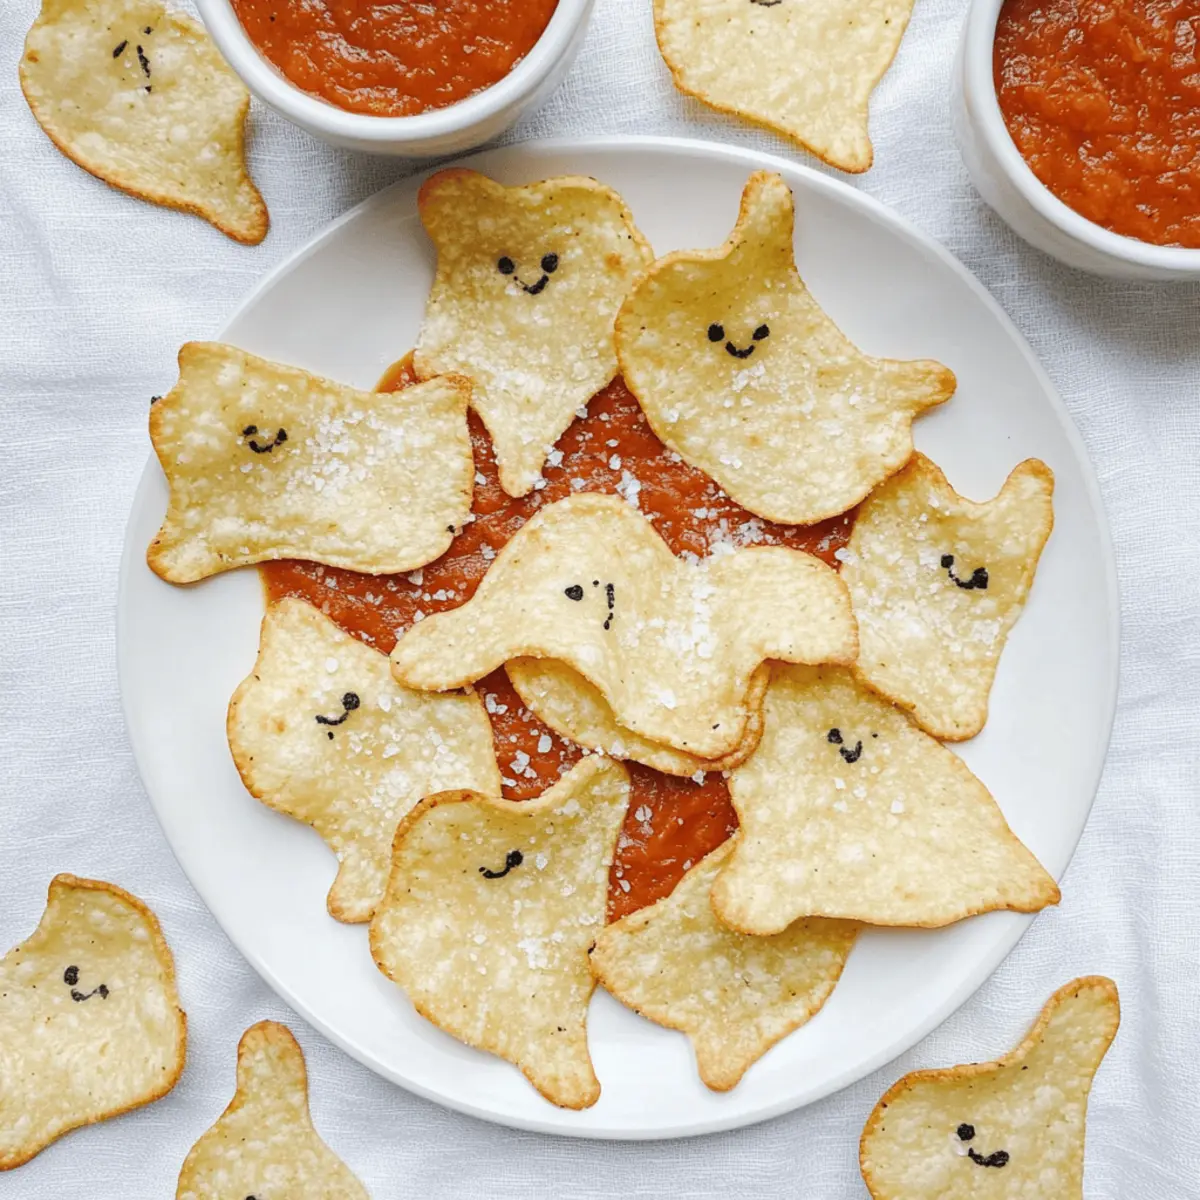
Once baked to perfection, remove the chips from the oven and let them cool slightly on the baking sheet. This cooling period is important as it allows them to crisp up even more. After a few minutes, transfer your Spooky Baked Halloween Chips to a serving plate and get ready to enjoy this whimsical snack!
Expert Tips for Spooky Baked Halloween Chips
• Watch Closely: Keep a vigilant eye on your chips while baking to avoid any burning. They can go from perfectly golden to charred in seconds!
• Utilize Scraps: Don’t toss out leftover tortilla scraps. Bake them with the same method for delicious crunchy bits that can enhance soups or salads.
• Shape Variety: Experiment with different cookie cutter shapes to create an assortment of charming chips! This will add a festive flair to your Spooky Baked Halloween Chips.
• Oil Application: A light coat of oil is essential for achieving crispiness. Use a spray or brush to ensure even coverage—this also prevents sogginess.
• Seasoning Fun: Play around with additional spices like paprika or chili powder during the oil application for extra flavor. This will make your chips irresistibly tasty!
Make Ahead Options
These Spooky Baked Halloween Chips are a fantastic choice for busy home cooks who want to save time during the Halloween rush! You can cut the tortilla shapes up to 24 hours in advance and store them in an airtight container to keep them fresh. To maintain their quality, make sure to layer parchment paper between the tortilla shapes to prevent sticking. When you’re ready to bake, simply brush the pre-cut shapes with oil, sprinkle with salt, and follow the baking instructions. This allows for quick assembly and ensures you enjoy your spooky snacks without the last-minute hassle, all while keeping them just as delicious!
Spooky Baked Halloween Chips Variations
Feel free to get creative with this recipe and adapt it to suit your tastebuds; the possibilities are as exciting as Halloween itself!
-
Spice It Up: Mix in garlic powder or paprika with the oil for a delicious flavor boost that will make your chips truly pop.
Your guests will be raving about how the added spices make these chips come alive with vibrant taste! -
Herb-Infused: Add dried herbs like oregano or rosemary to the oil before brushing it on the chips for a fresh, aromatic twist.
This will bring a lovely fragrance to your kitchen, making the whole experience feel even more magical. -
Cheesy Delight: Sprinkle some nutritional yeast or grated cheese on top of the chips right before baking for a cheesy flavor.
This variation transforms your spooky treats into a savory snack that’s hard to resist! -
Nacho Vibes: Top the chips with nacho cheese sauce after baking for a indulgent twist, perfect for parties.
Pair with some jalapeños for those who love a little heat; you can adjust the spice level to your preference. -
Sweet Halloween Treat: Dust the chips with cinnamon and sugar for a sweet version perfect for dessert.
Serve with a side of caramel sauce for dipping, and watch everyone delight in this unexpected treat! -
Dippable Fun: Prepare themed dips like pumpkin hummus or spicy salsa; these will elevate your chips to another level of enjoyment.
A dip can turn your crunchy chips into a feast that sparks conversations at any Halloween gathering. -
Vegetable Boost: Use spinach or beet tortillas for added nutrition and a splash of color in your spooky chips.
This not only enhances the visual appeal but also makes them a healthier option while keeping the festive vibe intact. -
Baked Pumpkin Flavors: Consider pairing your chips with a baked pumpkin dip as seen in Baked Pumpkin Goat for a truly seasonal treat.
The sweetness of the pumpkin and the savory crunch of the chips create an irresistible combination!
With these variations, your Spooky Baked Halloween Chips will transform into a customizable treat that delights everyone at your Halloween festivities! Enjoy the creative process, and happy baking!
What to Serve with Spooky Baked Halloween Chips
Elevate your Halloween festivities with delightful accompaniments that make snacking even more enjoyable!
- Guacamole: The creamy, rich texture of fresh guacamole perfectly contrasts the crispy chips, amplifying that avocado flavor everyone loves.
- Salsa: A zesty and refreshing option, salsa adds a burst of flavor and color, making your spooky snack platter visually enticing.
Delight your guests with a rich and vibrant selection of dips, ensuring that every bite of your ghostly chips is a flavor-packed experience.
-
Pumpkin Chili: This hearty, spiced soup pairs wonderfully with the chips, offering a warm, autumnal touch that’s perfect for Halloween gatherings.
-
Creamy Spinach Dip: Rich in flavor and perfectly smooth, this dip complements the crispiness of the chips, creating a satisfying snack balance.
When hosting a haunted gathering, don’t forget to have themed drinks like a spooky pumpkin punch or a fresh apple cider for a festive touch!
How to Store and Freeze Spooky Baked Halloween Chips
Airtight Container: Store leftover spooky chips in an airtight container at room temperature for up to 1-2 days to maintain their crunchiness.
Avoid Refrigeration: Do not refrigerate the chips, as this can cause them to become soggy and lose their delightful texture.
Freezing: If needed, freeze the chips in a single layer on a baking sheet for 1-2 hours, then transfer to a freezer-safe bag. They can be frozen for up to 1 month.
Reheating: For the best results, reheat in a preheated oven at 350°F (175°C) for about 5 minutes to restore their crispiness before serving your Spooky Baked Halloween Chips.
Spooky Baked Halloween Chips Recipe FAQs
What tortillas should I use for the chips?
Absolutely! You can use either flour or corn tortillas to make your spooky chips. If you’re looking for a gluten-free option, I recommend gluten-free tortillas from brands like Mission or Siete. They maintain great flavor and texture while being suitable for those with dietary restrictions.
How should I store leftover chips?
For optimal freshness, store your leftover spooky chips in an airtight container at room temperature for up to 1-2 days. This helps maintain their delightful crunch. Be sure to avoid refrigeration, as it can make the chips soggy and lessen their perfect texture.
Can I freeze Spooky Baked Halloween Chips?
Yes, you can freeze your spooky chips! To do this, first, lay them out in a single layer on a baking sheet and freeze for about 1-2 hours until they’re firm. Then, transfer them to a freezer-safe bag or container. They’ll stay fresh in the freezer for up to 1 month. When you’re ready to enjoy them again, simply reheat in a preheated oven at 350°F (175°C) for about 5 minutes to restore their crispiness.
What should I do if my chips burn while baking?
If your spooky chips burn, it’s usually because they were left in the oven too long or the temperature was too high. Next time, keep a watchful eye on them, especially after the 5-minute mark. Baking times can vary depending on the oven, so check for that lovely golden color rather than relying solely on time. If you’re concerned, bake a small batch first until you’re familiar with how your oven performs.
Are these chips safe for pets?
No, while the ingredients in Spooky Baked Halloween Chips are generally safe for humans, they may not be suitable for pets, especially the oils and added salt. It’s best to keep these treats just for our human friends during Halloween festivities.
Spooky Baked Halloween Chips: Quick, Crispy Fun for All
Ingredients
Equipment
Method
- Preheat your oven to 350°F (175°C).
- Use a cookie cutter to cut tortillas into fun shapes.
- Brush or spray both sides of each tortilla chip with oil.
- Sprinkle salt on both sides to taste.
- Lay the chips flat on a baking sheet in a single layer.
- Bake for 5-7 minutes until golden, watching closely.
- Let the chips cool slightly before serving.
Leave a Reply