
As I rummaged through my pantry, I stumbled upon a can of pumpkin puree, and an idea sparked like a warm autumn fire. What better way to embrace fall than with these Healthy Pumpkin Protein Balls? Packed with wholesome ingredients like sweet dates and creamy almond butter, these gluten-free snacks blend nutrition with comfort in every bite. They’re not just quick to prepare, making them perfect for meal prep, but are also a delightful guilt-free treat to power you through those busy days. Imagine enjoying a filling, protein-packed boost that’s as good for your taste buds as it is for your body. Why settle for fast food when you can whip up something so easy and delicious? Curious how to get started? Let’s dive into this delightful recipe together!
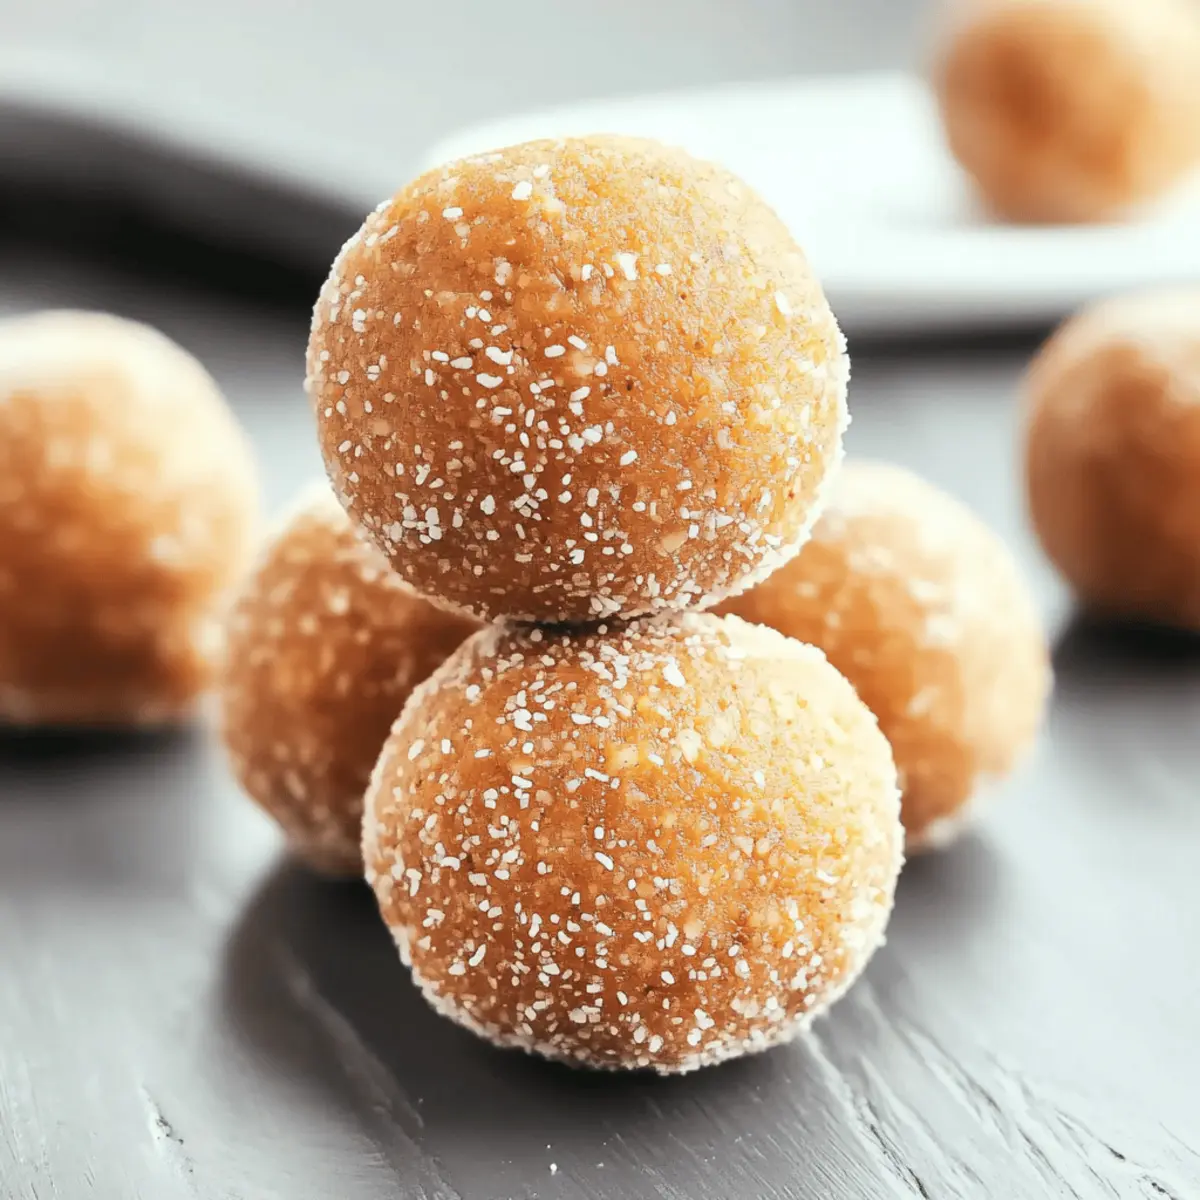
Why Make Pumpkin Protein Balls?
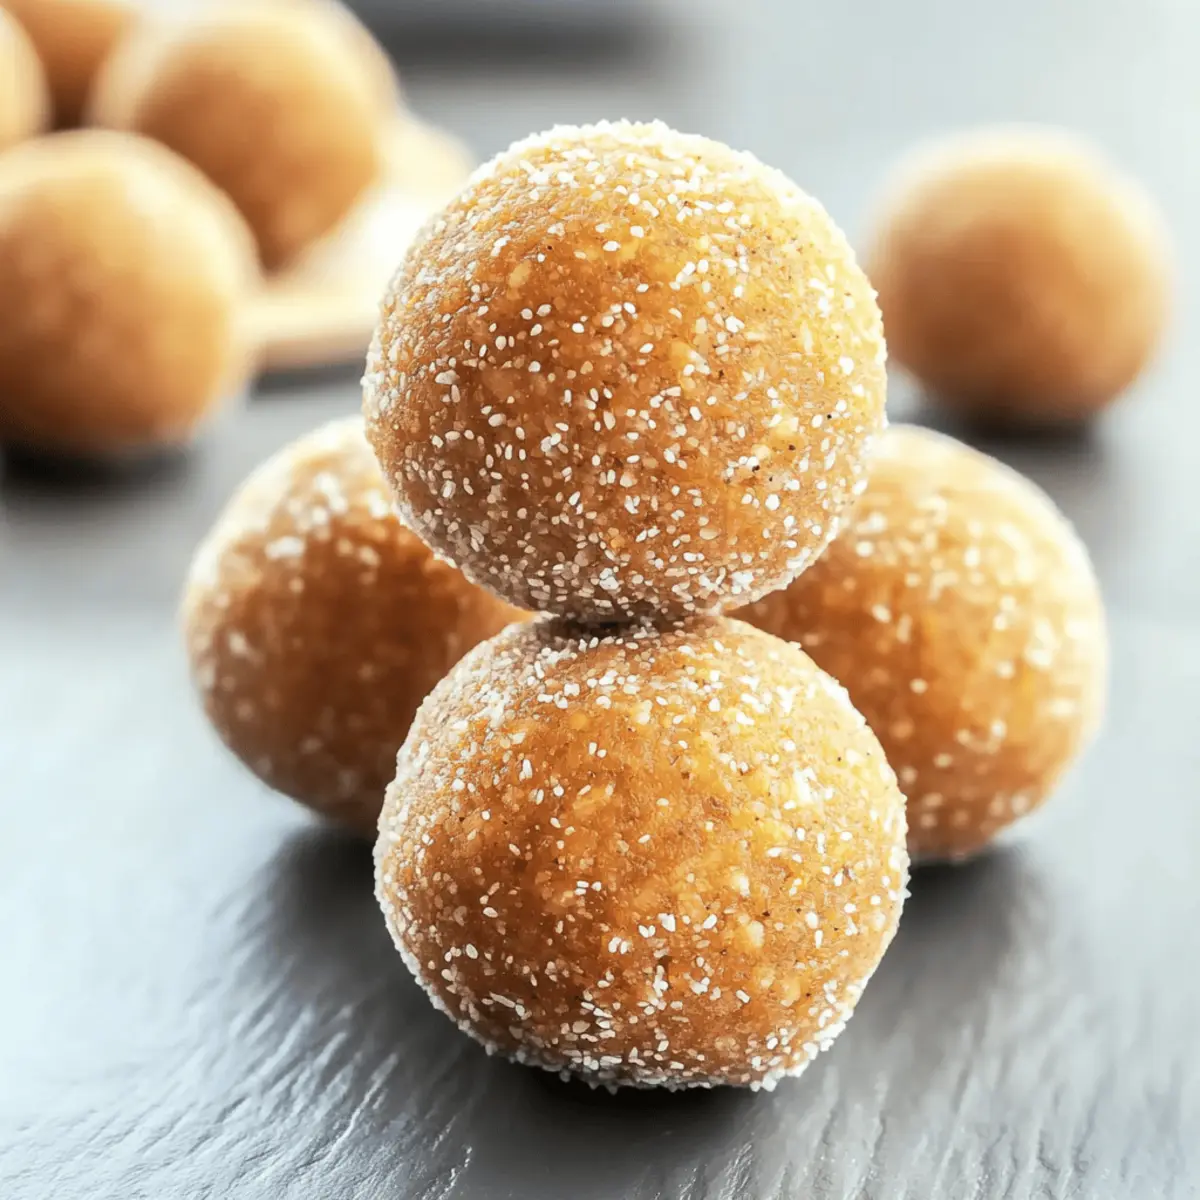
Fueling your day: These Pumpkin Protein Balls are a fantastic way to energize your busy schedule. Packed with wholesome ingredients, they offer a delightful mix of sweetness and spice.
Versatile goodness: Customize them with your favorite nut butter or chocolate chips for a flavor twist!
Quick & easy: With minimal prep and just a few simple ingredients, they come together in no time—perfect for busy lifestyles.
Guilt-free indulgence: Each bite is delicious and healthy, making snacking a joy rather than a guilt trip.
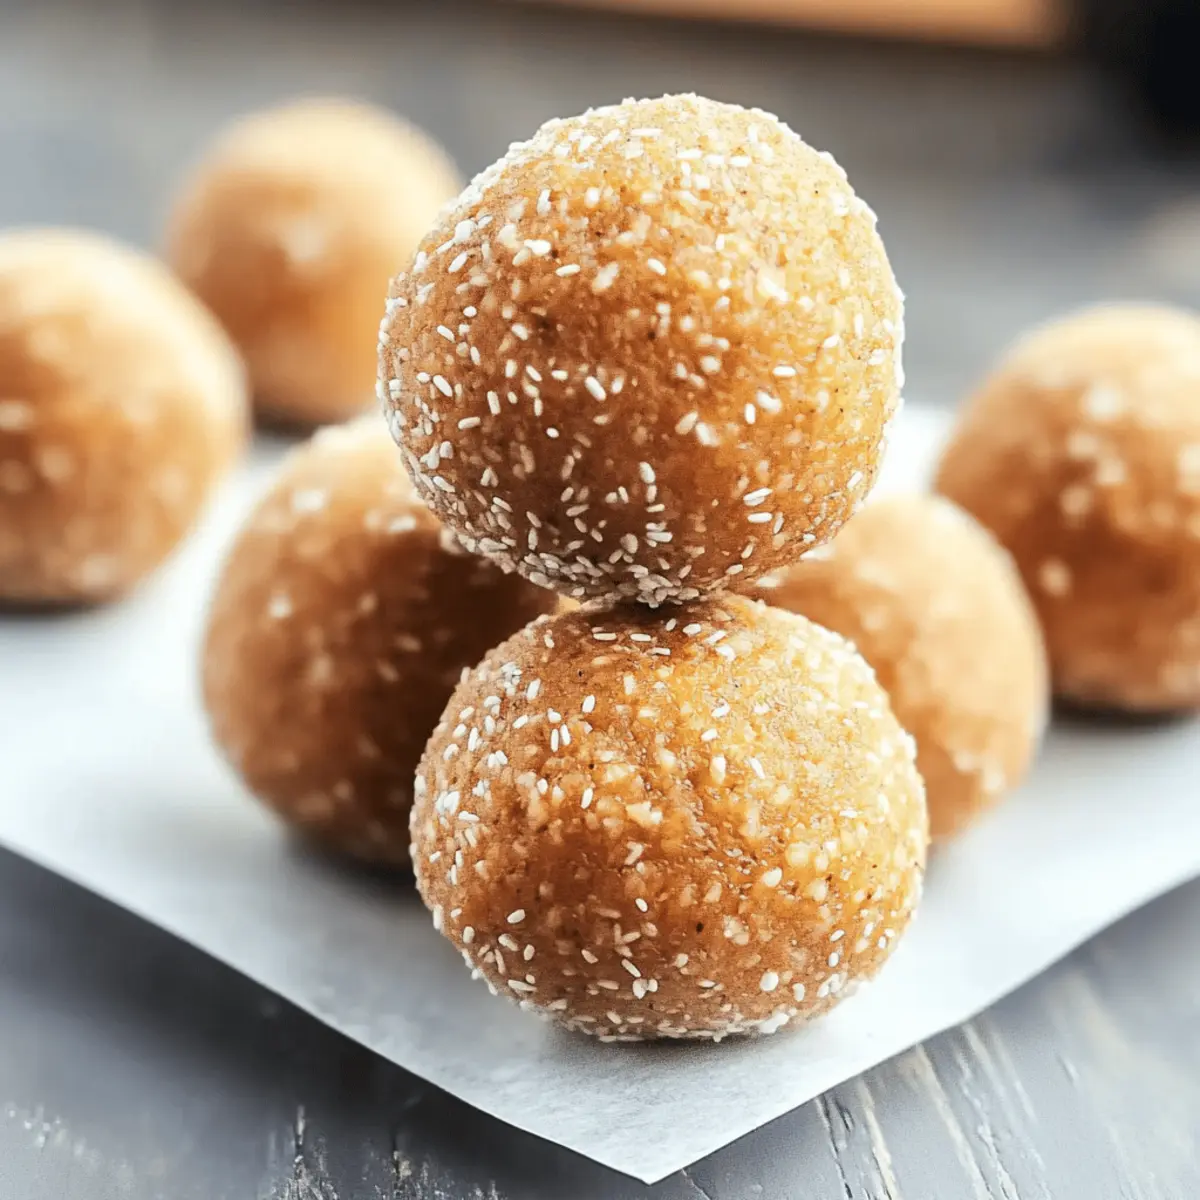
Crowd-pleaser: Great for sharing during fall gatherings, pairing beautifully with your morning coffee or a cozy afternoon tea. Try out these High Protein Cottage or serve alongside some Pumpkin Snickerdoodles Fall for a festive touch!
Pumpkin Protein Balls Ingredients
For the Base
- Canned Pumpkin Puree – Provides moisture and rich pumpkin flavor; ensure it’s pure pumpkin, not pie filling.
- Dates – Adds natural sweetness and chewiness; can substitute with dried figs or prunes for varied sweetness.
- Rolled Oats – Serves as the base structure and fiber; use gluten-free oats for a gluten-sensitive option.
For the Binding & Flavor
- Chia Seeds – Provides added nutrition and binding; ground flaxseed can be used as a substitute.
- Protein Powder – Boosts protein content; opt for unflavored or naturally sweetened varieties to keep it healthy.
- Almond Butter – Adds creaminess and extra protein; feel free to use any nut or seed butter as alternatives.
- Maple Syrup – Acts as a sweetener that complements the other flavors; honey or agave nectar can replace it if needed.
- Ground Cinnamon – Enhances the flavor with warm spice notes; consider adding nutmeg or pumpkin spice for variety.
For Texture
- Coconut Flour – Contributes to texture; substitute with more oats if unavailable, especially if you’re making those delightful Pumpkin Protein Balls!
Step‑by‑Step Instructions for Pumpkin Protein Balls
Step 1: Combine Dry Ingredients
In a large mixing bowl, whisk together the rolled oats, coconut flour, and protein powder until well blended. This dry mixture will form the foundation of your Pumpkin Protein Balls, so take a moment to ensure there are no clumps. It typically takes about 2-3 minutes to get a smooth mixture, providing you with a base for the next steps.
Step 2: Mix Wet Ingredients
Add the canned pumpkin puree, chopped dates, chia seeds, almond butter, maple syrup, and ground cinnamon to the dry mixture. Using a spatula or wooden spoon, stir everything together until fully combined. The mixture will be sticky but should start to bind well. This process should take about 4-5 minutes, ensuring a harmonious blend of flavors before moving on.
Step 3: Adjust Consistency
Check the texture of the mixture; if it feels too dry and crumbly, gradually add a splash of milk or water, mixing well after each addition until it becomes easily moldable. You want it to hold together without being overly wet. This important step usually takes an additional 2-3 minutes, and it enables your Pumpkin Protein Balls to form perfectly.
Step 4: Chill the Mixture
Cover the bowl with plastic wrap or a clean kitchen towel and place it in the fridge for 15-20 minutes. Chilling the mixture will make it firmer and easier to shape into balls later. As it cools, it will become less sticky, allowing for better handling when forming your delightful Pumpkin Protein Balls.
Step 5: Form the Balls
Once chilled, take the mixture out of the fridge. With slightly damp hands to prevent sticking, scoop out small portions and roll them into 1-inch balls. Place the formed balls on a parchment-lined plate. This step is key to achieving that perfect bite-sized shape for your Pumpkin Protein Balls and should take about 10 minutes.
Step 6: Final Chill
After all the balls are shaped, return the plate to the fridge for an additional 30 minutes. This final chilling session allows them to firm up, making them easier to handle and enhancing their overall texture. As they chill, the flavors of your Pumpkin Protein Balls meld beautifully.
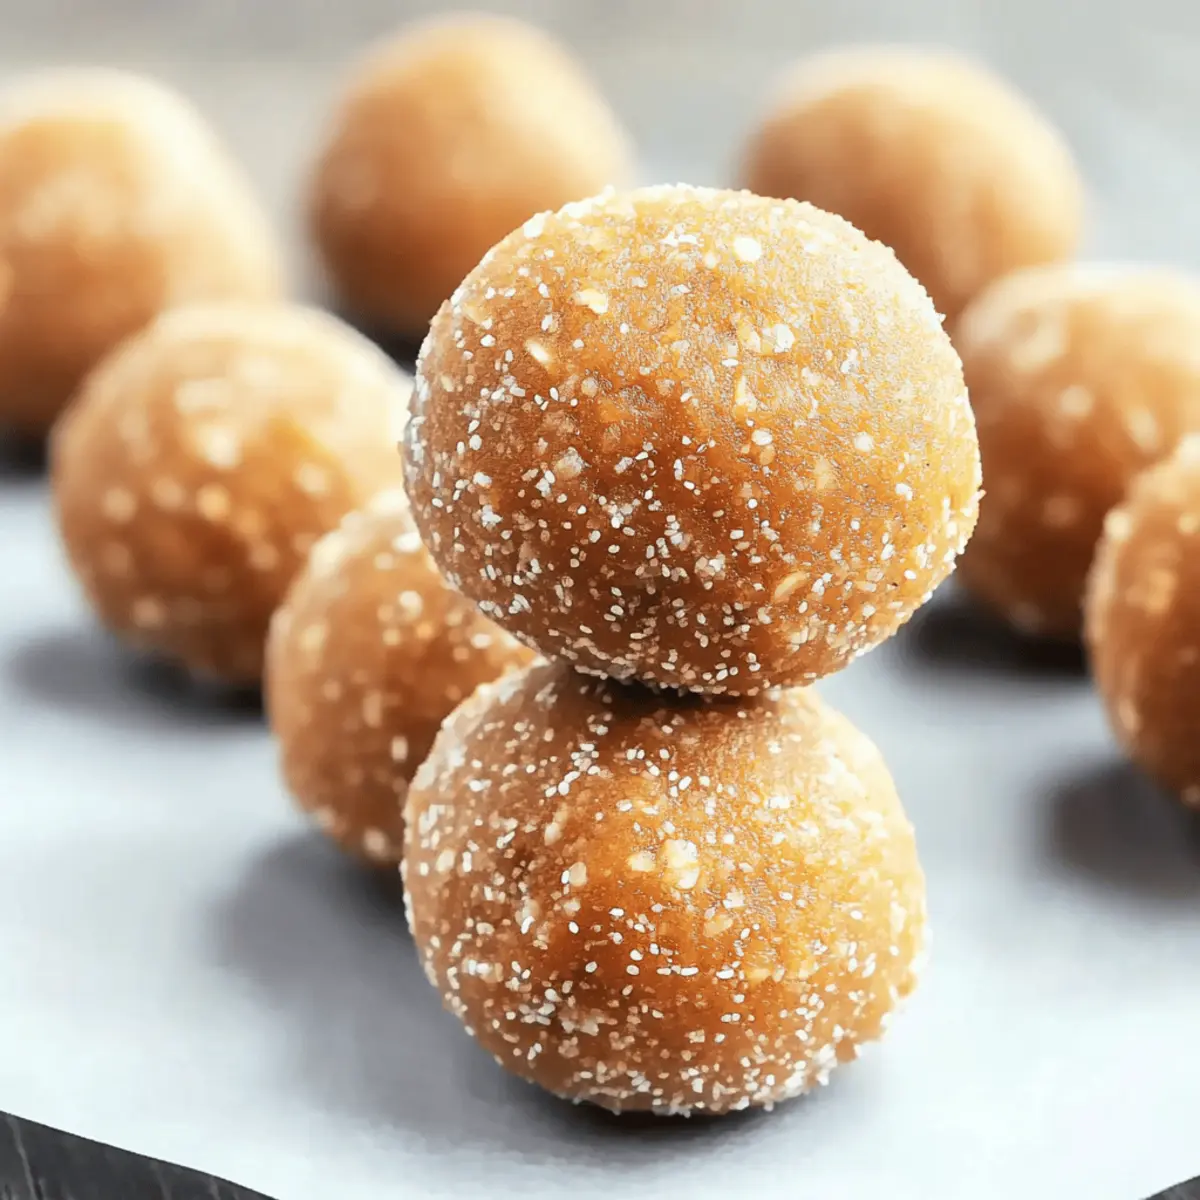
Step 7: Store or Serve
Once the chilling time is complete, enjoy your Pumpkin Protein Balls immediately as a nutritious snack or store them in an airtight container in the fridge for up to a week. For longer storage, freeze them in a freezer-safe bag for up to three months. This way, you can indulge in these healthy treats whenever you need a protein-packed boost!
Make Ahead Options
These Pumpkin Protein Balls are a fantastic choice for meal prep! You can mix the ingredients and form the balls up to 24 hours in advance; simply store them in an airtight container in the refrigerator. For quick assembly, you can also prepare the mixture and allow it to chill before shaping and storing. If you want to prep even further, freeze the fully shaped balls for up to three months. To maintain their delicious quality, ensure they’re sealed properly to prevent freezer burn. When you’re ready to enjoy, simply thaw in the fridge overnight or pop them in your lunch bag for a portable snack on the go.
How to Store and Freeze Pumpkin Protein Balls
Fridge: Keep your Pumpkin Protein Balls in an airtight container in the fridge for up to one week. This will help retain their fresh taste and chewy texture.
Freezer: For longer-term storage, freeze the balls in a freezer-safe bag or container for up to three months. Make sure they are well-separated to avoid sticking together.
Thawing: To enjoy frozen Pumpkin Protein Balls, simply transfer them to the fridge overnight or let them sit at room temperature for about 30 minutes before indulging.
Reheating: There’s no need to reheat these protein balls; they’re delicious cold or at room temperature, allowing for a quick snack anytime!
What to Serve with Healthy Pumpkin Protein Balls?
Elevate your snacking experience by pairing these delightfully chewy pumpkin protein balls with a variety of tasty and satisfying options.
-
Creamy Greek Yogurt: A dollop of yogurt offers a luscious creaminess that complements the protein balls, adding a protein boost to your snack. Enjoy it flavored with a sprinkle of cinnamon for extra warmth.
-
Fresh Apple Slices: The crispness and natural sweetness of apple slices provide a refreshing contrast, making for a balanced snack that feels wholesome yet indulgent.
-
Nutty Trail Mix: A handful of nutty trail mix scattered on the side will add crunch and varied textures, creating a delightful mix of energy and satisfaction in every bite.
-
Pumpkin Spice Latte: Pairing with a warm cup of pumpkin spice latte enhances the cozy autumn vibes and perfectly complements the flavors in the protein balls.
-
Banana Smoothie: A creamy banana smoothie boosts the fruity flavors and offers a fiber-rich sidekick that’s easy to sip between bites of your protein-packed treat.
-
Savory Crackers: The salty crunch of whole-grain or seed crackers balances the sweetness of the protein balls, providing a delicious contrast you’ll love.
-
Herbal Tea: Sipping on a soothing herbal tea while enjoying these protein balls creates a calming moment, ideal for an afternoon snack break.
-
Dark Chocolate Squares: Indulge in a few squares of rich dark chocolate for a decadent treat that complements the wholesome ingredients of the pumpkin protein balls!
Each pairing adds a unique element to your snack experience, ensuring that your taste buds stay happy and satisfied while keeping it nutritious!
Pumpkin Protein Balls Variations
Feel free to get creative with these Pumpkin Protein Balls and make them your own with delightful twists!
-
Nut-Free: Swap almond butter for sunflower seed butter to keep it nut-free without sacrificing creaminess. These pumpkin balls will still be just as satisfying!
-
Dried Fruit Delight: Toss in raisins or cranberries for a burst of sweetness and chew in every bite. This little addition will enhance the overall flavor profile beautifully.
-
Crunchy Add-In: Add chopped nuts or seeds like walnuts or pumpkin seeds for an added crunch. It adds a delightful contrast to the smooth texture of the pumpkin, creating a satisfying mouthful.
-
Chocolate Lovers: Incorporate dark chocolate chips or cacao nibs into the mixture for a rich, sweet treat that elevates these protein balls. Chocolate and pumpkin are a match made in heaven!
-
Spice it Up: Experiment with adding ginger, cloves, or even a hint of cayenne for a warm kick. This twist brings an exciting layer of flavor, making each bite unforgettable.
-
Flavor Boost: Use a flavored protein powder, like vanilla or chocolate, to give these balls a little extra pizzazz. It’s a game changer for those that want a different taste each time.
-
Pumpkin Spice Fan: Instead of just cinnamon, mix in pumpkin spice for a holiday touch. Your home will smell divine, instantly boosting your autumn spirit!
-
Pumpkin Cream Cheese: Try adding a dollop of cream cheese into the mix for a creamy texture that pairs harmoniously with pumpkin. The result is a delectable twist on tradition!
These variations are not just for the sake of customization; they allow you to enjoy your Pumpkin Protein Balls however you like! Don’t forget to try them with some accompanying treats, like Pumpkin Cupcakes Moist or a cup of Homemade Pumpkin Coffee to make your snack time even more special.
Expert Tips for Pumpkin Protein Balls
- Consistent Texture: Adjust consistency with maple syrup or pumpkin puree if the mixture appears too dry, ensuring a smooth blend for your Pumpkin Protein Balls.
- Room Temperature Butter: Ensure almond butter is at room temperature; this makes it easier to mix into the other ingredients and ensures even distribution.
- Keep Hands Damp: Slightly dampening your hands while shaping the balls can prevent sticking, making the process much smoother and more enjoyable.
- Taste Test First: Always taste the mixture before rolling; this gives you a chance to adjust sweetness, creating the perfect batch of Pumpkin Protein Balls that suits your preference.
- Chilling is Key: Don’t skip the chilling steps; these help firm up the mixture for easier shaping and enhance the overall texture of the protein balls.
Healthy Pumpkin Protein Balls Recipe FAQs
What type of pumpkin puree should I use?
Absolutely! You want to ensure you’re using canned pumpkin puree that is 100% pure pumpkin, not pumpkin pie filling. The filling contains added sugars and spices, which could alter the flavor of your Pumpkin Protein Balls significantly. When selecting your puree, look for labels that specifically mention “pure pumpkin” for the best results.
How long can I store the Pumpkin Protein Balls?
You can keep your Pumpkin Protein Balls in an airtight container in the refrigerator for up to one week. This storage method keeps them fresh and ready for snacking. If you want to store them for longer, place them in a freezer-safe bag and freeze for up to three months. Just ensure they’re properly sealed to avoid freezer burn!
Can I freeze these protein balls? If so, how?
Very! To freeze your Pumpkin Protein Balls, place them on a parchment-lined baking sheet in a single layer, making sure they’re spaced apart. Freeze for about 1-2 hours until firm, then transfer them to a freezer-safe bag or container, stacking them gently to avoid smashing. They’ll last up to three months in the freezer. When you’re ready to eat, simply thaw them in the fridge overnight or let them sit at room temperature for about 30 minutes.
What if my mixture is too dry or crumbly?
No worries! If your Pumpkin Protein Balls mixture feels too dry, gradually add a small amount of milk or water—about a teaspoon at a time—until you reach the desired consistency. Mix thoroughly after each addition. This process usually takes around 2-3 minutes. You want the mixture for your Pumpkin Protein Balls to be moldable but not overly wet, allowing you to shape those perfect little bites!
Are there any allergy considerations I should be aware of?
Great question! If you or anyone you’re serving has nut allergies, you can easily substitute the almond butter with sunflower seed butter or even coconut yogurt for a nut-free option. Additionally, check that your oats are gluten-free if that’s a concern for your diet. It’s always wise to read labels carefully or ask guests about specific allergies to ensure everyone can enjoy these delicious snacks safely.
Can I customize the ingredients in these protein balls?
Absolutely! Flexibility is key when it comes to the Pumpkin Protein Balls recipe. You can swap almond butter with peanut butter or any other nut/seed butter that you enjoy. Feel free to add-ins such as mini chocolate chips, dried cranberries, or seeds for a fun textural twist. Also, experimenting with various spices like ginger or nutmeg can add delightful new flavor notes to your tasty treat!
Delicious Pumpkin Protein Balls for Healthy Guilt-Free Snacking
Ingredients
Equipment
Method
- In a large mixing bowl, whisk together the rolled oats, coconut flour, and protein powder until well blended.
- Add the canned pumpkin puree, chopped dates, chia seeds, almond butter, maple syrup, and ground cinnamon to the dry mixture and stir until fully combined.
- Check the texture; if too dry, gradually add milk or water until it holds together.
- Cover the bowl and chill in the fridge for 15-20 minutes.
- With damp hands, scoop out portions and roll into 1-inch balls, placing them on a parchment-lined plate.
- Return the plate to the fridge for an additional 30 minutes to firm up.
- Store in an airtight container in the fridge for up to a week or freeze for longer storage.
Leave a Reply