
There I was, rummaging through my pantry, desperately searching for a quick sweet fix when my eyes landed on a familiar sight—Rice Krispies and peanut butter. Immediately, a wave of nostalgia washed over me, reminding me of the classic treats I adored as a child. That’s when the idea struck: why not combine those cherished flavors into No-Bake Chocolate Peanut Butter Rice Krispie Cups? This delightful recipe is not only super fast to whip up but also requires no baking—what’s not to love? These indulgent cups are perfect for satisfying those late-night cravings or whipping up for a casual get-together, and they can easily accommodate gluten-free and vegan diets. Ready to unleash the inner child in you while creating a delicious dessert? Let’s dive in and make these irresistibly crunchy treats together!
Why are these cups so irresistible?
Decadent Flavor: The combination of rich chocolate and creamy peanut butter creates a heavenly taste that you won’t be able to resist.
No Baking Required: The no-bake process means you can whip these up in just 30 minutes—perfect for those busy days!
Flexible Options: You can easily transform them into bars or adapt them for vegan and gluten-free diets, making them a versatile treat.
Crowd-Pleasing Delight: They’re not just delicious; these cups are sure to impress friends and family at any gathering.
Quick Energy Boost: With healthy fats from peanut butter, these cups make an excellent snack pre- or post-workout!
Embrace the nostalgia and excitement of childhood treats with these easy-to-make Peanut Butter Chocolate Cups that are perfect for any occasion!
Peanut Butter Chocolate Ingredients
For the Cups
• Chocolate Chips – Use high-quality chocolate chips to achieve a rich, velvety finish for your Peanut Butter Chocolate Cups.
• Peanut Butter – The star ingredient adds a creamy texture; opt for chunky peanut butter for extra crunch.
• Rice Krispies – These provide the delightful crunch and structure; choose gluten-free Rice Krispies if needed.
• Maple Syrup or Sweetener – Adjust the sweetness to your liking; this can help keep your treat healthier while enhancing the flavors.
For the Topping
• Additional Chocolate Chips – Melt some more for drizzling over the tops, adding an extra layer of sweetness.
• Chopped Nuts or Sprinkles – Add these for a fun texture and burst of color whenever you want to enhance your cups!
These ingredients will come together to create a sweet bite of nostalgia that you’ll love!
Step‑by‑Step Instructions for Peanut Butter Chocolate Cups
Step 1: Mixing the Base
In a mixing bowl, combine 1 cup of chunky peanut butter with 1/4 cup of maple syrup, stirring until smooth and well combined. If desired, add a scoop of protein powder for an extra boost. Use a spatula to scrape down the sides, ensuring every bit gets incorporated. This creamy mixture sets the flavorful foundation for your Peanut Butter Chocolate Cups.
Step 2: Incorporate Rice Krispies
Gently fold in 3 cups of Rice Krispies into the peanut butter mixture, making sure each piece is evenly coated. You’ll want to see all the cereal glistening with the creamy goodness. Use a spatula with a gentle hand to avoid breaking the rice cereal, but ensure everything is nicely mixed together to build that delightful crunch.
Step 3: Molding the Cups
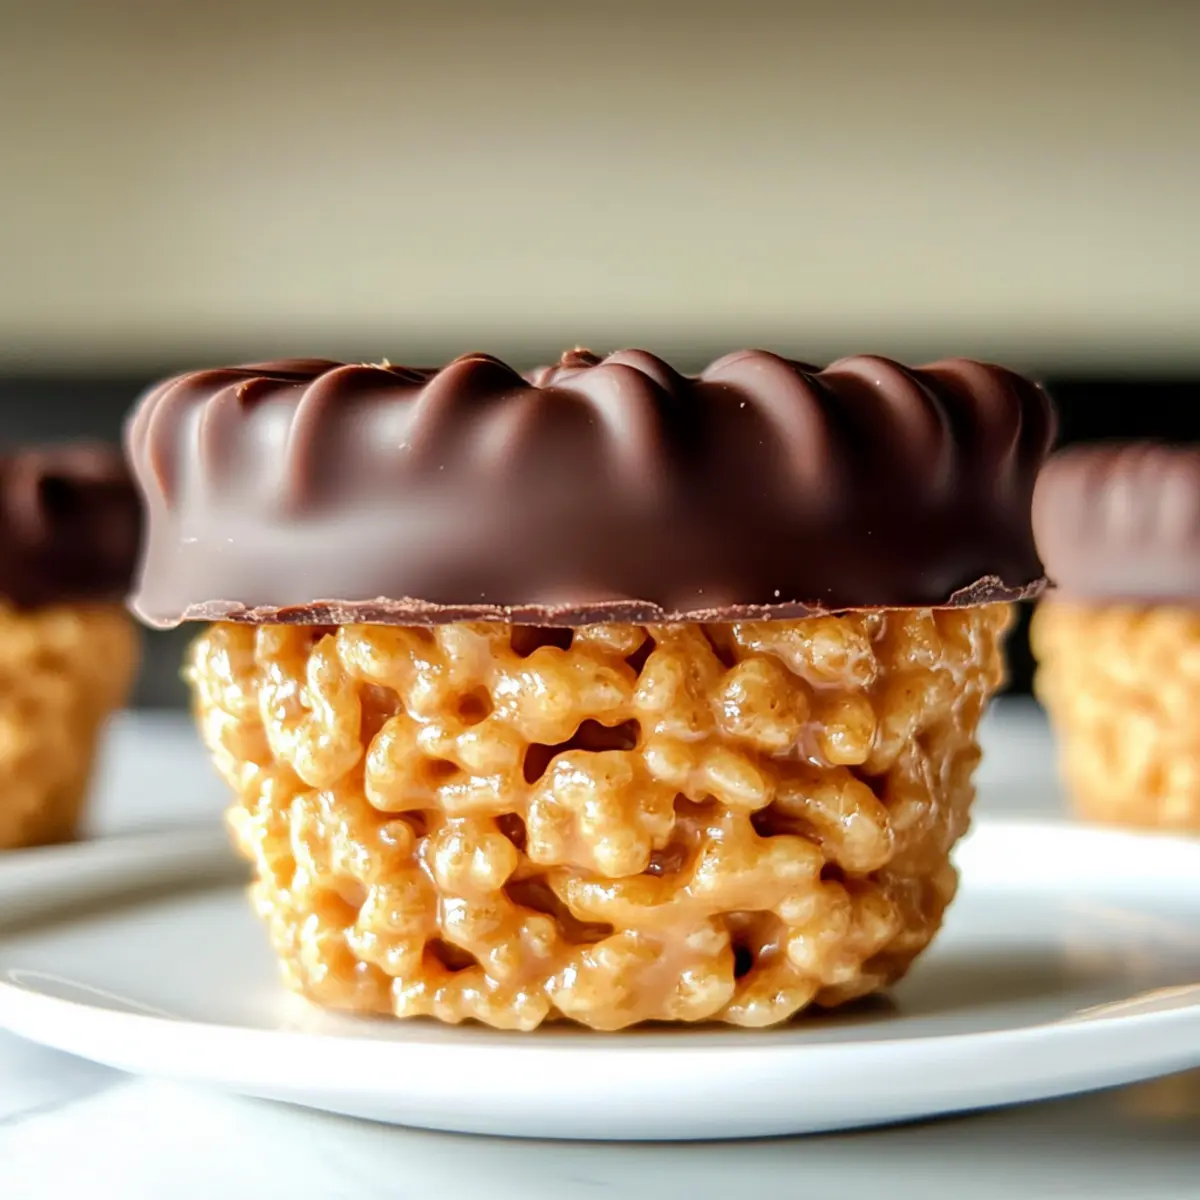
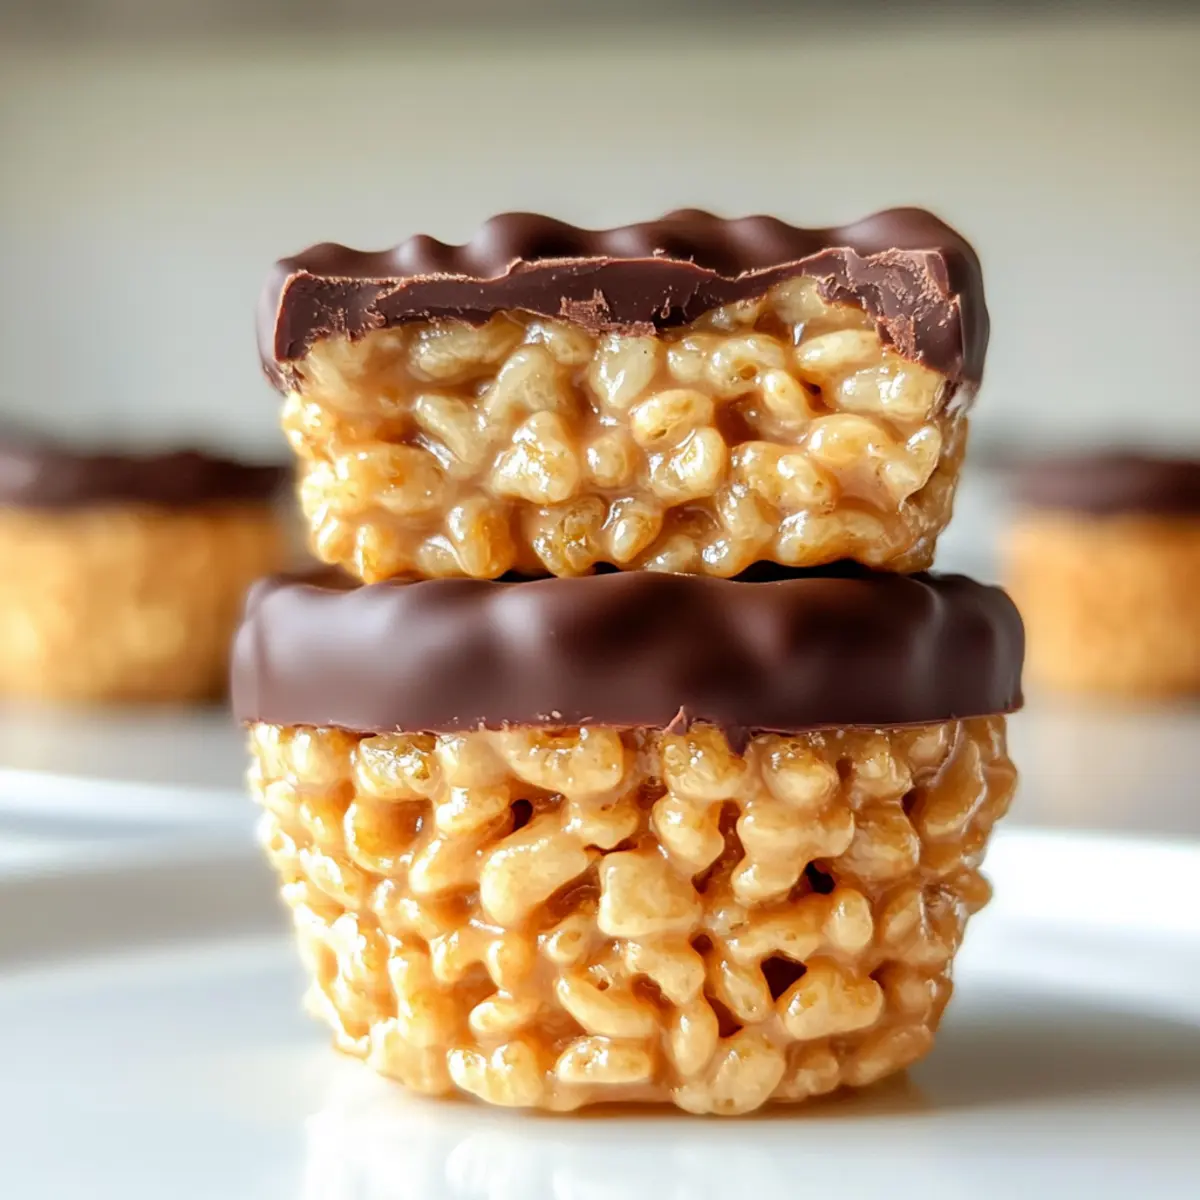
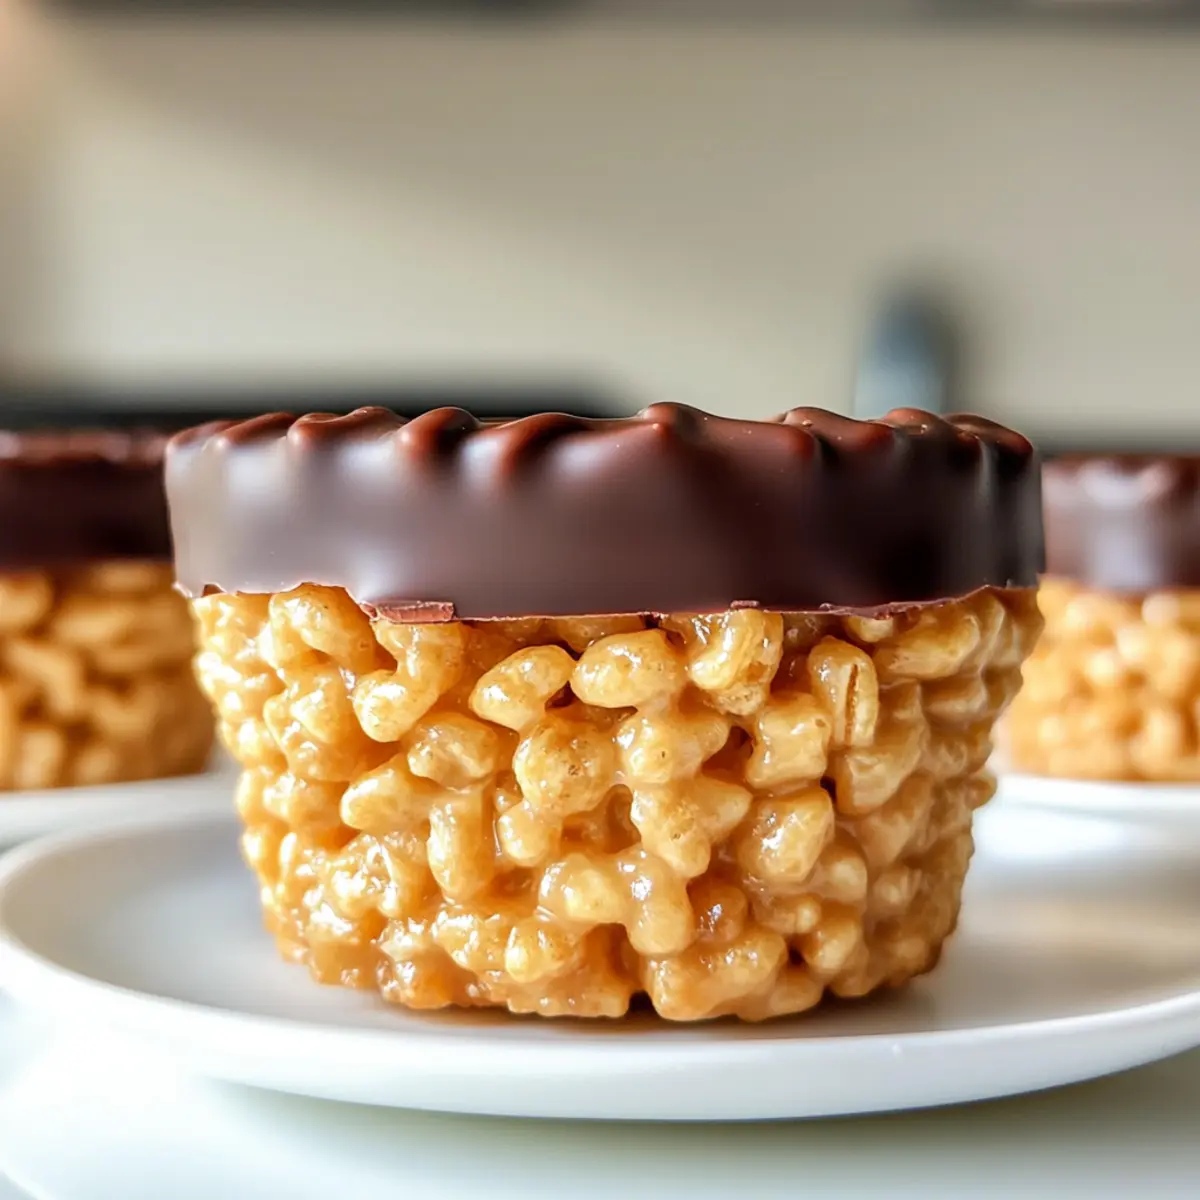
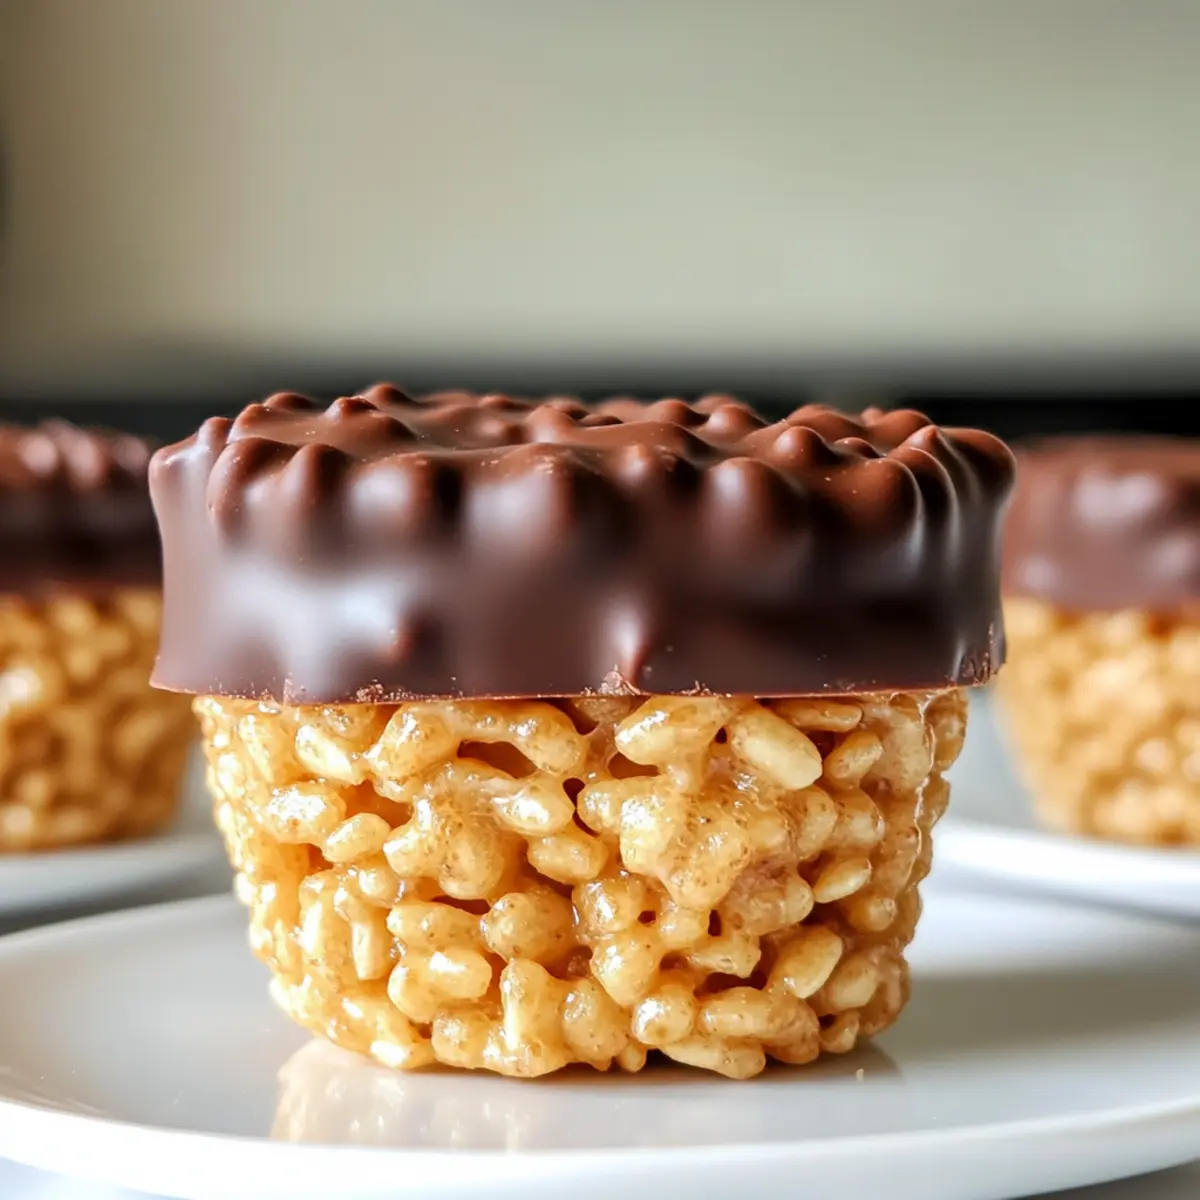
Prepare a muffin tray by lining it with cupcake liners. Spoon the sticky Rice Krispie and peanut butter mixture evenly into each liner, pressing down slightly to form a solid cup shape. Aim for a level surface to ensure they hold together well once set. This step is crucial in shaping the perfect Peanut Butter Chocolate Cups to hold your topping.
Step 4: Chocolate Coating
In a microwave-safe bowl, melt 1 cup of chocolate chips in 30-second intervals, stirring in between until smooth and fully melted. Drizzle or spoon the melted chocolate over each filled Rice Krispie cup, ensuring coverage down to the edges. The rich chocolate layer will create a delightful contrast to the creamy filling and crunchy base.
Step 5: Chill
Place the muffin tray in the refrigerator for about 15-20 minutes, allowing the chocolate to set firmly. After this chilling period, check to ensure the chocolate coating is hard and the cups feel stable. This step solidifies the Peanut Butter Chocolate Cups, ensuring they hold their shape and deliver a satisfying crunch when you take a bite.
What to Serve with No-Bake Chocolate Peanut Butter Rice Krispie Cups
Indulging in these delightful treats is just the beginning; creating a full meal experience elevates your flavor journey.
-
Creamy Vanilla Ice Cream: The rich creaminess pairs perfectly with the crunchy texture of the cups, offering a classic combination that never fails to impress.
-
Fresh Berries Salad: A refreshing mix of strawberries, blueberries, and raspberries lends a tart contrast to the sweetness of the cups, ensuring a balanced plate that feels bright and delicious.
-
Chocolate Milkshake: This thick and indulgent drink echoes the flavors of your treat while adding a fun twist. It’s perfect for a delightful dessert experience!
-
Nutty Granola Bars: Their chewy texture complements the crispiness of the Rice Krispies, forming a delightful duo that packs a punch of flavor and satisfaction.
-
Chilled Coconut Water: The subtle sweetness and refreshing nature of coconut water provide a light, hydrating balance to the richness of the peanut butter and chocolate.
-
Caramel Drizzle: Trying a drizzle of warm caramel over the top enhances the decadent flavor of the cups, turning a simple treat into an unforgettable dessert.
-
Mint Tea: The soothing aroma and flavor of mint tea cut through the richness, offering a refreshing palate cleanser after each sweet bite.
These delightful pairings ensure your No-Bake Chocolate Peanut Butter Rice Krispie Cups shine as the star of any casual gathering or special occasion!
Peanut Butter Chocolate Variations
Feel free to let your creativity shine with these fun twists on the classic recipe!
-
Bars: Spread the mixture in an 8×8 baking pan instead of cups for a classic Rice Krispie treat bar. It’s the same delicious flavor, wrapped up in a different form. You can slice them into squares for easy sharing!
-
Vegan Version: The recipe is conveniently vegan as is, perfect for plant-based diets. Just ensure your chocolate chips are dairy-free to keep it entirely vegan-friendly.
-
Nut-Free Option: Substitute peanut butter with sunflower seed butter to accommodate nut allergies. This swap maintains the creamy texture while creating a unique flavor twist. Plus, they’re just as irresistibly delicious!
-
Gluten-Free Version: Use gluten-free Rice Krispies for a gluten-free treat, ensuring everyone can enjoy these cups without worry. This makes them a hit at gatherings with diverse dietary needs.
-
Flavor Boost: Add a pinch of sea salt to the chocolate coating for a sweet and salty flavor explosion. It elevates the experience, balancing the rich sweetness with a touch of savory delight.
-
Add-Ins: Mix in some mini marshmallows or crispy bacon bits for a fun and unexpected texture. Both options add playful surprises with every bite, keeping your taste buds guessing!
-
Extra Crunch: Sprinkle chopped nuts on top of the chocolate before it sets for a crunchy garnish. Almonds or hazelnuts work beautifully, adding an extra layer of flavor and crunch to your creation.
-
Spicy Kick: For those who love a little heat, add a pinch of chili powder to the peanut butter mixture. This creates a surprising kick that enhances the overall flavor profile and adds an exciting twist.
Explore these options and make these Peanut Butter Chocolate Cups truly your own! If you’re curious about more nut-free desserts, check out our article on nut-free dessert ideas.
Make Ahead Options
These No-Bake Chocolate Peanut Butter Rice Krispie Cups are perfect for meal prep enthusiasts looking to save time! You can prepare the base mixture—peanut butter, maple syrup, and Rice Krispies—up to 24 hours in advance. Simply combine everything and store it in an airtight container in the refrigerator to keep it fresh. When you’re ready to assemble, just fill your muffin tray with the mixed base, top with melted chocolate, and chill for about 15-20 minutes until set. This way, you’ll have delicious treats ready to go, saving you time during busy weekdays while ensuring they are just as scrumptious!
Expert Tips for Peanut Butter Chocolate Cups
-
Quality Ingredients: Use high-quality chocolate chips and natural peanut butter for the best flavor. Low-quality products can lead to disappointing results.
-
Room Temperature Matter: Ensure your peanut butter and other ingredients are at room temperature. This prevents the chocolate from seizing and helps achieve a smooth coating.
-
Gentle Mixing: When incorporating Rice Krispies, fold gently to avoid breaking them. This maintains the delightful crunch essential for your Peanut Butter Chocolate Cups.
-
Chill Thoroughly: Allow the cups to chill completely as directed; this ensures a firm texture. If not set properly, they may crumble when removed from the liners.
-
Customize Toppings: Feel free to add toppings like chopped nuts or sprinkles for extra flair. They not only enhance flavor but also make the cups visually appealing!
How to Store and Freeze Peanut Butter Chocolate Cups
Fridge: Store your Peanut Butter Chocolate Cups in an airtight container in the refrigerator for up to 1 week. This keeps them fresh and ready for whenever a sweet craving hits.
Freezer: For longer storage, freeze the cups in an airtight container for up to 1 month. Divide layers using parchment paper to prevent sticking.
Thawing: To enjoy, remove the cups from the freezer and let them sit at room temperature for about 10-15 minutes. This enhances their flavor and texture!
Serving Suggestion: Pair with a glass of milk or your favorite plant-based alternative for a delightful treat that disappears quickly!
Peanut Butter Chocolate Rice Krispie Cups Recipe FAQs
What type of peanut butter should I use?
Absolutely! For the best flavor and texture, opt for high-quality natural peanut butter without added sugars or oils. Chunky peanut butter can really enhance the experience with its delightful crunch, but creamy works just as well if that’s your preference.
How do I store the Peanut Butter Chocolate Cups?
You can easily store your Peanut Butter Chocolate Cups in an airtight container in the refrigerator for up to 1 week. Make sure to keep them away from strong-smelling foods to maintain their flavor. For longer storage, you can freeze them for up to 1 month using parchment paper between layers to prevent sticking.
Can I freeze these cups?
Yes, you can freeze your Peanut Butter Chocolate Cups! To do this, place them in a single layer in an airtight container, separated by parchment paper. They can stay fresh in the freezer for up to 1 month. When you’re ready to snack, just take them out and let them sit at room temperature for 10-15 minutes to regain their chewy texture.
What can I do if the chocolate coating isn’t smooth?
If you find that your chocolate isn’t melting smoothly, make sure to melt it in short intervals of 30 seconds in the microwave, stirring in between. If it seizes, you can add a spoonful of coconut oil or vegetable oil to the melted chocolate to help it regain its smooth consistency, but be cautious not to add too much!
Are these cups suitable for people with nut allergies?
Very! You can easily make these cups nut-free by substituting peanut butter with sunflower seed butter or any other nut-free alternative. This way, you can share these delicious treats with everyone, regardless of dietary restrictions!
Can I adjust the sweetness of the cups?
Definitely! You can customize the level of sweetness by adjusting the amount of maple syrup or sweetener used in the recipe. Start with less and add more as needed, tasting as you go until you find your perfect balance. The more the merrier!
Peanut Butter Chocolate Cups: Quick No-Bake Delight
Ingredients
Equipment
Method
- In a mixing bowl, combine chunky peanut butter with maple syrup until smooth.
- Gently fold in Rice Krispies until evenly coated.
- Prepare muffin tray with cupcake liners and spoon mixture evenly into each liner.
- Melt chocolate chips in microwave and drizzle over each filled cup.
- Chill in refrigerator for about 15-20 minutes to set.
Leave a Reply