
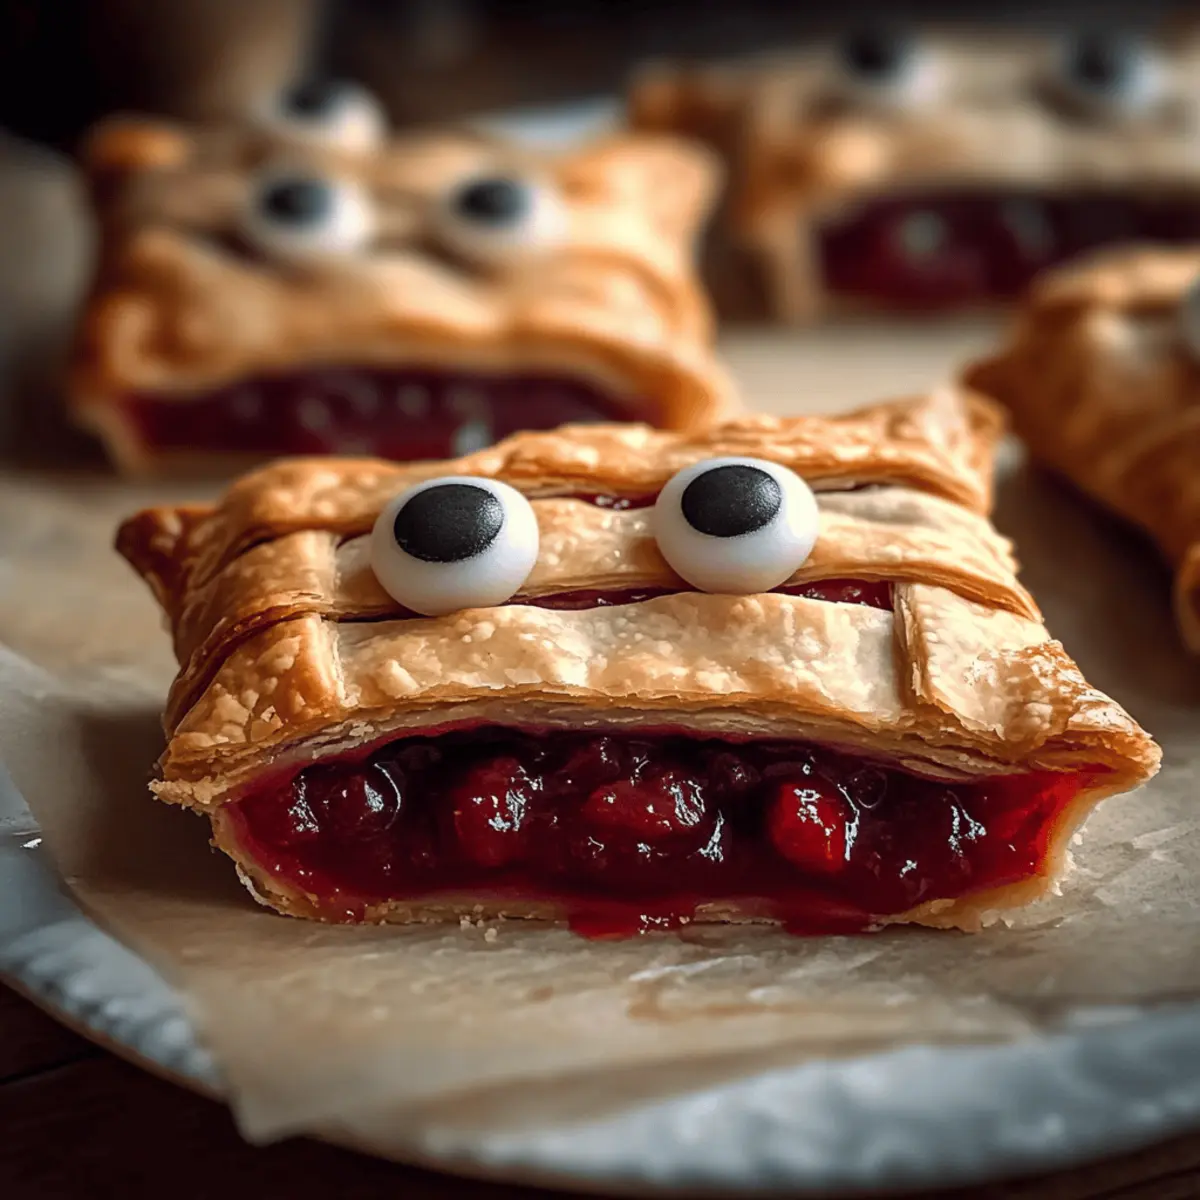
“Mom, can we have a Halloween party?” My son’s eyes sparkled with mischief and excitement, and I couldn’t resist the challenge. That’s when I conjured up the idea of baking Mummy Cherry Pies — a quick and easy dessert that would delight every little monster at the gathering. With their flaky crust styled like mummy bandages, these adorable handheld treats are not just a feast for the eyes; they also wrap up a warm, sweet cherry filling that is simply irresistible. Plus, the beauty of this recipe is its adaptability—you can switch up the filling to apple or blueberry, ensuring that even the pickiest of eaters are satisfied. So, as you prepare for Halloween festivities, let’s dive into creating these festive delights together. What fun fillings would you choose for your own spooky twist?
Why are Mummy Cherry Pies so special?
Quick and Easy: These Mummy Cherry Pies come together in no time, making them a stress-free dessert for your Halloween party.
Festive Fun: With their spooky mummy appearance, they are sure to impress kids and adults alike, adding a playful touch to your festivities.
Creative Flexibility: Feel free to swap the cherry filling for apple or blueberry to cater to different tastes, ensuring everyone enjoys a slice of the fun.
Crowd-Pleasing Treat: The delightful combination of flaky crust and warm filling makes these pies an instant favorite at any gathering.
Make Ahead: You can even prepare these spooky treats in advance by freezing unbaked pies for convenience. Perfect for busy schedules!
Dive into the joy of baking these Mummy Cherry Pies and create delicious memories that will last long after the last bite!
Mummy Cherry Pies Ingredients
• Perfect for a spooktacular treat at your Halloween gatherings!
For the Crust
- Premade Pie Dough – Provides the flaky crust needed for the pies; can use homemade pie crust; adjust baking time if needed.
For the Filling
- Cherry Pie Filling – Adds sweetness and flavor; you can substitute with apple or blueberry filling for a fun twist.
For the Egg Wash
- Egg (beaten) – Used as an egg wash to create a golden crust; optional, but enhances color and finish.
For the Decoration
- Candy Eyes – Adds a fun and spooky touch; can be omitted for non-Halloween use, and the pies are still delicious without them.
Step‑by‑Step Instructions for Mummy Cherry Pies
Step 1: Preheat the Oven
Begin by preheating your oven to 375°F (190°C). This ensures that once your Mummy Cherry Pies are ready, they will bake evenly and achieve that perfect golden brown crust. While the oven heats, line a baking sheet with parchment paper to prevent sticking and facilitate an easy clean-up.
Step 2: Prepare the Dough Circles
Take your premade pie dough and roll it out gently on a light floured surface. Cut out 16 circles, each about 3 inches in diameter. Place 8 of these circles on the prepared baking sheet, leaving some space between them for the pies to expand while baking. These will form the base for your sweet mummy treats.
Step 3: Slice the Dough for Bandages
With the remaining 8 dough circles, slice them into narrow strips, emulating the look of mummy bandages. Aim for each strip to be about ½ inch wide; this will create the charming layered appearance when laid over the filled pie bases. Set these strips aside while you work on the filling.
Step 4: Add the Cherry Filling
Spoon a generous amount of cherry pie filling onto each of the 8 dough circles on the baking sheet. Be cautious not to overfill, as this could spill out during baking. You want just the right amount to create a lovely juicy center that will complement the flaky crust beautifully.
Step 5: Create the Mummy Look
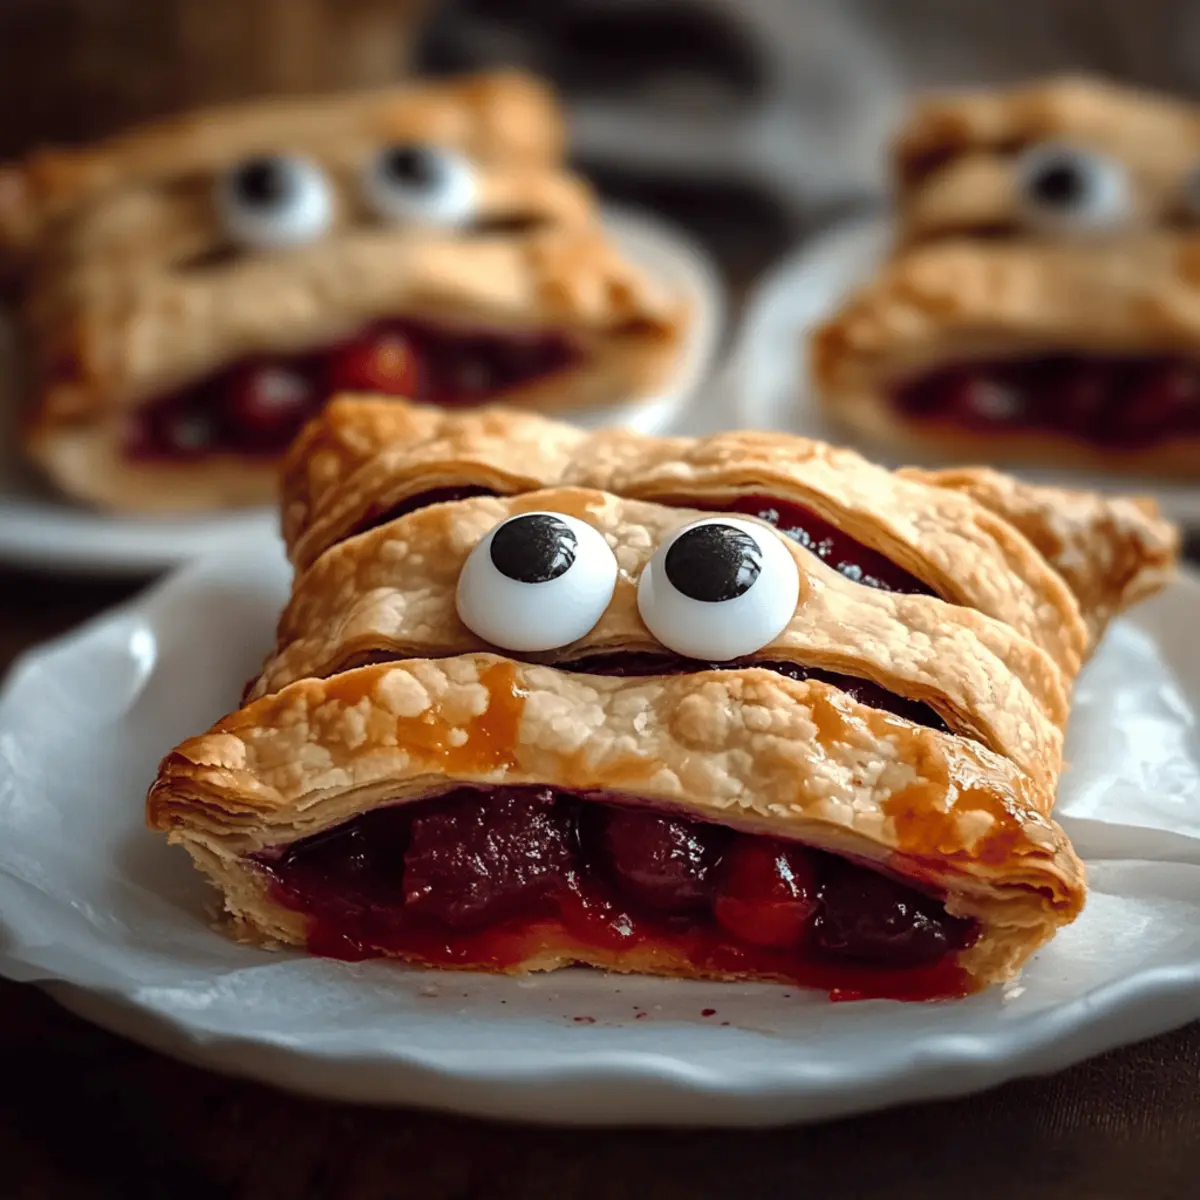
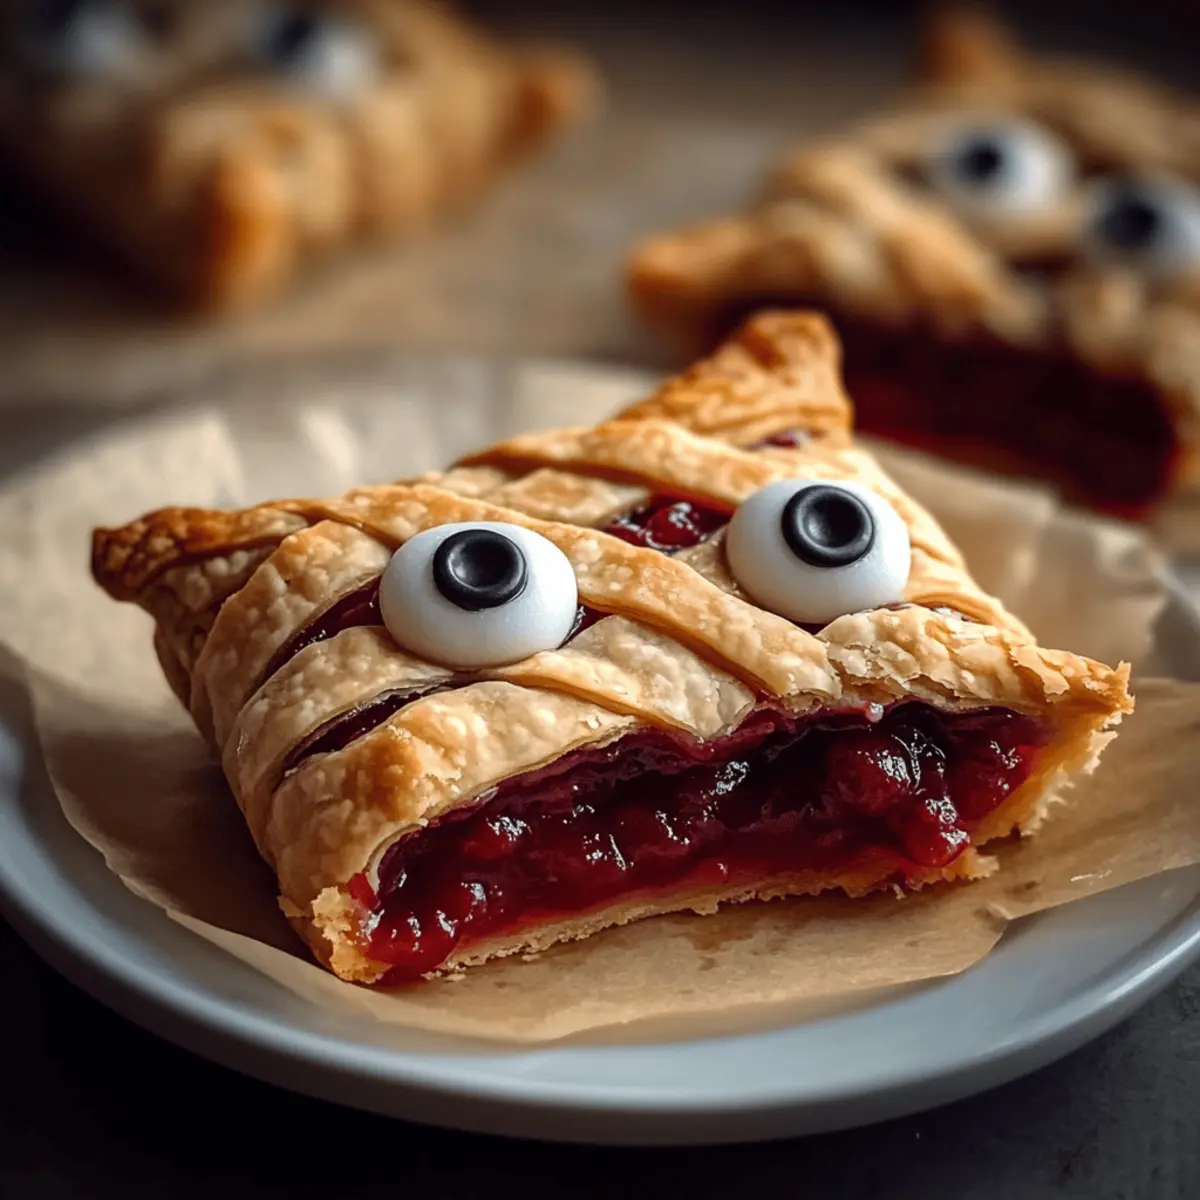
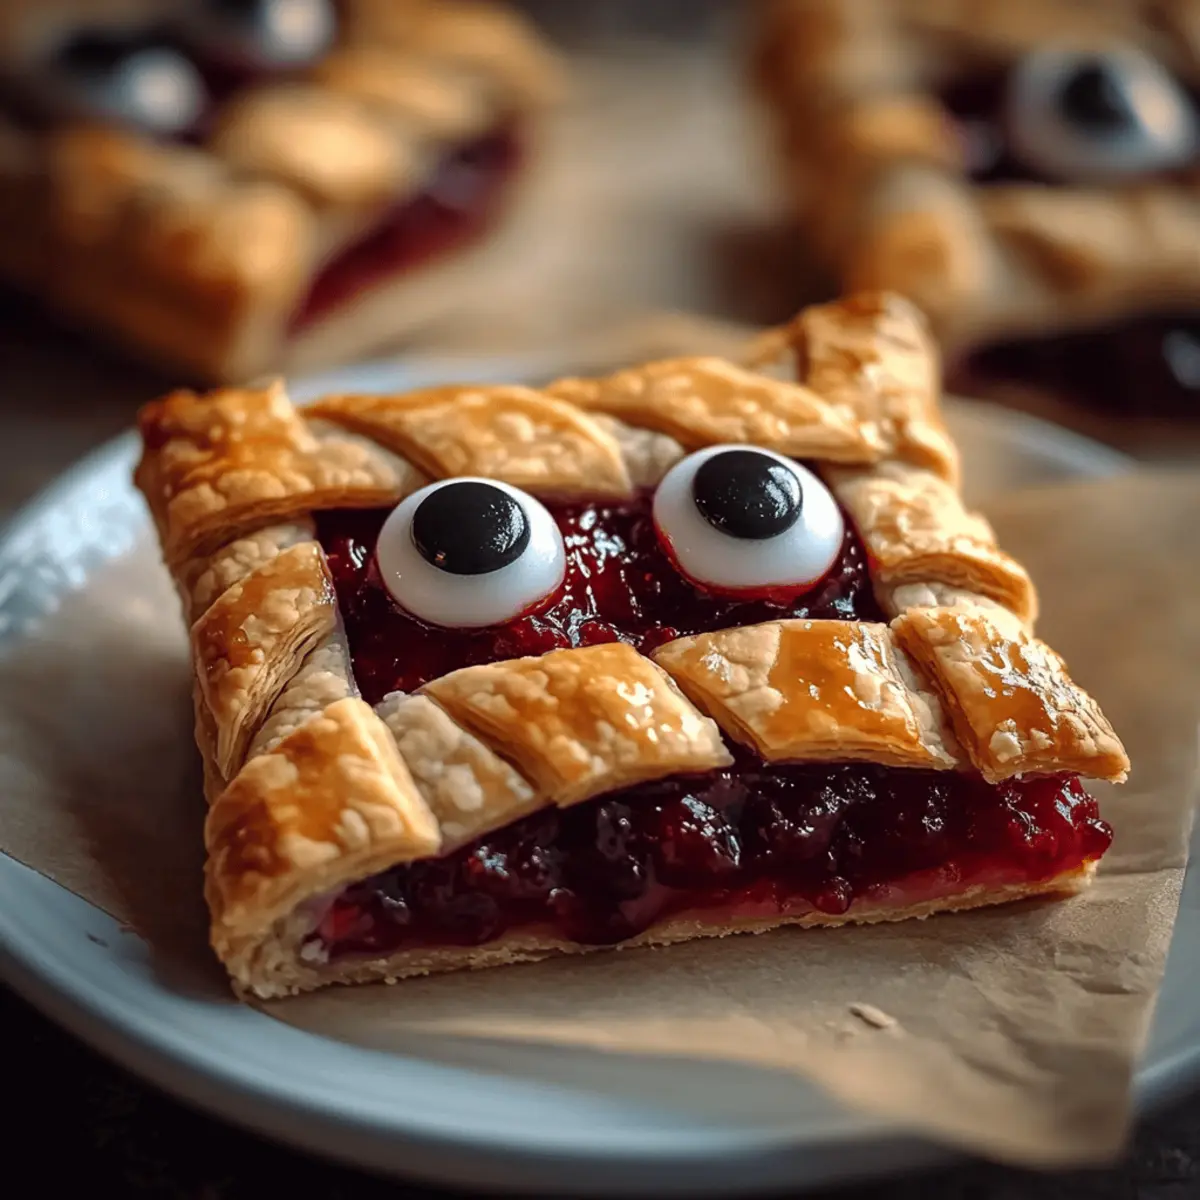
Next, take the dough strips you previously cut and crisscross them over the filled circles to create the mummy bandage effect. Be playful with the arrangement; it doesn’t have to be perfect! Just ensure that they slightly overlap and leave a little opening for those delightful cherry filling peeks.
Step 6: Brush with Egg Wash
Using a pastry brush, lightly coat the tops of your Mummy Cherry Pies with the beaten egg. This step is key for achieving a beautifully golden and glossy finish. The egg wash enhances the visual appeal of your pies, making them look just as tempting as they are tasty!
Step 7: Bake the Pies
Place your baking sheet in the preheated oven and bake the Mummy Cherry Pies for 8 to 10 minutes. Keep an eye on them as they bake; you’re looking for a lovely golden brown crust. When the crust reaches that perfect color and the filling starts bubbling slightly, they are ready to come out.
Step 8: Cool and Decorate
Once baked, remove your Mummy Cherry Pies from the oven and allow them to cool slightly on a wire rack. This cooling process makes them easier to handle. Just before serving, add candy eyes to each pie for that spooky touch—the finishing detail that will surely delight both children and adults alike!
What to Serve with Mummy Cherry Pies
Whether you’re hosting a Halloween gathering or simply enjoying a festive treat, elevating your Mummy Cherry Pies with complementary dishes makes for a delightful experience.
-
Vanilla Ice Cream: A scoop of creamy vanilla ice cream adds a rich, smooth contrast to the sweet, tart cherry filling. It’s the perfect comforting addition to your spooky pies!
-
Pumpkin Spice Latte: Sip on this warm, spiced coffee beverage, enhancing the autumn flavors that perfectly accompany these delightful pastries. It’s like a cozy hug in a mug!
-
Fresh Fruit Salad: A vibrant mix of fresh fruits provides a refreshing balance to the sweetness of the pies, adding a burst of flavor and color to your dessert table.
-
Chocolate-Covered Pretzels: The salty crunch of pretzels dipped in chocolate creates a fun contrast to the sweet cherry pies, making for a lively snack that everyone will love.
-
Caramel Sauce Drizzle: An extra touch of rich caramel sauce drizzled over the pies turns your Mummy Cherry Pies into a decadent dessert experience.
-
Scary Punch: Serve a spooky punch—mix cranberry juice, ginger ale, and gummy worms for that playful twist that captivates kids and adults alike.
-
Halloween-Themed Cheesecake Bites: These small treats blend a creamy texture with their own seasonal fun, creating a delicious variety of flavors that enhances your festive spread.
Treat your guests to a full-flavored feast alongside your Mummy Cherry Pies, crafting a memorable celebration filled with sweets and smiles!
Mummy Cherry Pies: Creative Twists on a Classic
Feel free to unleash your creativity in making Mummy Cherry Pies, turning them into a dessert that fits your whimsy and taste!
-
Apple Filling: Swap the cherry filling with apple pie filling for a warm, cinnamon-spiced flavor that’s perfect for fall festivities.
-
Blueberry Surprise: Use blueberry filling instead of cherry for a slightly tart twist; it pairs beautifully with the buttery pie crust.
-
Mixed Berry Medley: Combine cherry, blueberry, and raspberry for a delightful mix of flavors that offers a surprising joy in each bite.
-
Spicy Kick: Add a pinch of cayenne or cinnamon to your filling for a gentle heat that complements the sweetness excellently.
-
Nutty Crunch: For added texture, sprinkle finely chopped nuts like pecans or walnuts over the filling for a delightful surprise and crunch.
-
Pumpkin Spice: In the spirit of the season, substitute with pumpkin puree mixed with sugar and spices for a unique, autumnal treat.
-
Vegan Friendly: Use coconut milk or an almond milk egg replacement for a delicious vegan twist without sacrificing flavor.
-
Chocolate Drizzle: After baking, a drizzle of melted dark chocolate not only enhances the flavor but also gives a festive touch that kids will love.
These variations make each Mummy Cherry Pie a chance for creativity. As you explore the world of flavors, you might even find some new family favorites! For more variations or filling options, feel free to check out our ideas on quick and easy desserts or Halloween-themed treats.
Expert Tips for Mummy Cherry Pies
Keep Dough Chilled: Ensure your pie dough is well-chilled before cutting; this makes handling easier and prevents it from becoming sticky.
Avoid Overfilling: Make sure not to overfill your Mummy Cherry Pies; too much filling can leak out during baking, ruining the mummy look.
Watch the Baking Time: Keep a close eye on the baking process—crusts can turn dark quickly, so set a timer and check them a minute early.
Proper Cooling: Let the pies cool adequately before adding candy eyes; this ensures they won’t melt and will stay adorable!
Make Ahead Option: If you’re in a hurry, prepare unbaked Mummy Cherry Pies in advance and freeze them, baking from frozen for a quick treat later!
Enjoy your deliciously spooky Mummy Cherry Pies and impress your guests with this quick and easy dessert!
Make Ahead Options
These Mummy Cherry Pies are perfect for busy home cooks looking to save time! You can prepare the unbaked pies up to 24 hours in advance by assembling them as instructed, then covering them tightly with plastic wrap and refrigerating. This method helps maintain the flaky crust while keeping the filling fresh. If you’d like to prep even further ahead, feel free to freeze the assembled pies for up to 3 months; simply wrap each pie in plastic wrap and place them in a freezer bag. When you’re ready to bake, just pop them directly from the freezer into a preheated oven, adding an extra 3-5 minutes to the baking time for delightfully golden Mummy Cherry Pies at a moment’s notice!
Storage Tips for Mummy Cherry Pies
Room Temperature: Keep Mummy Cherry Pies at room temperature for up to 2 days in an airtight container. This helps maintain their crisp crust and delicious cherry filling.
Fridge: If you have leftovers, store them in the fridge for up to 3 days. Place them in an airtight container to prevent any drying out or absorbing of smells.
Freezer: For longer storage, unbaked Mummy Cherry Pies can be frozen. Wrap them tightly in plastic wrap and store in a freezer-safe bag for up to 2 months; bake directly from frozen, adding 3-5 minutes to the baking time.
Reheating: To reheat, pop them in the oven at 350°F (175°C) for about 10 minutes to regain that delightful crispness. Enjoy your festive treats!
Mummy Cherry Pies Recipe FAQs
What type of pie dough should I use?
Absolutely! You can use premade pie dough for convenience, which provides a flaky crust that saves you time. If you prefer, homemade pie crust also works beautifully—just ensure to adjust the baking time as needed for doneness.
How should I store leftover Mummy Cherry Pies?
You can keep Mummy Cherry Pies at room temperature for up to 2 days in an airtight container. If you have leftovers in the fridge, they will last for up to 3 days when stored properly. For the best texture, consider warming them in the oven before serving!
Can I freeze unbaked Mummy Cherry Pies?
Yes! To freeze, wrap the unbaked Mummy Cherry Pies tightly in plastic wrap and place them in a freezer-safe bag. They’ll be good for up to 2 months. When ready to bake, just remove them from the freezer and bake directly—add an extra 3-5 minutes to the baking time for perfectly golden treats!
What if my pie filling is too runny?
If your filling seems too runny, you can thicken it by adding a tablespoon of cornstarch to it before spooning it into the dough circles. This will help absorb excess moisture and keep your pies from leaking during baking, ensuring that they maintain their delightful mummy appearance!
Are Mummy Cherry Pies suitable for children?
Very! These pies are perfect for kids, especially with their fun mummy look and sweet filling. However, make sure to check for allergies related to the pie filling—some children may have sensitivities to certain fruits. Plus, always supervise younger kids when they’re enjoying these adorable treats!
Can I use alternative fillings for my Mummy Cherry Pies?
Certainly! While cherry is a classic, feel free to experiment with apple or blueberry fillings for a fun twist. You might also try mixing different fruits or adding spices, like cinnamon or nutmeg, to make the filling even more flavorful. The more the merrier in terms of creativity!
Mummy Cherry Pies: Spooktacular Treats for Halloween Fun
Ingredients
Equipment
Method
- Preheat your oven to 375°F (190°C) and line a baking sheet with parchment paper.
- Roll out the premade pie dough and cut out 16 circles, each about 3 inches in diameter.
- Slice the remaining dough circles into narrow strips for the mummy bandages.
- Spoon cherry pie filling onto each of the 8 dough circles on the baking sheet.
- Crisscross the dough strips over the filled circles to create the mummy effect.
- Brush the tops of the Mummy Cherry Pies with the beaten egg for a golden finish.
- Bake the pies in the preheated oven for 8 to 10 minutes until golden brown.
- Allow to cool slightly on a wire rack and add candy eyes before serving.
Leave a Reply