
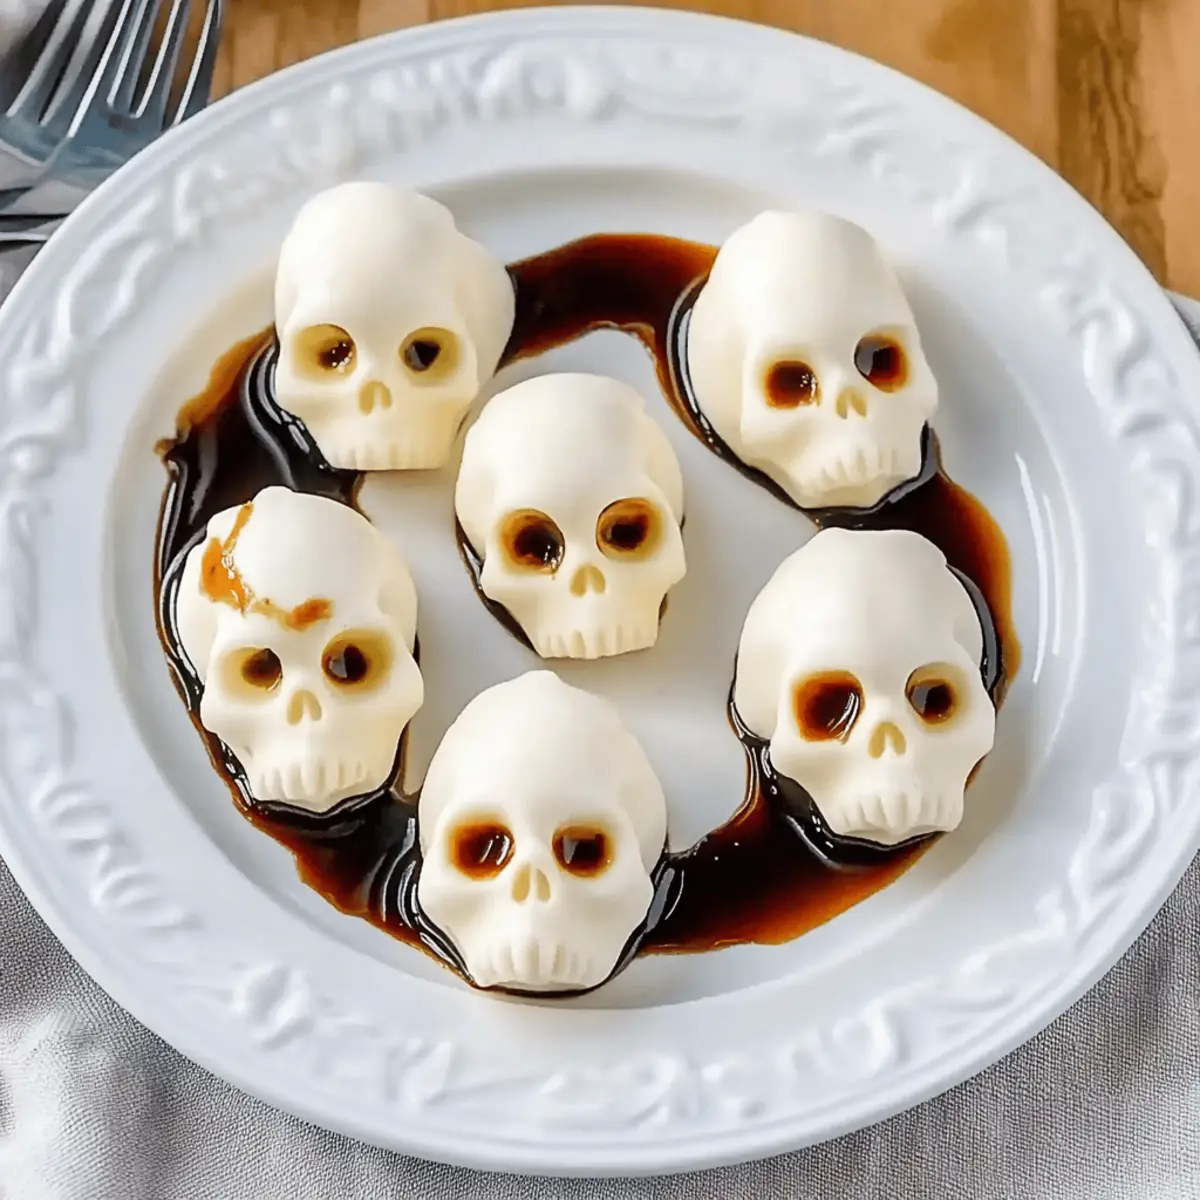
As the leaves turn and the air chills, Halloween creeps closer, whispering promises of festive fun. Perfect for gathering friends and family, my spooky Mozzarella Cheese Skulls will make your Halloween celebration unforgettable. These delightful appetizers are not only quick to whip up, but they also present a unique and fun twist on traditional cheese bites that’ll captivate guests of all ages. Imagine the laughter as you share these creamy, cheesy creations, each one shaped into a playful skull, setting the perfect stage for any spooky soirée. Plus, they can be made ahead of time, letting you focus on enjoying the festivities rather than stressing in the kitchen. Are you ready to impress this Halloween? Let’s dive into the recipe!
Why Are Mozzarella Cheese Skulls a Must-Try?
Unique Shape: These spooky skulls add a playful flair to your Halloween spread, making them a delightful conversation starter at any gathering.
Quick Preparation: With just a few simple steps, you can whip up these cheesy treats in no time, leaving you with more hours to revel in fun.
Versatile Flavors: Customize your cheese by using various molds or adding spices for a personal touch—consider spicy jalapeños for heat!
Make-Ahead Magic: Prepare them a day in advance or freeze unbaked for a last-minute festive treat. You can even pair them with dishes like Pumpkin Soup or a refreshing salad for a complete meal.
Crowd-Pleasing Delight: With their rich flavor and creamy texture, these bites will be adored by kids and adults alike, perfect for sharing at any celebration.
Mozzarella Cheese Skulls Ingredients
• Discover the perfect ingredients for these fun and spooky bites!
For the Cheese
- Mini Mozzarella Balls – These are the heart of the recipe; opt for fresh mozzarella packed in water for the best flavor and texture.
For the Mold
- Silicone Skull Mold – Essential for creating the spooky shapes; make sure it’s heat-safe to withstand baking.
For Dipping
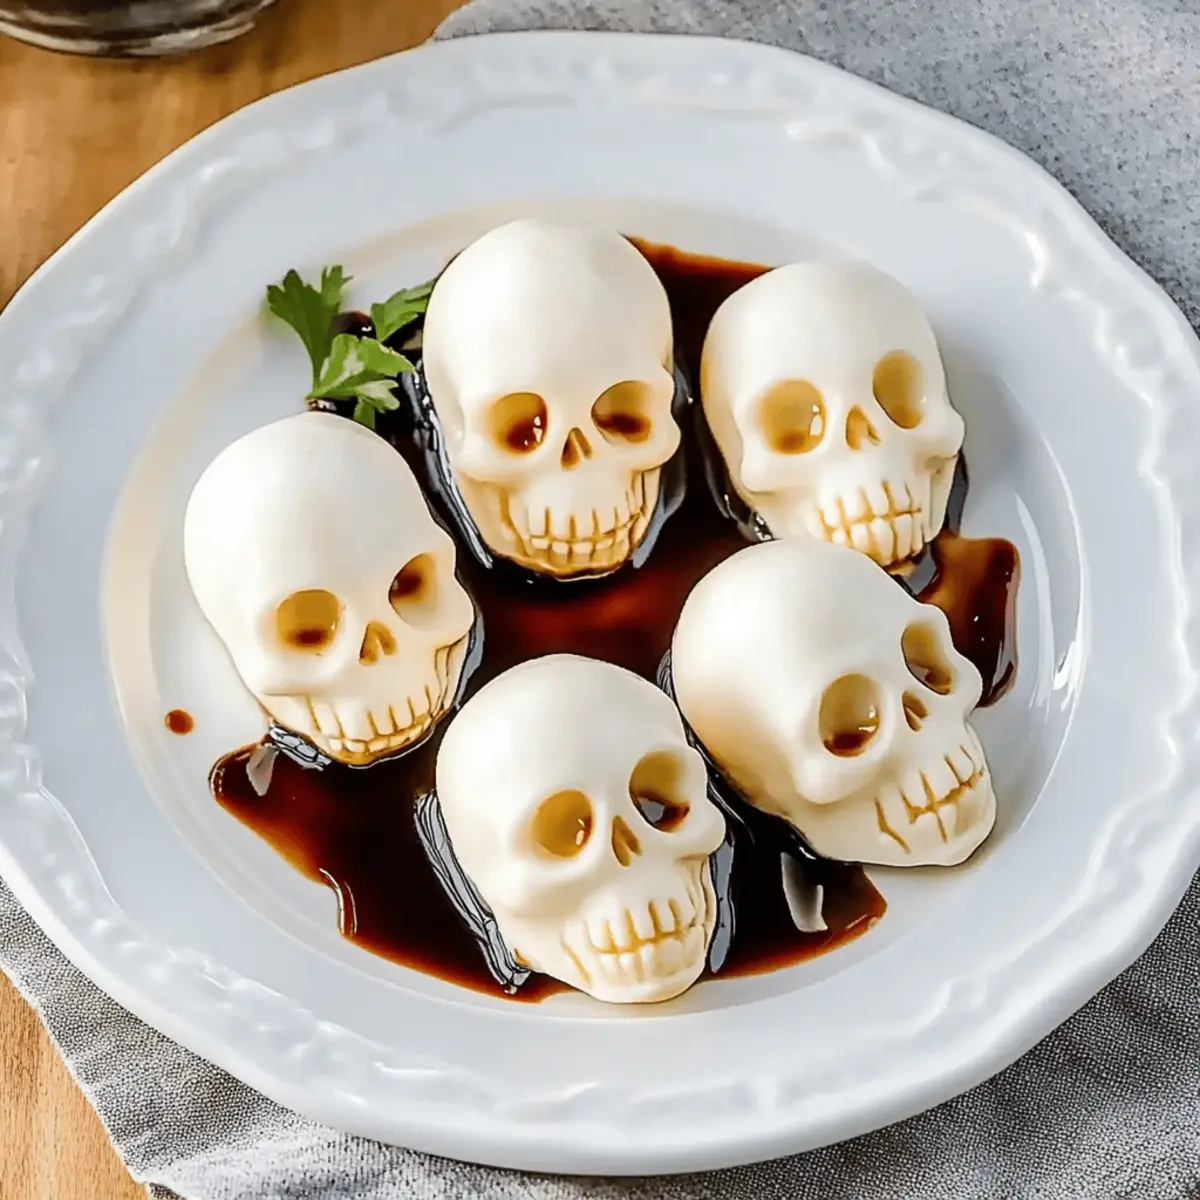
- Balsamic Glaze – A delicious drizzle for added gourmet flair, perfect for enhancing the flavor of your mozzarella cheese skulls.
Optional Enhancements
- Fresh Herbs – Consider adding basil or parsley to elevate both taste and visual appeal.
- Seasoned Breadcrumbs – Sprinkle for an extra crunch before baking, adding both texture and charm to your spooky bites.
Step‑by‑Step Instructions for Mozzarella Cheese Skulls
Step 1: Preheat the Oven
Start by preheating your oven to 350°F (175°C). This temperature is crucial for ensuring your mozzarella cheese skulls bake evenly and come out perfectly soft. While the oven warms up, gather your silicone skull mold and mini mozzarella balls, ensuring everything is ready for assembly.
Step 2: Prepare the Mozzarella
Pat the mini mozzarella balls dry with a paper towel to remove any excess moisture. This step will help the cheese maintain its shape during baking. Once dried, arrange your mozzarella balls near the silicone skull mold, ready to be placed into it shortly.
Step 3: Fill the Mold
Carefully place each dried mozzarella ball into the cavities of the silicone skull mold. Make sure to press them down gently but firmly so they take on the shape of the skull, which is key to creating those spooky Mozzarella Cheese Skulls. Aim to fill each mold evenly without overcrowding.
Step 4: Bake the Cheese
Once your molds are filled, place them in the preheated oven. Bake the mozzarella balls for 8-10 minutes. You’ll know they’re ready when they start to soften but still hold their form—watch for just a slight melt that allows for easy mashing.
Step 5: Shape the Skulls
Remove the mold from the oven and let it cool slightly for a minute. Using a small spoon, gently press the soft mozzarella into the skull shape, ensuring to mold them fully and vividly. This is the moment your Mozzarella Cheese Skulls come to life; the texture should be soft yet defined.
Step 6: Chill for Set
Transfer the molded skulls into the refrigerator and chill them for about 10 minutes. This step is essential for setting their shape and consistent texture, ensuring they remain intact when you’re ready to serve. The cooling process also enhances the cheesy flavors.
Step 7: Unmold and Serve
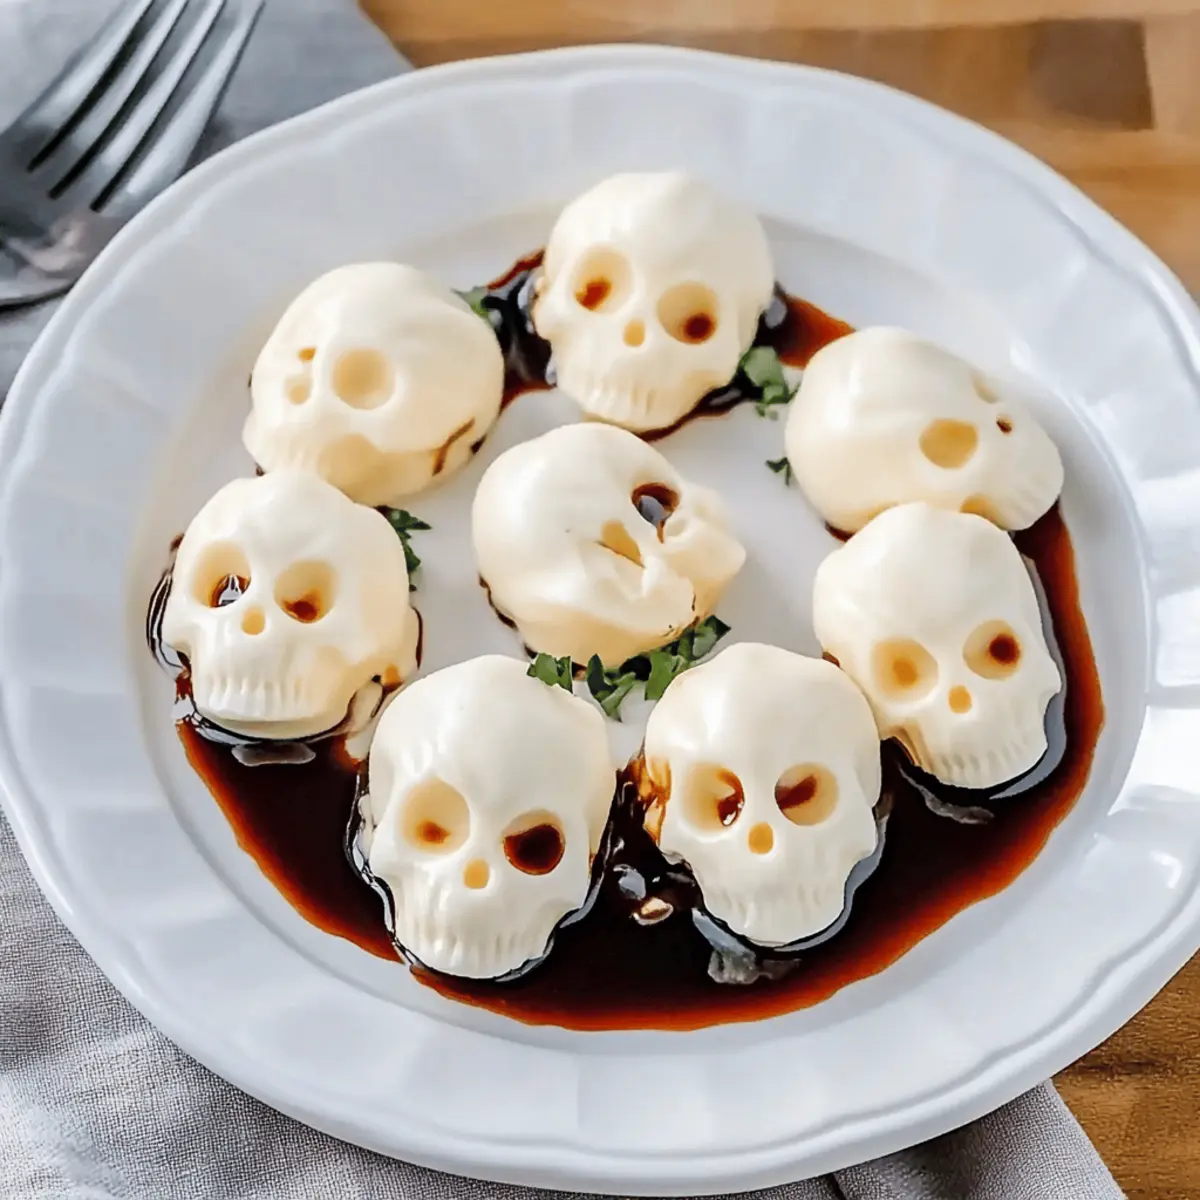
After chilling, carefully unmold your mozzarella cheese skulls by gently pulling the silicone away from the cheese. This process should reveal perfectly formed spooky treats! Arrange them on a serving platter, ready to impress your guests with these delightful Mozzarella Cheese Skulls.
Expert Tips for Mozzarella Cheese Skulls
- Drying is Key: Make sure to thoroughly pat the mini mozzarella balls dry to prevent excess moisture, which can cause them to lose shape during baking.
- Baking Vigilance: Keep a close eye on the mozzarella while it’s in the oven; removing it just as it softens will ensure they hold their spooky skull shape.
- Chill for Best Results: Allow the cheese to chill in the refrigerator after molding to set properly; this helps maintain their form when serving.
- Creative Molds: Experiment with different silicone molds to create a variety of spooky shapes, keeping your Halloween appetizers exciting and fun.
- Flavor Enhancements: Consider adding herbs or spices to your mozzarella for a flavorful twist; jalapeños can add a spicy kick to your mozzarella cheese skulls!
Make Ahead Options
These delightful Mozzarella Cheese Skulls are perfect for meal prep, allowing you to enjoy your Halloween festivities without stress! You can prepare the cheese skulls up to 24 hours in advance; simply follow the initial steps of the recipe up to the chilling stage, then refrigerate them in an airtight container. To maintain their creamy texture and shape, ensure the mozzarella is thoroughly dried before molding. When you’re ready to serve, just unmold the chilled skulls and warm them briefly in the oven at 350°F (175°C) for about 5 minutes. This way, they’ll be just as delicious and inviting, ensuring a spooky star on your Halloween table!
What to Serve with Mozzarella Cheese Skulls
Pairing these delightful skulls with complementary dishes brings your Halloween spread to life and elevates the entire dining experience.
-
Crispy Garlic Bread: The crunchy texture and fragrant garlic elevate the rich creaminess of the cheese, creating a perfect balance. A warm slice of garlic bread can soak up any dip left behind, ensuring nothing goes to waste.
-
Pumpkin Soup: This creamy, velvety soup adds a hint of sweetness that pairs harmoniously with the savory mozzarella skulls, creating a cozy and comforting combination.
-
Mixed Greens Salad: Fresh, crisp greens with a light vinaigrette provide a refreshing contrast to the rich cheese, enhancing both flavor and presentation on the table.
-
Charcuterie Board: By adding an assortment of meats and cheeses around the mozzarella skulls, you create a visually appealing centerpiece that invites guests to mix and match flavors.
-
Spicy Jalapeño Poppers: For a kick of heat, serve these alongside the skulls. The spicy flavors contrast beautifully with the creamy texture of the cheese, keeping your palate intrigued.
-
Cranberry Sauce: A tangy, sweet dollop almost acts as a dip, bringing a burst of flavor that enhances the savory cheese skulls while adding a festive fall touch.
-
Mulled Cider: This warm drink, infused with spices, complements the flavors of your Halloween spread beautifully, warming your guests from the inside out amidst the spooky festivities.
-
Chocolate-Covered Pretzels: Offering a sweet and salty finish, these bites provide an enjoyable contrast after the cheesy appetizers, rounding out your Halloween spread with delightful variety.
Storage Tips for Mozzarella Cheese Skulls
Fridge: Store your mozzarella cheese skulls in an airtight container for up to 3 days after chilling. This keeps them fresh and ready for serving.
Make-Ahead: These spooky treats can be prepared up to 24 hours in advance. Simply store them in the refrigerator, allowing you to enjoy more time with your guests.
Freezer: Unbaked mozzarella cheese skulls can be frozen for up to 3 months. Just place them in a freezer-safe container, and bake directly from frozen, adding extra baking time as needed.
Reheating: If you need to reheat the baked mozzarella cheese skulls, pop them back in a warm oven for 5-7 minutes until heated through, ensuring they remain soft and delicious.
Mozzarella Cheese Skulls: Fun Variations
Embrace your creativity with these delightful twists on classic mozzarella cheese skulls that will elevate your Halloween festivities even further!
-
Herb-Infused Cheese: Substitute mini mozzarella with herb-infused cheese for an aromatic boost that adds depth and flavor.
-
Spicy Kick: Add chopped jalapeños or crushed red pepper inside the cheese for an exciting and spicy surprise with every bite, perfect for those who love a bit of heat!
-
Alternative Shapes: Use different silicone molds to create various spooky figures, such as pumpkins or ghosts, bringing more variety to your appetizer table.
-
Sweet Surprise: For a unique twist, drizzle honey or agave nectar over the warm mozzarella skulls before serving. The contrast of sweet and savory will tantalize your taste buds.
-
Breaded Crunch: Sprinkle seasoned breadcrumbs before baking for an added crunch and delightful texture—kids will love the extra crispy element!
-
Cheesy Twist: Mix in crumbled feta or goat cheese with the mozzarella for a rich, tangy flavor that will take these spooky bites to the next level.
-
Gourmet Dipping: Pair with a homemade balsamic glaze or try a spicy sriracha sauce for dipping! These flavors add an exciting new layer to your dish.
-
Vegan-Friendly: Swap the mozzarella for a creamy dairy-free cheese alternative. Enjoy the same fun shapes without compromising your dietary preferences!
These variations not only enhance the fun but also cater to various tastes—such as pairing these skulls with a delicious Pumpkin Soup or a refreshing mixed greens salad to create a complete meal. Let your imagination run wild this Halloween!
Mozzarella Cheese Skulls Recipe FAQs
How do I choose the best mini mozzarella balls?
Absolutely! For optimal flavor and texture, I recommend selecting fresh mozzarella balls packed in water. Look for ones that are firm to the touch, without any dark spots or signs of spoilage. Fresh mozzarella will give you that creamy texture that makes these cheese skulls irresistible!
What’s the best way to store leftover mozzarella cheese skulls?
You can keep your mozzarella cheese skulls in an airtight container in the fridge for up to 3 days. If you need to prepare them ahead of time, they can be made a day in advance and stored in the same way, ready to impress your guests!
Can I freeze mozzarella cheese skulls?
Yes! To freeze your unbaked mozzarella cheese skulls, place them in a freezer-safe container and seal tightly. They can last for up to 3 months. When you’re ready to bake, simply pop them straight into the oven from the freezer, adding an additional 2-4 minutes to the baking time for perfectly spooky results.
What if my mozzarella balls are too watery before baking?
No problem! If you notice that your mozzarella balls still have excess moisture, pat them with a paper towel again to absorb any remaining water. A dry mozzarella ball is crucial for maintaining its shape during baking, ensuring your cheese skulls have that perfect skull form.
Are there any dietary considerations I should keep in mind?
Very! If you’re catering to vegetarian guests, rest assured this recipe is fully vegetarian. For those with milk allergies, consider using dairy-free cheese alternatives that melt well. Additionally, if you’re adding spicy enhancements, be sure to let your guests know, especially if they might not enjoy the heat!

Mozzarella Cheese Skulls: A Fun Halloween Appetizer Delight
Ingredients
Equipment
Method
- Preheat your oven to 350°F (175°C). Gather your silicone skull mold and mini mozzarella balls.
- Pat the mini mozzarella balls dry with a paper towel to remove excess moisture.
- Carefully place each dried mozzarella ball into the cavities of the silicone skull mold.
- Bake the mozzarella balls for 8-10 minutes until slightly softened but still holding their form.
- Remove from oven, let cool slightly, then press each mozzarella into the skull shape.
- Chill the molded skulls in the refrigerator for about 10 minutes.
- Carefully unmold the mozzarella cheese skulls and arrange them on a serving platter.
Leave a Reply