
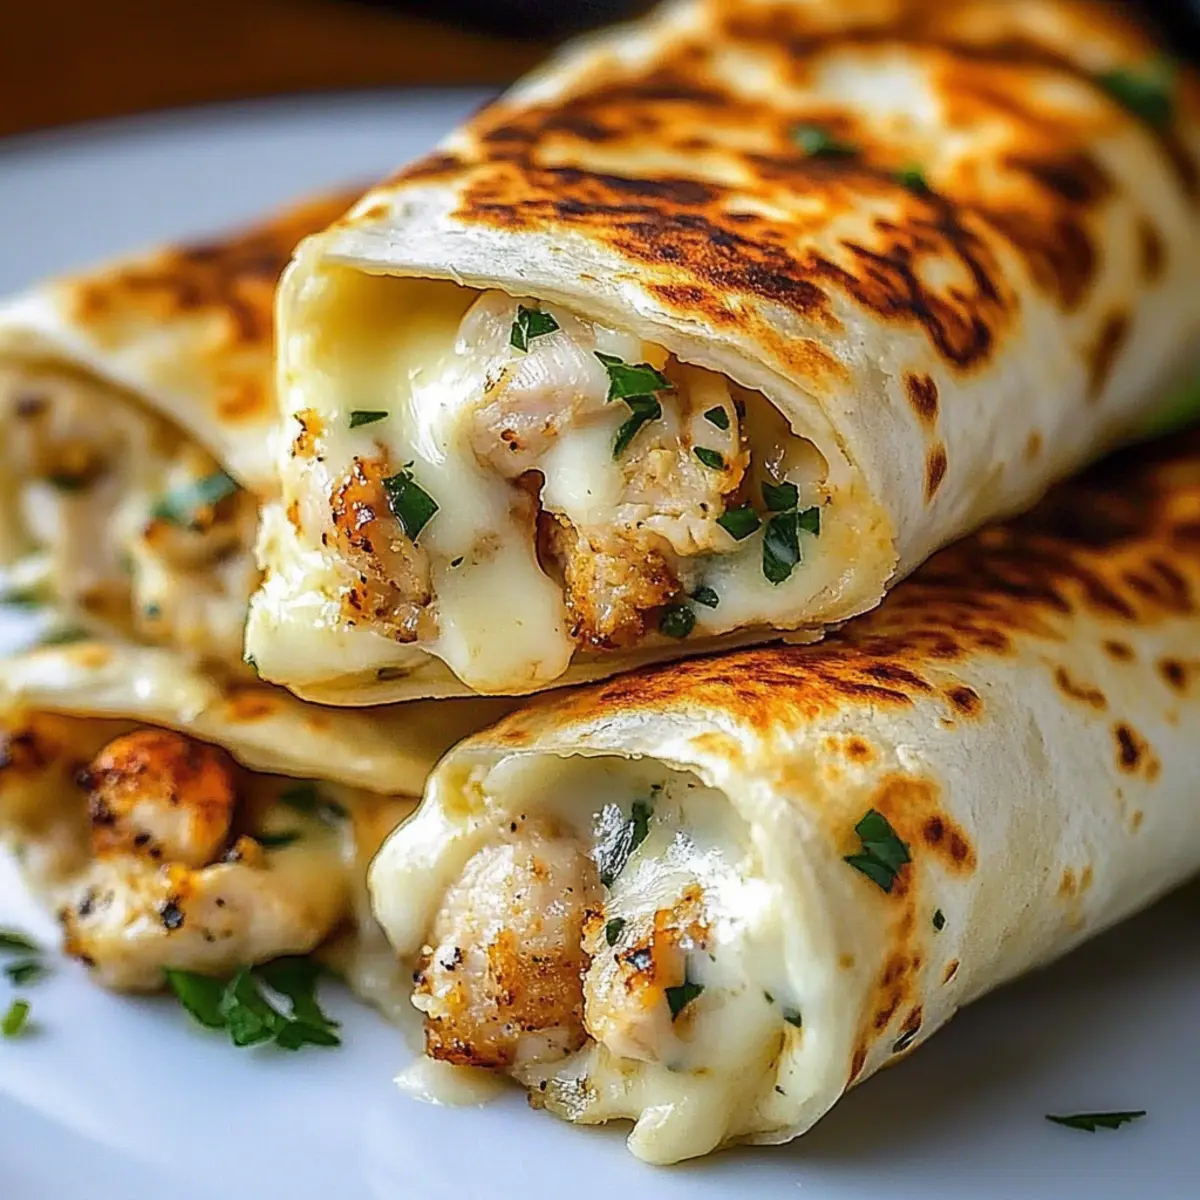
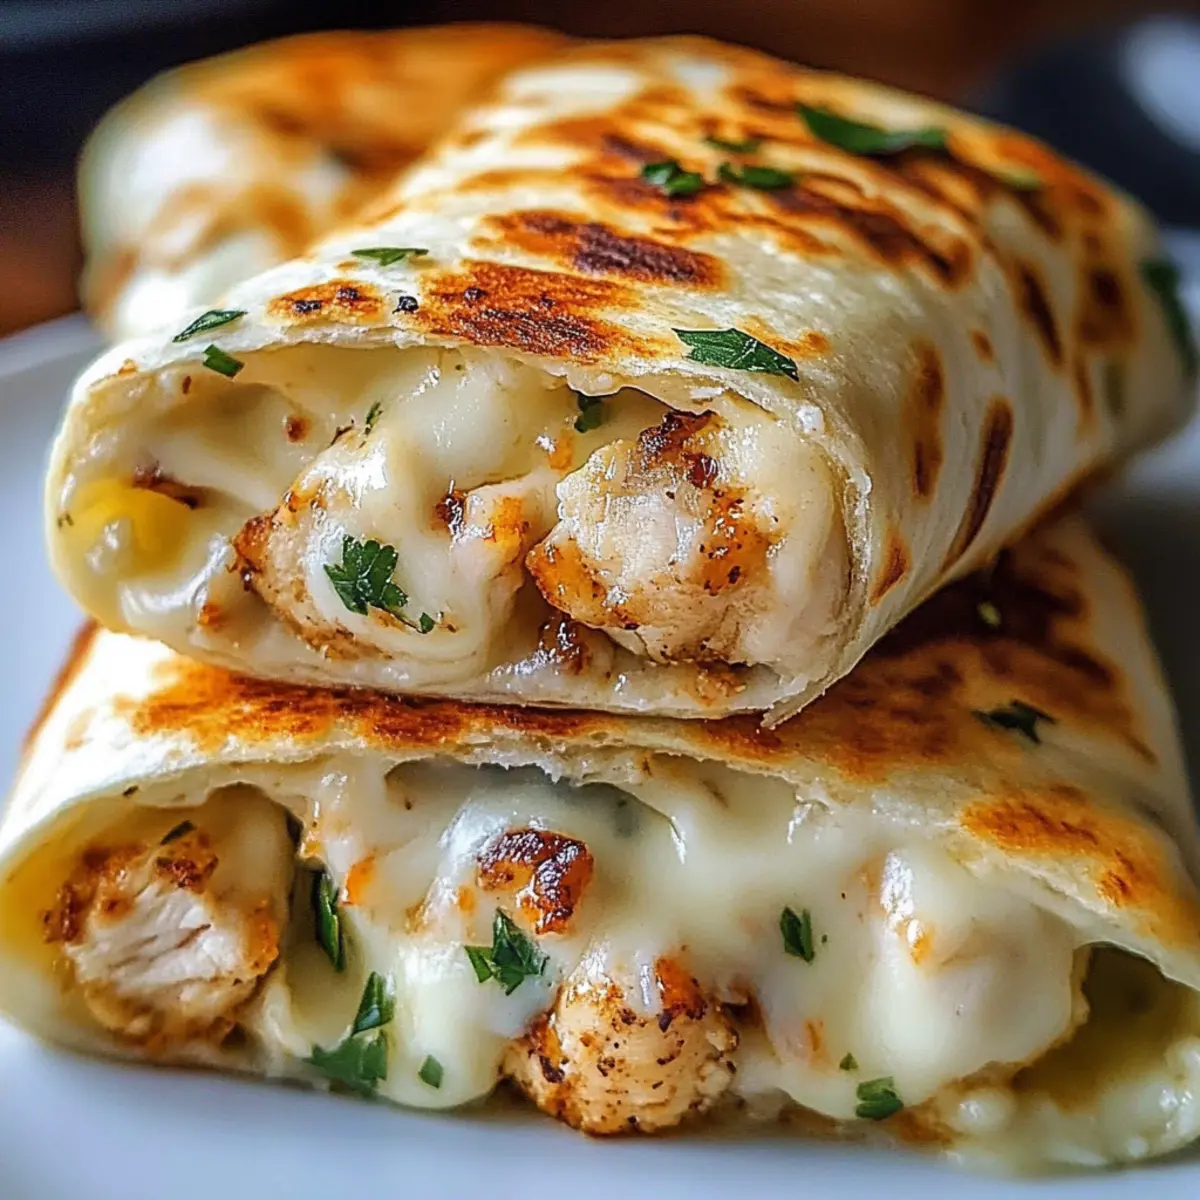
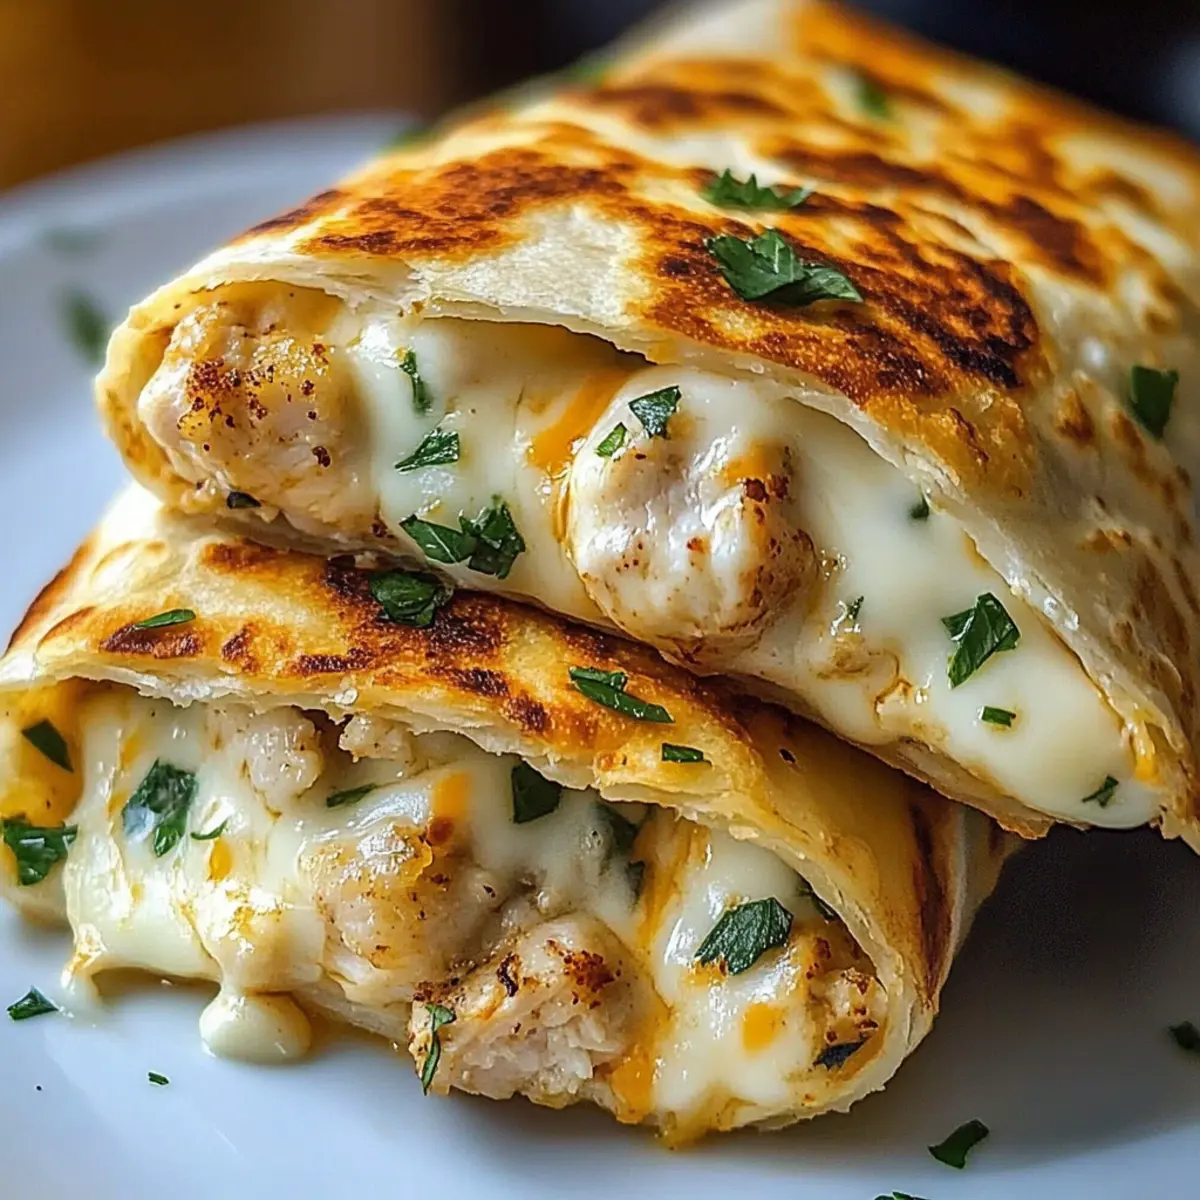
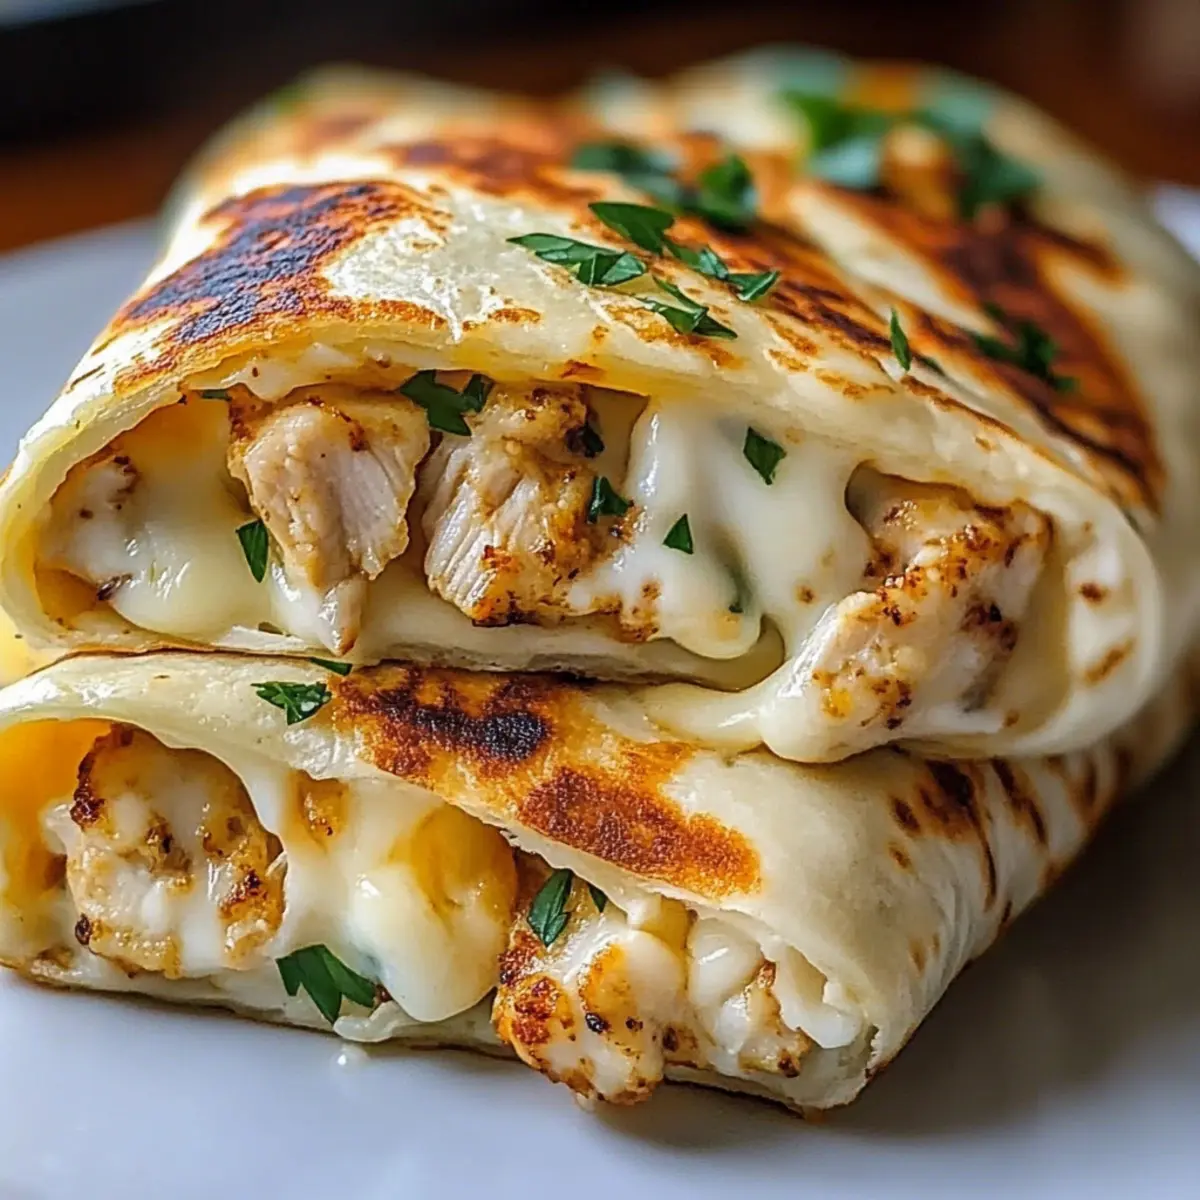
The sizzle of the skillet fills the air as I prepare for a quick triumph in the kitchen. These Low Carb Cheesy Garlic Chicken Wraps have become my go-to recipe for busy weeknights. They strike that perfect balance between indulgence and a healthy lifestyle, making them a delicious option for those of us following a keto diet. Not only are they incredibly easy to whip up, but these wraps also deliver a satisfying crunch on the outside and a gooey cheesy surprise within. Perfect for those evenings when you crave something substantial yet light, I promise you won’t miss the takeout! Ready to wrap your taste buds around this flavor-packed delight? Let’s dive into this simple yet scrumptious recipe.
Why are these wraps a must-try?
Quick and Easy: You can whip these wraps together in just minutes, making them perfect for those hectic weeknights.
Irresistible Flavor: Each bite bursts with cheesy goodness and aromatic garlic that will have everyone asking for seconds.
Keto-Friendly: With only 7g of carbs per serving, they’re a guilt-free option that fits perfectly into your low-carb lifestyle.
Customizable: Whether you want to spice things up with jalapeños or keep it classic, these wraps can easily adapt to suit your taste.
Satisfying Crunch: The crispy exterior paired with a gooey inside creates a delightful contrast that elevates your dining experience.
Crowd-Pleaser: Serve these at your next gathering, and watch them disappear—everyone loves a good cheesy wrap! If you enjoy quick and tasty chicken dishes, check out my Garlic Butter Chicken for another cozy favorite!
Low Carb Cheesy Garlic Chicken Wraps
For the Filling
- Cooked Chicken Breast – Main protein source providing substance and flavor; shredded rotisserie chicken is a great time-saving option.
- Shredded Mozzarella Cheese – Adds melty texture and richness; part-skim mozzarella can be used for fewer calories.
- Shredded Cheddar Cheese – Enhances flavor complexity; feel free to mix in any cheese blend you enjoy!
- Minced Garlic – Provides aromatic flavor; garlic powder serves as a quicker alternative if fresh garlic isn’t handy.
- Cream Cheese – Offers a creamy texture to hold the filling together; use vegan cream cheese for a dairy-free version.
- Fresh Parsley – Adds color and flavor; substitute with basil or cilantro for a fresh twist.
For the Wraps
- Low-Carb Tortillas – The basic build for these wraps; alternatives like collard greens or lettuce leaves keep it light.
- Olive Oil – Used for cooking the wraps and adds flavor; avocado oil or cooking spray works beautifully too.
- Salt and Pepper – Essential seasonings to enhance all flavors; adjust according to your taste preferences.
These Low Carb Cheesy Garlic Chicken Wraps are bound to be a hit at your table! Enjoy delicious simplicity tonight!
Step‑by‑Step Instructions for Low Carb Cheesy Garlic Chicken Wraps
Step 1: Preheat the Skillet
Begin by preheating a non-stick skillet or grill pan over medium heat. Add a splash of olive oil to the pan, allowing it to heat until shimmering, which usually takes about 2 minutes. This hot surface is essential for achieving that golden, crispy exterior on your Low Carb Cheesy Garlic Chicken Wraps.
Step 2: Prepare the Filling
In a large mixing bowl, combine the shredded cooked chicken breast, mozzarella, cheddar cheese, cream cheese, minced garlic, fresh parsley, salt, and pepper. Use a fork to blend everything together thoroughly, ensuring the cheeses melt slightly into the mix. Set this flavorful filling aside while you prepare the wraps.
Step 3: Assemble the Wraps
Lay out your low-carb tortillas on a flat surface. Evenly distribute the cheesy chicken mixture onto each tortilla, placing it in the center. Roll the tortilla tightly around the filling, tucking in the sides to secure the contents. This careful assembly ensures that every bite of your Low Carb Cheesy Garlic Chicken Wrap is packed with flavor.
Step 4: Cook the Wraps
Once your skillet is hot, carefully place the seam-side down wraps into the pan. Cook for 2-3 minutes, or until the bottom is golden brown and crispy. Gently flip the wraps using tongs, cooking the second side for another 2-3 minutes until it achieves the same delightful color and the cheese inside is perfectly melted.
Step 5: Serve and Enjoy
Remove the wraps from the pan and let them cool for a minute. Then, slice each wrap in half to reveal the gooey cheesy center. Serve immediately, garnished with fresh parsley if desired. These Low Carb Cheesy Garlic Chicken Wraps are best enjoyed hot and fresh, delivering that wonderful crunch and cheesy goodness everyone loves!
Expert Tips for Low Carb Cheesy Garlic Chicken Wraps
-
Perfectly Crispy Wraps: Ensure your skillet is hot enough before adding the wraps; this prevents sogginess and guarantees a deliciously crispy texture.
-
Use Fresh Ingredients: Fresh garlic and herbs elevate the flavor remarkably; don’t skimp on these for that aromatic punch.
-
Don’t Overstuff: Filling the wraps too much can make them difficult to roll and cook evenly; stick to a reasonable amount for the best results.
-
Watch Your Time: Keep an eye on cooking time; overcooking can lead to tough wraps. Aim for that golden, crispy exterior without sacrificing tenderness.
-
Keep It Versatile: Feel free to mix in veggies like spinach or bell peppers with the filling for added nutrition and color in your Low Carb Cheesy Garlic Chicken Wraps.
-
Store Properly: If you have leftovers, store them in an airtight container and reheat in the oven for crispness; microwaving might make them soggy.
What to Serve with Low Carb Cheesy Garlic Chicken Wraps
Elevate your meal experience with delicious pairings that enhance the delightful flavors of these wraps.
-
Fresh Side Salad: A crisp salad of mixed greens with cherry tomatoes and cucumbers adds a refreshing crunch and brightens the plate.
-
Salsa Verde: This tangy, vibrant salsa complements the hearty wraps perfectly, offering a zesty contrast that awakens the palate.
-
Guacamole: Creamy avocado spread provides a rich, buttery texture that balances the wraps’ cheesy goodness and adds a burst of flavor.
-
Grilled Vegetables: Smoky, charred veggies like zucchini and bell peppers create a fantastic smoky depth alongside the wraps, enhancing every bite.
-
Creamy Yogurt Dip: A dollop of tangy Greek yogurt or ranch dip adds a luscious creaminess, making each wrap even more indulgent and satisfying.
-
Sparkling Water: A refreshing drink option like sparkling water with lime or lemon keeps the meal light and hydrating, ideal for fresh and flavorful dining.
Whether you choose a zesty salad or a rich dip, these pairings will create an unforgettable meal around your Low Carb Cheesy Garlic Chicken Wraps!
Make Ahead Options
These Low Carb Cheesy Garlic Chicken Wraps are a fantastic choice for meal prep, saving you so much time on busy weeknights! You can prepare the filling (combine cooked chicken, cheeses, garlic, and herbs) up to 24 hours in advance. Simply store the mixture in an airtight container in the refrigerator to keep all those vibrant flavors intact. When you’re ready to eat, just spread the filling onto tortillas, roll them up, and cook as directed—this way, you’ll enjoy that crispy exterior and gooey interior without any hassle. For optimal quality, avoid assembling the wraps too early, as the tortillas can become soggy; instead, prepare them fresh just before cooking for the best results!
How to Store and Freeze Low Carb Cheesy Garlic Chicken Wraps
Fridge: Store leftovers in an airtight container for up to 2 days to keep them fresh. Reheat in the oven for optimal crispness.
Freezer: For longer storage, wrap individual wraps tightly in plastic wrap and place them in a freezer-safe bag. They can be frozen for up to 3 months.
Reheating: To reheat frozen wraps, let them thaw in the fridge overnight, then bake in the oven at 350°F for about 15 minutes until heated through and crispy.
Room Temperature: It’s best not to leave cooked wraps out for more than 2 hours to maintain safety and quality.
Low Carb Cheesy Garlic Chicken Wraps Variations
Feel free to let your creativity shine and customize these delicious wraps to suit your taste preferences!
-
Spicy Kick: Add chili flakes or jalapeños to the filling for a fiery twist that will awaken your taste buds. A little heat elevates the cheesy goodness beautifully!
-
Protein Boost: Swap in egg wraps for your low-carb tortillas to amp up the protein content. This twist turns your wraps into a savory omelette-style delight that satisfies even more.
-
Vegan Delight: Use plant-based cheeses and vegan wraps to create a delectable vegan version. You won’t miss the dairy with the vibrant flavors of the other ingredients!
-
Texture Variation: For an added crunch, toss in some chopped walnuts or toasted pine nuts to the filling. They provide a delightful texture contrast and nutty flavor boost.
-
Herb Explosion: Elevate the flavor by mixing in fresh herbs like basil or cilantro instead of parsley. This simple substitution brings a refreshing twist to every bite!
-
Veggie Infusion: Stir in sautéed spinach or bell peppers with the filling to pack your wraps with vibrant colors and additional nutrients. These veggies not only add freshness but also mimic the flavors of a traditional chicken burrito.
-
Tangy Zest: Mix in a tablespoon of cream cheese with a splash of lemon juice for an extra tangy flavor burst. The creaminess pairs beautifully with the zesty notes, providing a lovely balance to the overall dish.
-
Recipe Inspiration: If you love quick chicken dishes, try these Garlic Butter Chicken wraps for another crowd-pleaser that yields endless flavor variations!
Low Carb Cheesy Garlic Chicken Wraps Recipe FAQs
How do I select the right chicken for the filling?
Absolutely! I recommend using cooked chicken breast for the best texture and flavor. Shredded rotisserie chicken is a fantastic time-saver and infuses your wraps with extra flavor. Look for chicken that’s juicy and tender without any dark spots or signs of dryness.
What’s the best way to store leftovers?
Very! Store any leftovers in an airtight container in the fridge for up to 2 days. This helps maintain freshness. When you’re ready to enjoy them again, reheat in the oven at 350°F for about 10 minutes to bring back that delightful crunch!
Can I freeze Low Carb Cheesy Garlic Chicken Wraps?
Of course! To freeze, wrap each prepared wrap tightly in plastic wrap and place them in a freezer-safe bag. They can be stored in the freezer for up to 3 months. To reheat, allow them to thaw overnight in the fridge and then bake at 350°F for about 15 minutes to make them crispy again.
What if my wraps become soggy when reheating?
Ah, this can happen sometimes! To avoid sogginess, ensure you reheat them in the oven rather than the microwave. If you’re dealing with soggy leftovers, consider adding fresh greens like lettuce or arugula as a topping to maintain crunch and freshness.
Are there any dietary considerations I should be aware of?
Definitely! If you’re cooking for others, make sure to check for allergies to ingredients like dairy (from cheese and cream cheese). Additionally, for a dairy-free version, switch to plant-based cheeses. Always feel free to customize with ingredients that suit your guests’ dietary restrictions—everyone deserves a tasty wrap!
Can I use different tortillas for this recipe?
The more the merrier! You can absolutely experiment with various low-carb options to find what you like best. Collard greens or lettuce leaves make excellent alternatives for a lighter wrap, and even egg wraps can provide a protein boost while keeping the dish low-carb!
Satisfying Low Carb Cheesy Garlic Chicken Wraps in Minutes
Ingredients
Equipment
Method
- Preheat a non-stick skillet or grill pan over medium heat with a splash of olive oil until shimmering, about 2 minutes.
- In a large mixing bowl, combine shredded cooked chicken, mozzarella, cheddar cheese, cream cheese, minced garlic, parsley, salt, and pepper. Blend everything together thoroughly.
- Lay out tortillas and evenly distribute the cheesy chicken mixture onto each, then roll tightly around the filling.
- Carefully place the seam-side down wraps into the hot skillet. Cook for 2-3 minutes until golden brown and crispy. Flip and cook for another 2-3 minutes.
- Remove from the pan, let cool for a minute, then slice each wrap in half and serve immediately.
Leave a Reply