
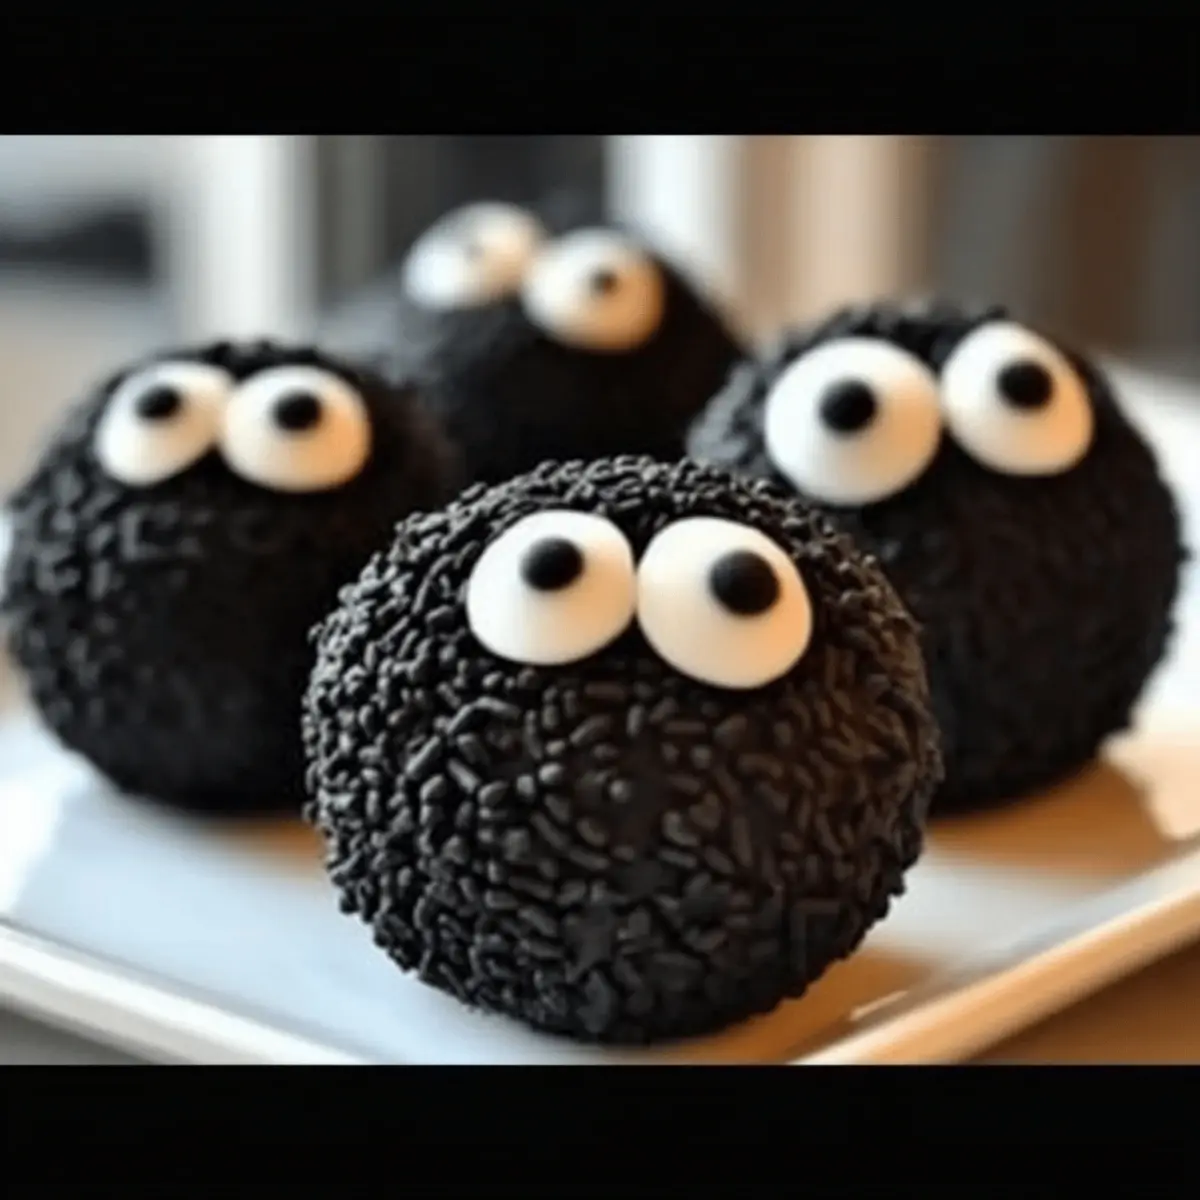
As I left my kitchen one Halloween, the smell of chocolate and crushed Oreos lingered in the air like a sweet spell. This year, I decided to take my festive treats up a notch with these adorable Halloween Oreo Balls. These no-bake delights are not only a breeze to whip up but also incredibly fun to customize into ghoulish ghosts, playful pumpkins, or spooky mummies. With just a few simple ingredients, like cream cheese and colorful candy melts, you can create a treat that’s perfect for kids’ parties or after-school snacks. Plus, they’re vegetarian-friendly and make for a fantastic crowd-pleaser. Ready to uncover the magic behind these enchanting treats? Let’s dive in!
Why are Halloween Oreo Balls a Must-Try?
Simplicity at its finest: No baking required—just mix, roll, and dip!
Fun to Customize: Create unique designs, from spooky mummies to cheerful pumpkins, making them perfect for any celebration.
Delicious Flavor: The combination of crushed Oreos and cream cheese yields a rich, indulgent taste that everyone will love.
Great for Kids: These adorable treats are fun for children to help make, building excitement for the festivities.
Crowd-Pleaser: Perfect for parties, these bite-sized delights will impress guests and leave them craving more!
For more kid-friendly treats, check out my Halloween Oreo Cookie and Pumpkin Protein Balls recipes!
Halloween Oreo Balls Ingredients
• Get ready to whip up some spooky sweetness with these Halloween Oreo Balls that are sure to delight!
For the Base
- Oreo Cookies – These provide the essential flavor and texture; mix in Halloween-themed Oreos for a festive twist!
- Cream Cheese – Use full-fat cream cheese for the richest taste that binds everything together.
For the Coating
- Candy Melts/Chocolate Chips – Choose colorful candy melts like orange or black to match your Halloween theme; avoid chocolate chips as they don’t melt well for coating.
For Decoration
- Candy Eyes/Sprinkles/Mini Chocolate Chips – Add these fun decorations right before the coating sets for that perfect spooky touch!
- Gel Food Coloring (optional) – Use this to tint your melted chocolate for more vibrant Halloween colors.
For Assembly
- Parchment Paper – Line your baking sheet with this to prevent the Oreo balls from sticking.
Step‑by‑Step Instructions for Halloween Oreo Balls
Step 1: Crush the Oreos
Begin by finely crushing the Oreo cookies to create a crumbly texture. You can either use a food processor for a quick blend or place the cookies in a sealed bag and crush them with a rolling pin. Aim for fine crumbs that will easily mix with the cream cheese. Set the crushed Oreos aside in a large mixing bowl.
Step 2: Mix the Ingredients
In the bowl with the Oreo crumbs, add softened cream cheese. Use a spatula to combine the ingredients thoroughly, mixing until the dough is smooth and cohesive. This should take about 2-3 minutes of vigorous stirring. The mixture should be thick enough to hold its shape when rolled into balls, making it the perfect base for your Halloween Oreo Balls.
Step 3: Form the Balls
Using your hands, scoop out portions of the Oreo mixture and roll them into 1-inch balls. Place each ball carefully on a parchment-lined baking sheet, ensuring they are evenly spaced apart. This step is crucial for achieving the signature round shape of the Halloween Oreo Balls, which should feel firm enough to hold their shape without crumbling.
Step 4: Chill the Balls
Once all the balls are formed, transfer the baking sheet to the freezer. Chill the balls for at least 20-60 minutes, allowing them to firm up. This step is vital as it makes them easier to coat in chocolate. After chilling, they should feel solid to the touch, ensuring the chocolate coating adheres perfectly without melting the balls.
Step 5: Melt the Chocolate
In a microwave-safe bowl, add your chosen candy melts or chocolate chips for coating. Heat them in the microwave in 30-second intervals, stirring in between to achieve a smooth, melted consistency. This should take about 1-2 minutes total. Once melted, the chocolate should be glossy and fluid, perfect for dipping your chilled Halloween Oreo Balls.
Step 6: Dip and Coat
Using a fork, dip each chilled Oreo ball into the melted chocolate, ensuring it is completely coated. Tap the fork gently on the bowl’s edge to allow excess coating to drip off. Return the coated balls to the parchment-lined baking sheet, making sure they don’t touch each other. This method ensures a beautiful, even coating for each Halloween Oreo Ball.
Step 7: Decorate
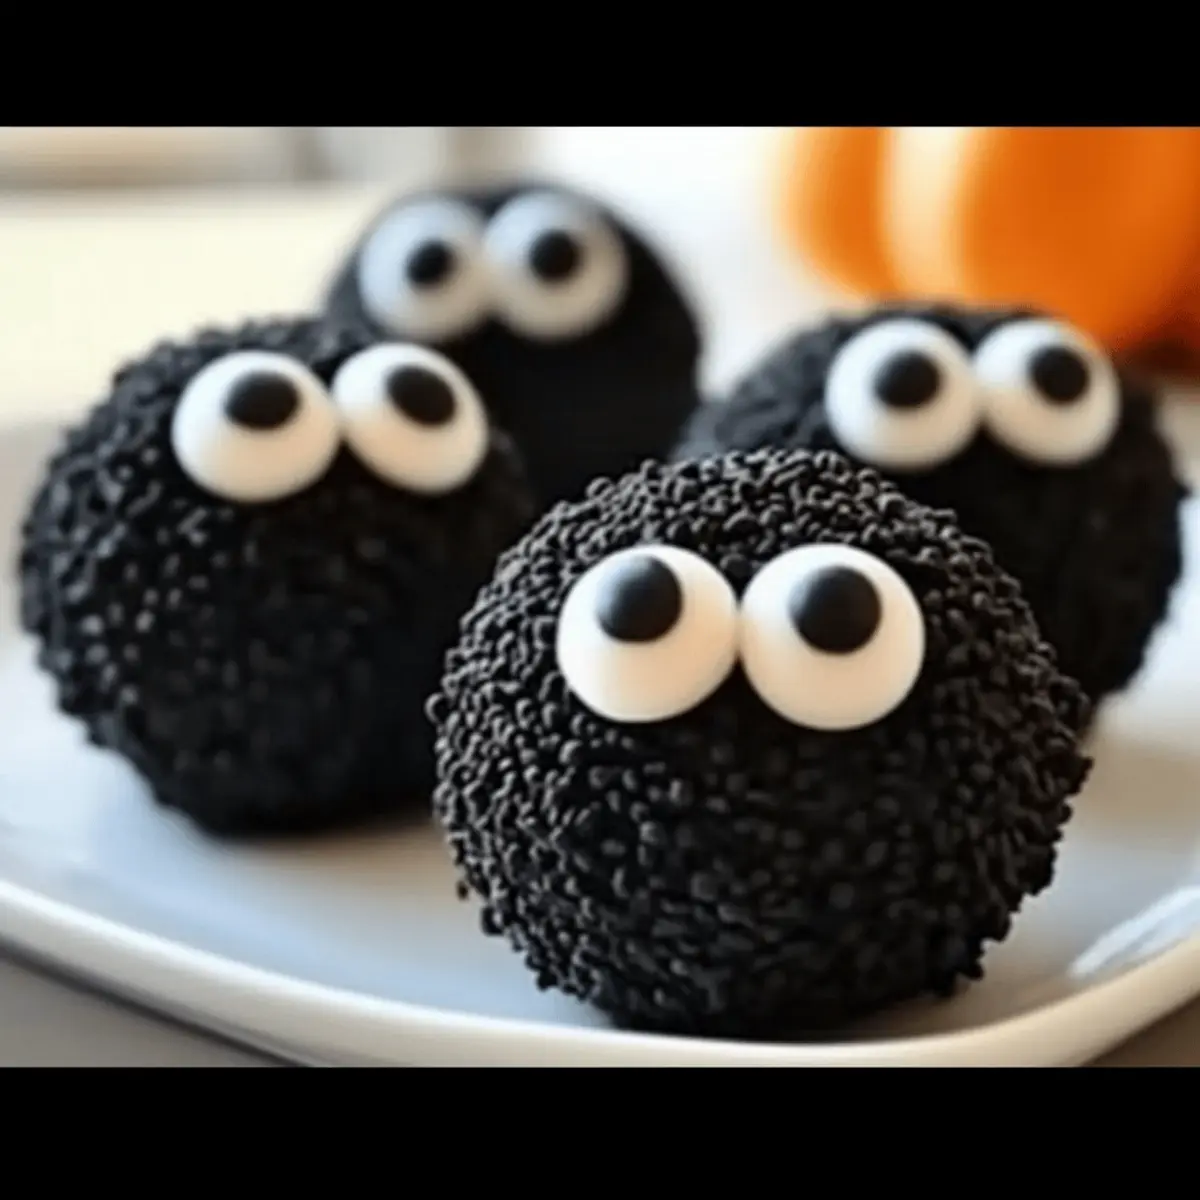
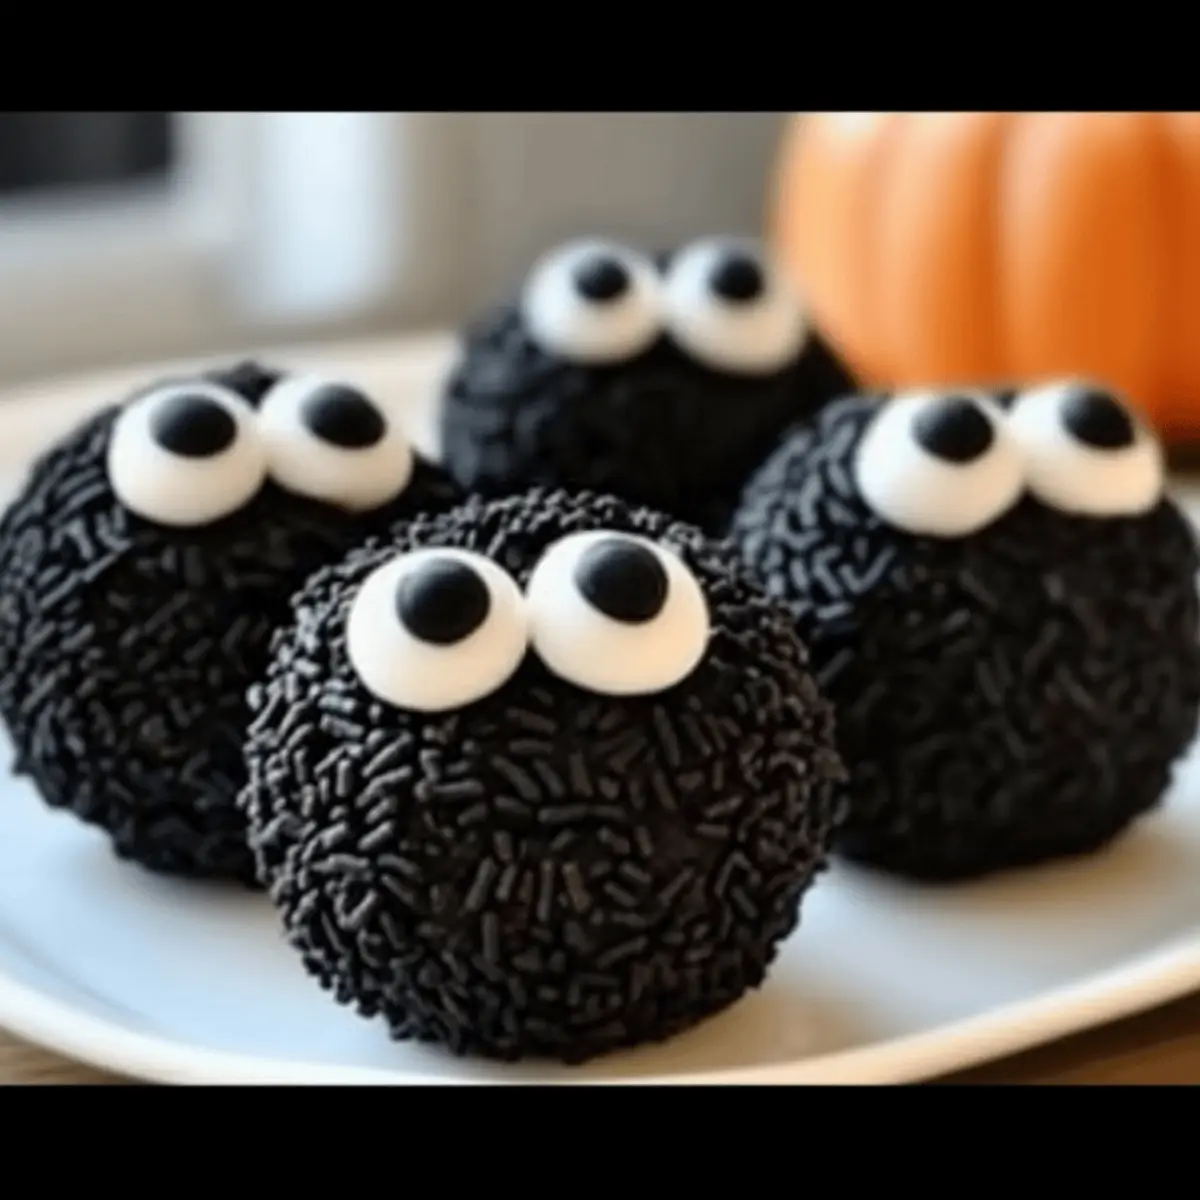
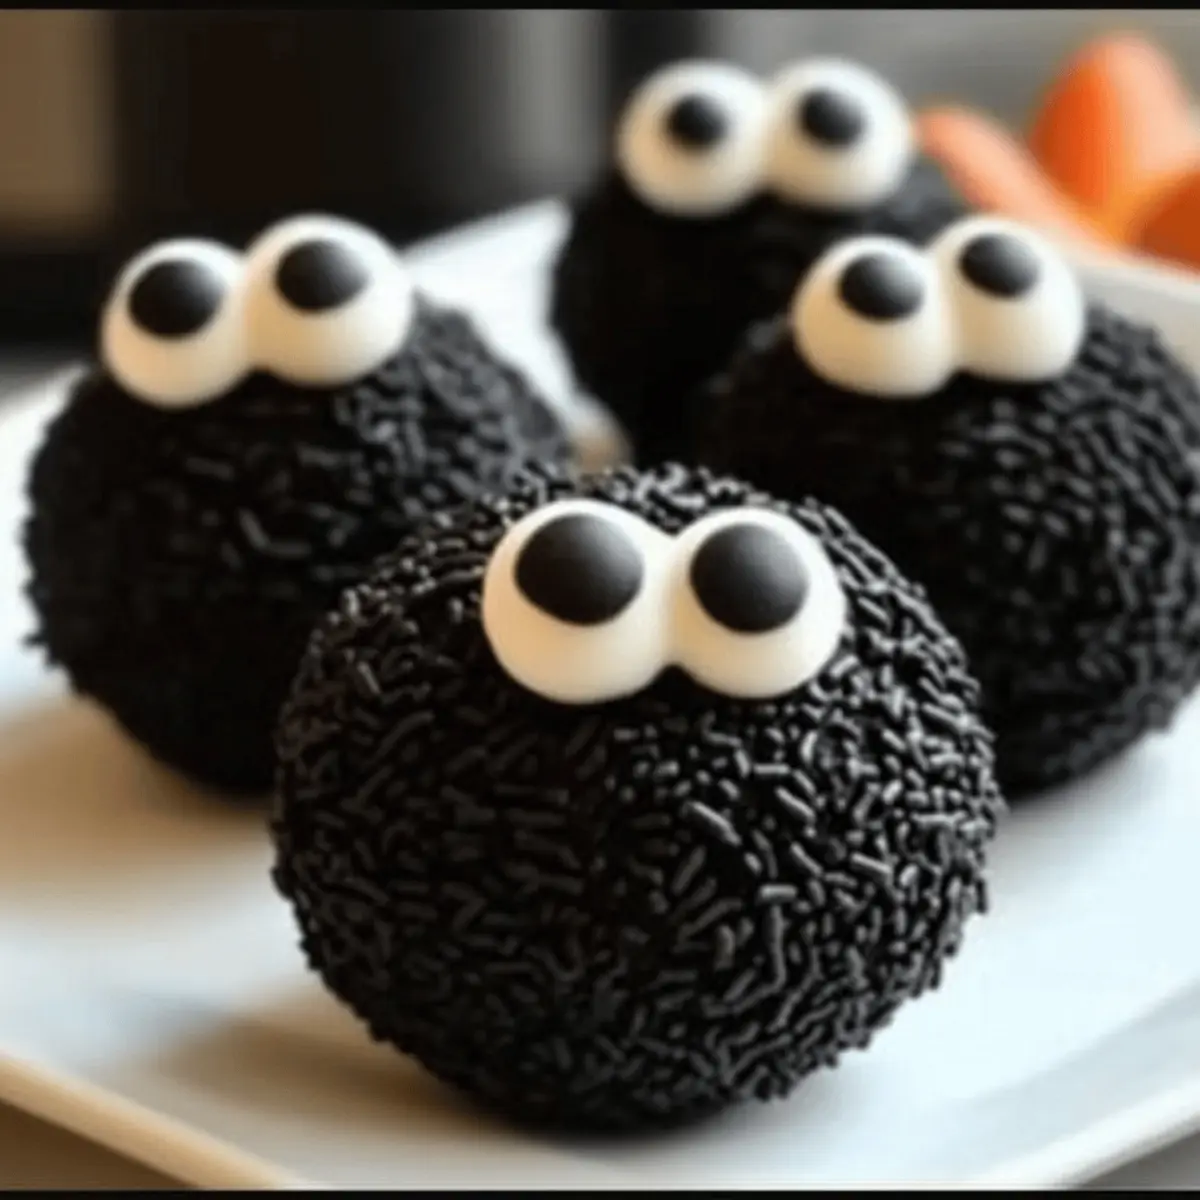
While the chocolate is still wet, unleash your creativity by decorating the Oreo balls with candy eyes, sprinkles, or mini chocolate chips. This is the time to make them look like spooky ghosts or playful pumpkins! The chocolate coating will hold the decorations in place as it sets, so act quickly to achieve the desired festive looks for your Halloween Oreo Balls.
Step 8: Set the Coating
Allow the decorated Halloween Oreo Balls to sit at room temperature or place them in the fridge until the chocolate is completely hardened. This usually takes about 10-15 minutes. Once set, the chocolate will be firm and glossy, ready for serving. Enjoy your delightful, no-bake Halloween Oreo Balls fresh or store them for later festivities!
Expert Tips for Halloween Oreo Balls
-
Chill Thoroughly: Ensure the formed balls are well-chilled before dipping; this prevents them from falling apart in the melted chocolate.
-
Use Quality Chocolate: Opt for high-quality candy melts or coating chocolate to achieve a smooth finish on your Halloween Oreo Balls; avoid chocolate chips as they don’t melt well.
-
Quick Decoration: Decorate before the chocolate sets; it hardens rapidly, making it essential to add eyes or sprinkles immediately after coating.
-
Keep It Clean: Use a toothpick or fork for easier and cleaner dipping; this helps avoid messy fingers and ensures an even coat.
-
Experiment with Flavors: Feel free to mix in different flavorings or extracts with your cream cheese to create unique variations of these Halloween Oreo Balls.
Make Ahead Options
These Halloween Oreo Balls are perfect for busy home cooks looking to save time during the hustle of festivities! You can prepare the Oreo mixture and roll it into balls up to 24 hours in advance, placing them in an airtight container in the refrigerator. When you’re ready to serve, simply melt your candy melts or chocolate, dip the chilled balls, and decorate them immediately for a fresh and festive look. To maintain their quality, keep them refrigerated until you’re set to serve, as this helps preserve their creamy texture and delightful taste. With this make-ahead approach, your treats will be just as delicious and ready to impress when the celebration begins!
What to Serve with Halloween Oreo Balls
As you prepare these delightful treats, consider complementing them with sides and drinks that echo the spirit of Halloween.
-
Apple Slices with Caramel Dip: Crisp, juicy apples paired with sweet caramel lend a refreshing contrast to the rich Oreo balls.
-
Pumpkin Soup: A warm, spiced pumpkin soup offers a cozy touch, pairing perfectly with the sweet and creamy flavors of the Oreo balls.
-
Ghostly Cheese Platter: Create a cheese board with ghost-shaped cheese bites and assorted crackers for a fun savory pairing that guests will adore.
-
Spooktacular Fruit Salad: Toss together seasonal fruits like oranges, grapes, and pomegranate seeds to refresh your palate. The bright colors mimic Halloween vibes!
-
Chilled Cider: Serve a cold apple cider, perhaps spiced with cinnamon, as a warm welcoming drink that enhances the festive atmosphere.
-
Hot Chocolate Bar: Set up a hot chocolate station with various toppings, encouraging everyone to enjoy a warm, comforting drink alongside the sweet treats.
These options will help you craft an enchanting Halloween gathering, blending flavors and fun for all ages.
How to Store and Freeze Halloween Oreo Balls
Room Temperature: Keep the Halloween Oreo Balls in a cool, dry place for up to 2 hours when serving at parties.
Fridge: Store the Oreo balls in an airtight container in the refrigerator for up to one week. This will maintain their creamy texture and freshness.
Freezer: Freeze undipped Oreo balls for up to two months. Simply thaw in the fridge before dipping in chocolate when ready to serve.
Reheating: No reheating is required; enjoy them chilled right from the fridge or freezer for a refreshing treat!
Halloween Oreo Balls Variations
Feel the freedom to customize these festive treats into something uniquely yours, making every bite a delightful surprise!
- Gluten-Free: Use gluten-free Oreos to ensure everyone can enjoy these sweets without worry.
- Pumpkin Spice: Substitute pumpkin-flavored cream cheese for seasonal richness that embraces the flavors of autumn.
- Nutty Crunch: Mix in crushed nuts like walnuts or pecans for an added crunch that contrasts beautifully with the creaminess.
- Flavor Infusion: Try adding a splash of vanilla or almond extract to enhance the overall taste of these delicious bites.
- Spicy Twist: For a bit of heat, incorporate a pinch of cayenne pepper into the cream cheese mixture for a surprisingly festive kick.
- Themed Chocolate: Use different colored candy melts to create a rainbow of fun, from vibrant green mummies to cheerful yellow pumpkins.
- Caramel Drizzle: Drizzle some melted caramel over the top after coating for an extra indulgent touch that captures every candy lover’s heart.
If you’re in the mood for more delightful treats, consider pairing these with my Ground Beef Meatballs or adding some variety with delightful Pumpkin Protein Balls!
Halloween Oreo Balls Recipe FAQs
What kind of Oreos should I use for Halloween Oreo Balls?
Absolutely! You can use regular Oreos for a classic taste, but I recommend trying Halloween-themed Oreos to add a festive touch to your treats. Look for seasonal varieties that may have fun designs or spooky flavors to enhance the theme of your Halloween party.
How should I store Halloween Oreo Balls after making them?
To keep your Halloween Oreo Balls fresh, store them in an airtight container in the refrigerator for up to one week. This helps maintain their creamy texture and ensures they stay delicious. If you have leftovers after the party, this is the best method to preserve their flavor!
Can I freeze Halloween Oreo Balls, and how do I do it?
The more the merrier! You can absolutely freeze undipped Oreo balls for up to two months. Simply place the shaped balls on a baking sheet and freeze until firm. Once frozen, transfer them to a freezer-safe container or bag. When you’re ready to enjoy, just thaw them in the fridge before dipping in chocolate.
What if my chocolate coating is too thick to dip?
No worries! If you find your melted chocolate is too thick, you can add a teaspoon of vegetable oil or shortening to the chocolate. This helps thin it out, making it easier to dip the Halloween Oreo Balls. Just melt a little more if needed, and stir until you achieve that perfect smooth consistency.
Are Halloween Oreo Balls safe for kids with allergies?
Very! However, keep in mind that traditional Oreos contain wheat and may have traces of dairy. If making these treats for kids with allergies, consider using gluten-free Oreos and check the labels on the cream cheese and candy melts for any potential allergens. Always consult with parents about specific dietary concerns to ensure everyone’s safety.
Can I use regular chocolate chips for the coating instead of candy melts?
I often recommend using candy melts instead of chocolate chips for coating, as they are specifically formulated to melt smoothly. If you choose to use chocolate chips, make sure to temper them properly or add a bit of shortening to achieve a good dipping consistency. Remember that chocolate chips may not give you that glossy finish that candy melts do!
Halloween Oreo Balls: No-Bake Treats That Wow the Crowd!
Ingredients
Equipment
Method
- Crush the Oreo cookies to create fine crumbs.
- Mix crushed Oreos with softened cream cheese until smooth.
- Form the mixture into 1-inch balls and place on parchment-lined baking sheet.
- Chill the balls in the freezer for 20-60 minutes.
- Melt candy melts in microwave until smooth.
- Dip each ball in melted chocolate, then place back on parchment.
- Decorate with candy eyes and sprinkles before chocolate sets.
- Let chocolate set before serving, about 10-15 minutes.
Leave a Reply