
With Halloween just around the corner, why not add a pinch of whimsy to your festivities? These Easy DIY Witches Brooms are not only delightful to look at but also a breeze to make—ready in just 15 minutes! Combining sweet mini peanut butter cups with crunchy pretzel handles, this no-bake treat is perfect for engaging your little ghouls in the kitchen. Imagine the joy on their faces as they decorate these playful brooms with melted chocolate and sprinkles. This recipe is a fantastic way to create lasting memories while enjoying a delicious snack that’s both vegetarian-friendly and sure to be a crowd-pleaser at any Halloween gathering. Who will you share your Witches Brooms with this season?
Why Make DIY Witches Brooms?
Irresistible Fun: These charming DIY Witches Brooms bring joy to both kids and adults, making them perfect for family bonding during your Halloween prep.
No-Bake Ease: Whip up these delightful treats in just 15 minutes—no oven necessary!
Customizable Creativity: Decorate with sprinkles or colorful candy melts to match any spooky theme.
Sweet and Salty Bliss: The combination of peanut butter cups and pretzel handles creates a delicious contrast that everyone will love.
Make-Your-Own Magic: Ideal for Halloween parties or as festive treats to share, these brooms are sure to impress.
For more simple and fun ideas, check out our Halloween treats collection for inspiration!
DIY Witches Brooms Ingredients
-
For the Broom Base
• Mini Peanut Butter Cups (20) – These are the star of the show, providing a sweet treat that balances perfectly with the salty pretzel handles. Feel free to substitute with homemade peanut butter cups if you’re feeling adventurous! -
For the Handles
• Thin Pretzel Sticks (20) – Choose pretzels that are sturdy yet slender to keep your brooms balanced and easy to hold. You can also experiment with rods for a fun variation, though they may not stabilize as well. -
For Adhesive & Drizzle
• Chocolate Chips (1/4 cup, melted) – Use semi-sweet, milk, or dark chocolate to adhere your broom components together. For a colorful twist, try using candy melts to drizzle over your witches brooms! -
For Festive Flair
• Halloween Sprinkles/Edible Glitter – Add a sprinkle of magic to your brooms with these delightful decorations, which will dazzle everyone at your Halloween gathering. -
For Decoration
• Candy Bows/Icing Pens – Perfect for adding those extra charming details to your brooms, making them irresistibly cute and personal!
Now you have all the ingredients needed for your DIY Witches Brooms—time to get crafting and have some Halloween fun!
Step‑by‑Step Instructions for Easy DIY Witches Brooms
Step 1: Prep the Workspace
Begin by lining a tray with parchment paper to catch any chocolate drips. Unwrap the mini peanut butter cups and place them in a single layer on the tray. Keep the thin pretzel sticks nearby for easy access. This organized setup will streamline your process as you create these delightful DIY Witches Brooms.
Step 2: Melt the Chocolate
Using a microwave-safe bowl, add the chocolate chips and melt them in 30-second increments, stirring after each round for even consistency. Total melting time should be about 60-90 seconds, or until smooth. The chocolate should be glossy and free of lumps, ready to act as the glue and drizzle for your broom creations.
Step 3: Make Pilot Holes
Grab a toothpick or a small, sharp knife and gently poke a tiny hole in the center of the top side of each peanut butter cup. This step is crucial, as it will allow you to easily insert the pretzel stick later. Be careful not to press too hard, as you want to keep the cups intact for your charming DIY Witches Brooms.
Step 4: Assemble the Brooms
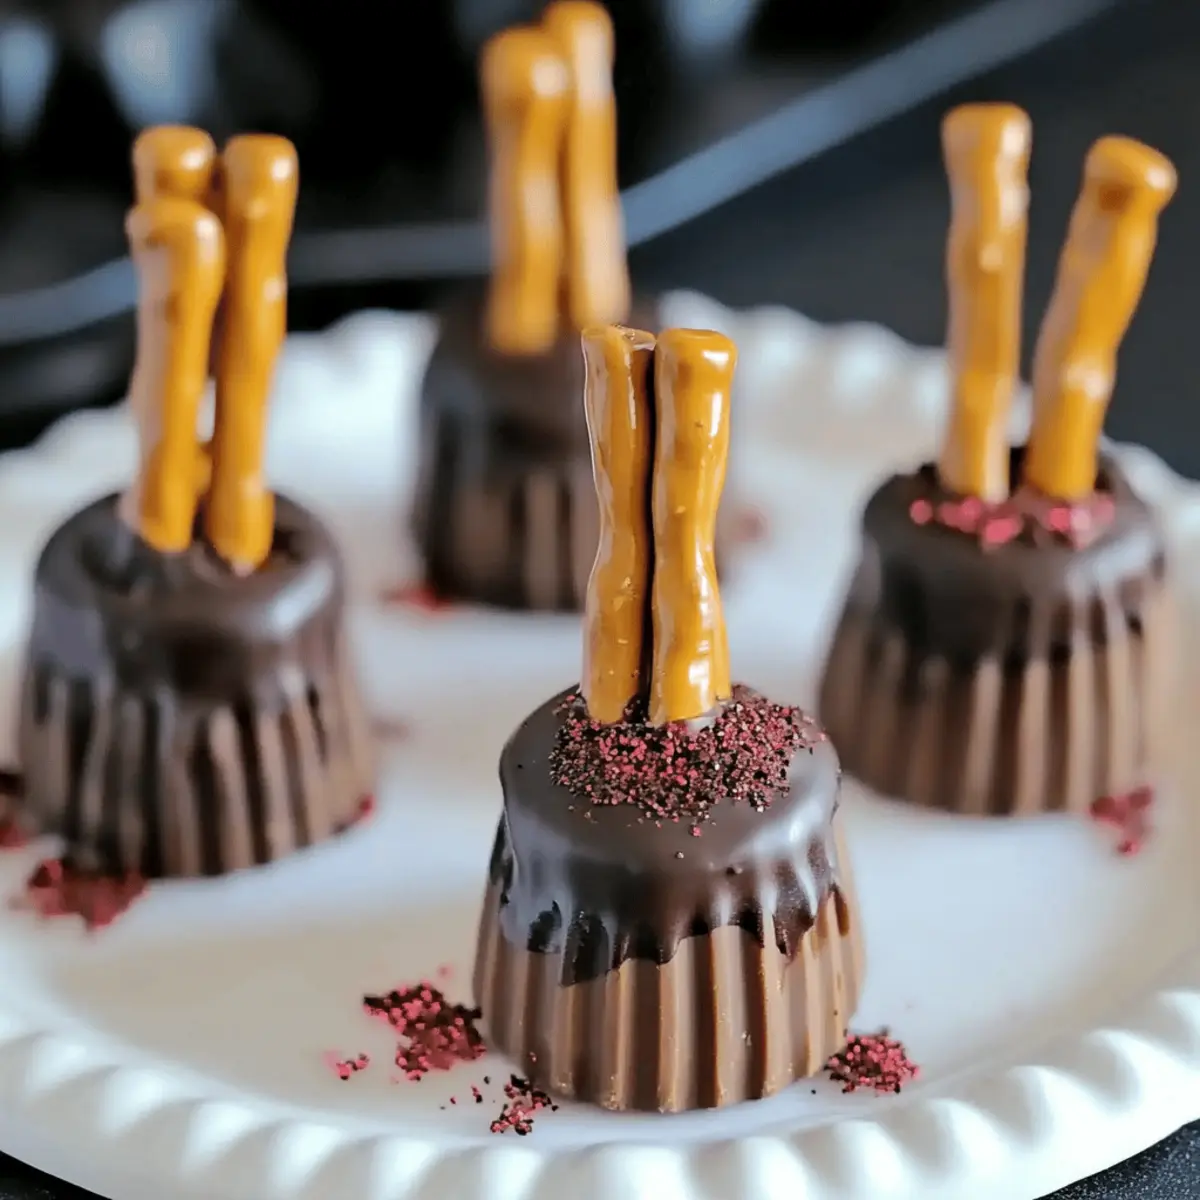
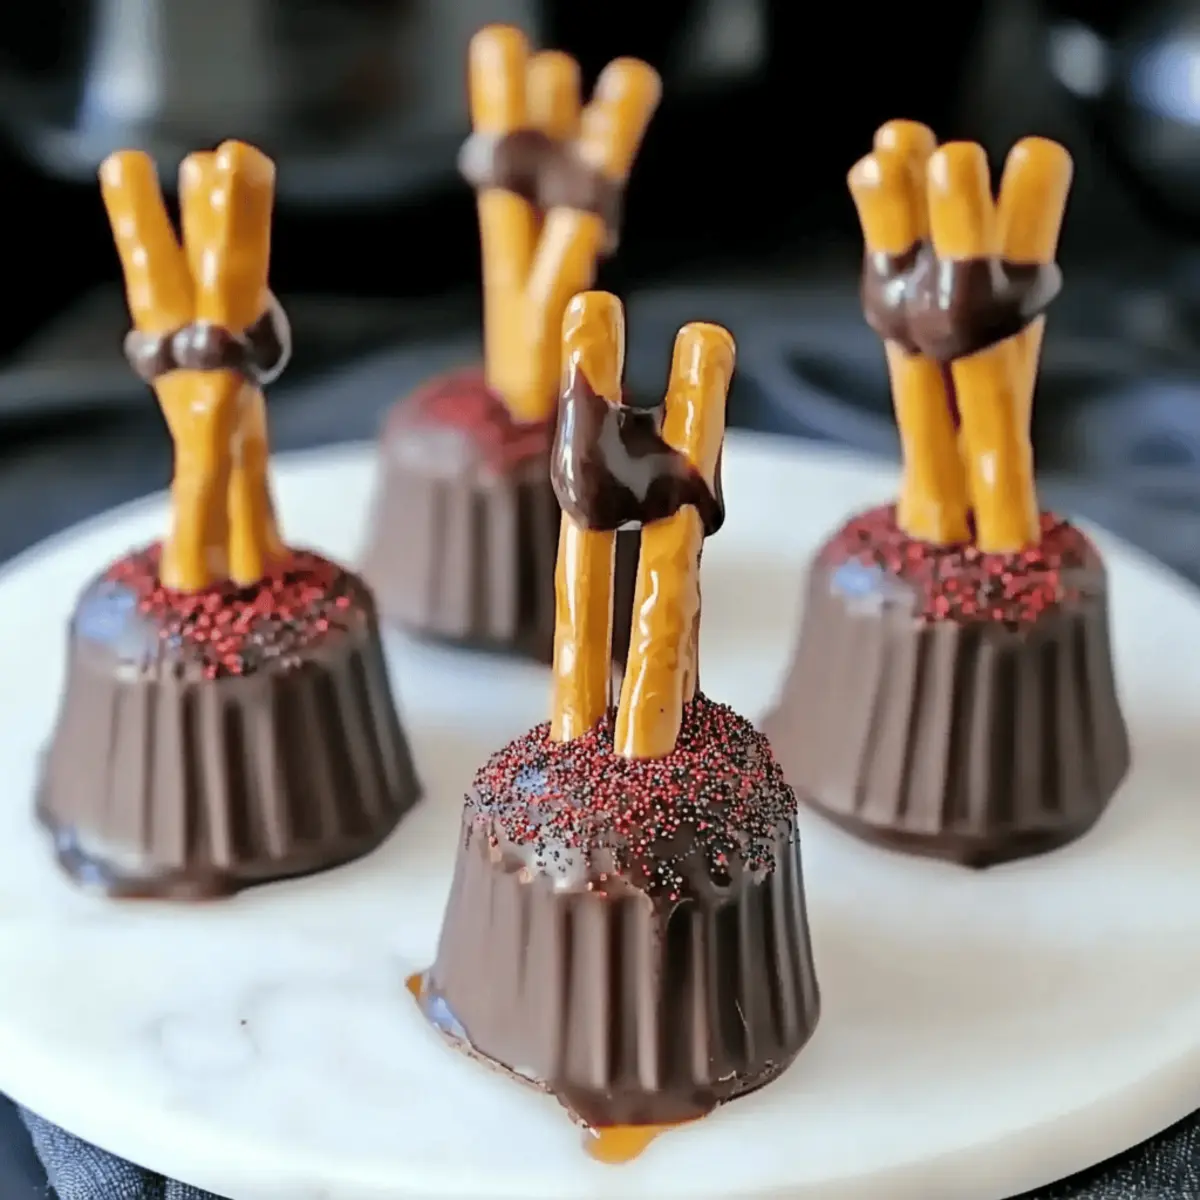
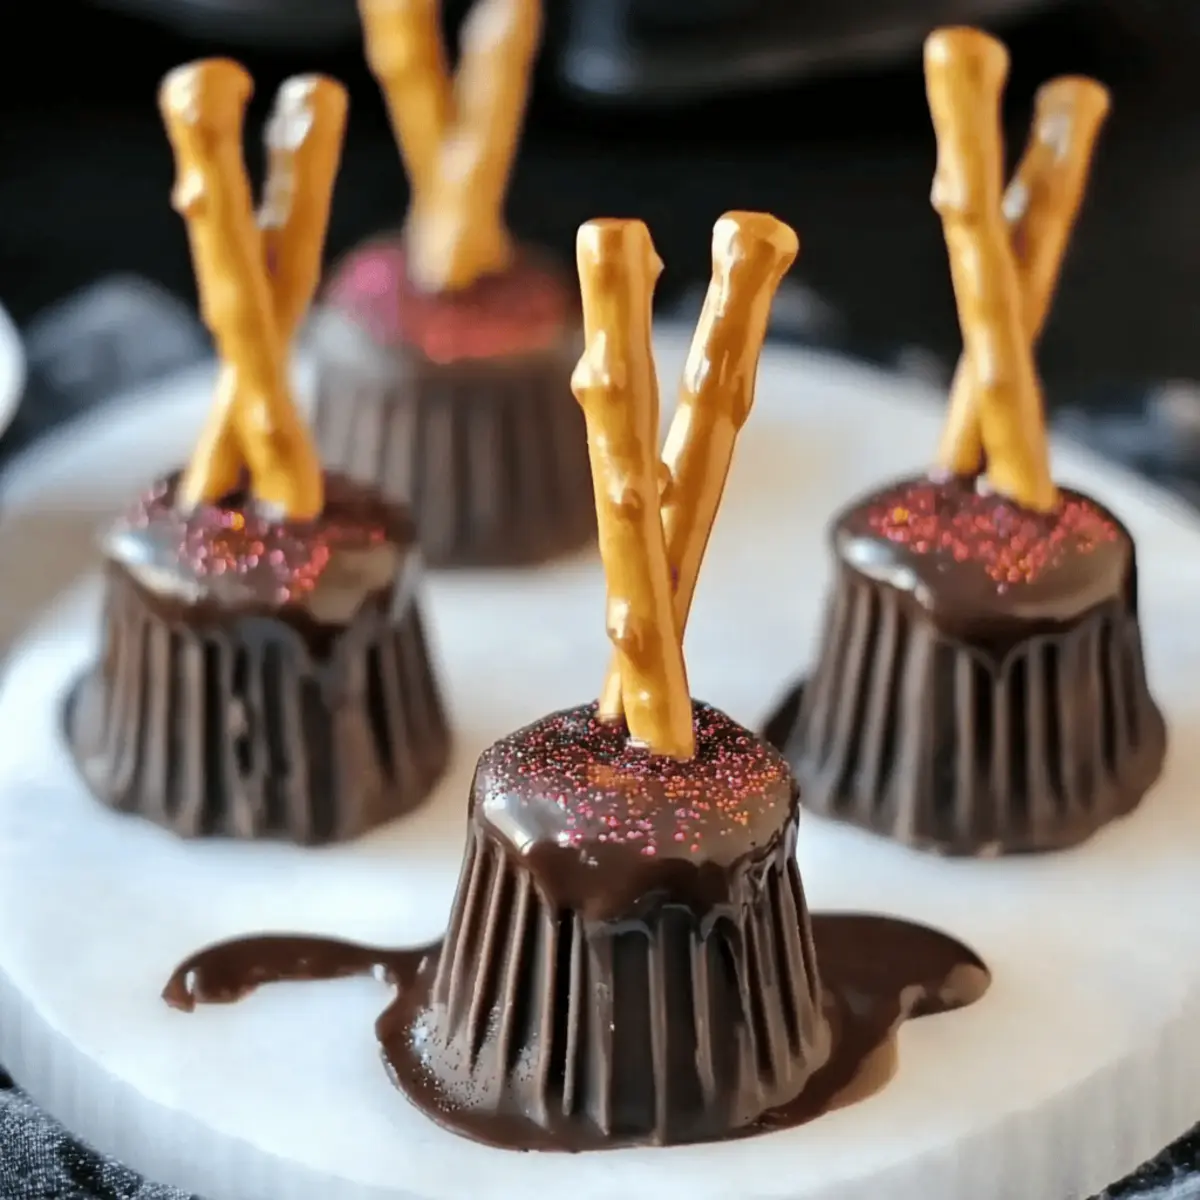
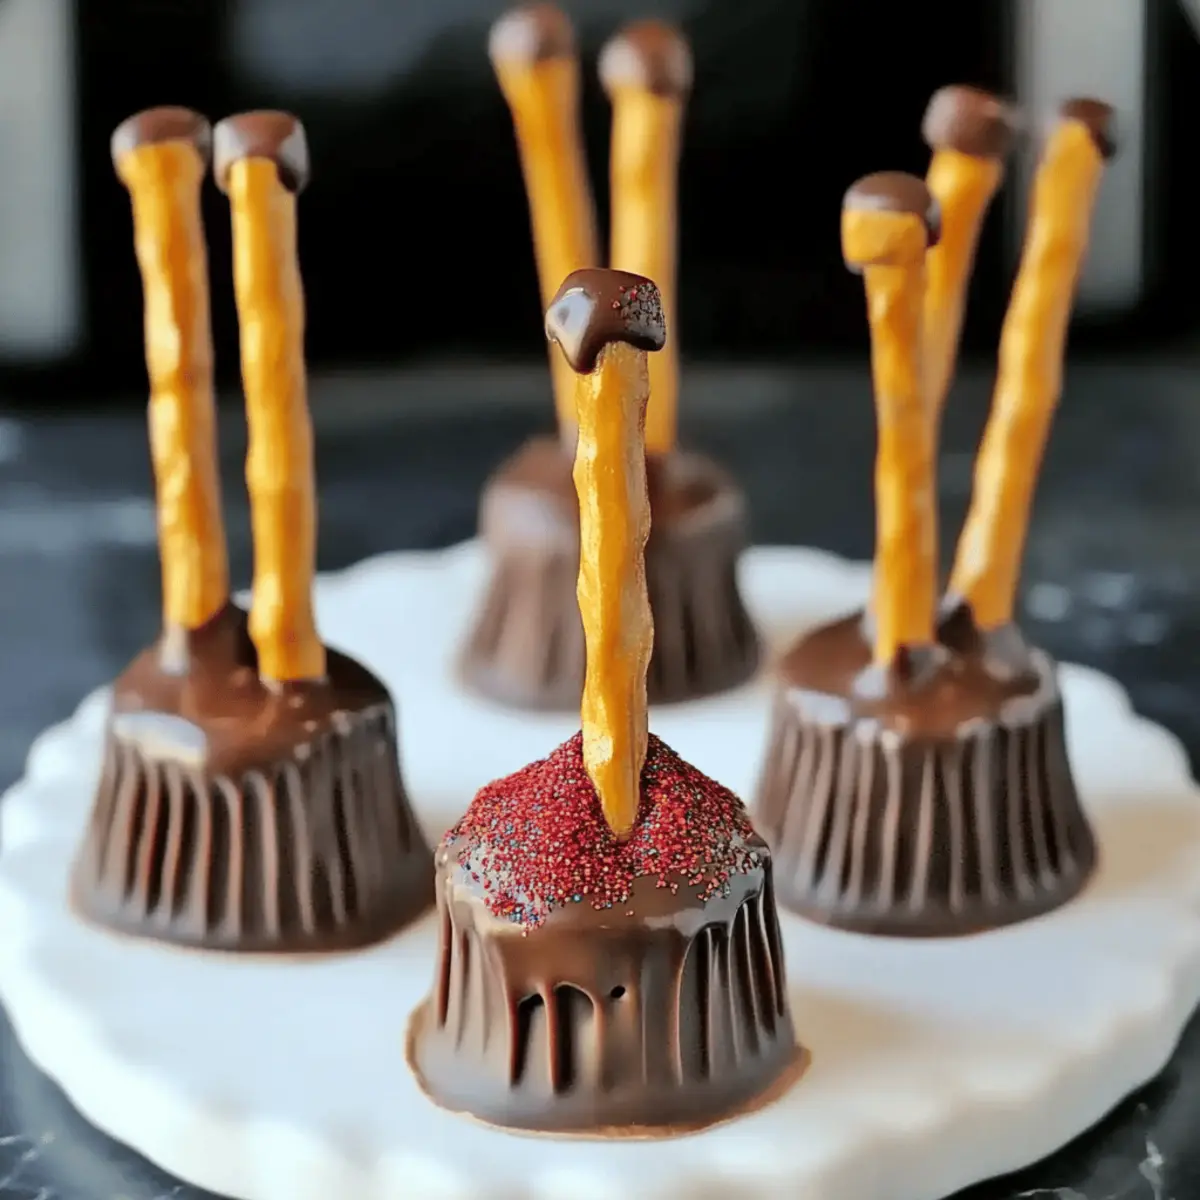
Dip one end of a pretzel stick into the melted chocolate, coating it well. Carefully insert the chocolate-dipped end into the hole you’ve prepared in a peanut butter cup. Hold it in place for a few seconds until the chocolate begins to set. Repeat this process with the remaining cups and pretzels, arranging them neatly on the parchment-lined tray.
Step 5: Neaten & Decorate
With all the broomsticks inserted, take a spoon or piping bag filled with melted chocolate to drizzle extra chocolate around the connection point where the pretzel meets the cup. While the chocolate is still warm, sprinkle Halloween-themed decorations or edible glitter on top to enhance the visual appeal of your DIY Witches Brooms.
Step 6: Allow to Set
Let the assembled brooms sit at room temperature for about 15 minutes, allowing the chocolate to firm up and hold everything in place. Alternatively, you can place them in the refrigerator for 5-10 minutes to speed up the hardening process. Your charming treats will soon be ready to enjoy!
Make Ahead Options
These DIY Witches Brooms are perfect for busy home cooks looking to save time during Halloween festivities! You can prepare the mini peanut butter cups and pretzel sticks up to 24 hours in advance by unwrapping and storing them in an airtight container at room temperature. For the chocolate, melt and store it in a sealed container in the fridge—simply reheat it gently before use to maintain its smooth consistency. When it’s time to serve, quickly assemble the brooms and decorate them with sprinkles or edible glitter. Your delicious treats will be just as charming and delightful, saving you precious moments on party day!
Expert Tips for DIY Witches Brooms
• Chocolate Melting: Always melt chocolate at lower power settings to avoid burning, ensuring a smooth consistency for assembly and drizzling.
• Quick Assembly: Work swiftly when assembling your DIY Witches Brooms, as melted chocolate can set quickly. Have all components ready beforehand.
• Piping Precision: Use a piping bag for drizzling chocolate to create neat decorations, making your brooms look as good as they taste.
• Sturdy Handle: Choose pretzel sticks that are firm yet thin to prevent wobbling; avoid overly thick pretzels that can disrupt balance.
• Creative Decorations: Don’t hesitate to get creative with your decorations; different colored candy melts and sprinkles can fit any Halloween theme, making your brooms stand out.
What to Serve with Easy DIY Witches Brooms?
Create a spooktacular Halloween feast that will delight your guests and bring a festive spirit to the table.
- Pumpkin Soup: A creamy pumpkin soup adds warmth and a hint of spice, perfect for pairing with sweet treats.
- Monster Finger Hot Dogs: These fun, creepy-crawly snacks are sure to get giggles and add a savory contrast to your sweet brooms.
- Spooky Cheese Platter: A mix of cheeses, crackers, and dried fruits served on a themed platter enhances the festive atmosphere.
- Frightening Fruit Skewers: Assemble colorful fruit skewers with ghostly marshmallow accents for a fresh and lively addition to your spread.
- Wormy Jello Cups: These delicious cups of jelly with gummy worms create a whimsical and fun treat for kids and adults alike.
- Black Cat Punch: Serve a refreshing drink made with blackberries and mint for a spooky yet tasty beverage to wash down the treats.
- Chocolate-Covered Ghost Strawberries: These delightful desserts bring both taste and charm to your Halloween celebration, adding to the whimsical theme.
- Ghoulie Brownies: Rich, fudgy brownies topped with creepy decorations enhance the sweets aspect of your menu while balancing flavors.
DIY Witches Brooms Variations
Feel free to unleash your creativity and customize these playful treats to suit your taste and dietary needs!
-
Nut-Free: Swap mini peanut butter cups for chocolate-covered caramel candies for a deliciously different flavor.
This keeps the delightful sweetness while being allergy-friendly and equally charming. -
Gluten-Free: Use gluten-free pretzel sticks to ensure everyone can enjoy these whimsical brooms.
Your guests will appreciate the inclusion, and you won’t lose any of the fun. -
Vegan: Choose dairy-free chocolates and plant-based mini chocolate cups for this spooky treat!
They’ll be just as delightful, proving that vegan options can be just as fun and festive. -
Smoky Flavor: Experiment by using flavored pretzel sticks, like buffalo or barbecue, for a surprising spicy twist.
This variation adds a delightful crunch that could just become a Halloween favorite! -
Colorful Melts: Instead of chocolate, use brightly colored candy melts to drizzle over the brooms for extra flair.
Tailor the colors to fit your party theme and watch these brooms bring cheer to the decor. -
Dipped Goodness: Try fully dipping the broom in chocolate before adding the sprinkles for extra sweetness.
This creates a lavish treat that’s perfect for those with a serious sweet tooth. -
Less Sweet: Use dark chocolate instead of milk chocolate for a richer, less sweet flavor profile.
It balances beautifully with the salty pretzel sticks and crunchy texture, offering a deep and satisfying taste. -
Load on Toppings: Top with chopped nuts or coconut flakes for some texture contrasts and added fun!
Personalize it according to your taste, and make these brooms even more magical.
For more creative ideas, don’t miss our delightful recipes in the Halloween treats section!
How to Store and Freeze DIY Witches Brooms
Airtight Container: Store your DIY Witches Brooms in an airtight container at room temperature for up to 5 days. This keeps them fresh and tasty for your Halloween celebrations.
Refrigeration: If your home is warm, it’s best to keep them in the fridge. They will stay good for 5 days as well, ensuring the chocolate remains nice and firm.
Freezing: For longer storage, freeze the brooms in a single layer on a tray before transferring them to a freezer bag. They can last up to 2 months frozen.
Reheating: When ready to enjoy, simply remove from the freezer and let them thaw at room temperature before serving. Enjoy your spooky treats!
Easy DIY Witches Brooms Recipe FAQs
What kind of pretzel sticks should I use for the broom handles?
I recommend using thin pretzel sticks that are both sturdy and slender for the best balance. They should easily support the peanut butter cup without tipping. If you want to get creative, you can experiment with rods, but keep in mind they may not hold as well.
How do I store leftover DIY Witches Brooms?
Store your DIY Witches Brooms in an airtight container at room temperature for up to 5 days to keep them fresh. If you live in a warm climate, placing them in the fridge is a great option—just ensure they’re sealed well to prevent any moisture from getting in.
Can I freeze the DIY Witches Brooms?
Absolutely! To freeze your brooms, first, place them in a single layer on a tray and freeze until solid. Then transfer them to a freezer bag, where they can be stored for up to 2 months. When you’re ready to enjoy, let them thaw at room temperature.
What should I do if the chocolate isn’t melting smoothly?
If your chocolate seems lumpy or isn’t melting smoothly, it could be due to overheating. Make sure to melt chocolate at lower power settings in the microwave, stirring it every 30 seconds. If it’s still not melting properly, you can try adding a small amount of vegetable oil to help smooth it out, but do this sparingly!
Are the DIY Witches Brooms suitable for those with peanut allergies?
Since the recipe calls for mini peanut butter cups, they’re not suitable for those with peanut allergies. However, you can easily make these treats allergy-friendly by swapping out peanut butter cups for chocolates that are nut-free. Always check the labels to ensure they meet dietary needs.
How long does the chocolate take to set?
The chocolate takes about 15 minutes to set at room temperature. If you’re in a hurry, you can pop them in the refrigerator, where they will firm up in about 5-10 minutes. Just be cautious not to chill them for too long, as it can affect the texture!
Easily Make DIY Witches Brooms for a Spooky Halloween Treat
Ingredients
Equipment
Method
- Line a tray with parchment paper and place unwrapped mini peanut butter cups in a single layer.
- Melt chocolate chips in a microwave-safe bowl in 30-second increments until smooth.
- Use a toothpick to poke a tiny hole in the center of each peanut butter cup.
- Dip one end of a pretzel stick into melted chocolate and insert it into the hole of a peanut butter cup.
- Drizzle more melted chocolate around the connection where the pretzel meets the cup and add sprinkles.
- Let the assembled brooms sit for 15 minutes at room temperature to set the chocolate.
Leave a Reply