
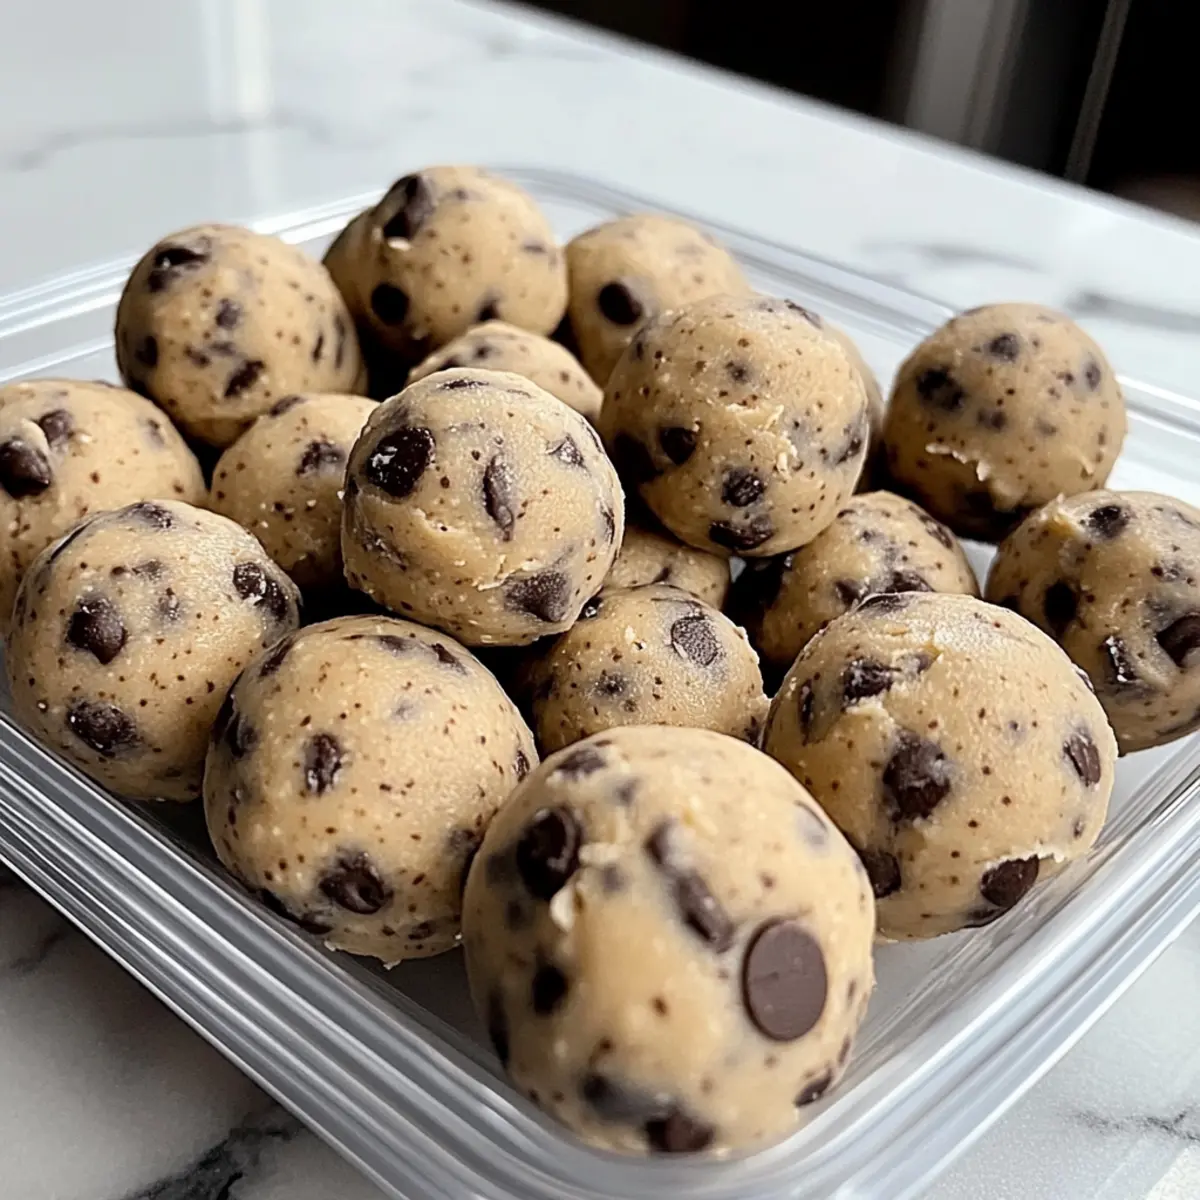
“Have you ever craved that irresistible goodness of cookie dough but wished for a healthier twist?” These No-Bake Cookie Dough Protein Balls deliver on both flavor and nutrition. Packed with 11g of protein each and a deliciously creamy texture, they’re perfect for satisfying late-night cravings or replenishing after a workout. Best of all, they come together in just 45 minutes, making them a quick and easy snack option. Plus, you can customize them to your liking—think nut-free, chocolate-charged, or even tropical! Ready to transform your snacking game with these delightful little bites?
Why Love Cookie Dough Protein Balls?
Convenience: These No-Bake Cookie Dough Protein Balls require just 45 minutes to prepare, making them a quick go-to for busy days.
High Protein Boost: Each ball packs a satisfying 11g of protein, perfect for a post-workout snack or a mid-afternoon pick-me-up.
Customizable Delight: Tailor them to your taste! Whether you prefer a nut-free option or a chocolate lover’s dream, the possibilities are endless. You can even try adding in some dried fruit or swapping out the nut butter for a fun twist.
Nutrient-Rich Indulgence: Enjoy that classic cookie dough flavor while maintaining a health-conscious profile—it’s the best of both worlds!
Crowd-Pleasing Snack: These bites are not just for you; they’re perfect for sharing with family and friends at gatherings or as an afternoon treat. Pair them with High Protein Cottage for a balanced snack journey!
Cookie Dough Protein Balls Ingredients
For the Dough
• Vanilla Protein Powder – Provides essential protein to fuel your body; substitute with plant-based protein for a vegan-friendly option.
• Chocolate Chips – Adds a touch of sweetness and indulgence; opt for dark chocolate for a richer flavor.
• Maple Syrup – Acts as a natural sweetener and binder for the dough; honey or agave syrup can work well as alternatives.
• Peanut Butter or Almond Butter – Contributes healthy fats and a creamy texture; swap for sun butter to make nut-free Cookie Dough Protein Balls.
Optional Enhancements
• Dried Fruit – Boosts sweetness and flavor without extra sugars; consider cranberries or apricots for a fruity twist.
• Chopped Nuts – Adds crunch and packs in healthy fats, enhancing the overall nutritional benefits.
• Seeds – Boost the fiber and omega-3 content, making your protein balls even healthier; try chia seeds or flaxseeds for added nutrition.
These simple yet versatile ingredients come together to create a delightful snack experience! Enjoy making your own variations of these Cookie Dough Protein Balls.
Step‑by‑Step Instructions for Cookie Dough Protein Balls
Step 1: Combine Ingredients
In a large mixing bowl, add 1 cup of vanilla protein powder, ½ cup of chocolate chips, ¼ cup of maple syrup, and ½ cup of peanut butter. Using a spatula or a sturdy wooden spoon, mix until a cohesive dough forms. Aim for a uniform consistency, which should be slightly sticky but manageable. If it feels too dry, a splash of water can help achieve the right texture.
Step 2: Shape the Dough
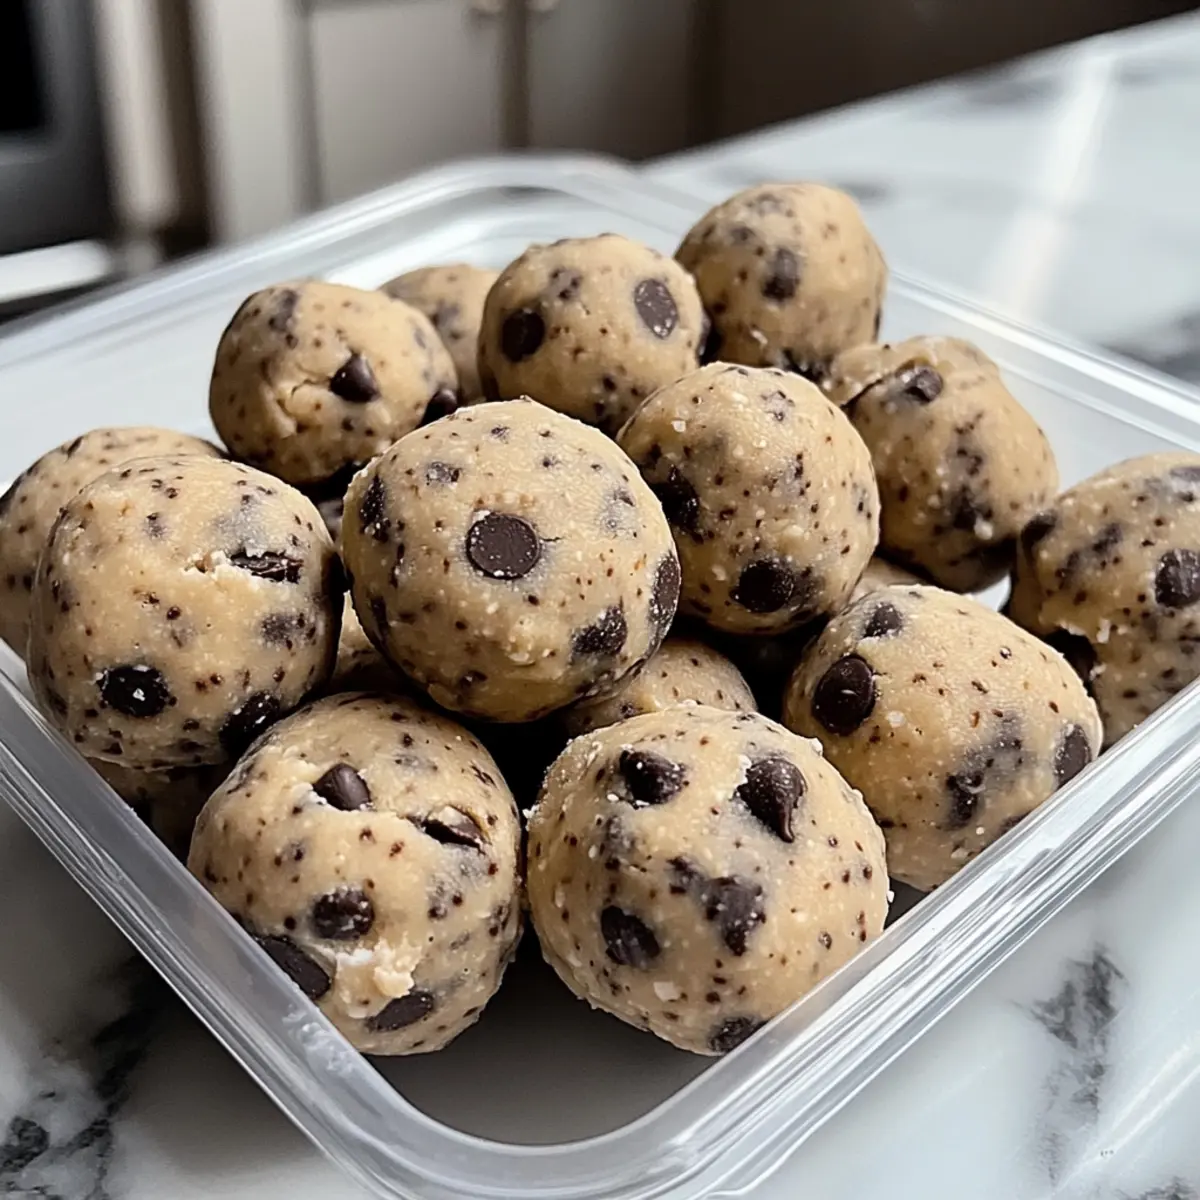
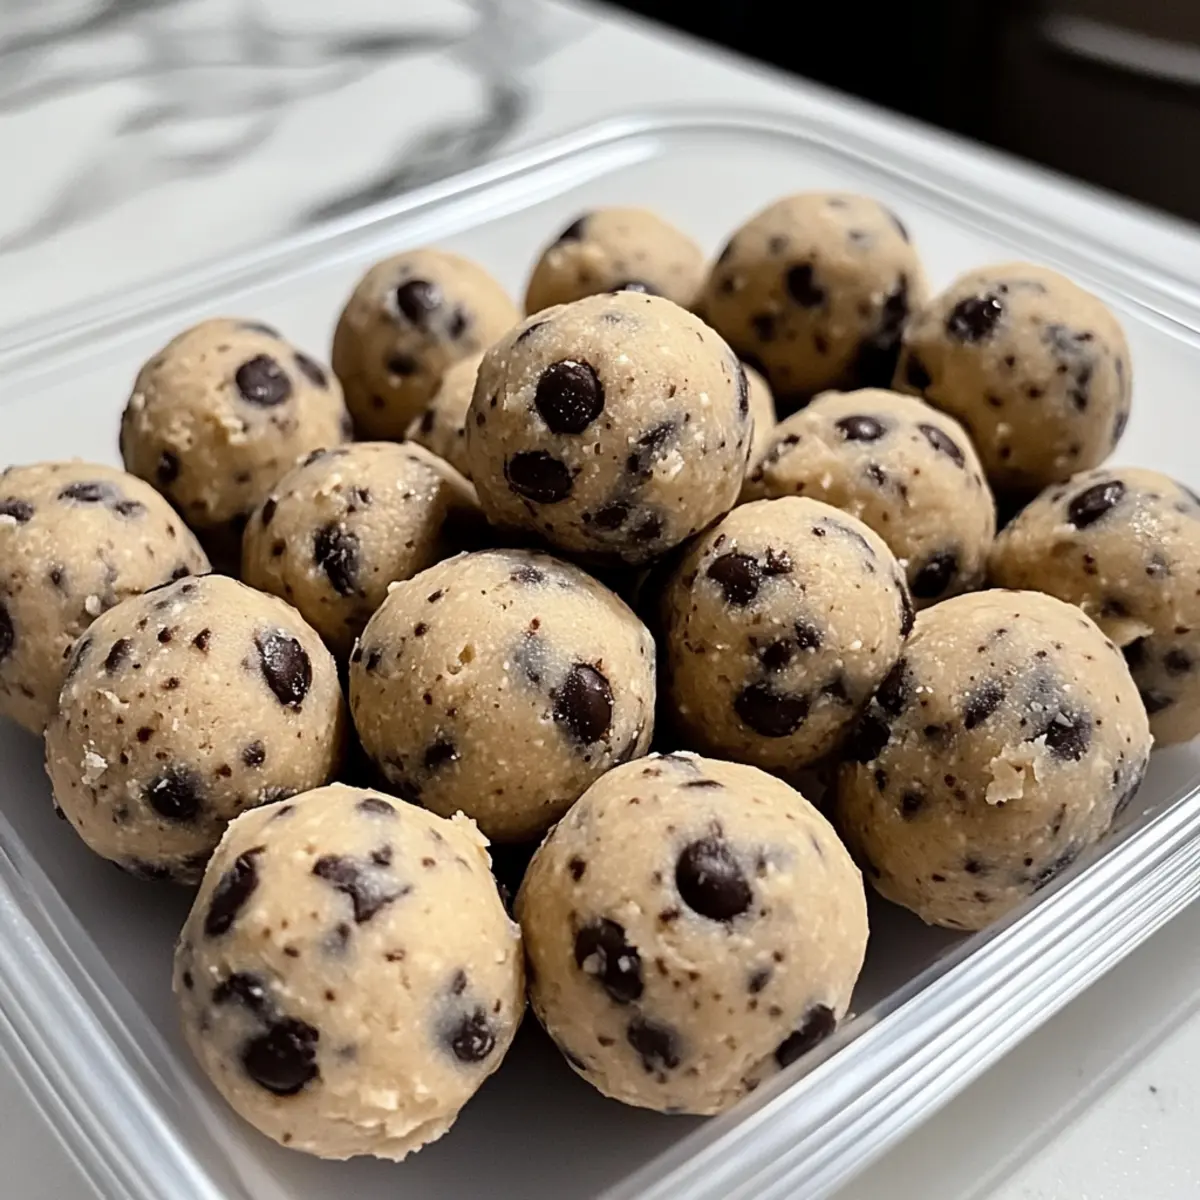
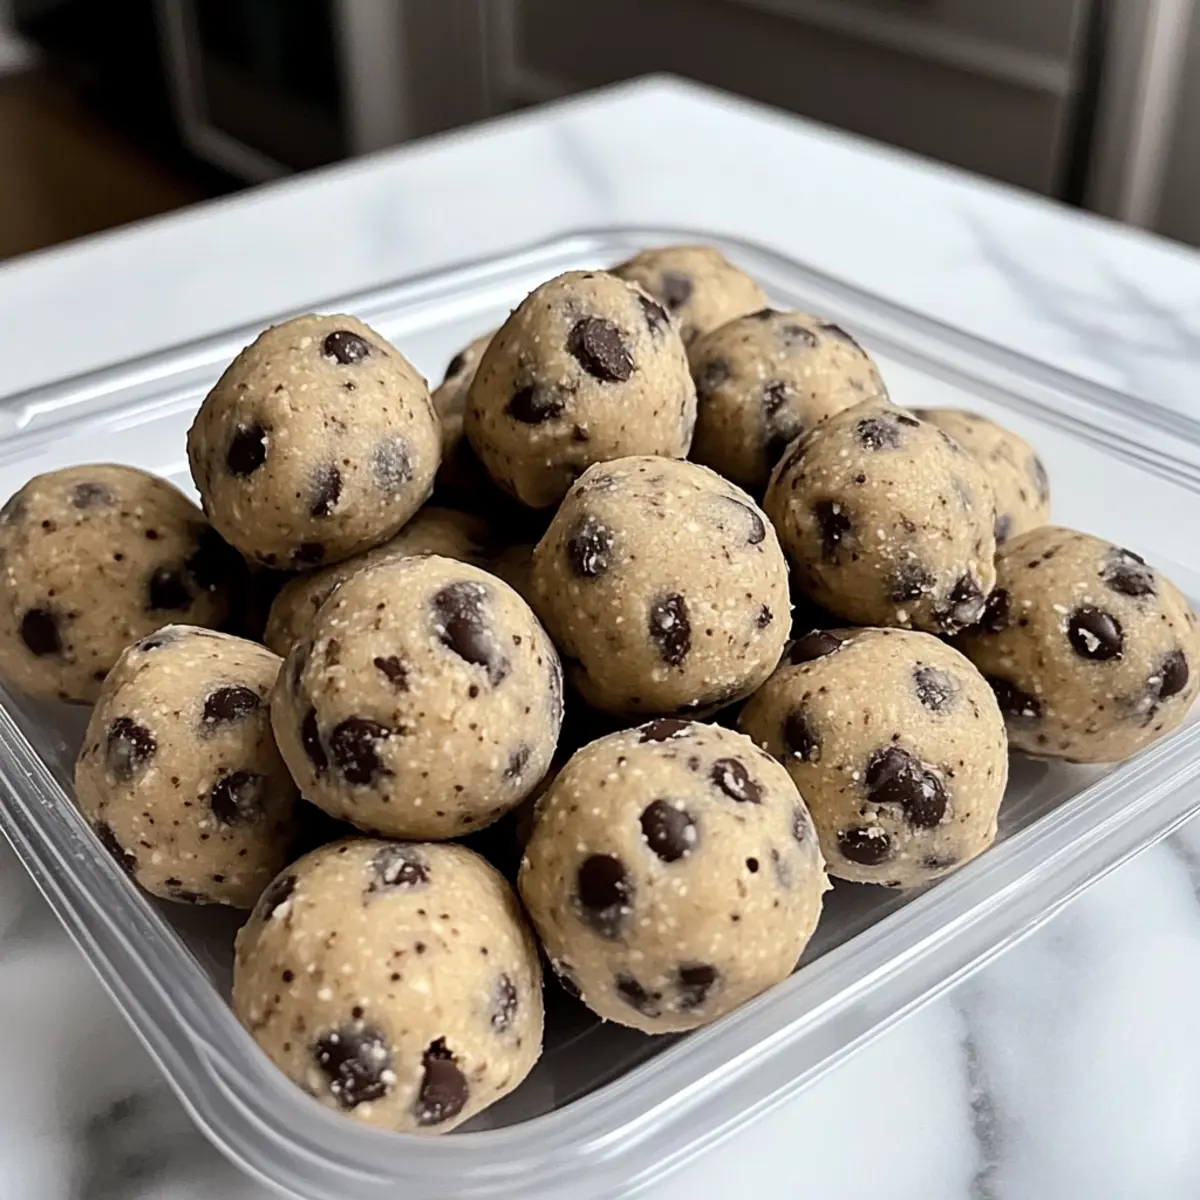
With clean hands, lightly wet them to prevent sticking, then scoop out portions of dough and roll them into 1-inch balls. You should get approximately 12 protein balls from this recipe. As you roll, ensure they’re firm enough to hold their shape but not overly compact, allowing for a soft, chewy texture in your Cookie Dough Protein Balls.
Step 3: Refrigerate
Transfer the shaped balls onto a parchment-lined baking sheet, spacing them evenly. Cover the tray with plastic wrap or foil to lock in moisture and refrigerate for at least 30 minutes. This chilling step is crucial; it allows the flavors to meld together and firms up the Cookie Dough Protein Balls so they’re easier to handle and enjoy.
Step 4: Serve & Store
Once the Cookie Dough Protein Balls have set, carefully transfer them to an airtight container. You can enjoy them right away or store them in the refrigerator for up to a week. For longer storage, freeze them, and they can last up to 3 months! Whenever a craving strikes, simply thaw a few overnight in the fridge and relish the delightful texture and wholesome flavors.
What to Serve with No-Bake Cookie Dough Protein Balls?
These delightful little bites create a tantalizing snack experience that you’ll love to share with friends and family!
-
Greek Yogurt: Creamy and rich, it pairs nicely with the sweetness of the protein balls, adding a dose of tangy goodness.
-
Fresh Fruit Salad: A refreshing blend of juicy flavors and textures, fruit salad brightens the plate and complements the protein balls perfectly.
-
Nut Butter Dip: Serve with a side of almond or peanut butter for a double dose of protein! It enhances the nutty notes while offering a creamy contrast.
-
Chocolate Protein Shake: Indulge your chocolate cravings with a shake that mirrors the flavors of your protein balls and amps up your protein intake!
-
Trail Mix: Mix in crunchy nuts, seeds, and dried fruits for a textural delight that pairs well as an energy-boosting snack alongside the protein balls.
-
Coconut Chia Pudding: Light, creamy, and refreshing, this pudding brings a tropical flair, balancing sweetness with a nutritious punch for your snack time.
-
Smoothie Bowl: Top your smoothie bowl with these protein balls for an aesthetically pleasing treat that’ll fill you up and fuel your day!
-
Nutty Granola: Enjoy a handful of this crunchy treat with your protein balls—it adds delightful texture, and nutty flavors will elevate your snack game.
Expert Tips for Cookie Dough Protein Balls
-
Consistency Check: Ensure your dough is slightly sticky but manageable. If too dry, add a splash of water or extra maple syrup to achieve a smoother texture.
-
Mix Thoroughly: For uniform flavor and texture in your Cookie Dough Protein Balls, ensure all ingredients are well combined. A few lumps can lead to uneven taste.
-
Flavor Variations: Experiment with different nut butters or sweeteners to create unique flavor profiles. A touch of cinnamon can elevate the taste even further!
-
Portion Control: Use a cookie scoop for uniformity in size, ensuring even cooking and presentation. Each protein ball should generally yield about 1-inch in diameter.
-
Chill Time Matters: Don’t skip the refrigeration step; it helps the balls firm up, enhancing the overall chewiness and texture of your Cookie Dough Protein Balls.
Make Ahead Options
These Cookie Dough Protein Balls are perfect for meal prep enthusiasts looking to save time on busy days! You can prepare the dough up to 24 hours in advance, storing it in the refrigerator before rolling into balls. Just mix all your ingredients as directed, then cover the bowl tightly and refrigerate. When you’re ready to enjoy, simply roll the dough into balls (about 1-inch each) and chill for 30 minutes to firm up. For extended storage, you can freeze the formed balls for up to 3 months in an airtight container; just thaw overnight in the fridge before munching. This way, your delicious snack is ready whenever cravings strike, ensuring they stay just as delightful as when freshly made!
How to Store and Freeze Cookie Dough Protein Balls
Fridge: Store your Cookie Dough Protein Balls in an airtight container in the refrigerator for up to 1 week for optimal freshness.
Freezer: If you want to extend their shelf life, freeze the protein balls for up to 3 months. Place them in a single layer on a baking sheet before freezing to avoid sticking, then transfer to a container.
Thawing: When you’re ready to enjoy, simply thaw the frozen Cookie Dough Protein Balls in the refrigerator overnight for the best texture and flavor.
Reheating: These protein balls are best enjoyed cold; however, if you prefer them slightly warmed, pop them in the microwave for about 10-15 seconds.
Cookie Dough Protein Balls Variations
Get creative with your Cookie Dough Protein Balls and customize them to suit your taste buds!
-
Nut-Free: Swap peanut butter for sun butter to make delicious nut-free bites without sacrificing flavor.
Embrace the creaminess of sun butter that blends seamlessly into the dough, still providing that satisfying texture you love. -
Chocolate Lovers: Add cocoa powder to your mix and increase the chocolate chips for a double chocolate delight.
You’ll experience rich, chocolatey goodness that satisfies any sweet tooth while keeping it healthy. -
Fruit-Infused: Enhance your protein balls by stirring in chopped dried fruits like cranberries or apricots.
This adds natural sweetness and a chewy texture, making each bite a flavorful surprise. -
Seed-Enhanced: Incorporate chia seeds or flaxseeds for a nutritious boost of fiber and omega-3s.
These ingredients will not only amp up the health factor but also contribute an enjoyable crunch! -
Coconut Bliss: Mix in unsweetened shredded coconut for a tropical flavor explosion and added texture.
The delightful chewiness of coconut gives your protein balls a fun and festive flair, transporting you to a sunny paradise with every bite. -
Spice Variation: Add a dash of cinnamon or nutmeg for warmth that complements the cookie dough flavor.
Spices will elevate your protein balls from ordinary to extraordinary, wrapping them in a comforting aroma that we all love.
For even more inspiration, consider trying other delightful recipes such as High Protein Taco soup for a savory option or indulge in some Halloween Oreo Cookie brownies for a fun treat!
Cookie Dough Protein Balls Recipe FAQs
How do I choose the right protein powder for my Cookie Dough Protein Balls?
Absolutely! When selecting protein powder, look for one with minimal added sugars and artificial ingredients. Whey protein provides a smooth texture, while plant-based options like pea or brown rice protein deliver similar benefits without dairy. Always check the labels for allergens if you’re considering alternative protein sources.
What’s the best way to store Cookie Dough Protein Balls?
Best practice is to place your Cookie Dough Protein Balls in an airtight container in the refrigerator, where they stay fresh for about 1 week. If you have leftovers beyond that, transferring them to the freezer will help them last much longer—up to 3 months—making your healthy snacking incredibly convenient!
Can I freeze Cookie Dough Protein Balls? How do I do it?
Yes! Freezing is an excellent option for longer storage. First, place the protein balls in a single layer on a baking sheet and freeze them for about 1-2 hours. Once solid, transfer the balls to an airtight container or freezer bag to avoid sticking together. Just remember to label with the date for quick reference!
What should I do if the dough feels too dry when making Cookie Dough Protein Balls?
Very! If you’re finding your dough crumbly, try adding a tablespoon of water or an extra splash of maple syrup. Mix thoroughly, and keep adding liquid slowly until the consistency becomes soft and sticky enough to roll into balls. It’s all about finding that perfect balance!
Are there any dietary considerations for my pets with these Cookie Dough Protein Balls?
Indeed! While the ingredients in Cookie Dough Protein Balls are nutritious and safe for us, they might not be suitable for pets, particularly chocolate, which is toxic to dogs and cats. Always keep the snacks out of reach of furry friends, and consider checking with your vet if you want to share a safe treat with them!
How can I substitute ingredients for allergies or preferences?
Absolutely! For nut allergies, sun butter works beautifully instead of peanut or almond butter. If you’re avoiding gluten, using a gluten-free protein powder and oats is a great option. And if you’re seeking a chocolate indulgence, simply add cocoa powder and increase the chocolate chips for a richer flavor. The more the merrier when it comes to customization!
Irresistible Cookie Dough Protein Balls for Healthy Snacking
Ingredients
Equipment
Method
- In a large mixing bowl, add 1 cup of vanilla protein powder, ½ cup of chocolate chips, ¼ cup of maple syrup, and ½ cup of peanut butter. Mix until a cohesive dough forms.
- With clean hands, wet them lightly, scoop portions of dough, and roll them into 1-inch balls.
- Transfer the shaped balls onto a parchment-lined baking sheet, cover the tray, and refrigerate for at least 30 minutes.
- Once set, transfer them to an airtight container. Enjoy immediately or store in the fridge for up to a week.
Leave a Reply