
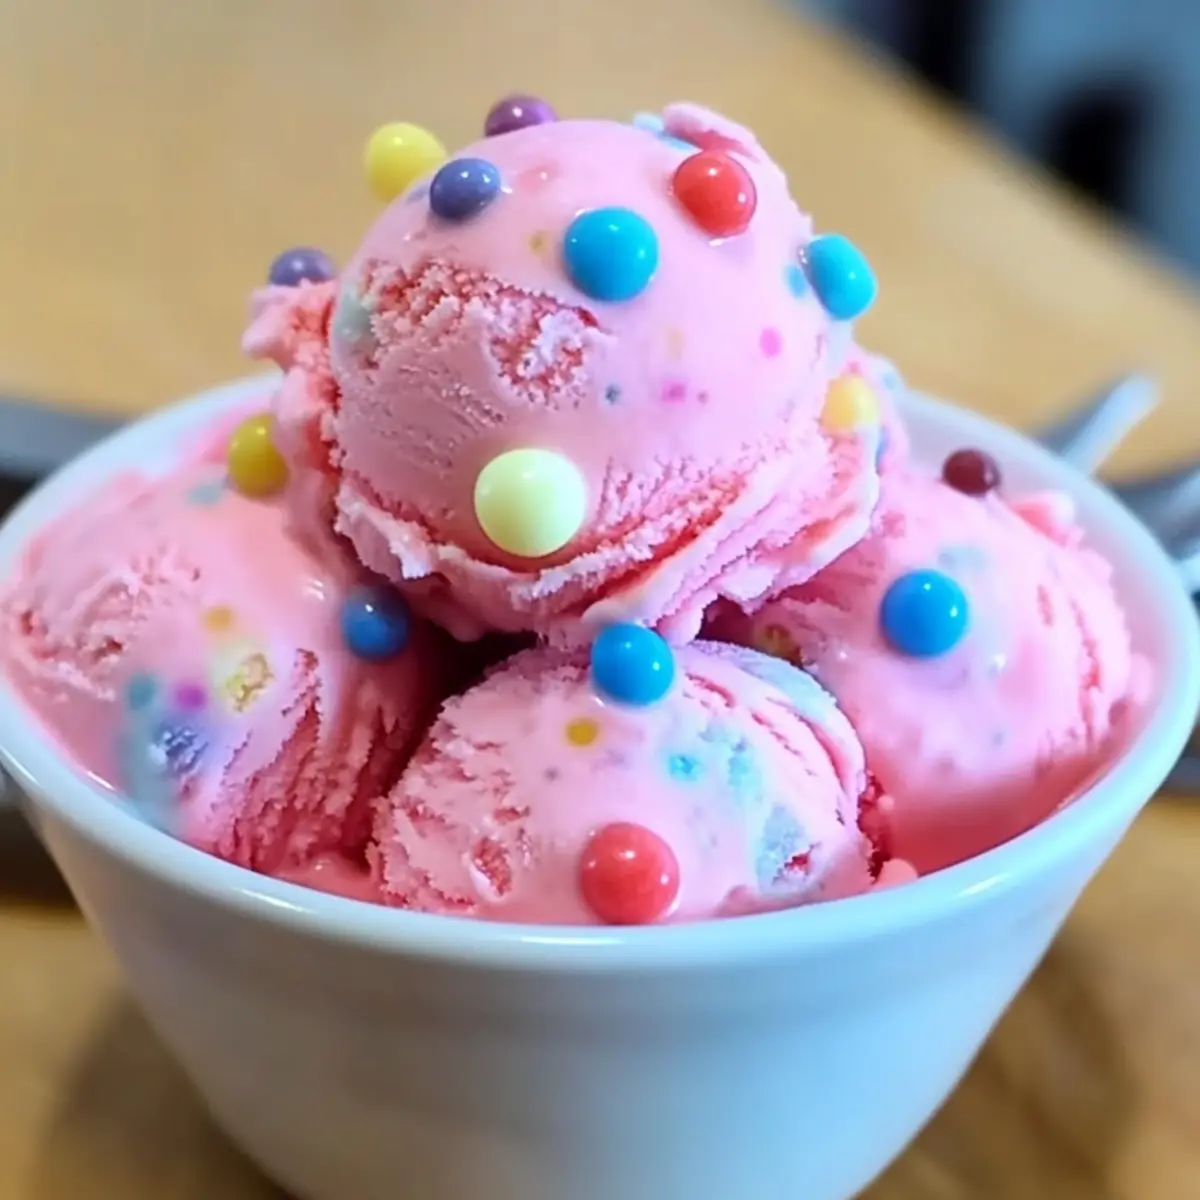
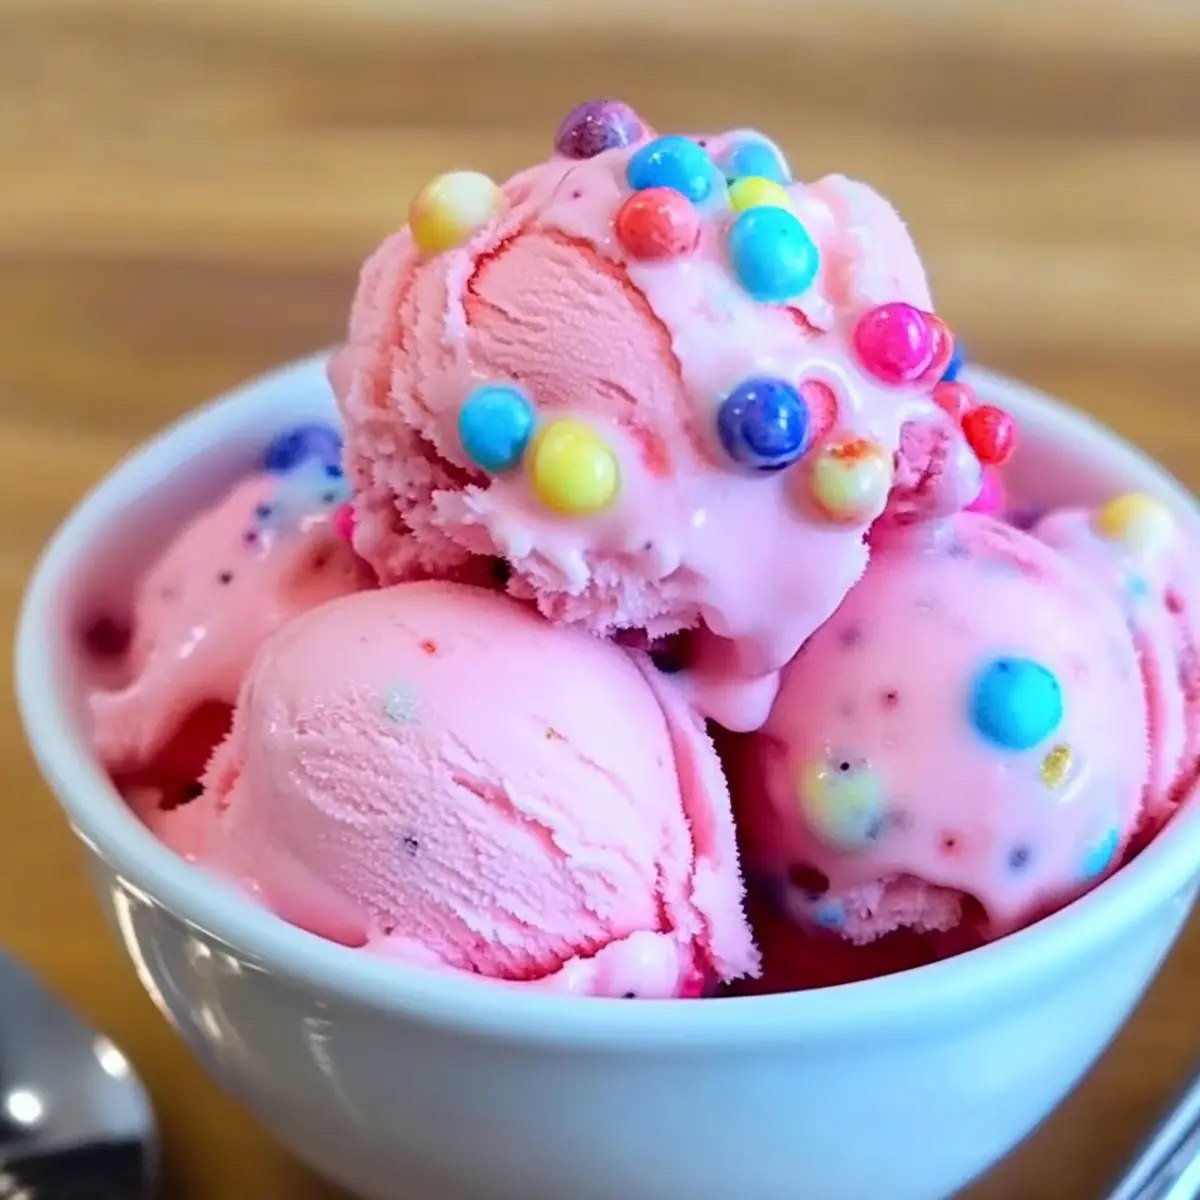
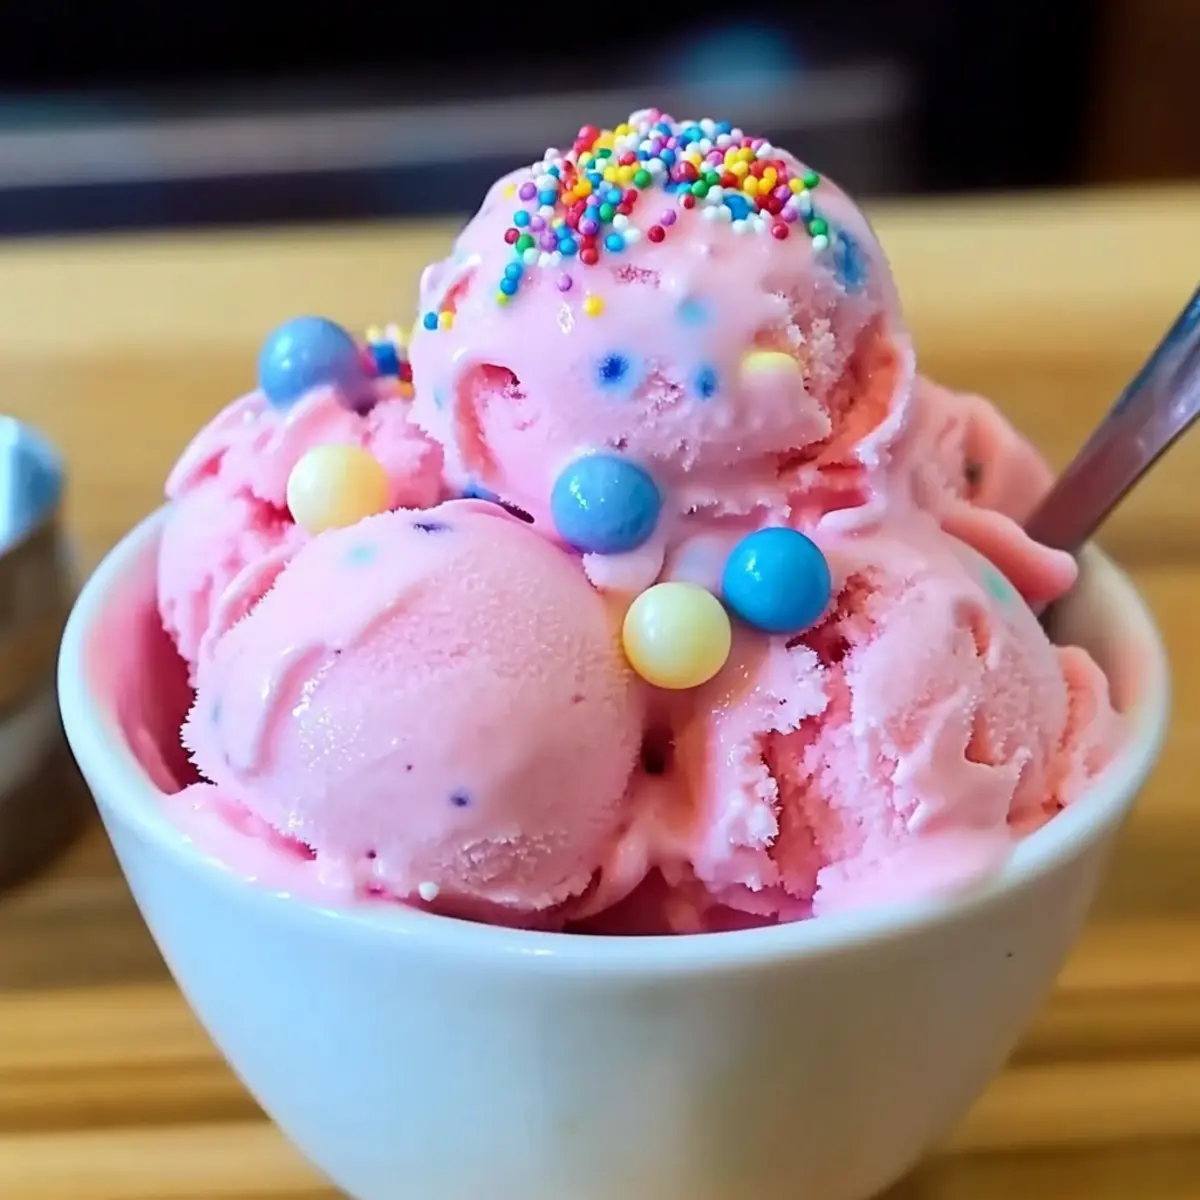
As I stirred the vivid pink mixture, I could almost hear the sounds of laughter and the sweet chorus of summer memories dancing in the air. This homemade Bubblegum Ice Cream brings back childhood joy with every scoop, offering a creamy escape from the ordinary. With no artificial additives and bursting with the nostalgic flavors we adored, this delightful treat is not just a fun dessert for kids; it’s a whimsical indulgence that will ignite anyone’s inner child. Plus, it’s surprisingly quick to prepare, making it perfect for impromptu gatherings or lazy weekend afternoons. Are you ready to create a scoop of happiness that will transport you back in time? Let’s dive into this playful recipe!
Why Is This Ice Cream So Special?
Nostalgic flavor: The vibrant taste of bubblegum takes you straight back to carefree childhood summers.
Homemade goodness: Made from quality ingredients with no artificial additives, it’s a treat you can feel good about.
Easy to make: With simple steps and common ingredients, this recipe is perfect for home cooks of any level.
Crowd-pleaser: Kids and adults alike will delight in this unique dessert, making it a hit for gatherings!
Versatile treat: Serve in waffle cones or top with whipped cream and sprinkles to elevate your ice cream experience.
Check out our Pumpkin Cream Cold for another fun twist on homemade desserts!
Bubblegum Ice Cream Ingredients
• Get ready for a delightful treat!
For the Ice Cream Base
- Bazooka Bubblegum – This is your star ingredient; choose high-quality gum that dissolves well to ensure maximum flavor.
- Whole Milk – This provides a creamy base; you can swap it with full-fat coconut milk for a dairy-free delight!
- Heavy Cream – Essential for richness and creamy texture; no substitutes here without impacting the final product.
- Cornstarch – A natural thickener that creates a smooth consistency; be sure it’s fully dissolved before adding it to the mix.
- Granulated Sugar – Sweetens the ice cream perfectly; start with 2 tablespoons and adjust according to your taste!
- Salt – Just a pinch heightens the flavor and balances the sweetness, making your bubblegum ice cream unforgettable.
Step‑by‑Step Instructions for Bubblegum Ice Cream
Step 1: Prepare the Cornstarch Slurry
In a small bowl, combine 1 tablespoon of cornstarch with 2 tablespoons of whole milk, stirring until you achieve a smooth, lump-free slurry. Set this aside while you prepare the ice cream base, as it will help thicken your mixture later.
Step 2: Blend the Base
In a blender, combine 45 pieces of Bazooka Bubblegum, 2 cups of whole milk, and 1 cup of heavy cream. Blend on high speed until the mixture is perfectly smooth and the bubblegum is well incorporated, about 1-2 minutes. The vibrant pink color should be unified and inviting!
Step 3: Heat the Mixture
Pour the blended mixture into a medium saucepan. Add 2 tablespoons of granulated sugar and a pinch of salt, then heat over medium-high heat. Stir continuously and watch for the mixture to reach a gentle simmer—this should take about 5-7 minutes. Be careful not to let it boil to maintain a creamy texture.
Step 4: Thicken the Ice Cream Base
Once simmering, whisk in the cornstarch slurry you prepared earlier. Continue stirring for another 3-5 minutes until the mixture thickens slightly and coats the back of a spoon. You’ll know it’s ready when you can draw a line through the mixture with your finger and it holds its shape.
Step 5: Cool the Mixture
Remove the saucepan from heat and transfer the ice cream base to a Ziploc bag. Submerge the bag in an ice bath made of a large bowl filled with ice and cold water to cool the mixture completely, which should take about 15-20 minutes. This step is crucial for achieving that perfect creamy consistency.
Step 6: Strain the Mixture
After cooling, carefully pour the mixture through a cheesecloth-lined fine-mesh strainer into a large bowl. Press down to extract every drop while removing any remaining gum residue. This will ensure your bubblegum ice cream has a smooth, creamy texture without any chewy bits.
Step 7: Churn the Ice Cream
Transfer the strained mixture into an ice cream maker and churn according to the manufacturer’s directions, typically for about 20-25 minutes. Watch as the mixture thickens and resembles the soft-serve consistency—it should become light and fluffy!
Step 8: Freeze the Churned Ice Cream
Finally, transfer the churned bubblegum ice cream into an airtight container. Smooth the top and seal it tightly, then place it in the freezer for at least 4 hours until fully firm. This final freezing step will give your homemade treat that perfect scoopable consistency!

What to Serve with Nostalgic Homemade Bubblegum Ice Cream
As you scoop into this playful treat, consider how delightful it is to create an entire meal around the joy of flavors. Let your imagination soar as you explore perfectly complementary sides and drinks that elevate your dessert experience.
-
Fun Waffle Cones: Crisp, sweet waffle cones offer the perfect crunchy contrast to the creamy bubblegum ice cream. The nostalgia of eating from a cone adds an extra layer of joy for both kids and adults.
-
Colorful Sprinkles: Add a fun flair! Rainbow sprinkles introduce a pop of color and a light textural crunch, making each scoop even more festive and inviting.
-
Whipped Cream: A dollop of rich, fluffy whipped cream enhances the creaminess and complements the playful sweetness of the ice cream for a truly indulgent experience.
-
Fresh Fruit Salad: Bright colors and fresh flavors from fruits like strawberries and blueberries balance the sweetness of the bubblegum ice cream, creating a refreshing bite that cuts through the creaminess.
-
Chocolate Sauce: Drizzle warm chocolate sauce over your ice cream for a rich contrast that adds depth and decadence to each creamy scoop. The combination is a timeless treat that pleases all palates.
-
Lemonade or Fruit Punch: Pair your bubblegum ice cream with a glass of icy lemonade or fruit punch for a refreshing burst of flavor. The citrusy notes contrast beautifully with the sweetness, making for a perfect summer companion.
-
Mini Cupcakes: Small, brightly frosted cupcakes add whimsy to your dessert table and are a delightful companion for your flavorful ice cream. Each bite-sized treat offers a fun texture to balance the rich ice cream.
Make Ahead Options
These delightful Bubblegum Ice Cream treats are perfect for busy home cooks looking to save time during the week! You can easily prepare the ice cream base up to 24 hours in advance. Start by blending the Bazooka Bubblegum, whole milk, and heavy cream, then proceed to heat and thicken the mixture. After cooling it in an ice bath, strain it and store it in the refrigerator. Just be sure to use an airtight container to maintain freshness. When you’re ready to serve, churn the mixture in your ice cream maker and freeze the churned ice cream for at least 4 hours. Enjoy the nostalgic taste of homemade bubblegum ice cream with minimal effort!
Expert Tips for Homemade Bubblegum Ice Cream
- Choose Quality Gum: Opt for Bazooka Bubblegum that’s fresh and flavorful; old gum may not dissolve well, affecting the ice cream’s taste.
- Avoid Boiling: Keep the milk and cream mixture below boiling; this prevents a grainy texture that can ruin your creamy bubblegum ice cream.
- Strain Thoroughly: Strain the mixture multiple times to eliminate gum residue. This ensures a smooth texture without any chewy bits ruining the experience.
- Chill Properly: Make sure your ice cream mixture is fully chilled before churning. A well-cooled mixture results in better freezing and creaminess during the churn.
- Scoop Warm: Allow your ice cream to sit at room temperature for 5-10 minutes before scooping; this makes serving much easier and enjoyable!
How to Store and Freeze Bubblegum Ice Cream
Fridge: Store in an airtight container for up to 3 days. This keeps your homemade bubblegum ice cream fresh if you plan to enjoy it within a few days.
Freezer: For longer storage, keep the ice cream in the freezer for up to 2 weeks. Ensure it is tightly sealed in an airtight container to prevent freezer burn and maintain its delightful flavor.
Serving: When ready to serve, allow the bubblegum ice cream to sit at room temperature for 5-10 minutes. This makes scooping easier, giving you that perfect creamy texture.
Refreezing: If your ice cream softens during serving, avoid refreezing it multiple times as it can develop a grainy texture. Enjoy it fresh for the best results!
Bubblegum Ice Cream Variations
Feel free to let your creativity shine and personalize this delightful treat with these fun, sensory options!
- Dairy-Free: Substitute whole milk with full-fat coconut milk for a luscious dairy-free version that keeps all the flavor.
- Sweet and Tangy: Add a splash of lemon juice to the mixture for a unique twist that balances sweetness with a zesty punch. The bright citrus notes elevate the nostalgic bubblegum flavor beautifully.
- Crunchy Surprise: Sprinkle in mini chocolate chips or crushed graham crackers during the churn for unexpected texture and flavor. It adds an exciting crunch that will keep everyone guessing!
- Fruity Flavor: Mix in fresh or crushed fruit, like strawberries or bananas, before churning for a refreshing fruity hint that complements the bubblegum. The vibrant colors and flavors make each scoop a fun experience.
- Extra Creaminess: For a richer treat, fold in softened cream cheese after the ice cream has churned. This luxurious addition creates a velvety texture that’s truly indulgent!
- Spice it Up: Add a pinch of cinnamon or nutmeg to the ice cream base for a warm flavor twist, perfect for those who enjoy a hint of spice. It makes for an intriguing, comforting taste that surprises the senses.
- Bubblegum Float: For a playful treat, scoop the ice cream into a tall glass filled with your favorite soda or lemonade for a refreshing bubblegum float. It’s a fizzy, nostalgic dessert that’ll wow both kids and adults!
- Chocolate Dip: Before serving, dip scoops of bubblegum ice cream into melted chocolate for a delightful chocolate-covered treat. Once cooled, the chocolate shell adds an extra layer of deliciousness!
And if you’re feeling adventurous, don’t miss our Pumpkin Cream Cold recipe for another delightful homemade dessert!
Bubblegum Ice Cream Recipe FAQs
What type of bubblegum should I use for the ice cream?
Absolutely! I recommend using high-quality Bazooka Bubblegum. This ensures that the flavors dissolve well into the mixture without leaving a chewy residue in your cream. Avoid sugar-free or lesser-known brands, as they may not provide the same delightful taste and texture.
How should I store leftover bubblegum ice cream?
To keep your homemade bubblegum ice cream fresh, store it in an airtight container in the freezer for up to 2 weeks. Make sure the container is sealed tightly to prevent freezer burn—that way, you can enjoy each scoop just as delicious as the first!
Can I freeze bubblegum ice cream for long-term storage?
Yes, you can freeze your bubblegum ice cream for longer storage, but I recommend consuming it within 2 weeks for the best flavor. When storing, ensure it’s in an airtight container. If softening occurs during serving, allow it to firm up again in the freezer but try not to refreeze multiple times to maintain its creamy texture.
What can I do if my ice cream turns out grainy?
If your bubblegum ice cream becomes grainy, it’s usually due to boiling the milk or cream mixture, which affects the texture. To avoid this, keep the temperature below boiling when heating and thoroughly strain the mixture multiple times before churning. Additionally, make sure to cool the base completely before churning to help achieve that perfect creamy consistency!
Is this bubblegum ice cream suitable for those with dietary restrictions?
Yes! This recipe is vegetarian-friendly, as it doesn’t contain any meat products. However, it’s important to note that it does contain dairy and sugar. For a dairy-free option, you can substitute whole milk with full-fat coconut milk but keep the heavy cream as it is essential for creaminess. Always check the ingredients for any potential allergens related to bubblegum or other components.
How long can I keep the bubblegum ice cream in the fridge?
You can store your bubblegum ice cream in the fridge for about 3 days. However, for optimal flavor and texture, it’s best enjoyed freshly frozen. Just remember to let it sit out for 5-10 minutes if it’s been in the freezer before scooping for the best results!
Homemade Bubblegum Ice Cream That Takes You Back to Childhood
Ingredients
Equipment
Method
- In a small bowl, combine 1 tablespoon of cornstarch with 2 tablespoons of whole milk, stirring until smooth. Set aside.
- In a blender, combine 45 pieces of Bazooka Bubblegum, 2 cups of whole milk, and 1 cup of heavy cream. Blend until smooth, about 1-2 minutes.
- Pour the mixture into a saucepan. Add 2 tablespoons of sugar and a pinch of salt; heat over medium-high heat until gently simmering for 5-7 minutes.
- Whisk in the cornstarch slurry; continue stirring for 3-5 minutes until thickened.
- Remove from heat and transfer to a Ziploc bag. Chill in an ice bath for 15-20 minutes.
- Strain the mixture through a cheesecloth-lined strainer into a bowl, removing any gum residue.
- Transfer to an ice cream maker and churn according to manufacturer's directions for 20-25 minutes.
- Freeze the churned ice cream in an airtight container for at least 4 hours until firm.
Leave a Reply