
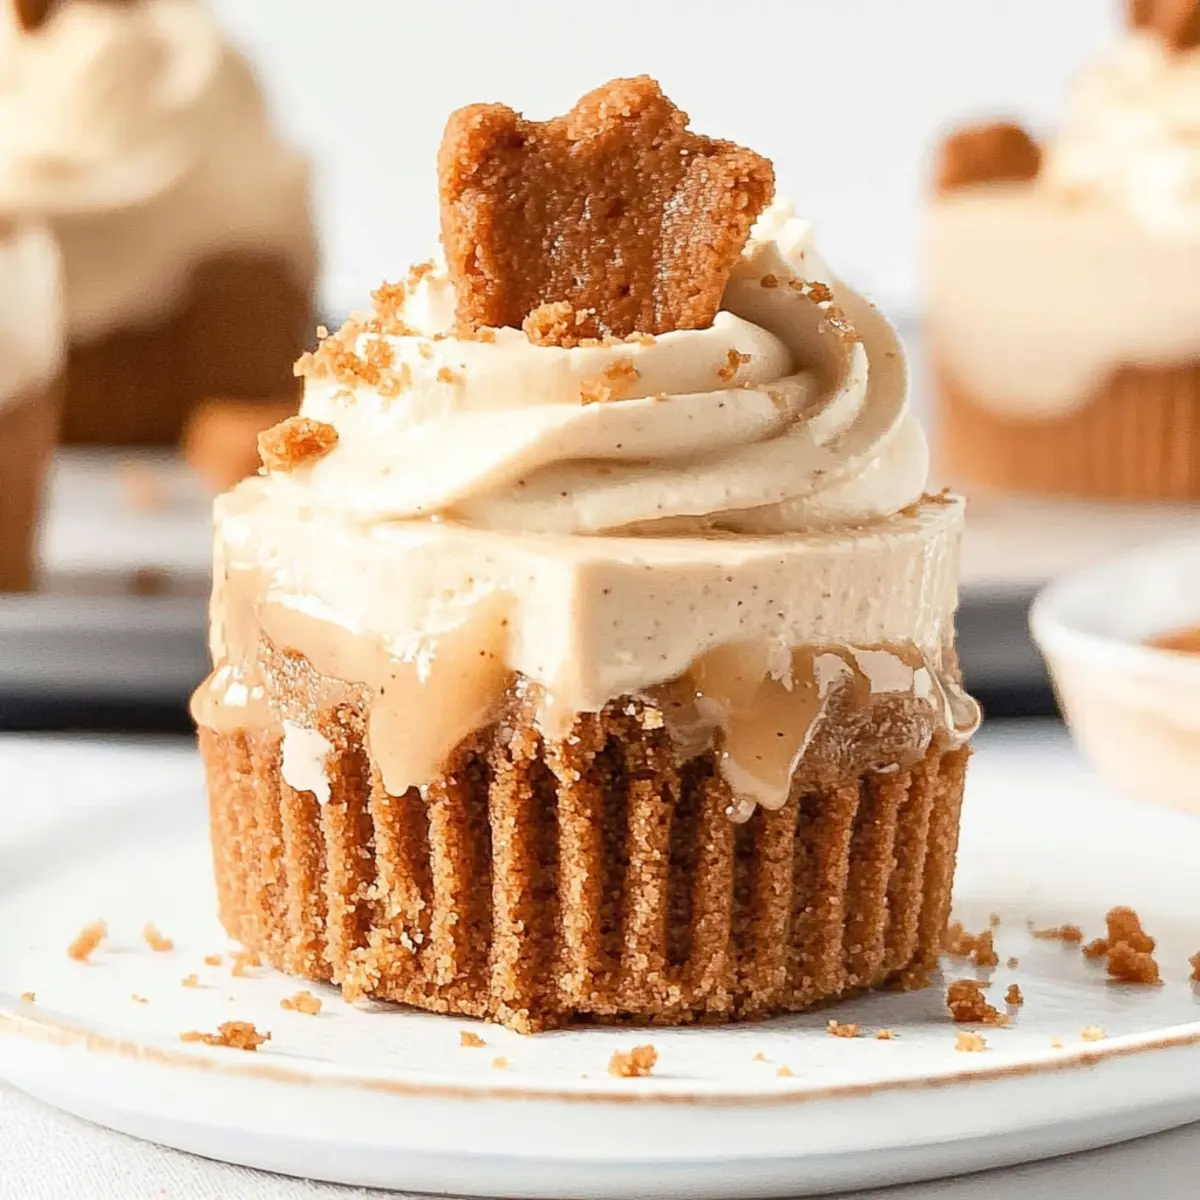
As I poured that dreamy Biscoff whipped cream over the chilled mini cheesecakes, I felt like a true kitchen magician. These Mini Biscoff Cheesecakes are not just a dessert; they’re a celebration in every bite, combining creamy cheese, a spiced caramel twist, and that signature cookie crunch. Perfect for parties or a cozy night in, these sweet treats require no baking, making them an absolute breeze to whip up. Imagine delighting your guests with these luscious desserts that are not only irresistibly delicious but also beautifully presented. Whether you’re hosting a festive gathering or simply treating yourself, this recipe transforms ordinary moments into something special. Ready to impress with your culinary skills? Let’s dive into making these delightful Mini Biscoff Cheesecakes together!

Why Are Mini Biscoff Cheesecakes Irresistible?
Simplicity: These no-bake treats are easy to prepare, saving you time in the kitchen.
Decadent Flavor: The combination of creamy Biscoff filling and spiced caramel notes brings indulgence in every bite.
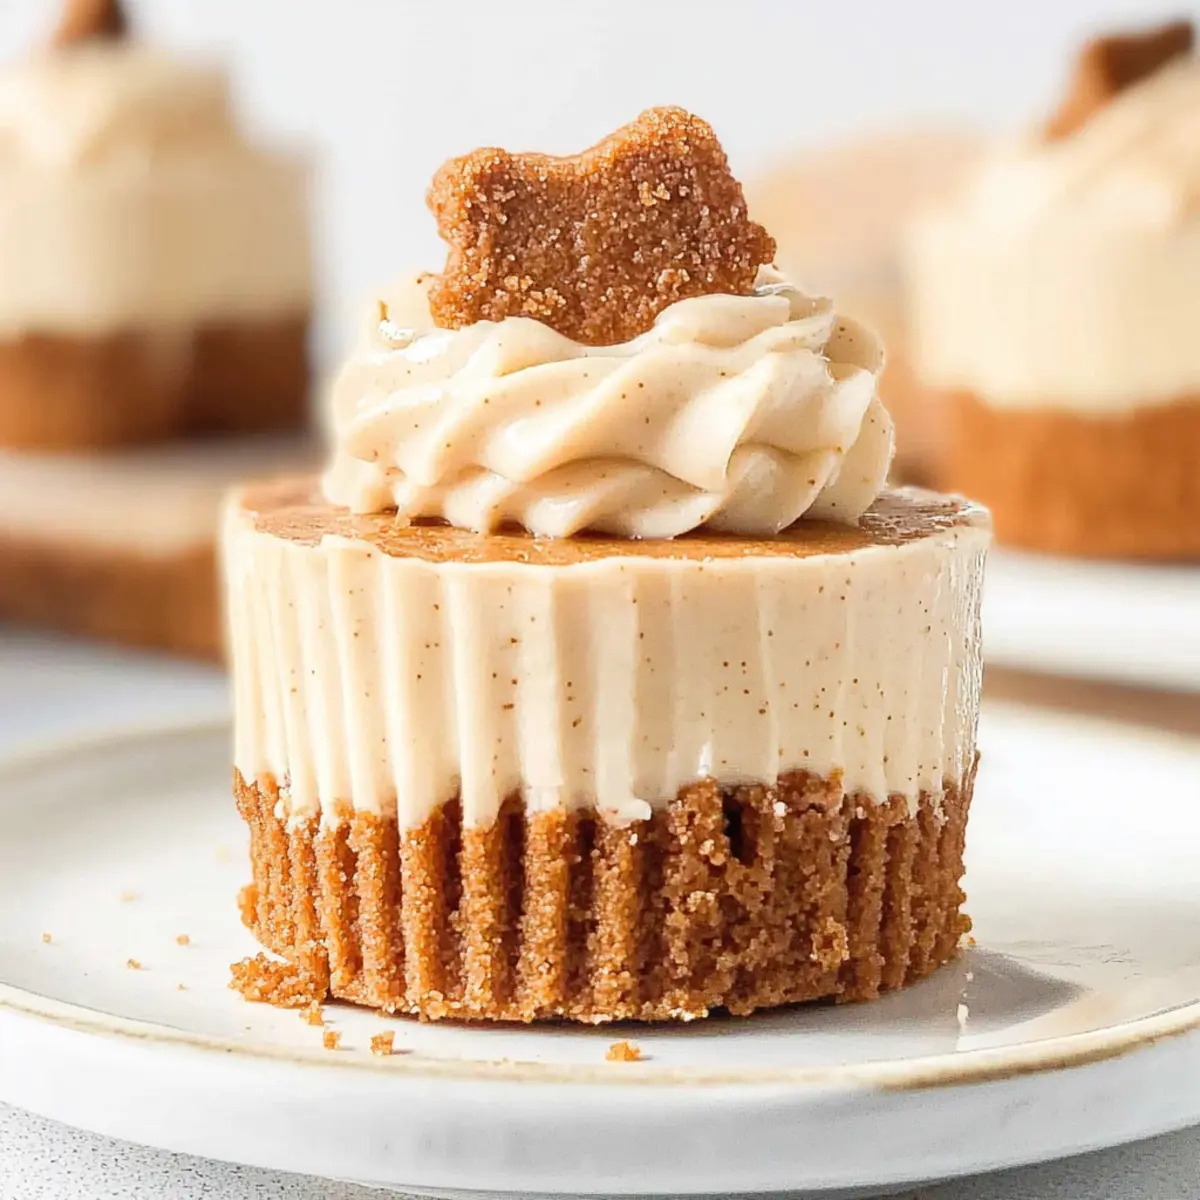
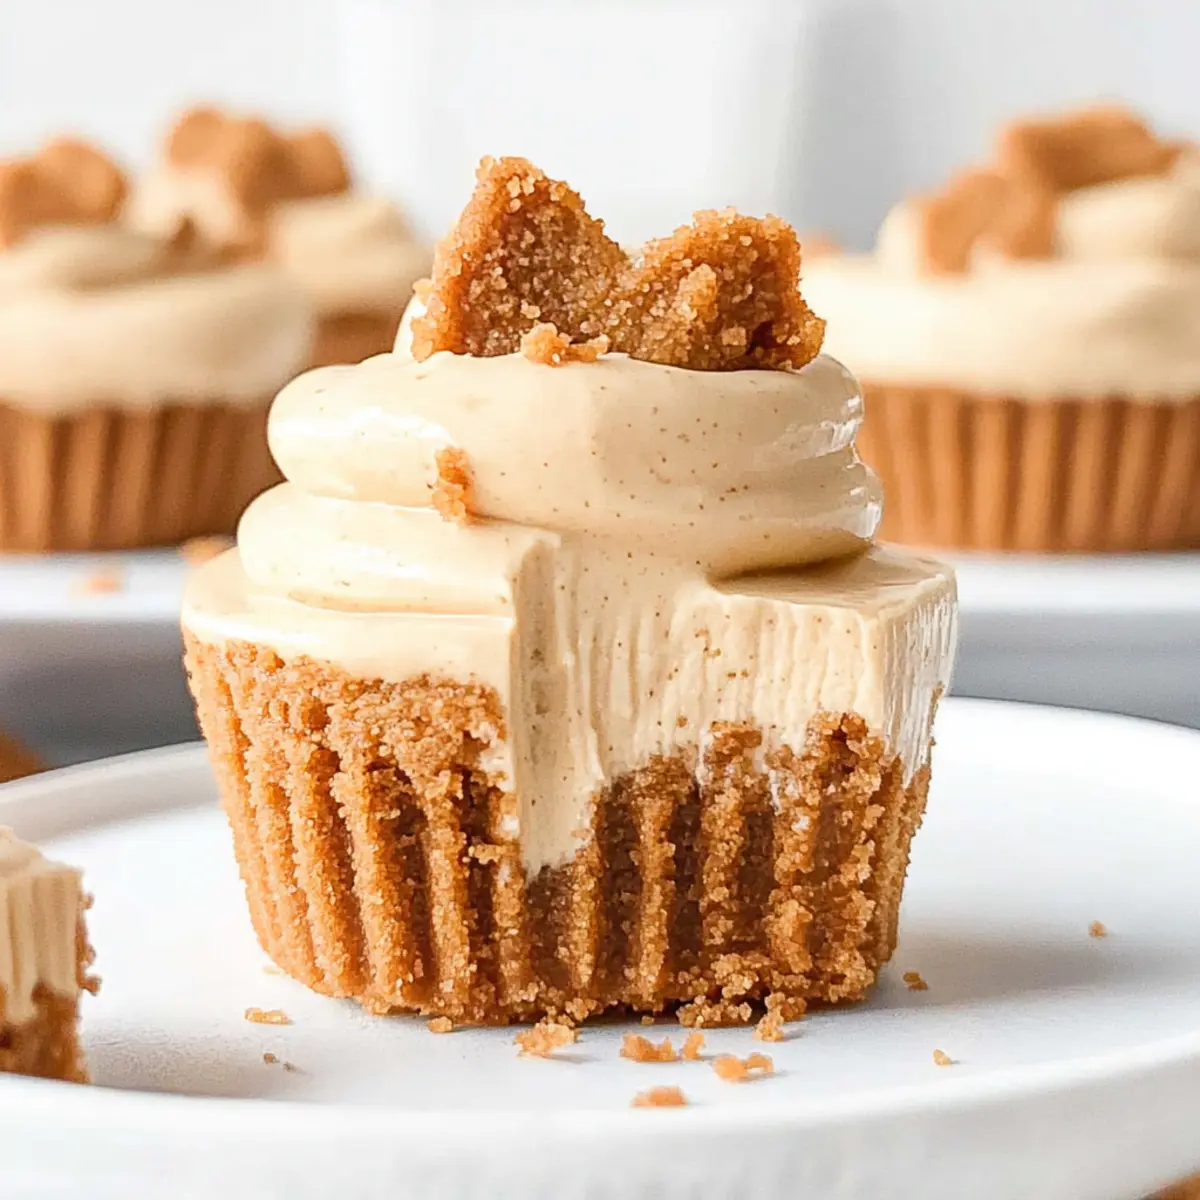
Stunning Presentation: Each mini cheesecake topped with Biscoff whipped cream looks as delightful as it tastes, making them perfect for impressing guests.
Versatile Treat: Great for parties, holidays, or a cozy night at home, these cheesecakes are sure to please any palate.
Make-Ahead Option: Prepare them in advance and store in the fridge, allowing you to enjoy the festivities without stress.
Elevate your dessert game with these delightful Mini Biscoff Cheesecakes, perfect for any occasion!
Mini Biscoff Cheesecakes Ingredients
• Let’s gather everything for these delightful mini treats!
For the Crust
- Unsalted Butter – Provides richness and helps bind the crust; feel free to substitute with coconut oil for a dairy-free option.
- Biscoff Cookies – Forms the delightful base of the crust and infuses flavor throughout; Oreos can be a fun alternative.
For the Cheesecake Filling
- Cream Cheese – The star of the cheesecake filling, ensuring a creamy texture; full-fat is best for richness.
- Sour Cream – Adds tanginess and smoothness to the filling; Greek yogurt can work as a substitute.
- Biscoff Spread – Contributes rich Biscoff flavor; melting it before mixing helps with even distribution.
- Brown Sugar – Sweetens the cheesecake, creating depth of flavor; granulated sugar is an acceptable replacement.
- Speculoos Spices – Give that signature spiced flavor characteristic of Biscoff; pumpkin pie spice can be an excellent substitute.
- Eggs – Essential for setting the cheesecake; using room temperature eggs aids in better incorporation.
For the Whipped Topping
- Heavy Cream – Used for the whipped cream topping, crucial for achieving stiff peaks; remember to whip until fluffy.
- Additional Biscoff Cookies – For garnishing, adding crunch and extra flavor; crush them to sprinkle on top.
Enjoy crafting these indulgent Mini Biscoff Cheesecakes, perfect for any gathering or sweet treat craving!
Step‑by‑Step Instructions for Mini Biscoff Cheesecakes
Step 1: Prepare the Crust
Begin by melting 4 tablespoons of unsalted butter in a microwave or on the stovetop. While the butter is cooling, crush 1 cup of Biscoff cookies into fine crumbs using a food processor or a zip-top bag and a rolling pin. Mix the melted butter with the cookie crumbs until the mixture resembles wet sand. Press this mixture evenly into the bottom of muffin liners placed in a muffin tin. Chill the crusts in the refrigerator for about 15 minutes to set.
Step 2: Make Cheesecake Filling
In a large mixing bowl, beat 8 ounces of softened cream cheese and 1/2 cup sour cream using an electric mixer on medium speed until the mixture is smooth and creamy, about 2 minutes. Gradually add in 1/2 cup melted Biscoff spread, 1/4 cup brown sugar, a pinch of speculoos spices, and 2 room temperature eggs. Mix briefly until fully combined, taking care not to overmix to avoid introducing excess air.
Step 3: Fill and Bake Cheesecakes
Preheat your oven to 285°F (140°C). Carefully spoon the cheesecake filling into each muffin liner, filling them about 3/4 full. Tap the tin gently on the counter to release any air bubbles trapped in the filling. Bake the cheesecakes for 20-25 minutes, until the edges are set but the centers are still slightly wobbly. Once baked, leave the oven door ajar to cool for 10 minutes before transferring the mini cheesecakes to the refrigerator for at least one hour to fully chill.
Step 4: Prepare Toppings
After the mini cheesecakes are chilled, melt an additional 1/4 cup of Biscoff spread in the microwave for about 20-30 seconds. Pour the melted spread over the cooled cheesecakes to create a glossy glaze. For the whipped topping, whip 1 cup of heavy cream in a separate bowl using an electric mixer until soft peaks form. Gradually add 2 tablespoons of Biscoff spread, continuing to whip until stiff peaks are achieved.
Step 5: Decorate and Serve
Once the whipped cream is ready, use a piping bag fitted with a star tip to pipe generous dollops of Biscoff whipped cream on top of each mini cheesecake. For an extra touch, crumble a few additional Biscoff cookies and sprinkle the crumbs over the whipped cream for added crunch and decoration. Your Mini Biscoff Cheesecakes are now beautifully presented and ready to delight your guests!
Expert Tips for Mini Biscoff Cheesecakes
-
Room Temperature Ingredients: Ensure your cream cheese and sour cream are at room temperature for a lump-free, smooth cheesecake filling.
-
Gentle Mixing: Mix the filling ingredients just until combined to avoid incorporating too much air, which can lead to cracks in your cheesecakes.
-
Even Baking: For uniform baking, tap your filled muffin tin gently before placing it in the oven to release any air bubbles that may cause uneven rising.
-
Cool Slowly: Allow the baked cheesecakes to cool gradually in the oven with the door ajar; this prevents sudden temperature changes that could cause them to collapse.
-
Ready Ahead of Time: You can prepare the Biscoff whipped cream a day in advance and keep it chilled in the refrigerator to save time before serving.
Enjoy creating your delightful Mini Biscoff Cheesecakes with these helpful tips!
Mini Biscoff Cheesecakes Variations & Substitutions
Feel free to get creative with these Mini Biscoff Cheesecakes and make them your own with these tasty twists!
-
Dairy-Free: Swap out the cream cheese and sour cream for dairy-free alternatives like cashew cream and coconut yogurt for a creamy, nondairy delight.
Coconut yogurt adds a touch of tanginess, just like sour cream, which perfectly balances the sweetness of Biscoff spread. -
Gluten-Free: Use gluten-free cookies instead of traditional Biscoff cookies to create a gluten-free version of this treat.
You’ll still enjoy that beloved spiced flavor without the gluten, making them accessible for everyone. -
Flavor Infusion: Experiment with flavored whipped cream by adding a splash of vanilla extract or a hint of almond extract to the heavy cream.
The added depth of flavor in the whipped cream can elevate your cheesecakes and dazzle your taste buds. -
Chocolate Lovers: Mix in cocoa powder with the cream cheese filling for a scrumptious chocolate version or use chocolate whipped cream for a rich contrast.
Imagine the luscious blend of chocolate and spiced caramel; it’s a match made in dessert heaven! -
Nutty Crunch: Fold in crushed nuts like pecans or walnuts to the crust for a delightful crunch that enhances the texture of each bite.
The nutty aroma pairs beautifully with the spiced caramel notes and provides an enjoyable contrast. -
Heat It Up: Add a pinch of cayenne pepper or chili powder to the cheesecake filling for a surprising kick of heat.
This unexpected twist adds depth and intrigue, making your dessert memorable for spice enthusiasts! -
Seasonal Spice: Substitute speculoos spices with pumpkin pie spice during the fall for a seasonal take on these cheesecakes.
The warm notes of cinnamon and nutmeg will evoke cozy autumn feelings with every delicious bite. -
Mini Desserts: Instead of muffin liners, use small glasses to create cheesecake cups, layering the crust and filling for a beautiful presentation.
Guests will love digging into their own individual desserts that look just as good as they taste!
These variations will allow you to tailor your Mini Biscoff Cheesecakes to your preferences and the season, making them an irresistible treat for any occasion!
How to Store and Freeze Mini Biscoff Cheesecakes
Fridge: Keep your Mini Biscoff Cheesecakes in an airtight container for up to 3 days. This way, they maintain their delicious texture and flavor.
Freezer: While these cheesecakes are best enjoyed fresh, you can freeze them for up to 2 months. Wrap each cheesecake tightly in plastic wrap and then foil to prevent freezer burn.
Thawing: To enjoy frozen cheesecakes, transfer them to the fridge overnight for gradual thawing. This helps maintain their creamy consistency and flavor.
Reheating: There’s no need to reheat these no-bake cheesecakes. Serve them chilled straight from the fridge for the best taste!
Make Ahead Options
These Mini Biscoff Cheesecakes are a dream for busy home cooks looking to save time! You can prepare the crust and cheesecake filling up to 24 hours in advance. Simply make the crust, press it into the muffin liners, and refrigerate. Then, mix the cheesecake filling and store it in an airtight container in the fridge. When you’re ready to bake, fill the crusts with the chilled cheesecake mixture and proceed with baking. To ensure the whipped topping is just as delightful, whip it fresh or make it up to 3 days ahead, keeping it chilled until serving. This method keeps everything just as delicious and ready to impress!
What to Serve with Mini Biscoff Cheesecakes
Elevate your gathering with delightful deliciousness that perfectly complements these creamy treats.
- Rich Coffee: The bold flavor of freshly brewed coffee enhances the sweetness of the cheesecakes and is a classic pairing.
- Chocolate-Dipped Strawberries: These fruity bites add a fresh contrast and visual appeal, making them an inviting choice alongside the rich cheesecakes.
- Vanilla Ice Cream: A scoop of silky vanilla ice cream creates a delightful temperature contrast, making every bite of cheesecake even more indulgent.
- Fruit Salad: A refreshing mix of seasonal fruits can lighten the meal, providing a beautiful balance to the rich creaminess.
- Caramel Drizzle: A touch of warm caramel over the cheesecakes intensifies the spiced caramel flavors and adds a luxurious finish.
- Mint Tea: The refreshing notes of mint tea cleanse the palate, enhancing the overall richness of the mini cheesecakes.
- Chocolate Wine: A glass of sweet chocolate wine brings earthiness and complements the Biscoff flavors beautifully, making each dessert feel even more special.
- Lemon Sorbet: For those seeking a citrusy twist, a small scoop of lemon sorbet provides a bright burst that contrasts wonderfully with the cheesecake’s creaminess.
- Biscoff Cookie Crumble: Sprinkle extra Biscoff cookie crumbles on top for added crunch and to tie in the dessert’s flavors.
Mini Biscoff Cheesecakes Recipe FAQs
How do I select the right Biscoff cookies for the crust?
Absolutely! When choosing Biscoff cookies, look for those that are crisp with no visible dark spots, as that indicates freshness. If you prefer a different flavor profile, Oreo cookies make a delightful, chocolatey substitute!
What’s the best way to store leftover Mini Biscoff Cheesecakes?
To keep your cheesecakes fresh, store them in an airtight container in the refrigerator for up to 3 days. This helps preserve their creamy texture and prevents them from absorbing any fridge odors.
Can I freeze Mini Biscoff Cheesecakes?
Very! While these cheesecakes are best enjoyed fresh, you can freeze them. To do so, wrap each cheesecake tightly in plastic wrap and then in foil, preventing freezer burn. They can be stored for up to 2 months. When you’re ready to enjoy, transfer them to the fridge overnight to thaw gradually.
What if my cheesecake filling is too runny?
Don’t worry! If your filling seems too runny, it might be due to overmixing or insufficient chilling. To resolve this, mix in a bit more cream cheese and place the mixture in the fridge for 30 minutes to firm up before baking. This should help achieve that thick, creamy consistency you want!
Are Mini Biscoff Cheesecakes safe for pets?
No. It’s best to keep these delicacies away from pets, especially due to the cream cheese and sugar content, which can be harmful to them. Always double-check ingredients to ensure safety, especially when sharing treats!
Can I make these Mini Biscoff Cheesecakes dairy-free?
Absolutely! To create a dairy-free version, substitute the cream cheese with a plant-based cream cheese alternative and use coconut cream for the whipped topping. Just make sure to use dairy-free Biscoff cookies, and you’ll have a delicious treat for everyone!
Mini Biscoff Cheesecakes for Ultimate Sweet Indulgence
Ingredients
Equipment
Method
- Melt unsalted butter and crush Biscoff cookies. Mix to form crust and chill.
- Beat cream cheese and sour cream until smooth. Add remaining filling ingredients and mix.
- Fill muffin liners with cheesecake mixture and bake until edges set.
- Melt additional Biscoff spread for glaze and whip cream for topping.
- Pipe whipped cream on cheesecakes and sprinkle crushed cookies for decoration.
Leave a Reply