
As I rummaged through my pantry one afternoon, a burst of creativity led me to whip up these Garlic Parmesan Cheeseburger Bombs. Trust me when I say, not all homemade delights take hours! These cozy, cheesy morsels are a fantastic combination of seasoned ground beef enveloped in soft, pillowy biscuit dough, and they come together in just about 40 minutes. Whether you’re prepped for game night or just craving a savory snack, these easy appetizers are sure to impress. Plus, they’re beginner-friendly and make for a satisfying comfort food that will leave everyone coming back for more. Curious about how to create these irresistible bites that are the perfect crowd-pleaser? Let’s dive in!
Why are Garlic Parmesan Cheeseburger Bombs a Must-Try?
Irresistible Flavor: Every bite bursts with the rich, savory taste of seasoned beef and gooey cheddar, enhanced by the nutty crunch of Parmesan.
Quick and Easy: With just 40 minutes from start to finish, even beginner cooks can impress their guests with these tasty bites.
Crowd-Pleasing Appetizer: Serve them at parties or game nights and watch as friends and family line up for seconds—everyone loves a cheesy treat!
Versatile and Fun: Feel free to switch up ingredients; try ground turkey or chicken for a lighter twist, or toss in some veggies for added nutrition.
Comfort Food Twist: These bombs pack the comforting essence of a cheeseburger into an easy, handheld snack perfect for any occasion. Want even more easy appetizer ideas? Check out my easy appetizers section for inspiration!
Garlic Parmesan Cheeseburger Bomb Ingredients
For the Filling
• Ground Beef – Provides a juicy and meaty foundation; ground turkey or chicken can be used as a lighter alternative.
• Salt – Enhances overall flavor; remember to adjust to taste depending on dietary needs.
• Black Pepper – Delivers a subtle heat; using fresh-ground will elevate the taste.
• Garlic Powder – Infuses the beef with savory essence; fresh minced garlic can substitute but use less due to its potency.
• Onion Powder – Adds a sweet aromatic note; fresh onions can work, though they may change the moisture content.
• Worcestershire Sauce – Creates a depth of umami; soy sauce can be a similar substitute.
• Shredded Cheddar Cheese – Melts beautifully for richness; feel free to swap for your favorite melting cheese.
For the Dough
• Refrigerated Biscuit Dough – A quick and easy base; homemade dough takes longer but can also be used.
• Butter – Gives a glossy, golden finish; can be substituted with margarine for a dairy-free option.
For the Topping
• Minced Garlic – Adds a fresh burst of flavor; adjust the amount based on your garlic preference.
• Grated Parmesan Cheese – Provides a nutty, savory crust; consider Pecorino Romano for a sharper taste.
• Chopped Fresh Parsley – Brightens up the dish and adds a touch of color; chopped chives can be a great mild substitute.
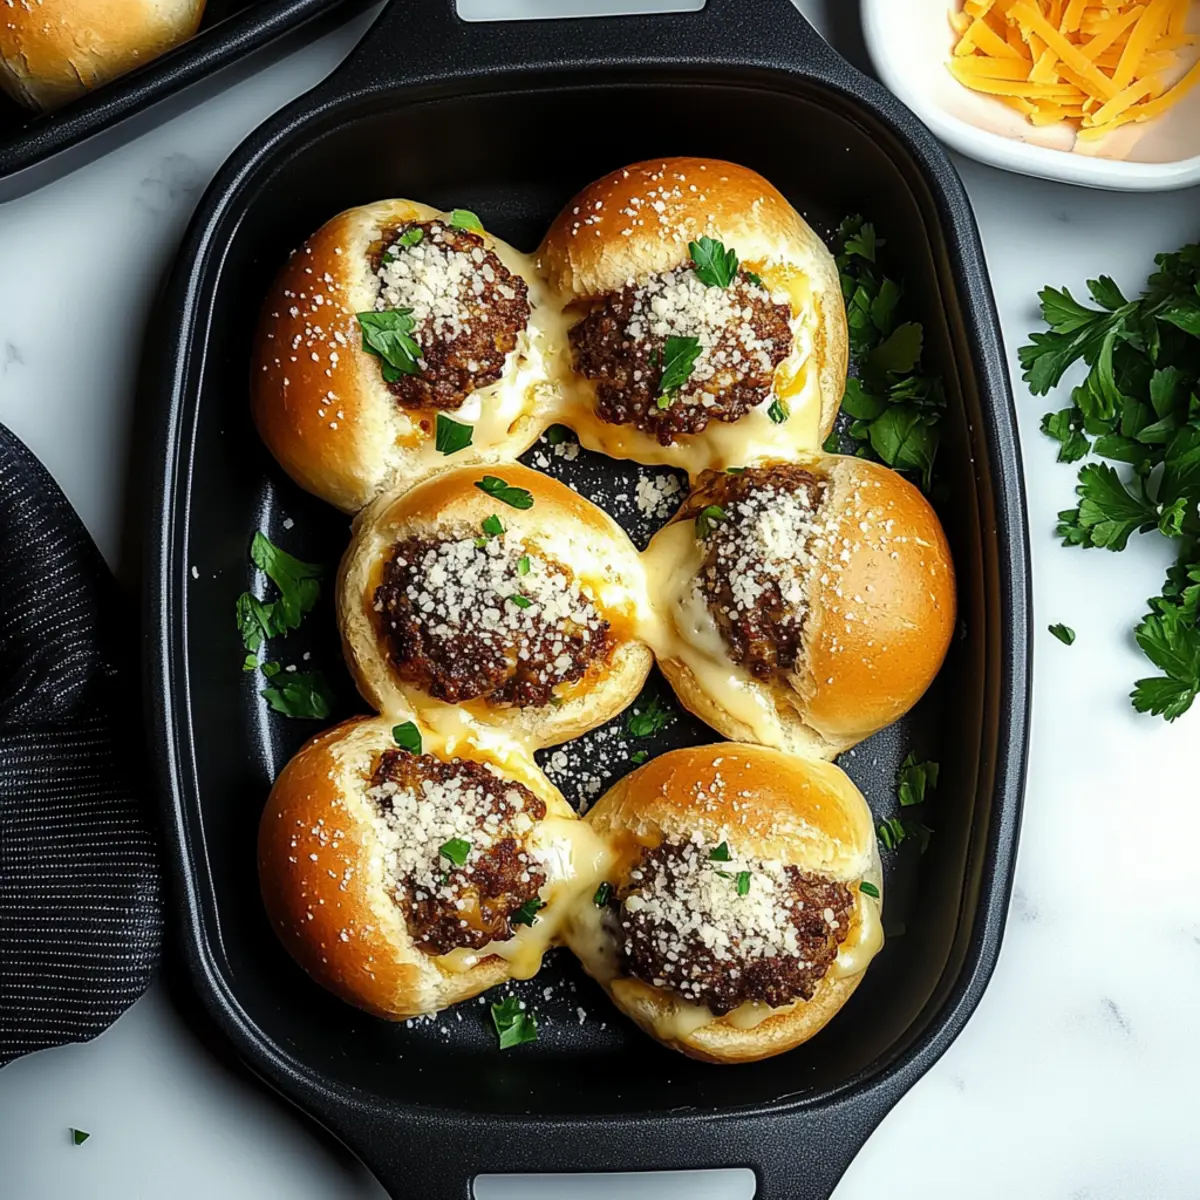
These Garlic Parmesan Cheeseburger Bombs pack delightful flavor and are perfect for any occasion! Get ready to impress your friends and family with these easy appetizers that are simple yet satisfying.
Step‑by‑Step Instructions for Garlic Parmesan Cheeseburger Bombs
Step 1: Preheat Your Oven
Begin by preheating your oven to 375°F (190°C) and line a baking sheet with parchment paper to prevent sticking. This preparation ensures that your Garlic Parmesan Cheeseburger Bombs will bake evenly and come out golden brown. Get your baking equipment ready so everything is set when you’re done with the filling.
Step 2: Cook the Ground Beef
In a large skillet over medium heat, add your ground beef and cook it until browned and fully cooked, about 6-8 minutes. Ensure to break it apart as it cooks for an even texture. Once it’s brown, drain any excess fat to keep your bombs from being greasy.
Step 3: Season the Filling
Sprinkle salt, black pepper, garlic powder, onion powder, and Worcestershire sauce over the cooked beef. Stir everything together for about 2-3 minutes, allowing the flavors to meld. Now, add the shredded cheddar cheese and let it melt and combine with the beef while stirring, creating a delicious, gooey filling.
Step 4: Prepare the Biscuit Dough
Roll out each piece of refrigerated biscuit dough on a lightly floured surface until it’s about 1/4 inch thick. This will create the perfect shell for your Garlic Parmesan Cheeseburger Bombs. It’s important to make them large enough to hold a good portion of the beef mixture, so take your time with this step.
Step 5: Fill the Dough
Spoon about 2 tablespoons of the beef and cheese mixture into the center of each rolled-out dough circle. Carefully fold the edges up around the filling and pinch to seal them tightly. Place each filled bomb seam-side down on the prepared baking sheet to ensure they don’t open while baking.
Step 6: Make the Garlic Butter Topping
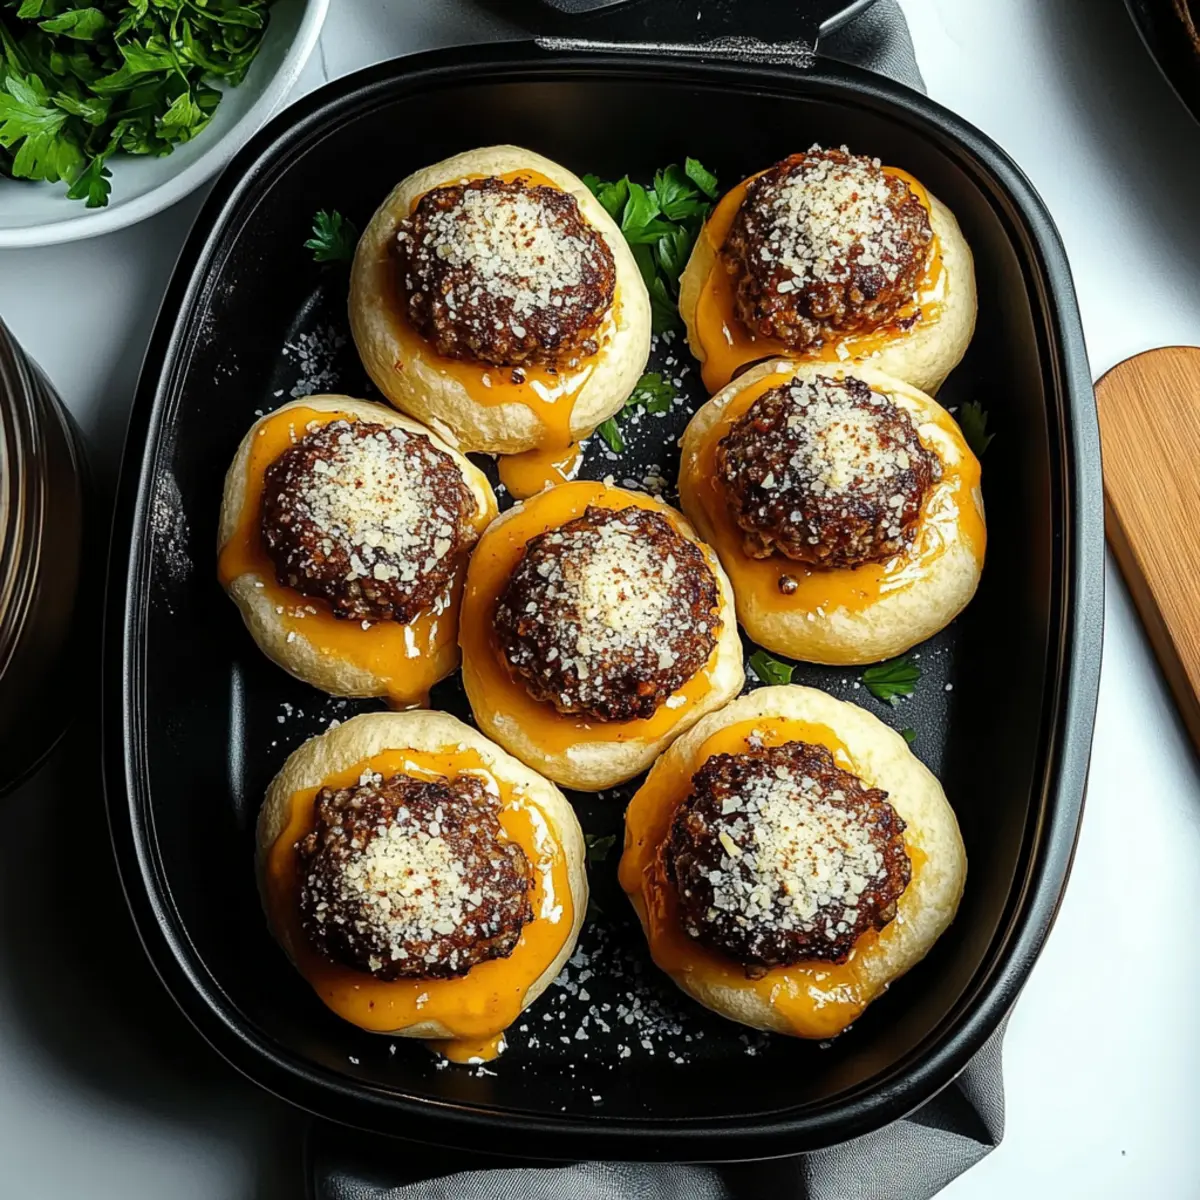
In a small bowl, combine melted butter with minced garlic. Use a brush to generously apply this mixture on top of each sealed bomb, ensuring they get a lovely, flavorful crust. This step is key to achieving that golden, glossy finish that enhances their delicious appeal.
Step 7: Add the Parmesan Cheese
Sprinkle grated Parmesan cheese evenly over the top of each bomb, pressing gently to adhere it to the garlic butter. This adds a nutty, savory flavor that complements the cheeseburger filling beautifully. Your Garlic Parmesan Cheeseburger Bombs are now ready for the oven!
Step 8: Bake to Perfection
Place the baking sheet in your preheated oven and bake for 12-15 minutes, or until the bombs are golden brown and cooked through. Keep an eye on them; you want that beautiful color and aroma filling your kitchen, signaling they’re just about ready to be enjoyed.
Step 9: Garnish and Serve
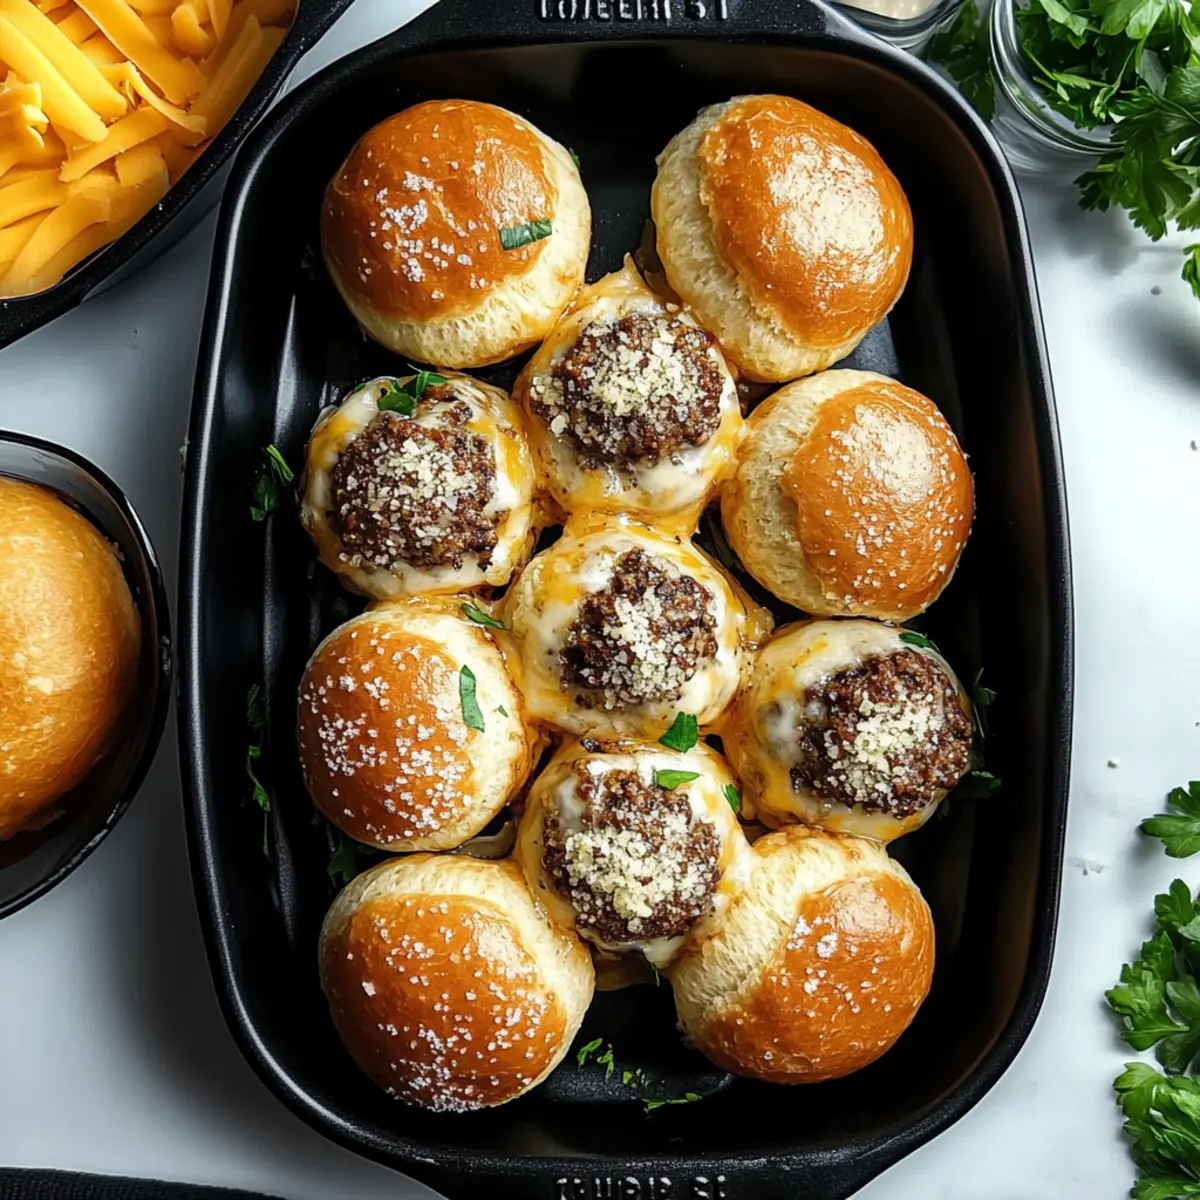
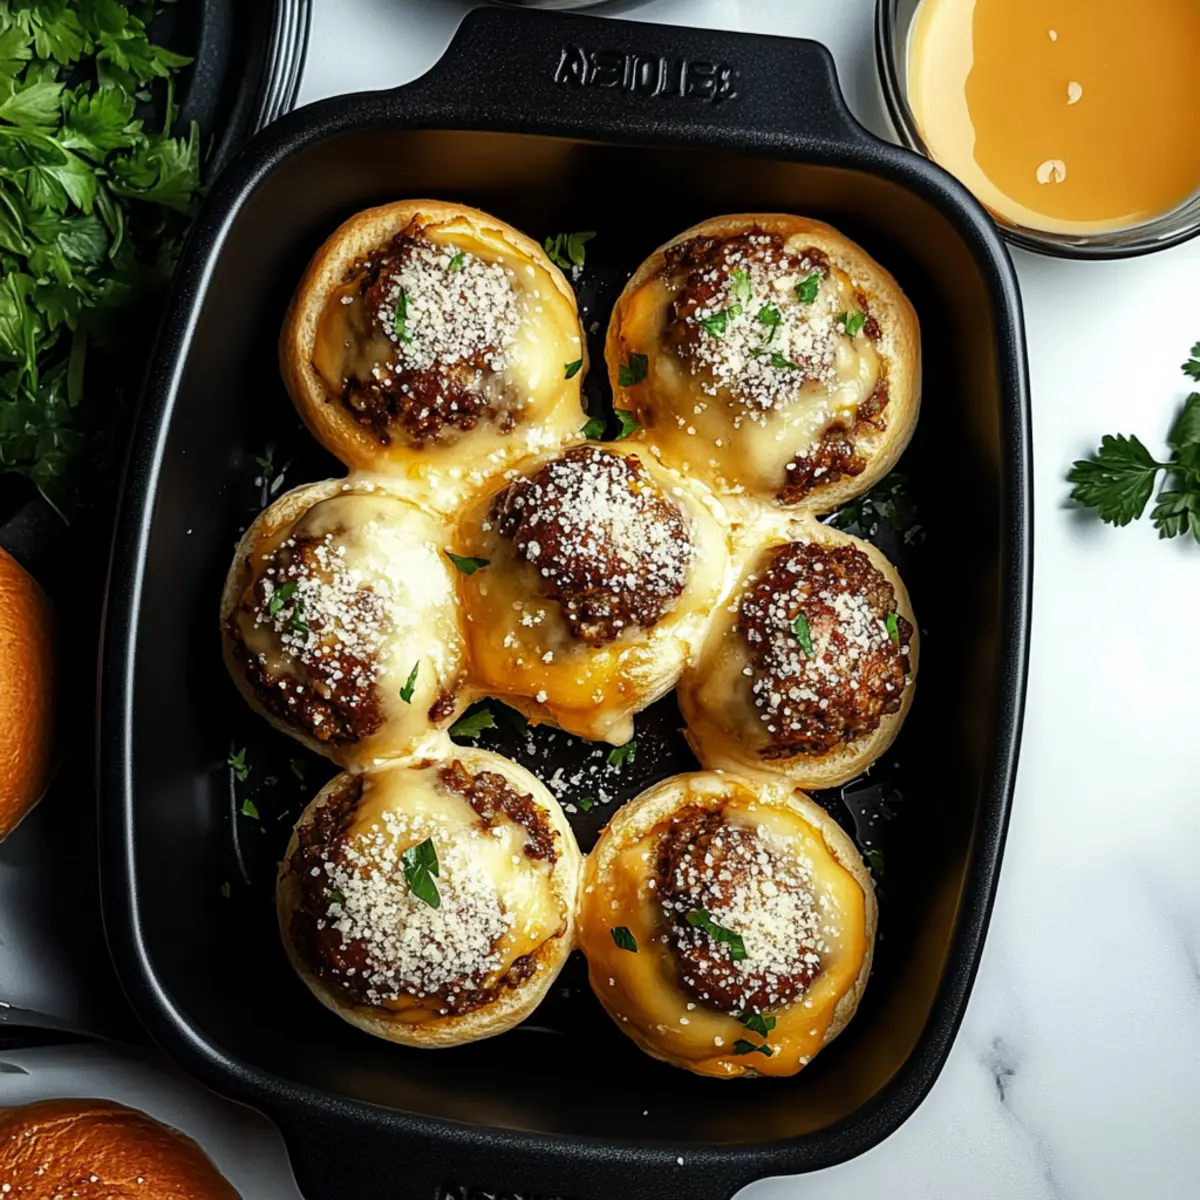
Once out of the oven, let the bombs cool slightly before garnishing with freshly chopped parsley for a touch of color. Serve your warm Garlic Parmesan Cheeseburger Bombs with your favorite dipping sauces, and prepare for everyone to be delighted by these cozy, satisfying bites!
Helpful Tricks for Garlic Parmesan Cheeseburger Bombs
• Seal Tightly: Make sure to pinch the biscuit dough securely around the filling to prevent any leaks while baking.
• Watch the Time: Keep an eye on your bombs as ovens can vary. Bake until they are golden brown and perfectly flaky.
• Flavor Boost: Consider adding your favorite spices like smoked paprika or cayenne to the beef mixture for an extra layer of flavor in your Garlic Parmesan Cheeseburger Bombs.
• Perfect Serving Size: Use a cookie scoop to measure and fill the biscuit dough for consistent sizes, ensuring even cooking and the perfect bite every time.
• Dipping Delight: Serve with a variety of dipping sauces like ranch, BBQ, or sriracha mayo to complement the savory flavors and keep things exciting.
Make Ahead Options
These Garlic Parmesan Cheeseburger Bombs are a fantastic meal prep solution! You can prepare the filling (ground beef mixture with cheese) up to 3 days in advance; simply store it in an airtight container in the refrigerator. Additionally, you can assemble the bombs a day ahead, covering them tightly with plastic wrap and refrigerating them until you’re ready to bake. If you prefer, you can also freeze the assembled bombs for up to 2 months—just bake them straight from the freezer, adding a few extra minutes to the cooking time. To maintain their delicious quality, ensure they’re well-sealed to prevent drying out. When ready to serve, just bake until golden and enjoy these mouthwatering treats without the last-minute rush!
What to Serve with Garlic Parmesan Cheeseburger Bombs
These cozy bites are just the beginning of a delightful meal experience that your family and friends will love.
- Creamy Mashed Potatoes: These rich, buttery potatoes provide a smooth contrast to the crispy cheeseburger bombs, making each bite a comforting delight.
- Crispy Coleslaw: A crunchy, tangy slaw adds freshness and balances the savory richness of the bombs, enhancing the overall meal with a pop of color and flavor.
- Spicy Sriracha Mayo: For those craving a kick, this creamy dip complements the bombs beautifully, offering a zesty finish that keeps guests reaching for more.
- Garlic Butter Breadsticks: A warm, gooey side filled with buttery garlic goodness, they mirror the flavors of the bombs while providing a satisfying bread element.
- Classic Caesar Salad: The crisp romaine and tangy dressing meld perfectly with the warm cheeseburger flavors, refreshing the palate in between bites.
- Zesty Pickles: Add a tangy crunch that cuts through the richness of the bombs; these little bites provide a delightful brightness to every serving.
- Cool Ranch Dressing: Serve as a dip option to add a creamy element and a bit of herbaceous flavor, enhancing the cheeseburger experience.
- Sweet Potato Fries: Their natural sweetness and crispy texture are a fantastic side that perfectly balances the savory bombs, offering a satisfying crunch.
- Iced Tea or Lemonade: A cold drink provides refreshing hydration and balances the warm, hearty flavors of the cheeseburger bombs, making for a delightful meal experience.
How to Store and Freeze Garlic Parmesan Cheeseburger Bombs
Fridge: Store leftover Garlic Parmesan Cheeseburger Bombs in an airtight container in the refrigerator for up to 3-4 days to retain freshness and flavor.
Freezer: For longer storage, freeze the bombs in a single layer on a baking sheet for about 1-2 hours, then transfer them to a freezer-safe bag for up to 2-3 months.
Reheating: To reheat from the fridge, warm them in an oven at 350°F (175°C) for about 10-15 minutes. From frozen, bake directly at 350°F, adding 5-10 extra minutes until they’re heated through.
Wrap for Quality: If freezing, wrap each bomb individually in plastic wrap, then place them in the freezer bag to prevent freezer burn and maintain taste.
Garlic Parmesan Cheeseburger Bombs Variations
Feel free to let your creativity shine with these variations that will elevate your Garlic Parmesan Cheeseburger Bombs!
-
Turkey Twist: Substitute ground beef with ground turkey for a lighter alternative. Enjoy the same deliciousness with a healthier twist.
-
Cheesy Heat: Swap shredded cheddar for pepper jack cheese to add a spicy kick. Each bite will be a delightful surprise that will excite your taste buds.
-
Veggie Boost: Mix in chopped bell peppers or mushrooms to the beef for added nutrition. This splash of color and flavor will elevate your bombs beyond the typical cheeseburger.
-
Herb-Infused: Add fresh herbs like oregano or basil to the beef mixture for an aromatic touch. Smell the delightful fragrance while baking, and taste the freshness in each bite.
-
Gluten-Free: Use gluten-free biscuit dough to cater to dietary needs without compromising on flavor. Everyone can join in on the fun with these tasty bombs!
-
BBQ Flavor: Incorporate some BBQ sauce into the beef mixture for a smoky flavor. It will take your regular cheeseburger bomb to a whole new level of deliciousness.
-
Savory Bacon: Mix in crumbled bacon to the beef filling for added crunch and flavor depth. Every bite will be packed with delectable savory goodness that no one can resist.
-
Zesty Citrus: Add a little lemon zest to the garlic butter before brushing it on the bombs. The brightness will enhance the overall flavor, keeping it fresh and lively.
These delightful variations will spice up your Garlic Parmesan Cheeseburger Bombs, allowing you to find your perfect flavor combination each time you make them! If you’d like to explore more variations, check out my easy appetizers section for a wealth of inspiration!
Garlic Parmesan Cheeseburger Bombs Recipe FAQs
How do I choose the best ground beef for my bombs?
Absolutely! For the juiciest flavor, go for ground beef with around 80% lean meat content. If you’re looking for a lighter option, feel free to substitute with ground turkey or chicken, which provide a similar texture but with less fat.
What’s the best way to store leftover Garlic Parmesan Cheeseburger Bombs?
To keep them fresh, store the leftover Garlic Parmesan Cheeseburger Bombs in an airtight container in your refrigerator for up to 3-4 days. If you have a bit more time on your hands, freezing these bombs can extend their shelf life.
Can I freeze Garlic Parmesan Cheeseburger Bombs?
Very! You can freeze these yummy bites for up to 2-3 months. Here’s how: After assembling the bombs, place them on a baking sheet in a single layer and freeze for about 1-2 hours until firm. Then transfer them to a freezer-safe bag, making sure to remove as much air as possible to prevent freezer burn.
What should I do if my bombs leak during baking?
No worries! If your bombs leak, it might be due to not sealing the biscuit dough tightly. Make sure to pinch the dough well to secure the filling. If a few still leak, simply enjoy the cheesy goodness that spills out—they’ll still taste fantastic!
Are these bombs safe for my pets?
It’s best to keep these Garlic Parmesan Cheeseburger Bombs away from your pets. Ingredients like garlic and onion can be harmful to them, so enjoy these delicious bites knowing they’re meant for human enjoyment only.
Can I modify the recipe for dietary restrictions?
Absolutely! If you’re looking for gluten-free options, you can use gluten-free biscuit dough. For a dairy-free version, simply swap the butter and cheese for suitable alternatives. Always consider your guests’ preferences and check ingredient labels for allergens.
Cheesy Garlic Parmesan Cheeseburger Bombs You'll Crave
Ingredients
Equipment
Method
- Preheat your oven to 375°F (190°C) and line a baking sheet with parchment paper.
- In a large skillet over medium heat, cook the ground beef until browned, about 6-8 minutes. Drain excess fat.
- Season beef with salt, pepper, garlic powder, onion powder, and Worcestershire sauce. Stir for 2-3 minutes. Add cheese to melt.
- Roll out each piece of refrigerated biscuit dough to about 1/4 inch thick on a floured surface.
- Spoon about 2 tablespoons of the beef mixture into the center of each dough circle. Fold and seal the edges.
- Mix melted butter with minced garlic and brush over each bomb.
- Sprinkle grated Parmesan cheese on top and press gently to adhere.
- Bake for 12-15 minutes until golden brown and cooked through.
- Let cool slightly, garnish with parsley, and serve with your favorite dipping sauces.
Leave a Reply