
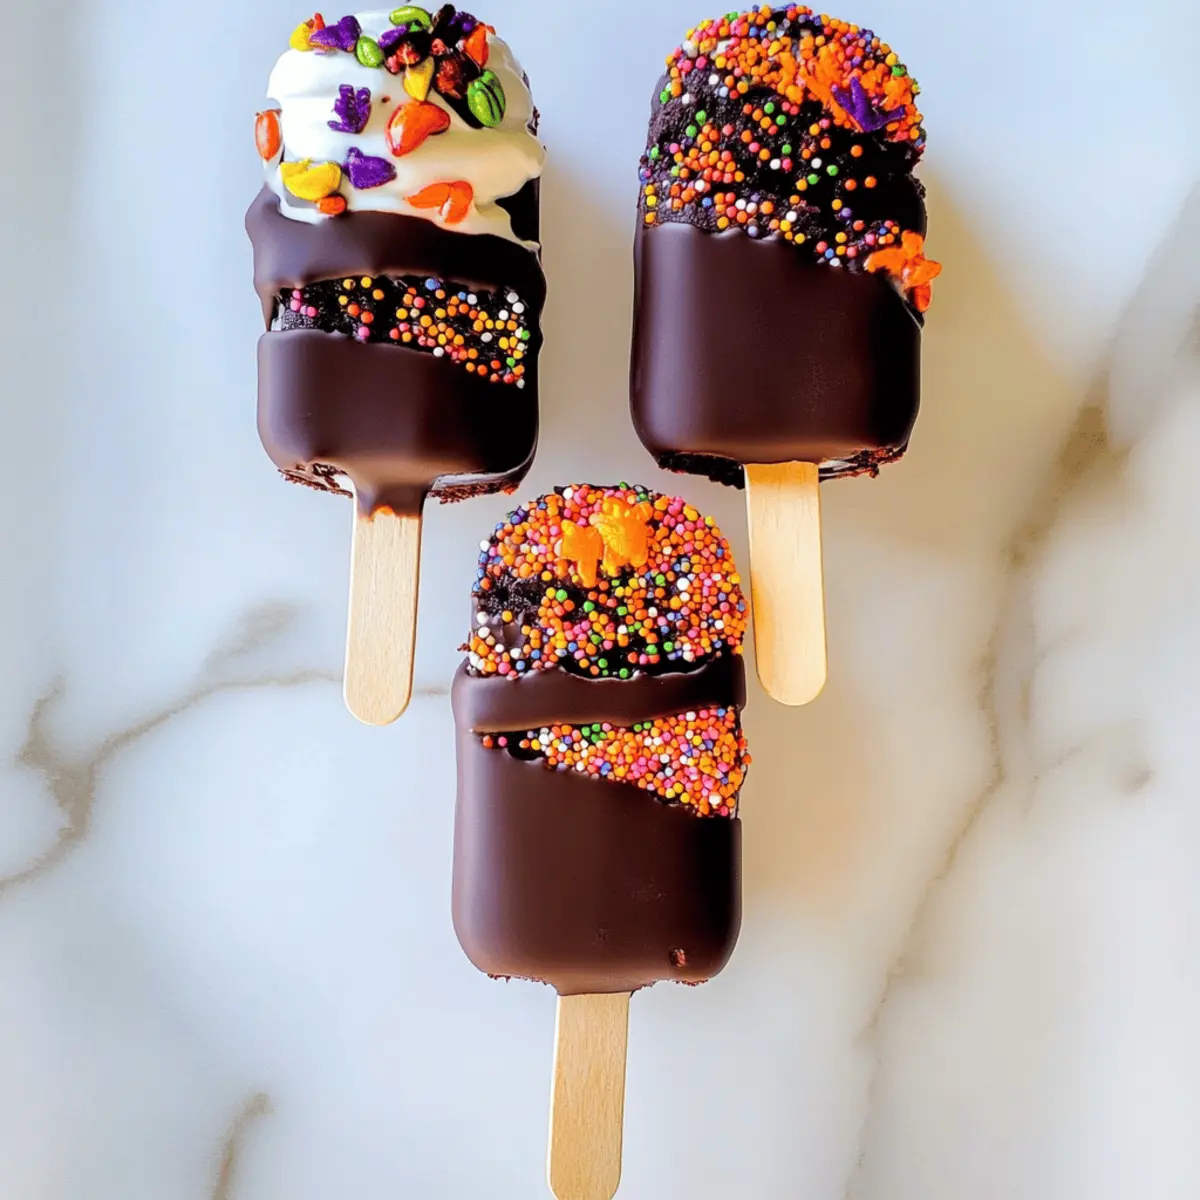
A distant sound of laughter echoed through the kitchen as I unearthed a treasure trove of leftover red velvet cupcakes, remnants of last week’s celebration. In that moment, a delightful idea struck me: why not transform these perfectly good leftovers into some spooktacular Halloween Cakesicles? This easy, kid-friendly recipe not only puts those leftovers to great use, but it also creates a fun baking activity that the little ones will love. Picture it: delicious chocolate-coated cakesicles decorated with vibrant sprinkles, just waiting to wow guests at your Halloween party or become the centerpiece of a classroom treat. So, are you ready to dive into a world of creativity and sweetness? Let’s get started!
Why are Halloween Cakesicles a must-try?
Easy to Make: With just a few simple ingredients and steps, you can whip up these colorful delights in no time!
Repurpose Leftovers: Turn leftover cake into a creative treat, minimizing waste while maximizing fun.
Kid-Friendly Activity: Invite the little ones into the kitchen for a delightful baking project they’ll love.
Festive Appeal: Their vibrant colors and fun decorations make them perfect for Halloween celebrations.
Versatile Flavors: Feel free to experiment with different cake flavors and frostings for unique taste combinations.
Impressive Presentation: These cakesicles look stunning on any dessert table, guaranteed to wow your guests! For more spooky treats, check out our Halloween Oreo Cookie and Cauldron Cookies.
Halloween Cakesicles Ingredients
For the Cake Mixture
• Leftover Cake or Cupcakes – Any flavor will work, but red velvet adds a festive touch.
• Frosting – Use your favorite store-bought or homemade frosting to bind the cake crumbs together.
For the Coating
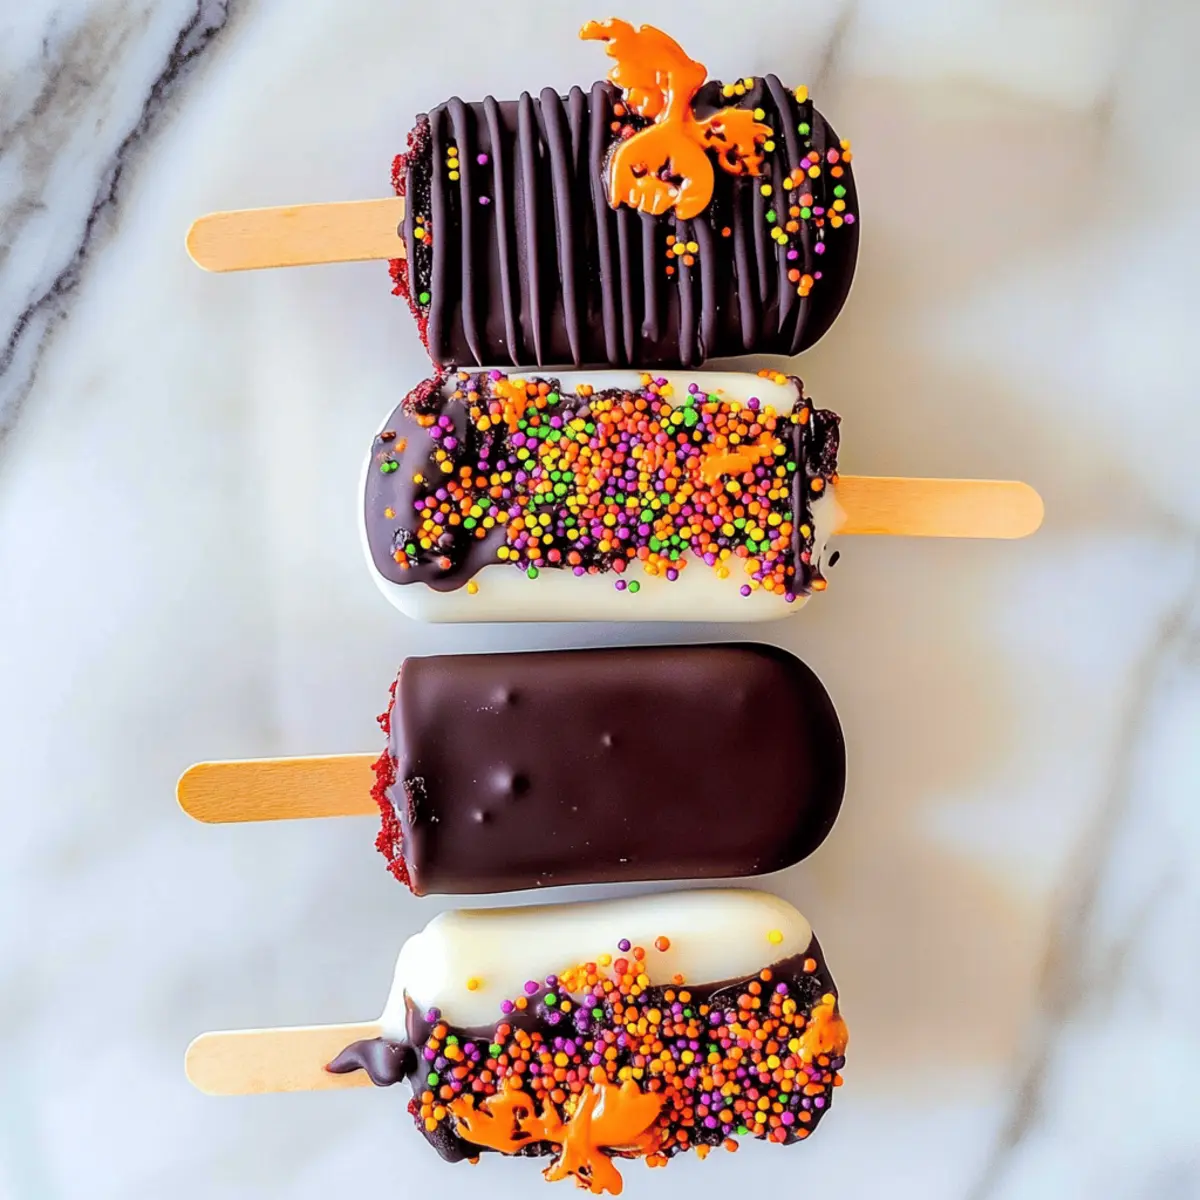
• Coating Chocolate or Candy Melts – High-quality options enhance the flavor; I recommend Ghirardelli for an indulgent touch.
• Food Color (Optional) – Choose vibrant oil-based or powdered colors to make the chocolate coating even more festive!
For Molding
• Cakesicle Molds – Essential for forming your treats; consider buying several for batch-making efficiency.
Now that you have everything ready, let’s get moving towards creating your vibrant Halloween Cakesicles! 🎃
Step‑by‑Step Instructions for Halloween Cakesicles
Step 1: Prepare Cake Mixture
Start by crumbling your leftover red velvet cake or cupcakes into a large bowl. Use your hands or a fork to achieve a fine crumb texture. Gradually mix in your favorite frosting until the mixture is moist and moldable, resembling a thick dough. This process should take about 5 minutes, and you want to ensure the mixture holds together without being overly wet.
Step 2: Form Cakesicles
Next, take your cakesicle molds and firmly press the cake mixture into each cavity. Fill them adequately, leaving a little space at the top for expansion. Insert the popsicle sticks into the center of each mold, ensuring they stand upright. Once filled, place the molds in the freezer and let them chill for about 1-2 hours until completely firm to the touch.
Step 3: Melt Coating
While your cakesicles are chilling, prepare your coating chocolate or candy melts. Using a microwave-safe bowl, heat the chocolate in 30-second intervals, stirring between each until smooth and fully melted. This should take about 1-2 minutes total, depending on your microwave. Ensure there are no lumps and that the chocolate reaches a creamy consistency for easy dipping.
Step 4: Coat Cakesicles
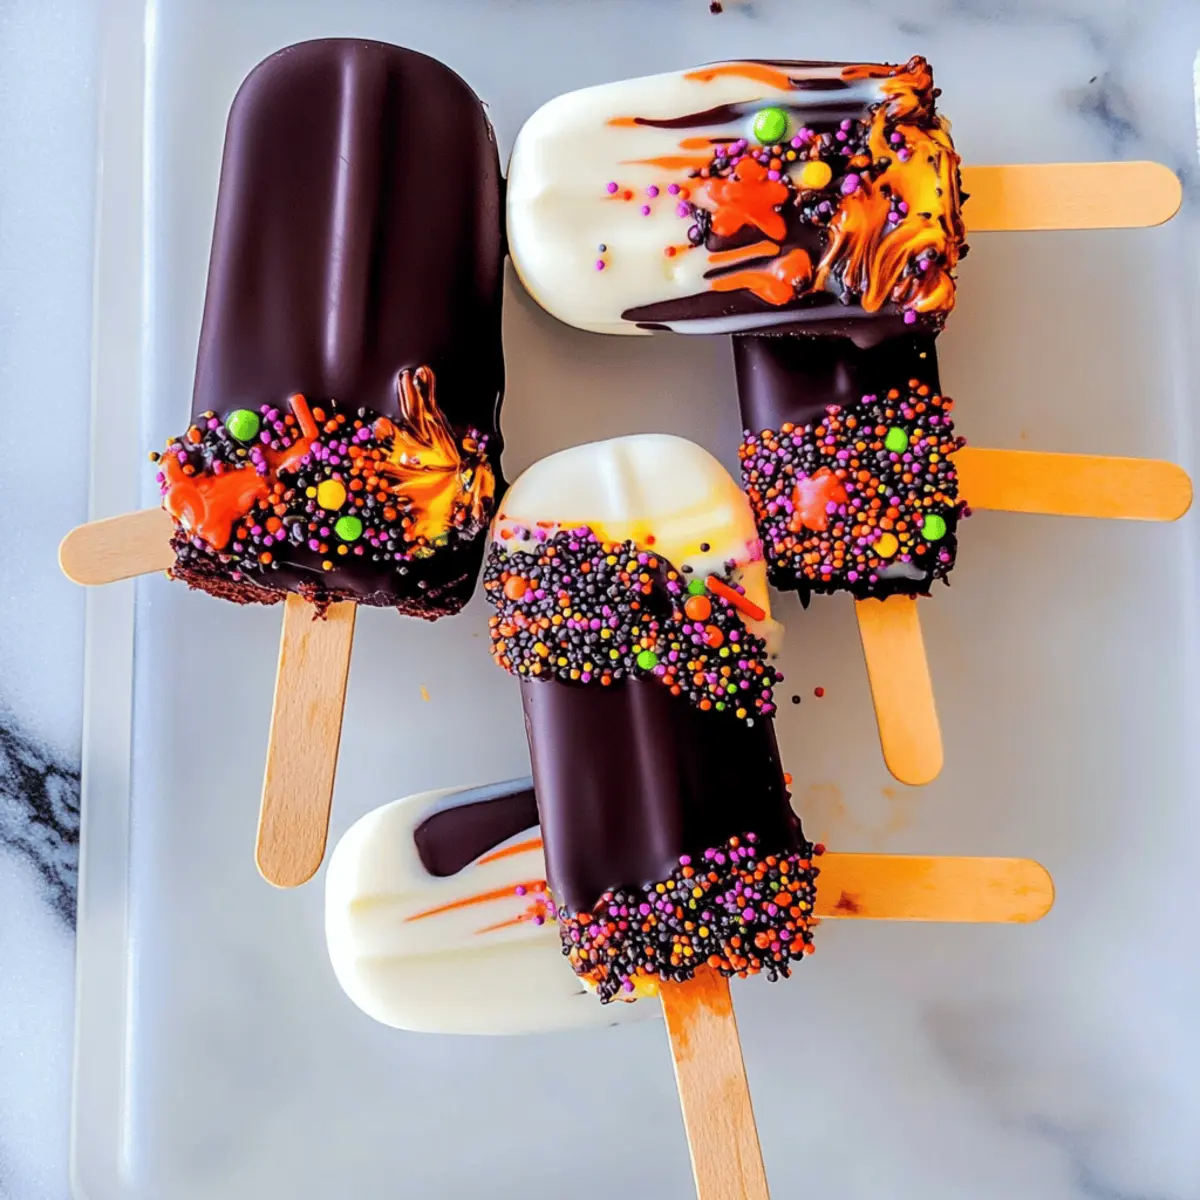
Take the chilled cakesicles out of the freezer and gently remove each one from the mold. One by one, dip each cakesicle into the melted chocolate, allowing any excess to drip off. Ensure they are evenly coated, and you may use a spoon to help cover any missed spots. Place them back on a parchment-lined tray as you finish coating all cakesicles.
Step 5: Decorate
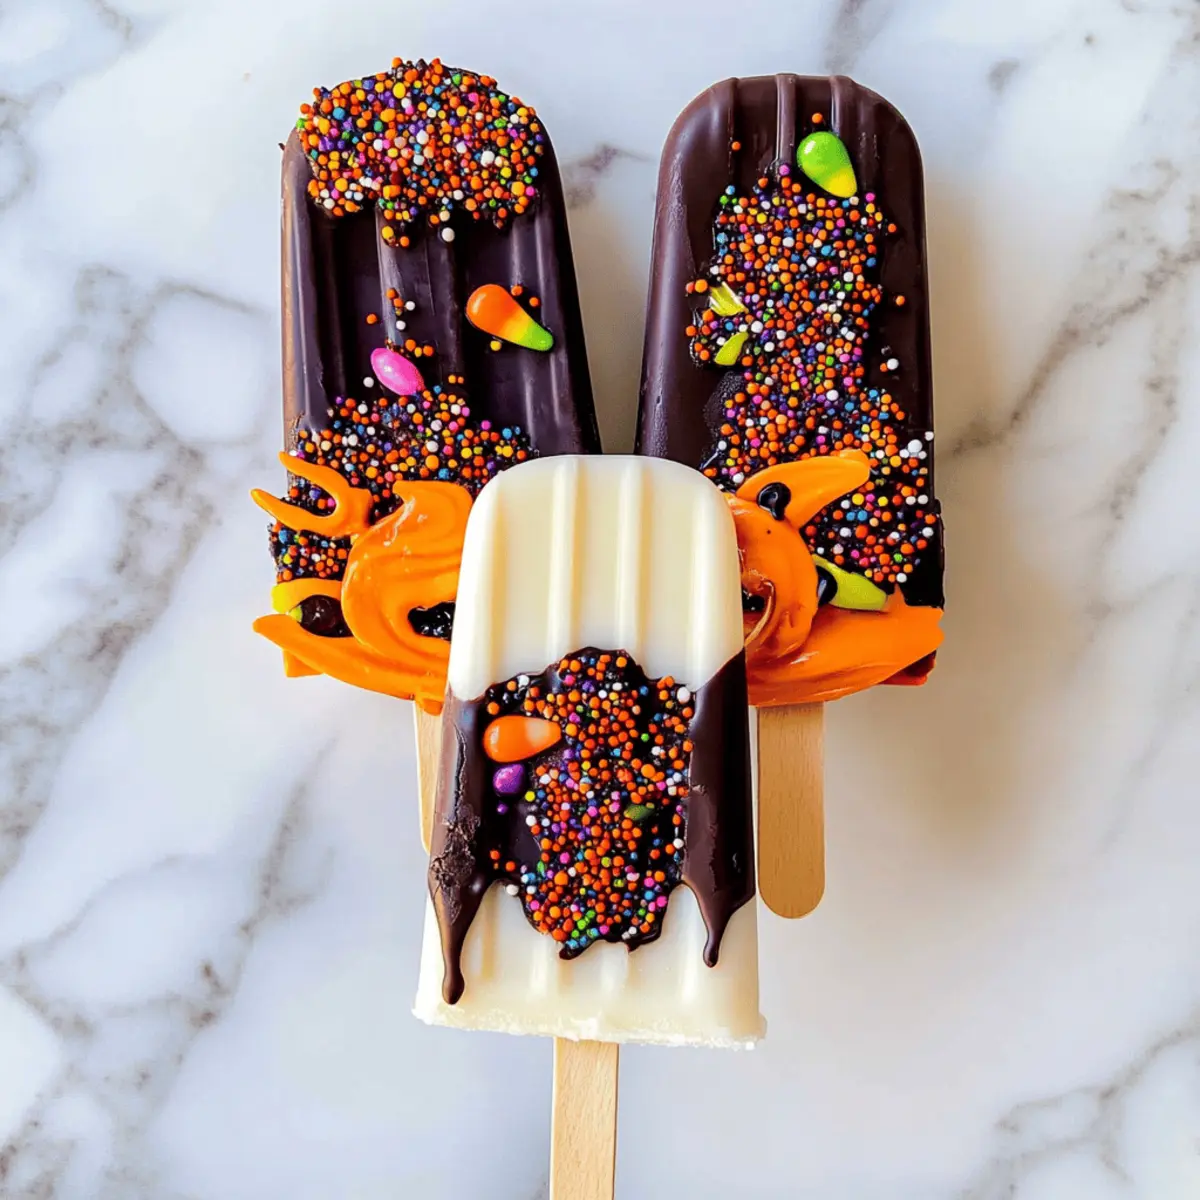
While the chocolate coating is still wet, go wild with your decorations! Sprinkle edible glitter, fun Halloween-themed sprinkles, or any sweet toppings you fancy. This is where the creativity comes in! Have fun customizing each Halloween cakesicle, making them as festive and colorful as you desire before the chocolate sets.
Step 6: Set
Finally, let your decorated cakesicles sit at room temperature or place them in the refrigerator to speed up the setting process. Allow the chocolate to harden fully, which will take about 15-30 minutes. Once set, your delightful Halloween cakesicles are ready to be served at your spooky gathering or enjoyed as a fun treat!
Storage Tips for Halloween Cakesicles
-
Room Temperature: Keep cakesicles at room temperature for up to 2 days if you plan to consume them quickly. Just ensure they are in a cool, dry place to maintain their freshness.
-
Fridge: Store leftover Halloween cakesicles in an airtight container in the refrigerator for up to one week. This will keep them moist and delicious, ready for enjoyed anytime!
-
Freezer: For longer storage, freeze cakesicles in a single layer, then transfer to an airtight container or freezer bag for up to 3 months. Thaw in the fridge before serving.
-
Reheating: If you prefer a warm treat, simply let them sit at room temperature for about 15 minutes after taking them out of the fridge or freezer. Enjoy your tasty Halloween cakesicles any time!
Expert Tips for Halloween Cakesicles
-
Choose Quality Ingredients: Using high-quality chocolate or candy melts is essential for achieving a smooth, glossy finish that enhances the overall flavor of your Halloween cakesicles.
-
Moisture Matters: If the cake mixture feels too dry, add more frosting gradually. It’s best to ensure your cakesicles have the right moist consistency for a delicious bite.
-
Freeze for Firmness: Make sure to freeze your cakesicles completely before dipping them in chocolate. This helps in getting a perfect coating and prevents crumbling during the process.
-
Stirring Technique: When melting chocolate, stir frequently and heat in short bursts to avoid scorching. Clumpy chocolate can ruin the smooth coating of your Halloween cakesicles.
-
Experiment with Flavors: Don’t hesitate to create variations by mixing different cake flavors and frostings. This adds fun and uniqueness to your Halloween cakesicles, keeping each bite exciting!
Halloween Cakesicles Variations & Substitutions
Feel free to unleash your creativity and tailor these Halloween cakesicles to suit your taste preference!
-
Gluten-Free: Use gluten-free cake mix or baked gluten-free cupcakes to cater to those with dietary restrictions. Deliciousness knows no bounds!
-
Nut-Free: Replace any nut-based frosting with dairy-free varieties or enhance with a rich chocolate ganache instead. Everyone can enjoy these delightful treats!
-
Vegan: Swap traditional frosting for vegan options and use dark chocolate or dairy-free candy melts for a scrumptious plant-based version. It’s a treat for everyone at the table!
-
Flavor Boost: Incorporate spices like cinnamon or nutmeg into your cake mixture for a warm, festive twist that adds depth to your cakesicles. Your taste buds will thank you!
-
Textural Twists: Fold in crunchy ingredients like crushed cookies or nuts (if you like) into the cake mixture before molding for layered textures that surprise with every bite.
-
Themed Decorations: Go beyond sprinkles! Use pretzel pieces or candy eyes for a spooky aesthetic that transforms your cakesicles into little monster treats.
-
Melted Caramel Drizzle: For an indulgent touch, drizzle with melted caramel after coating in chocolate. This extra layer elevates the sweet experience beautifully.
-
Additional Coatings: Experiment with crushed candies or cookies for a unique coating after dipping in chocolate. Consider topping with crushed Halloween candies for a festive crunch!
For even more spooky season inspiration, you might want to explore our Candy Corn White and discover delightful new flavors!
What to Serve with Halloween Cakesicles?
These delightful treats are perfect for rounding out your Halloween festivities!
- Spooky Punch: A fruity, fizzy drink adds a refreshing touch, perfect for balancing the sweetness of the cakesicles and keeping guests cool.
- Ghostly Fruit Salad: Light, colorful fruit salad topped with whipped cream ghosts adds a refreshing green crunch that complements the rich cakesicles beautifully.
- Cheesy Garlic Breadsticks: For a savory touch, these crispy breadsticks provide a satisfying contrast to the sweet cakesicles, tantalizing your taste buds.
- Chocolate-Covered Pretzels: Add a salty-sweet mix to your spread with these crunchy snacks that offer a delightful twist alongside the cakesicles.
- Mini Pumpkin Pies: These sweet bites keep the festive spirit alive, bringing familiar flavors of fall, making them a charming pairing with your treats.
- Gingerbread Cookies: The warm spices from these cookies create an inviting aroma and flavor that’s a nostalgic complement to the sweet, creamy cakesicles.
- Apple Cider: A classic fall beverage, warm or cold, apple cider pairs wonderfully with the cakesicles, bringing cozy vibes to the gathering.
- Ice Cream Sundaes: Serve up bowls of vanilla or chocolate ice cream topped with sprinkles, perfect for draping a festive Halloween theme around your cakesicles!
Make Ahead Options
These Halloween Cakesicles are perfect for busy home cooks looking to save time! You can prepare the cake mixture up to 24 hours in advance, simply mix crumbled leftover cake with frosting and refrigerate it in an airtight container to keep it fresh. You can also press the mixture into the molds and freeze the cakesicles for up to 3 days before dipping. Just make sure they are completely firm before coating them in melted chocolate. When you’re ready to serve, remove from the freezer and dip in chocolate, adding festive decorations while the coating is still wet. This way, you’ll have delicious Halloween Cakesicles ready to impress your guests with minimal effort!
Halloween Cakesicles Recipe FAQs
How do I choose the right leftover cake or cupcakes for this recipe?
Absolutely! You can use any leftover cake or cupcakes, but I recommend selecting ones that are still moist. If you see that they’re starting to dry out or have dark spots all over them, it might be best to avoid those. For Halloween Cakesicles, flavors like red velvet or chocolate work wonderfully because they add to the richness and festive appeal.
What’s the best way to store leftover Halloween cakesicles?
Very good question! To keep your Halloween cakesicles fresh, store them in an airtight container in the refrigerator for up to one week. If you want to keep them longer, they can be frozen for up to 3 months. Just pack them in a single layer on a baking sheet first, freeze until solid, then transfer to a freezer bag for optimum preservation. Thaw them in the fridge before enjoying!
Can I freeze Halloween cakesicles once coated?
Absolutely! You can freeze the cakesicles after coating them. To do this, place them in a single layer on a baking sheet lined with parchment paper and freeze until firm. Once solid, transfer them to an airtight container or freezer bag and seal. They can be frozen for up to 3 months. For serving, just let them thaw in the fridge for a few hours before indulging!
What if my cakesicle mixture feels too dry or crumbly?
The more the merrier when it comes to adjusting for texture! If your cake mixture seems a bit too dry and crumbles instead of holding together, simply add additional frosting one tablespoon at a time, mixing well until you reach the desired moldable consistency. This can make all the difference in achieving that perfect cakesicle shape.
Are there any dietary considerations I should keep in mind for Halloween cakesicles?
Very much so! If you’re concerned about dietary restrictions, you can make these treats gluten-free by using gluten-free cake and frosting options. Always check the ingredients for allergens, especially if you’re serving kids or guests with specific allergies. Vegan frosting and chocolate can also easily be used to cater to various dietary needs while maintaining delicious flavor!
Deliciously Fun Halloween Cakesicles to Wow Your Guests
Ingredients
Equipment
Method
- Crumble leftover cake or cupcakes into a large bowl. Mix in frosting until moist and moldable.
- Press the cake mixture into cakesicle molds, insert popsicle sticks, and freeze for 1-2 hours.
- Melt coating chocolate in 30-second intervals in a microwave-safe bowl until smooth.
- Dip each cakesicle into melted chocolate, allowing excess to drip off.
- Decorate while chocolate is wet with sprinkles and edible glitter.
- Let cakesicles sit at room temperature or refrigerate until chocolate hardens.
Leave a Reply