
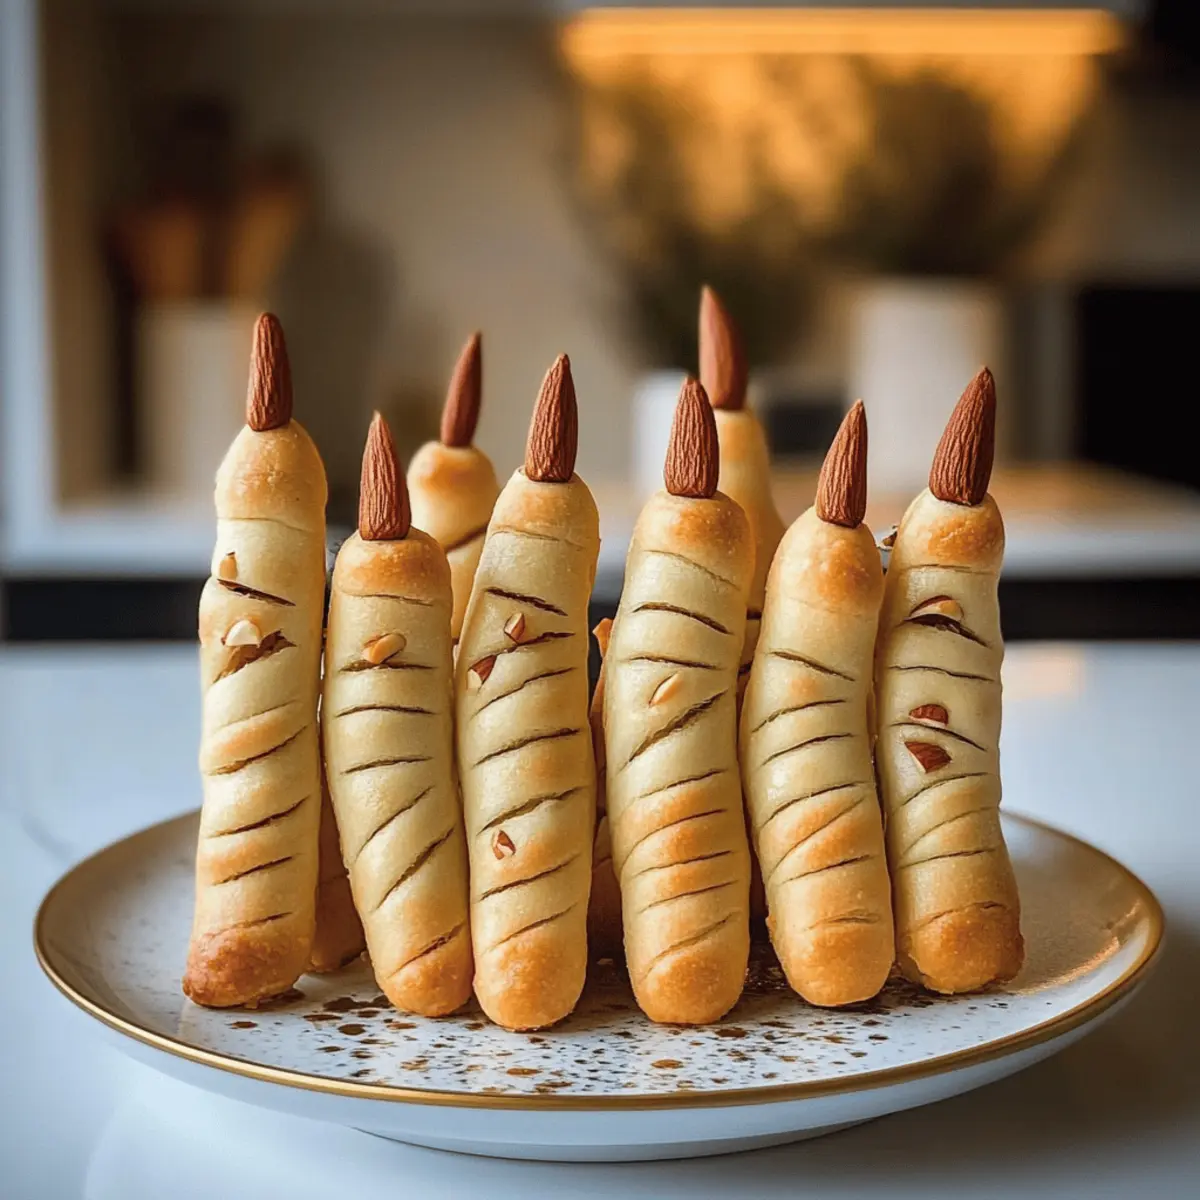
As I stood in my kitchen, the aroma of baking dough mingled with the anticipation of Halloween, I couldn’t help but grin at the spooky fun about to unfold. Enter the Witch Finger Breadsticks—an enchanting twist on your classic appetizers that are perfect for Halloween gatherings. These creepy finger foods boast a delightful crunch on the outside and a satisfyingly chewy inside, making them not only visually enticing but also a breeze to whip up. Plus, with a gluten-free option available, everyone can join in on the festivity. Imagine the laughter as friends and family pick up these ghoulish delights, perhaps daring each other to take a bite! Curious to find out how to craft these delightfully eerie treats? Let’s dive into the recipe together!
Why Make Witch Finger Breadsticks?
Creepy & Fun: These Witch Finger Breadsticks are the ultimate way to add a playful twist to your Halloween festivities, guaranteed to delight guests of all ages.
Easy to Create: Simple instructions make baking a breeze, so you can focus more on enjoying the party!
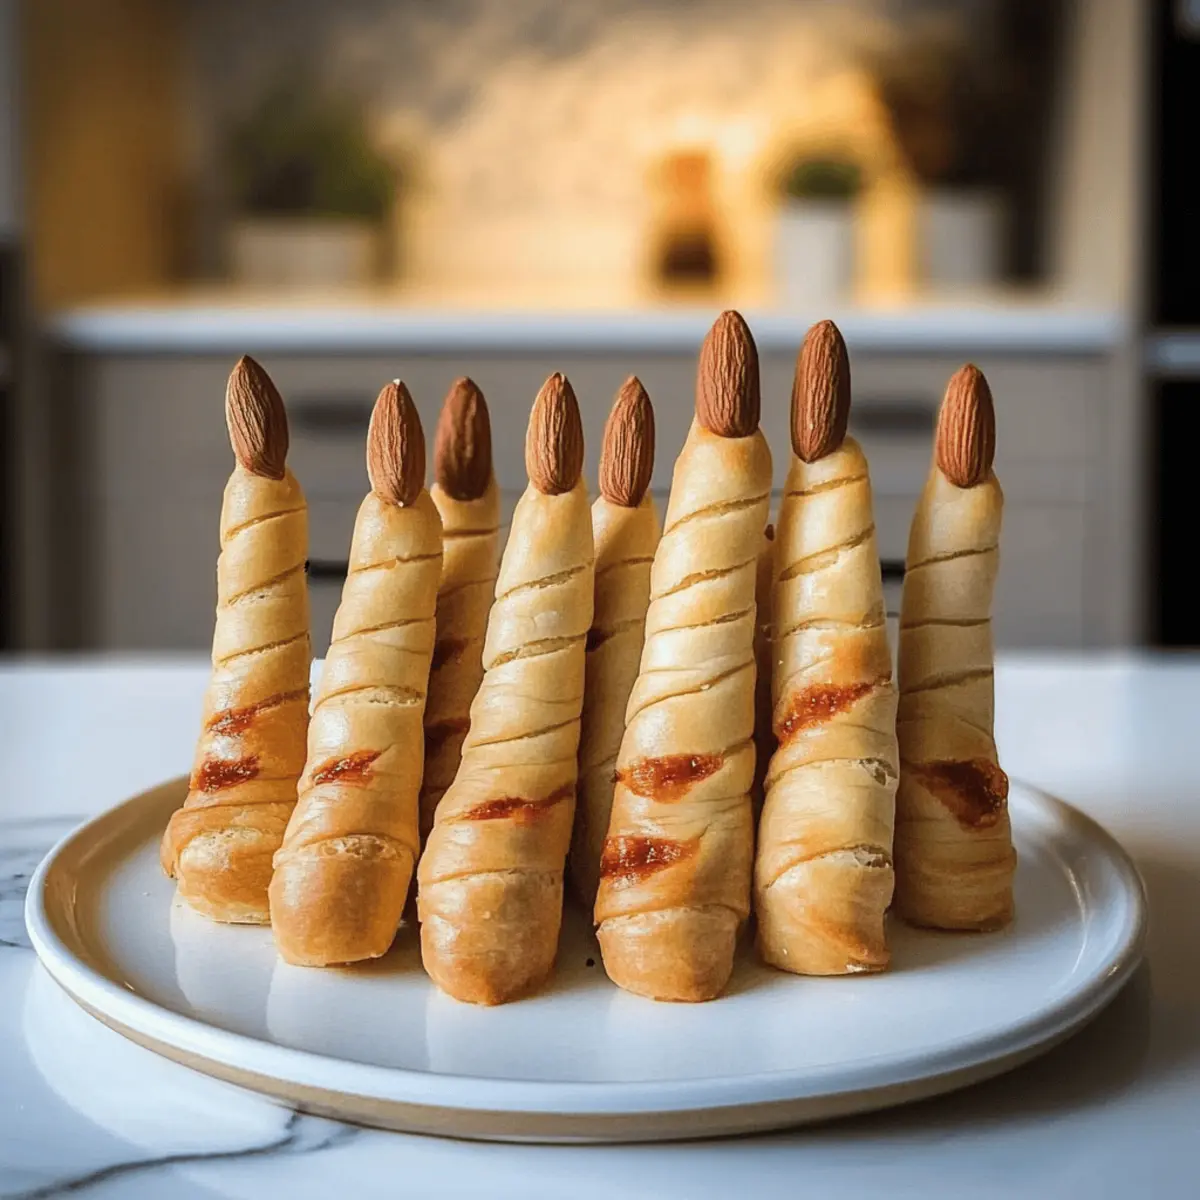
Perfectly Spooky: With their eerie finger-like appearance and optional bloody tips, they’ll be a hit on your spooky snack table.
Customizable Flavors: Use your favorite spices or a gluten-free dough to suit various dietary preferences without sacrificing taste.
Crowd-Pleaser: These clever appetizers are sure to spark laughter and conversation as everyone indulges in these deliciously creepy treats!
Pair your breadsticks with a warm marinara dip for an unbeatable combination, or explore other enticing appetizers like my Halloween-themed sliders for an unforgettable menu!
Witch Finger Breadsticks Ingredients
For the Dough
- Pizza Dough – This forms the base of your creepy treats; feel free to swap for gluten-free dough for a delicious alternative.
- Olive Oil – Adds flavor and a beautiful shine to the final breadsticks.
For the “Nails”
- Almonds or Pumpkin Seeds – Choose almonds for a classic look or pumpkin seeds to give a unique twist to your Witch Finger Breadsticks.
For the Egg Wash
- Egg – A beaten egg gives these breadsticks that irresistible golden finish that’s so inviting!
For Seasoning
- Salt – Enhances the flavor; adjust this to suit your taste.
- Spices (Garlic Powder or Rosemary) – Customize with your favorite seasonings for an added kick of flavor.
For the Finishing Touch
- Red Food Coloring (Optional) – Use this to create a spooky “bloody” effect at the tips, making your finger food even creepier!
Get ready to dive into the festive fun of creating these Witch Finger Breadsticks—every bite will spark smiles and maybe a few giggles!
Step-by-Step Instructions for Witch Finger Breadsticks
Step 1: Prepare Baking Sheet
Begin your Witch Finger Breadsticks adventure by preheating your oven to 375°F (190°C). Line a baking sheet with parchment paper to ensure your creepy creations don’t stick. This simple yet essential step will make your clean-up a breeze while ensuring that the breadsticks bake evenly, achieving that desirable golden-brown color.
Step 2: Roll Dough
Take your pizza dough and flatten it on a lightly floured surface using a rolling pin. Aim for about ¼ inch thickness; this will help achieve the perfect texture. Once rolled out, cut the dough into strips, approximately 1 inch wide. These strips will serve as the spooky foundation for your Witch Finger Breadsticks!
Step 3: Shape Sticks
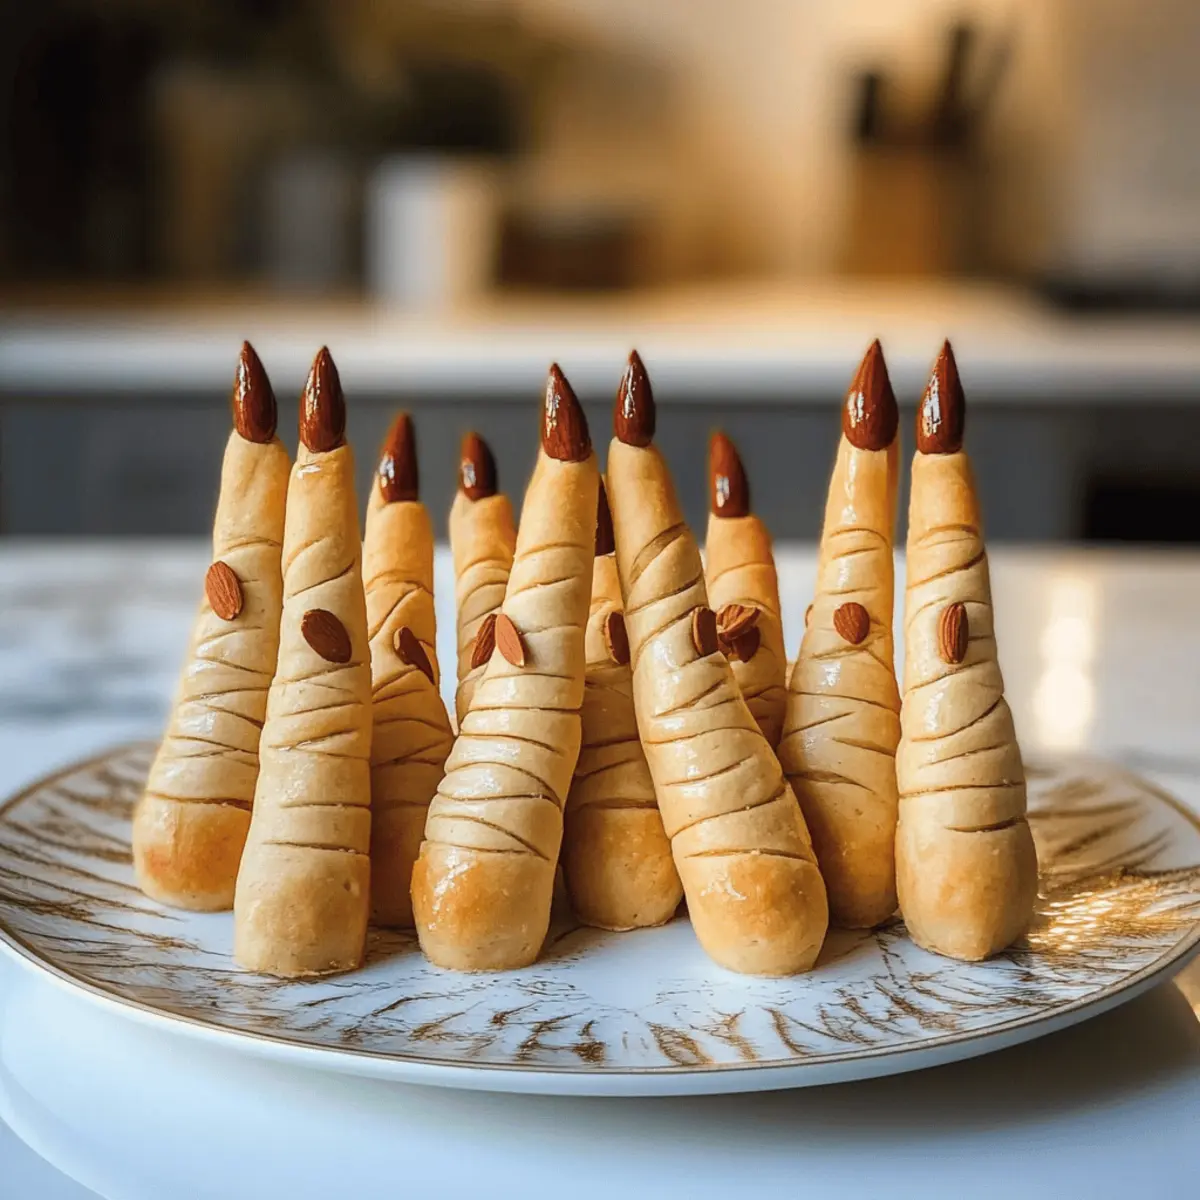
Now it’s time to get creative! Take each strip of dough and roll or twist it into finger-like shapes. You want these to resemble creepy fingers, so don’t be shy with your shaping. As you form each piece, envision the eerie delight they will bring to your Halloween gathering, and place them on the prepared baking sheet.
Step 4: Add Nails
Once shaped, it’s time to give your Witch Finger Breadsticks their iconic details! Gently press an almond or pumpkin seed into one end of each finger to create the “nail.” This adds a fun element while boosting the aesthetic perfection of your spooky snacks. Ensure the nails are secure for a finished look!
Step 5: Brush with Egg
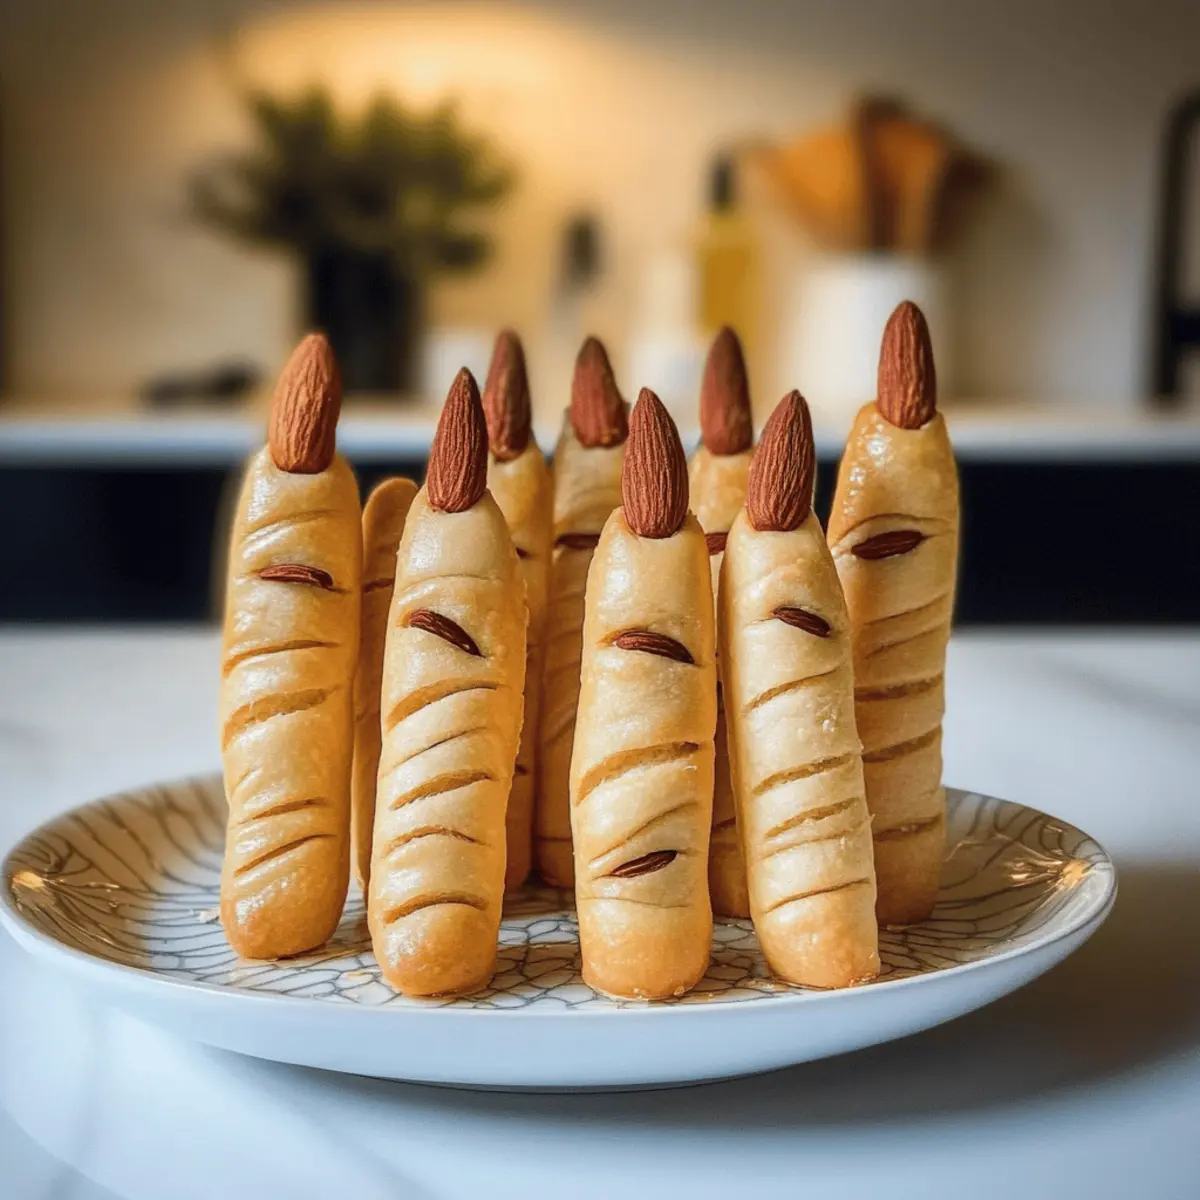
In a small bowl, whisk a beaten egg to create an egg wash. Using a pastry brush, coat the entire surface of each finger-shaped breadstick thoroughly. This delicious glaze will not only enhance the color but also provide that lovely sheen as they bake. Your Witch Finger Breadsticks will look even more enticing with this finishing touch!
Step 6: Bake
Carefully place the baking sheet into your preheated oven and bake the Witch Finger Breadsticks for 15-20 minutes. Keep an eye on them, and when they turn a delightful golden brown, it’s a sure sign they’re ready! The aroma filling your kitchen will be an enticing hint of the spooky snacks ahead.
Step 7: Cool and Serve
Once baked, remove the tray from the oven and allow the breadsticks to cool for a few minutes. For an added spooky effect, consider brushing the tips with optional red food coloring to create a “bloody” look. Serve these eerie treats warm and watch as your guests delight in their creepy and delicious appearance!
How to Store and Freeze Witch Finger Breadsticks
-
Room Temperature: Keep your Witch Finger Breadsticks in an airtight container at room temperature for up to 2-3 days for optimal freshness.
-
Fridge: If you need to store them longer, they can last in the fridge for up to 5 days. Just make sure they are tightly sealed to avoid drying out.
-
Freezer: For extended storage, freeze the breadsticks in a freezer bag, removing excess air, for up to 3 months.
-
Reheating: To enjoy them again, reheat your Witch Finger Breadsticks in the oven at 350°F for 5-10 minutes until heated through and crispy.
Witch Finger Breadsticks Variations & Substitutions
Feel free to let your creativity shine and make these Witch Finger Breadsticks uniquely yours with these fun variations!
-
Gluten-Free: Substitute traditional pizza dough with gluten-free dough to accommodate dietary needs without sacrificing flavor.
-
Cheesy Delight: Sprinkle grated parmesan or cheddar cheese on top before baking for an added layer of savory goodness that will tantalize your taste buds.
-
Spicy Kick: Incorporate cayenne pepper or chili flakes into the dough for an exciting heat that will bring a thrilling twist.
-
Herb-Infused: Mix in chopped fresh herbs like rosemary or thyme into the dough for a fragrant and flavorful surprise with every bite.
-
Colorful Twist: Add green food coloring to the dough for a vibrant, spooky look that will create an even more otherworldly experience.
-
Nutty Crunch: Try using pecans or walnuts instead of almonds or pumpkin seeds for an unexpected crunch that complements the soft breadstick texture.
-
Melted Fillings: Create a surprise center by filling your breadsticks with a cheese or herb-infused mixture before twisting them into fingers, making each bite ooze with flavor.
-
Accompanying Dips: Serve with a warm marinara sauce or homemade pesto for dipping to elevate your spooky snack experience. Consider pairing it alongside my creepy-themed sliders for a fun Halloween spread!
Expert Tips for Witch Finger Breadsticks
-
Preheat Properly: Always ensure your oven is fully preheated to 375°F before baking; this is crucial for even cooking.
-
Crispy Perfection: For those irresistible crispy edges, bake the breadsticks on the top rack of your oven for the best results.
-
Cool Before Storing: Allow the Witch Finger Breadsticks to cool completely before storing them to maintain their delightful crunch.
-
Herb Infusion: Experiment with fresh herbs or spices mixed into the dough to create unique flavors without losing the spooky aesthetic.
-
Dazzling Details: If using red food coloring, apply it right after baking for the best, creepy effect that’ll enhance your Halloween party presentation!
What to Serve with Witch Finger Breadsticks
Transform your spooky snack into a delightful Halloween feast that will thrill your guests!
- Warm Marinara Sauce: The classic pairing is perfect for dipping and enhances the flavor of your creepy appetizers.
- Creamy Garlic Dip: Rich and savory, this dip adds a luxurious element that balances the crunchy exterior.
- Pumpkin Soup: Complement the Halloween theme with a velvety soup that warms the soul and pairs wonderfully with breadsticks.
- Spicy Hummus: The zesty kick of hummus offers a delightful contrast to the Witch Finger Breadsticks, making for a fun combination.
- Cheesy Sliders: Serve up some mini cheesy burgers alongside for a complete party spread that your guests will adore.
- Crisp Green Salad: Provide a refreshing contrast to the savory snacks, lightening up your Halloween spread with vibrant greens.
- Apple Cider: Pair with a glass of this classic fall beverage to enhance the convivial spirit and warmth of your gathering.
- Chocolate-Covered Pretzels: To finish, introduce a hint of sweetness with these irresistible treats that balance beautifully with the savory breadsticks.
- Pumpkin Spice Cupcakes: End the feast on a sweet note with cupcakes that fit right into your spooky theme.
Let the laughter and fun begin as you serve up these delightful companions to your Witch Finger Breadsticks!
Make Ahead Options
These Witch Finger Breadsticks are perfect for meal prep, allowing you to enjoy spooky fun without the last-minute rush! You can prepare the dough and shape the fingers up to 24 hours in advance. Simply roll and twist the dough into finger-like shapes, adding almonds or pumpkin seeds as “nails,” then cover and refrigerate until you’re ready to bake. When it’s time to serve, brush them with the egg wash and pop them in a preheated oven. This way, you’ll have freshly baked, creepy breadsticks that are just as delicious and visually enticing—ideal for busy weeknights or Halloween gatherings!
Witch Finger Breadsticks Recipe FAQs
How do I select the best pizza dough for Witch Finger Breadsticks?
Absolutely! When choosing pizza dough for your Witch Finger Breadsticks, look for a fresh dough that’s pliable and soft. If you’re opting for store-bought, ensure the expiration date is still good, and avoid dough with dark spots all over, as this indicates it’s past its prime. If you have dietary restrictions, gluten-free dough is also an excellent alternative and will work just as well!
What’s the best way to store leftover Witch Finger Breadsticks?
You can easily store your Witch Finger Breadsticks! Keep them in an airtight container at room temperature for up to 2-3 days. For longer preservation, pop them in the fridge where they can last up to 5 days. Just be sure they’re sealed tightly to prevent them from drying out!
Can I freeze Witch Finger Breadsticks, and how do I do it?
Yes, you can freeze them for enjoyment later on! To freeze Witch Finger Breadsticks, first allow them to cool completely. Then, place them in a freezer bag, removing as much air as possible to prevent freezer burn. They can be stored in the freezer for up to 3 months. When you are ready to indulge again, just reheat them in the oven at 350°F (175°C) for about 5-10 minutes until warmed through and crispy!
What if my Witch Finger Breadsticks didn’t turn out crispy?
Very common! If your breadsticks are a bit softer than expected, next time, try baking them on the top rack of your oven, as this helps achieve those crispy edges you desire. Additionally, if you find they’ve lost their crunch after being stored, simply reheat them in the oven to restore some of that delightful texture!
Are Witch Finger Breadsticks suitable for kids, and what about allergies?
These creepy treats are not only fun for kids but also customizable to accommodate various dietary needs. If your guests have nut allergies, you can easily substitute the almonds with pumpkin seeds for a similar effect. Always check your ingredients, especially the pizza dough, to ensure there are no unwanted allergens if you’re cooking for a crowd!
Can I make these Witch Finger Breadsticks ahead of time?
Definitely! You can prepare the dough and shape the breadsticks a day in advance. Just place them on a baking sheet, cover with plastic wrap, and refrigerate. When it’s party time, simply brush them with egg wash and bake them fresh just before serving to impress your guests with an irresistible aroma!
Witch Finger Breadsticks for Spooktacular Halloween Fun
Ingredients
Equipment
Method
- Preheat your oven to 375°F (190°C) and line a baking sheet with parchment paper.
- Roll out the pizza dough on a lightly floured surface to about ¼ inch thickness and cut into strips approximately 1 inch wide.
- Shape each strip into finger-like forms and place them on the prepared baking sheet.
- Press an almond or pumpkin seed into one end of each strip to represent the nail.
- Brush the dough with the beaten egg wash for a golden finish.
- Bake for 15-20 minutes until golden brown. Keep an eye on them!
- Allow to cool for a few minutes and optionally brush the tips with red food coloring before serving.
Leave a Reply