
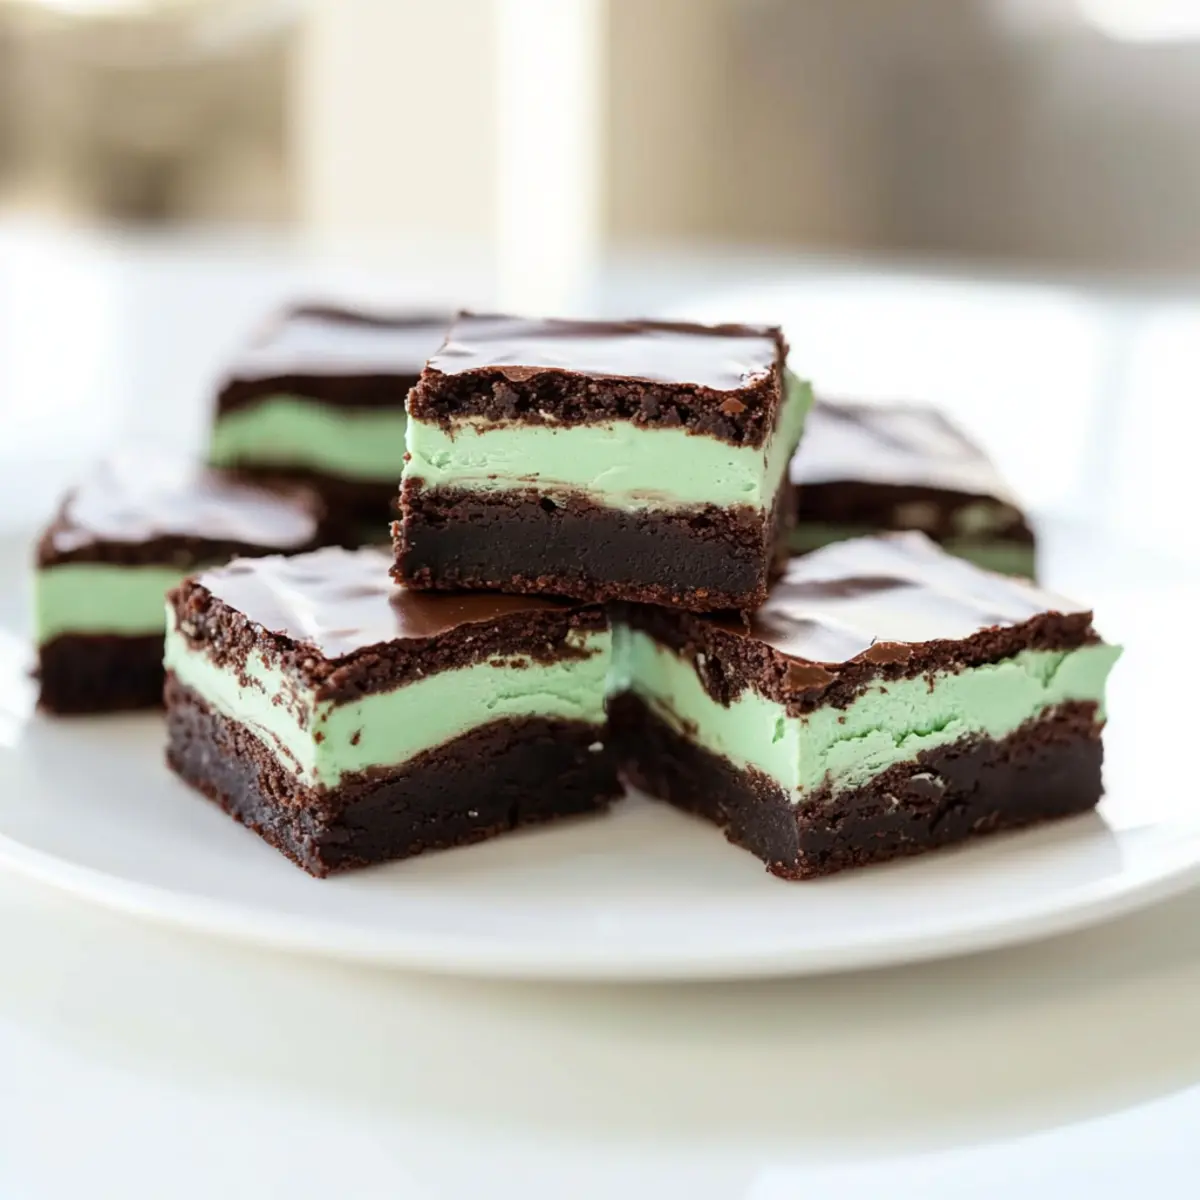
While rummaging through my collection of cherished family recipes, I stumbled upon a handwritten note, lovingly faded and slightly crumpled. It was my grandmother’s secret for Mint Brownies—a dessert that sweetly evokes the warmth of family gatherings and festive celebrations. These rich, fudgy brownies are topped with a cool, creamy peppermint frosting and a glossy chocolate ganache, making them not only a feast for the eyes but also a crowd-pleasing treat. The best part? They’re incredibly easy to whip up and can be made ahead, saving you precious time for those happy moments with loved ones. Ready to dive into a delightful baking adventure? Let’s bring these Mint Brownies to life!
Why Are These Mint Brownies Irresistible?
Decadent and fudgy, these Mint Brownies are a treat your taste buds will thank you for! Creamy frosting adds a refreshing peppermint twist that perfectly balances the rich chocolate base. Simple to make yet impressive enough for any gathering, they’re a fantastic make-ahead option. Versatile flavors? Feel free to swap in lemon or raspberry frostings for a refreshing twist. Whether for a cozy night in or festive celebrations, these brownies bring warmth and joy to every occasion—just like my favorite nostalgic recipe! For more delectable options, check out these Cookie Fudgy Brownies or Halloween Oreo Brownies.
Mint Brownies Ingredients
Here’s everything you need to create those delightful Mint Brownies!
For the Brownie Base
- Unsweetened Baking Chocolate (4 ounces) – Provides an intense chocolate flavor; you can substitute with cocoa powder if needed.
- Butter (1 cup + 4 tablespoons) – Adds rich moisture; using unsalted butter for the glaze helps achieve balance.
- Eggs (4 large) – Binds ingredients together; ensure they are fresh for the best results.
- Sugar (2 cups) – Sweetens the brownies while balancing the chocolate’s bitterness; granulated sugar is ideal.
- Vanilla Extract (1 teaspoon) – Enhances overall flavor; consider almond extract for a unique twist.
- All-Purpose Flour (1 ¼ cups) – Gives structure to the brownies; feel free to use gluten-free flour for a gluten-free version.
- Baking Powder (½ teaspoon) – Helps to create a lighter texture in your brownies.
For the Creamy Frosting
- Powdered Sugar (2 cups) – Sweetens and thickens the frosting; sugar alternatives can work if you need them.
- Peppermint Extract (1 ½ teaspoons) – Adds a minty flavor; a little goes a long way, so adjust to taste!
- Milk (1-2 tablespoons) – To achieve desired frosting consistency; try non-dairy milk for a different spin.
- Green Food Coloring – This is optional, but it adds a festive touch to your frosting!
For the Chocolate Ganache
- Semi-Sweet or Dark Chocolate Chips (6 ounces) – Used for the ganache; you can swap with white chocolate for a sweet twist.
- Butter (2 tablespoons) – Adds richness to the ganache; ensure it’s unsalted to maintain flavor balance.
Now that you have all your Mint Brownies ingredients ready, let’s dive into creating this scrumptious dessert! Happy baking!
Step‑by‑Step Instructions for Mint Brownies
Step 1: Prepare the Pan
Preheat your oven to 350°F (175°C). While the oven heats, take a 9×13 inch pan and line it with foil or parchment paper for easy removal. Lightly spray the lining with non-stick spray to prevent sticking, creating a smooth canvas for your Mint Brownies.
Step 2: Melt Chocolate and Butter
Chop the unsweetened baking chocolate and combine it with butter in a microwave-safe bowl. Heat in 30-second intervals, stirring in between, until melted and smooth. This process should take about 1-2 minutes. Allow the mixture to cool slightly before using it in the brownie batter.
Step 3: Mix Wet Ingredients
In a mixing bowl, combine the eggs, granulated sugar, and vanilla extract. Using a hand mixer or stand mixer, beat the mixture on medium speed for about 2 minutes until it appears light and fluffy. This step helps incorporate air, giving your Mint Brownies a lovely texture.
Step 4: Combine Wet & Dry
Slowly drizzle the melted chocolate and butter mixture into the egg mixture, beating until well blended. Gradually add in the all-purpose flour and baking powder, mixing on low speed just until combined. Be careful not to overmix, as this can result in denser brownies.
Step 5: Bake Brownies
Pour the brownie batter into your prepared pan, spreading it evenly. Place the pan in the preheated oven and bake for 20-30 minutes. The brownies are done when a toothpick inserted in the center comes out mostly clean with a few crumbs attached. Once baked, remove from the oven and allow them to cool completely in the pan.
Step 6: Frosting Preparation
To prepare the creamy frosting, beat the powdered sugar, peppermint extract, and 1-2 tablespoons of milk in a mixing bowl until smooth and fluffy. Adjust the milk as needed to achieve your desired consistency. Once the brownies are cool, spread the frosting evenly over the surface, creating a beautiful minty layer.
Step 7: Make Ganache
In a microwave-safe bowl, combine the semi-sweet chocolate chips and 2 tablespoons of butter. Microwave in short bursts, stirring frequently, until the mixture is melted and glossy. Allow it to cool slightly before pouring it over the frosted brownies, spreading it gently for an even coating.
Step 8: Chill and Serve
Refrigerate the completed Mint Brownies for at least 30 minutes to set the ganache. Once chilled, remove the brownies from the pan using the edges of the foil or parchment and cut them into squares. Serve your Mint Brownies chilled for the ultimate indulgence in flavor and texture!
What to Serve with Mint Brownies
Indulging in these rich Mint Brownies creates the perfect opportunity to craft a delightful meal full of complementing treats and flavors.
- Vanilla Ice Cream: A scoop of creamy vanilla ice cream elegantly contrasts the brownies’ rich chocolate, enhancing the overall dessert experience.
- Fresh Berries: A mix of raspberries and strawberries adds vibrant color and a refreshing tartness to balance the sweetness of the brownies during a lively gathering.
- Chocolate Milk: A rich, velvety chocolate milk provides a nostalgic pairing that is both comforting and indulgent, especially for the young and young-at-heart.
- Mint Tea: Naturally extends the minty flavor, offering a soothing drink that works beautifully as an after-dinner refreshment alongside these fudgy brownies.
- Whipped Cream: Light, airy whipped cream drizzled atop the brownies introduces a lightness that complements the dense texture while adding a decadent touch.
- Nutty Brownie Sundae: Consider serving a slice of brownie warm and topped with chopped nuts, chocolate syrup, and a drizzle of caramel for an elevated dessert experience that wows guests.
Storage Tips for Mint Brownies
-
Room Temperature: If you plan to enjoy your Mint Brownies within a day, store them in an airtight container at room temperature for up to 1 day. This keeps the texture fudgy and delicious.
-
Fridge: For longer freshness, keep your brownies tightly covered in the refrigerator for up to 3-5 days. Chilling enhances their minty flavor and makes for a refreshing dessert!
-
Freezer: If you’re making these Mint Brownies ahead of time, freeze them in an airtight container for up to 3 months. Just make sure to slice them before freezing for easy access later!
-
Reheating: When you’re ready to enjoy the frozen Mint Brownies, simply let them thaw in the fridge overnight. You can also warm them in the microwave for a few seconds if you prefer them slightly melty!
Helpful Tricks for Mint Brownies
-
Perfect Texture: Beat eggs until pale yellow; this incorporates air for a light, fluffy texture in your Mint Brownies.
-
Chill Time Matters: Make your Mint Brownies a day ahead; letting them sit overnight enhances flavor and texture.
-
Frosting Extra: If you love frosting, increase the frosting ingredients by 1.5 times for a luscious layer on your brownies.
-
Careful with Peppermint: Use peppermint extract sparingly—it’s potent! Start with less and adjust to achieve your desired minty flavor.
-
Non-Stick Success: Lightly spray the pan’s lining with a non-stick spray to easily lift out your Mint Brownies after baking.
Mint Brownies Variations & Substitutions
Feel free to make these Mint Brownies your own by exploring these delightful variations!
-
Citrus Delight: Swap peppermint extract for lemon or orange extract in the frosting for a zesty kick. This brightens the flavor profile wonderfully.
-
Berry Bliss: Replace the mint frosting with raspberry extract for a fruity twist, giving your brownies a summery finish. This contrast enhances both sweetness and tartness.
-
Nutty Option: Add chopped almonds or walnuts into the brownie batter for an extra crunch. The added texture pairs wonderfully with the creaminess of the frosting.
-
Chocolate Lovers: Toss in semi-sweet chocolate chips to the brownie mix for a richer chocolate experience. It adds decadent pockets of melted chocolate in every bite.
-
Gluten-Free: Substitute all-purpose flour with a 1:1 gluten-free flour blend to make these brownies gluten-free. They’ll still taste just as heavenly!
-
Dairy-Free: Use dairy-free butter and non-dairy milk alternatives in both the brownie batter and frosting for a dairy-free option. They’ll be just as indulgent without the dairy!
-
Festive Colors: Decorate with colored sprinkles or naturally colored frosting for a fun look, perfect for holidays or celebrations. This adds a playful touch to your dessert table.
-
Mint Chocolate Ganache: Use white chocolate instead of semi-sweet chocolate in the ganache for a sweet twist that contrasts beautifully with the mint frosting.
For more yummy ideas, try adding a fruity twist with these Apple Brownies Chewy or make a festive treat like Halloween Oreo Brownies. Enjoy your sweet creations!
Make Ahead Options
These Mint Brownies are a fantastic choice for meal prepping! You can make the brownie base up to 3 days in advance—just cool completely, cover tightly, and refrigerate to maintain their fudgy texture. You can also prepare the frosting ahead of time; simply store it in an airtight container in the fridge for up to 24 hours. When you’re ready to serve, frost the chilled brownies with the prepared frosting and make the ganache. Just warm the ganache ingredients in the microwave until melted and pour it over the frosted brownies. This way, you’ll have delicious Mint Brownies ready to impress at a moment’s notice, saving you precious time for those special gatherings!
Mint Brownies Recipe FAQs
How do I choose the right baking chocolate for my Mint Brownies?
Absolutely! For the richest flavor, opt for high-quality unsweetened baking chocolate. It provides a deep cocoa taste that’s hard to beat. If you can’t find baking chocolate, cocoa powder is a great substitute—just use about 1/4 cup of cocoa powder and add 1 tablespoon of vegetable oil for moisture.
What’s the best way to store leftover Mint Brownies?
Very! To keep your Mint Brownies fresh, store them in an airtight container in the refrigerator for up to 3-5 days. You can also enjoy them at room temperature for 1 day if you plan to devour them quickly!
Can I freeze Mint Brownies, and how do I do it properly?
Absolutely! You can freeze Mint Brownies for up to 3 months. To do this, let them cool completely, then slice them into squares. Wrap each piece tightly in plastic wrap and then place them in an airtight container or a freezer bag. When you’re ready to enjoy, simply thaw them in the fridge overnight or warm them briefly in the microwave!
What should I do if my brownies are too dense?
If your brownies come out dense, it may be due to overmixing the batter or adding too much flour. To prevent this in the future, mix just until the ingredients are combined and avoid over-beating the eggs. Using fresh ingredients like eggs and baking powder can also make a difference in texture.
Are there any dietary considerations when making these Mint Brownies?
Very! If you or someone you’re serving has dietary restrictions, these Mint Brownies can be made gluten-free by swapping all-purpose flour with a gluten-free flour blend. Additionally, for dairy-free needs, you can use non-dairy butter and milk alternatives without losing flavor. Keep in mind that peppermint extract should be checked for allergens if serving to guests.
Can these Mint Brownies be made ahead of time for a party?
Absolutely! They’re perfect for make-ahead desserts as the flavors develop beautifully after sitting in the fridge for a day. You can prepare the brownies up to 3 days in advance and store them in the refrigerator, ready to impress your guests when it’s time to serve!
Mint Brownies That Melt in Your Mouth with Creamy Frosting
Ingredients
Equipment
Method
- Preheat your oven to 350°F (175°C). Prepare a 9x13 inch pan by lining it with foil or parchment paper and spraying it with non-stick spray.
- Chop the unsweetened baking chocolate and combine it with butter in a microwave-safe bowl. Heat in 30-second intervals until melted and smooth, about 1-2 minutes.
- In a mixing bowl, combine eggs, sugar, and vanilla extract. Beat until light and fluffy, about 2 minutes.
- Slowly drizzle the melted chocolate and butter mixture into the egg mixture, mixing well. Gradually add flour and baking powder, mixing on low speed until combined.
- Pour the brownie batter into the prepared pan and bake for 20-30 minutes until a toothpick comes out mostly clean. Allow to cool completely.
- For the frosting, beat together powdered sugar, peppermint extract, and milk until smooth. Spread evenly over cooled brownies.
- To make the ganache, combine chocolate chips and butter in a microwave-safe bowl. Melt until glossy, then pour over the frosted brownies.
- Refrigerate the brownies for at least 30 minutes to set the ganache. Cut into squares and serve chilled.
Leave a Reply