
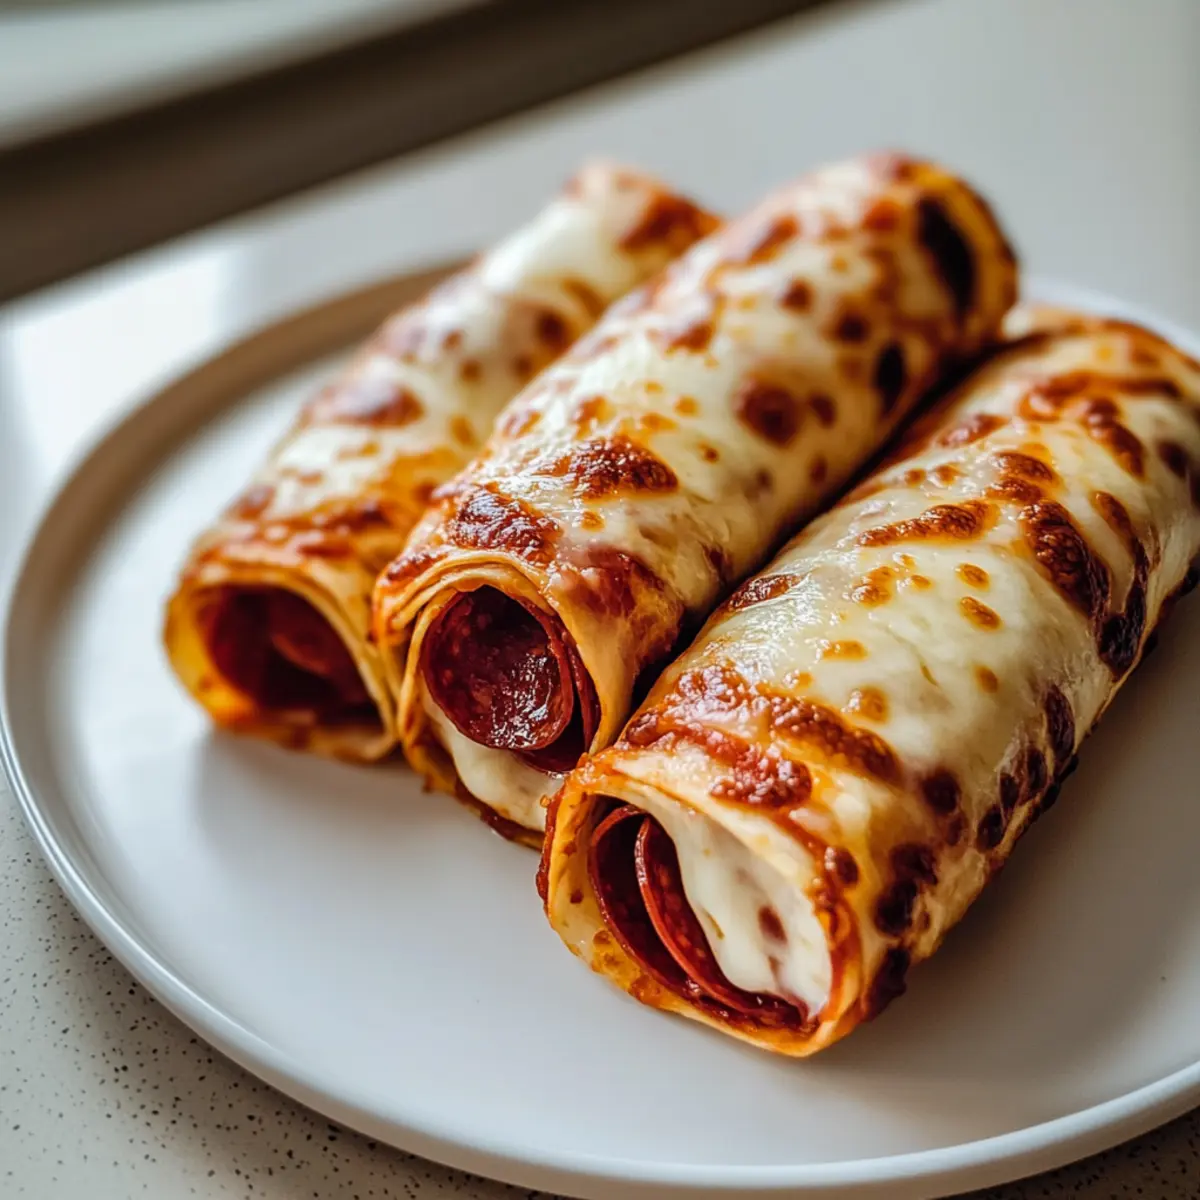
Late-night cravings hit, and your mind races through a lineup of options: chips, takeout, something quick. But what if I told you there’s a way to whip up homemade Cheesy Pepperoni Pizza Roll-Ups in just 15 minutes? These delightful rolls let you savor the comforting flavors of pizza while keeping your snack game light and low-carb. They’re not just a crowd-pleaser for movie nights and game day, but also completely customizable; you can adapt them to cater to gluten-free or keto diets. Trust me, these cheesy wonders will have everyone coming back for more. Curious about how to make these irresistible bites? Let’s dive in and make snacks that satisfy!
Why You’ll Crave Cheesy Pepperoni Roll-Ups
Quick and Easy: In just 15 minutes, you can indulge in cheesy, melty goodness that rivals your favorite pizza.
Customizable Options: Whether you’re gluten-free or seeking a low-carb treat, these roll-ups adapt to suit any dietary preference!
Kid-Friendly Appeal: Perfect for little hands, they’re a hit with kids and adults alike, making them great for family nights.
Perfect for Snacking: These roll-ups are ideal for game days or late-night munchies, satisfying those pizza cravings without the guilt.
Simple Ingredients: With just a few staples like low-carb tortillas and mozzarella, you’ll have a delicious treat ready to roll!
Ditch the takeout and explore this delicious twist on pizza with your own homemade Cheesy Garlic Chicken Wraps.
Cheesy Pepperoni Pizza Roll-Ups Ingredients
For the Roll-Ups
• Low Carb Tortillas – An excellent base that keeps the carbs low while still maintaining that satisfying wrap texture.
• Mozzarella Cheese – Essential for achieving that irresistibly gooey, melty goodness that mimics classic pizza flavor; opt for freshly grated for the best results.
• Pepperoni Slices – Provides that familiar pepperoni pizza taste; you can always swap it for turkey pepperoni or even veggies like mushrooms for a twist.
For Dipping
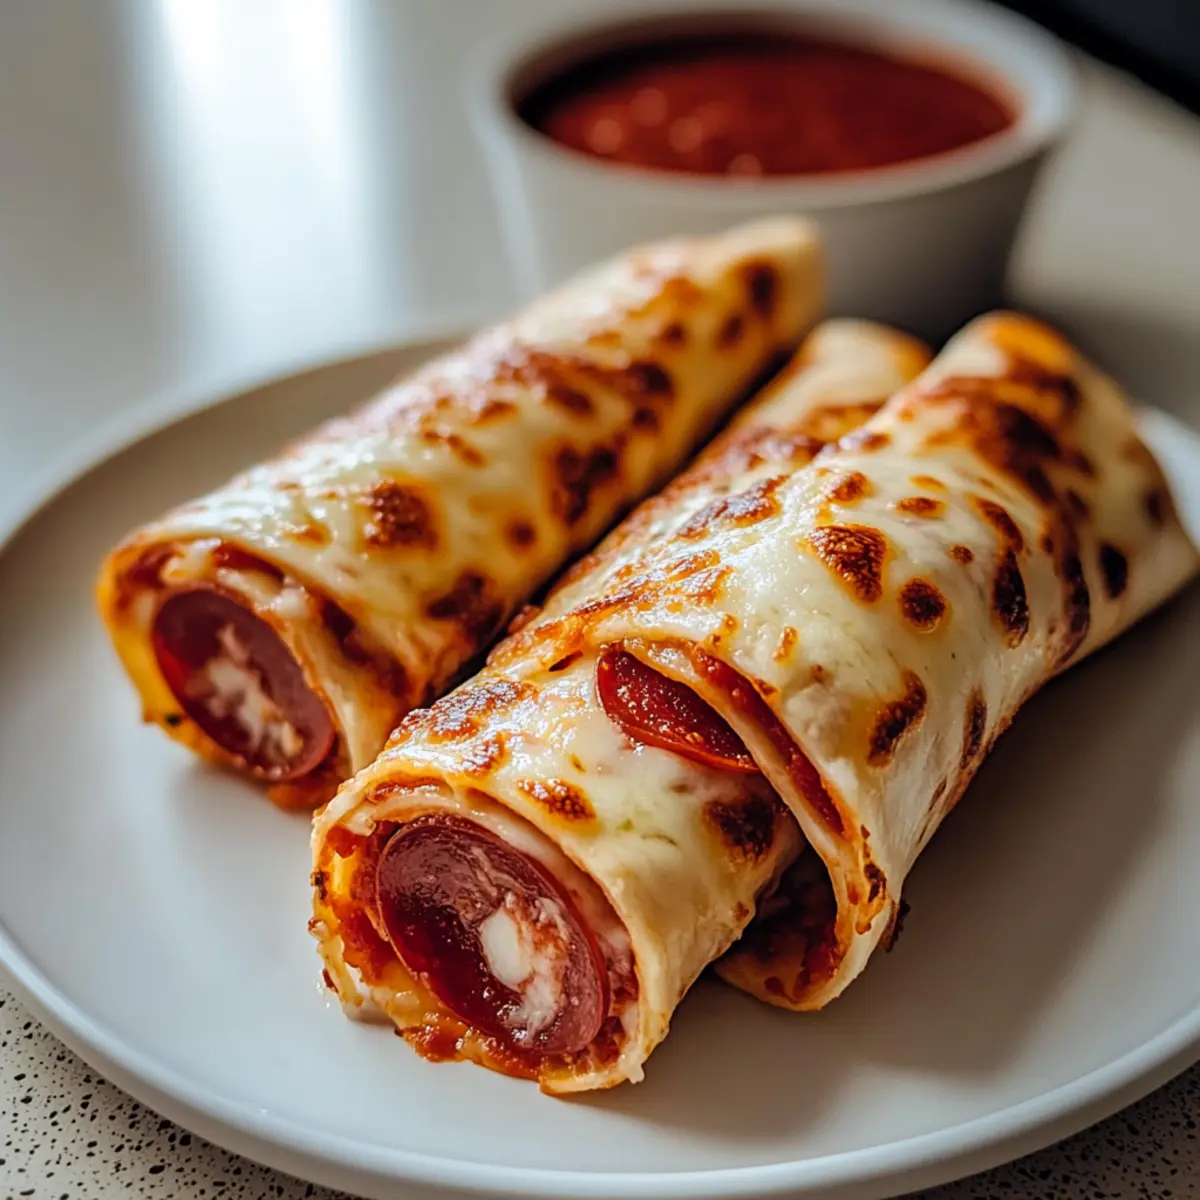
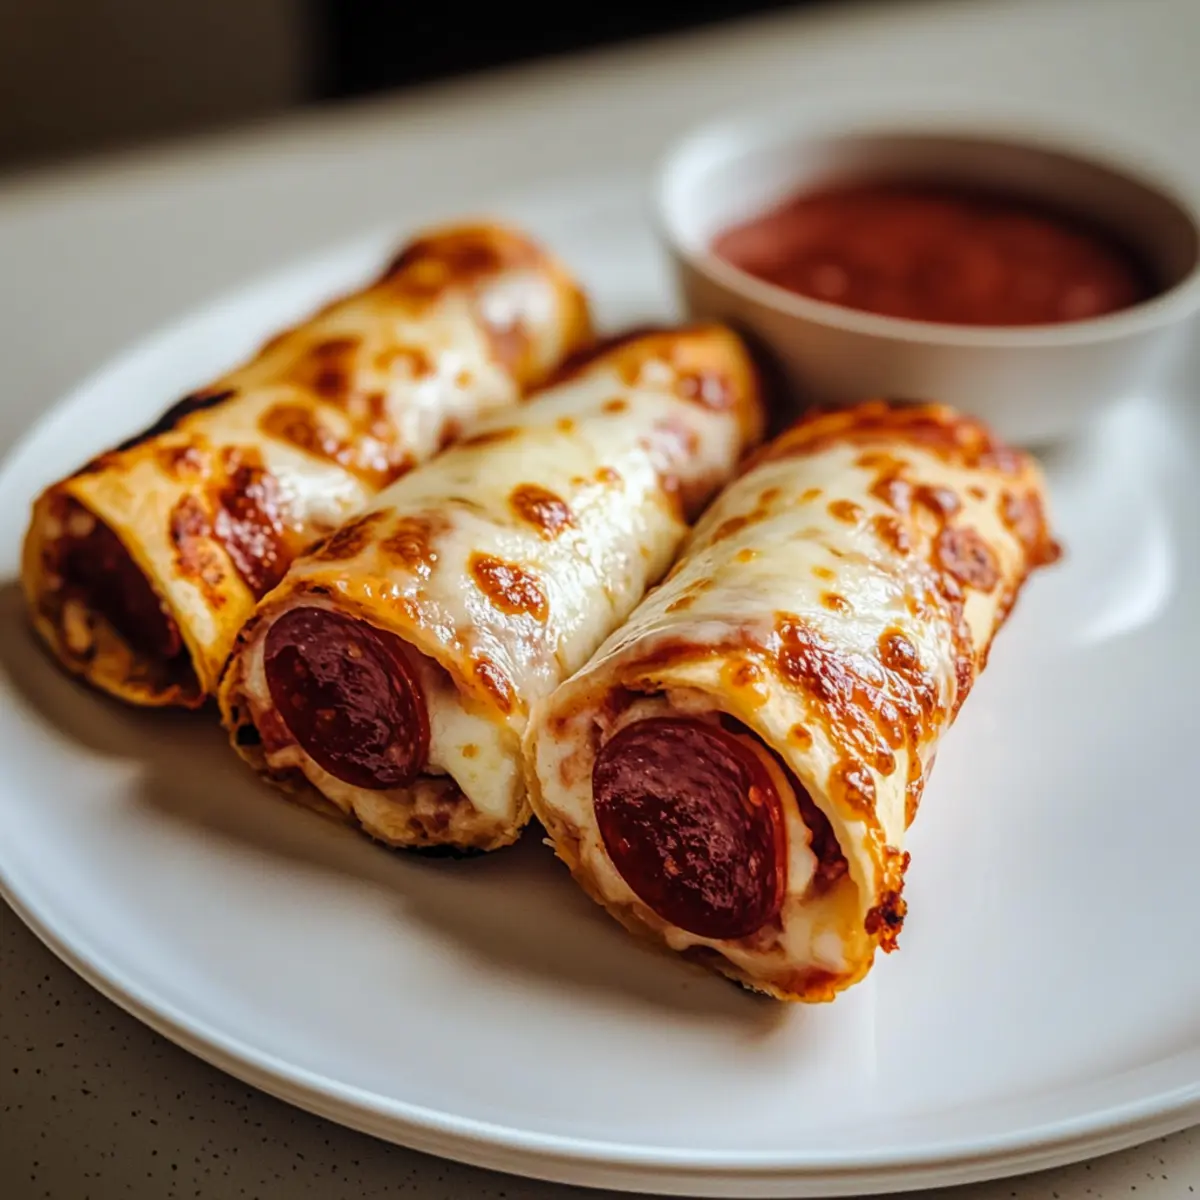
• Marinara Sauce – Complements the roll-ups perfectly, enhancing that pizza vibe; try mixing it with garlic for an extra flavor kick!
• Optional Spices – A sprinkle of Italian seasoning or garlic powder brings additional flavor; personalize your dip with a dash of red pepper flakes for some heat.
Step‑by‑Step Instructions for Cheesy Pepperoni Pizza Roll Ups
Step 1: Preheat the Oven
Start by preheating your oven to 375°F (190°C) to ensure it reaches the perfect baking temperature while you prepare your Cheesy Pepperoni Pizza Roll-Ups. Line a baking sheet with parchment paper for easy cleanup and to prevent sticking. This will set the stage for crispy, delicious roll-ups that come out golden brown and inviting.
Step 2: Prepare the Tortillas
Lay out two low-carb tortillas on your workspace. Sprinkle approximately ¼ cup of freshly grated mozzarella cheese over each tortilla, making sure to leave a ½-inch border around the edges. This cheese will melt and bind the ingredients beautifully, creating that gooey texture we love in pizza roll-ups.
Step 3: Add the Pepperoni
Next, arrange 5 pepperoni slices evenly over the cheese on each tortilla, overlapping them slightly for extra flavor. Feel free to get creative and use turkey pepperoni or your favorite veggies if you want to customize your Cheesy Pepperoni Pizza Roll-Ups. The pepperoni will crisp up nicely in the oven, delivering that classic pizza taste.
Step 4: Roll it Up
Carefully roll each tortilla tightly from one end to the other, ensuring a firm but gentle wrap around the filling. Place the rolled tortillas seam-side down on the lined baking sheet. This helps them keep their shape as they bake, giving your pizza roll-ups a neat and satisfying presentation when they come out of the oven.
Step 5: Bake to Perfection
Pop the baking sheet into the preheated oven and bake for 10-12 minutes. Keep an eye on them as they bake; you’ll know they’re done when the tortillas are golden brown and the cheese is bubbling out. The aroma of melting cheese and pepperoni will surely make your mouth water as they cook!
Step 6: Slice and Serve
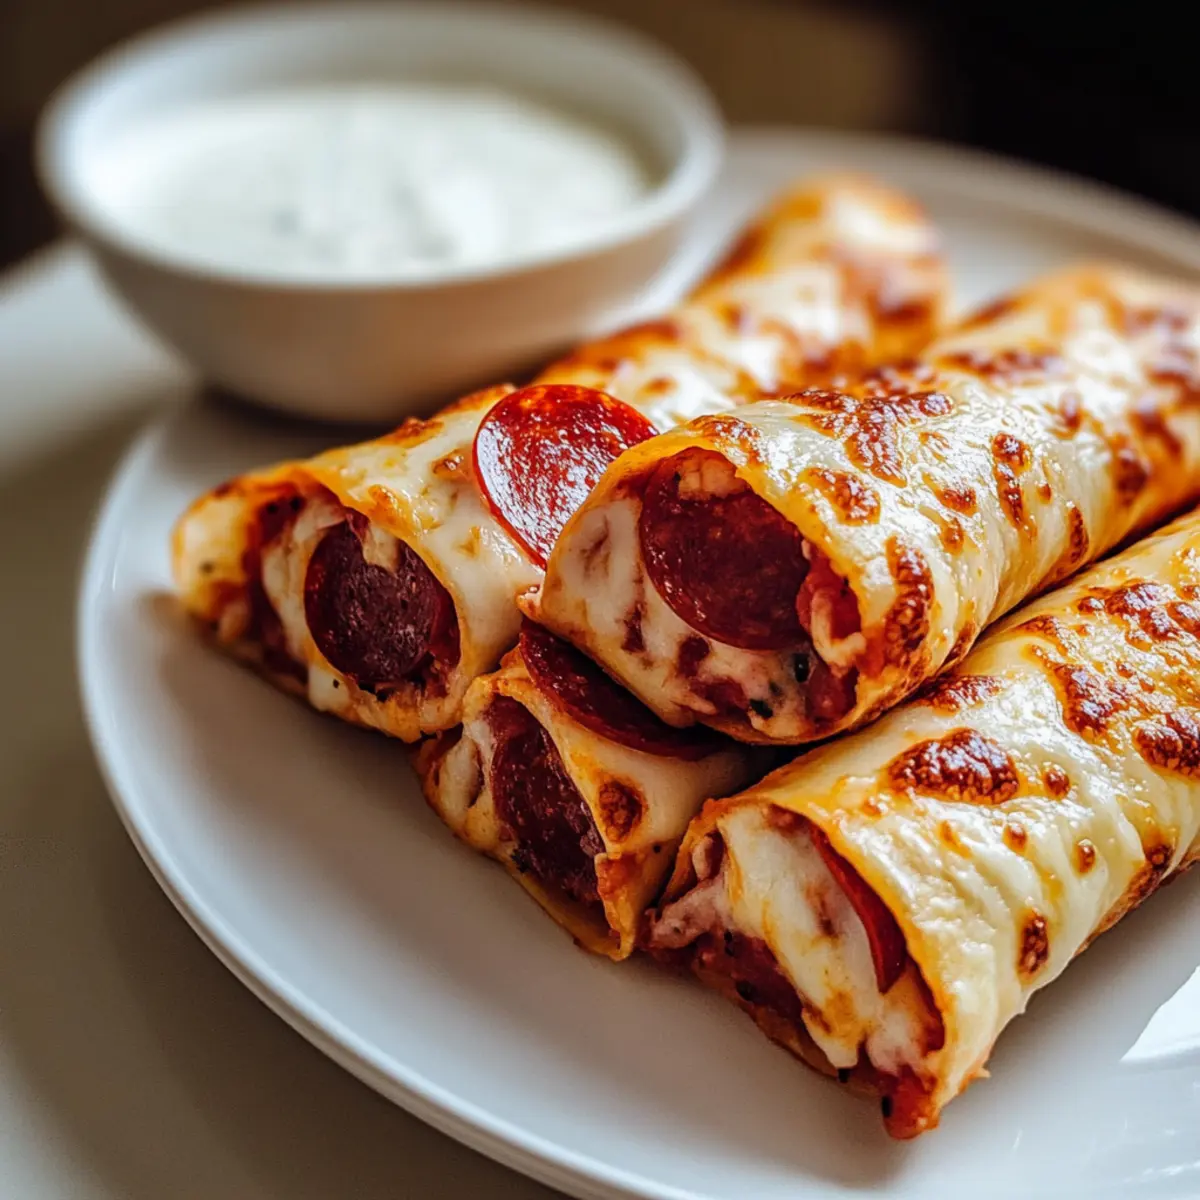
Once baked, take the roll-ups out of the oven and allow them to cool for a minute. Using a sharp knife, slice each roll-up into 1-inch pieces for easy serving. Serve warm with marinara sauce on the side for dipping, and enjoy the satisfying crunch and cheesy indulgence of your homemade Cheesy Pepperoni Pizza Roll-Ups!
What to Serve with Cheesy Pepperoni Pizza Roll-Ups
Elevate your snack experience with delightful sides and pairings that perfectly complement the cheesy goodness of these roll-ups.
-
Garden Salad: A fresh, crisp salad balances the rich flavors of the roll-ups, adding a refreshing crunch to your meal. Toss in your favorite veggies and a simple vinaigrette for a light touch.
-
Garlic Breadsticks: Don’t skip the carbs completely! Crispy, buttery garlic breadsticks are perfect for dipping into marinara, creating a satisfying pizza experience.
-
Buffalo Cauliflower Bites: For a spicy kick, serve these crunchy cauliflower bites drizzled with hot sauce. They add a delightful contrast to the cheesy roll-ups.
-
Antipasto Platter: Create a colorful spread of olives, salami, and cheeses for a shareable side that sparks conversation. The variety of textures and flavors enhances the overall dining experience.
-
Marinara Sauce: Elevate your roll-ups with a side of marinara for dipping. The tangy flavor complements the richness of the cheese and pepperoni beautifully.
-
Sparkling Water: Quench your thirst with bubbly sparkling water infused with lemon or lime for a refreshing, non-sweet beverage that cleanses the palate.
-
Chocolate Chip Cookies: Finish off your meal with a sweet touch. Soft, warm chocolate chip cookies pair perfectly after enjoying cheesy roll-ups, making for an irresistible combo.
Expert Tips for Cheesy Pepperoni Pizza Roll-Ups
-
Tortilla Flexibility: Warm slightly stale tortillas in the microwave for about 10 seconds to make them more pliable and easier to roll.
-
Cheese Control: Use only ¼ cup of mozzarella cheese per tortilla to prevent an overflow and ensure perfect melty goodness in your Cheesy Pepperoni Pizza Roll-Ups.
-
Spice it Up: Enhance flavor by sprinkling Italian seasoning or garlic powder over the cheese before rolling; this adds an extra layer of deliciousness.
-
Reheat for Crispiness: If your roll-ups become soft after sitting, simply reheat them in the oven for 2-3 minutes to revive their crunchy texture.
-
Veggie Boost: Don’t hesitate to sneak in some cooked spinach or bell peppers for added nutrition without compromising on taste!
Make Ahead Options
These Cheesy Pepperoni Pizza Roll-Ups are a fantastic choice for meal prep, saving you time on busy weeknights! You can prepare the roll-ups up to 24 hours in advance by assembling them before baking. Simply follow the steps to roll them up and place them in an airtight container in the refrigerator. To prevent the tortillas from becoming soggy, keep the marinara sauce separate until you’re ready to serve. When it’s time to enjoy, preheat your oven and bake the rolled-up delights for 10-12 minutes until golden and bubbly. With these make-ahead tips, you’ll have a delicious snack ready to go whenever those cravings hit!
How to Store and Freeze Cheesy Pepperoni Pizza Roll-Ups
-
Room Temperature: These roll-ups are best enjoyed fresh, but if needed, they can be left out at room temperature for up to 2 hours before they need to be refrigerated.
-
Fridge: Store cooled Cheesy Pepperoni Pizza Roll-Ups in an airtight container for up to 3-4 days. To keep them from becoming soggy, place a paper towel inside the container to absorb moisture.
-
Freezer: For longer storage, freeze the roll-ups in a single layer on a baking sheet, then transfer to a freezer-safe bag for up to 2 months. This will help maintain their texture and flavor.
-
Reheating: To reheat from the fridge or freezer, place the roll-ups in an air fryer or oven at 375°F (190°C) for 5-7 minutes until crispy and warmed through.
Cheesy Pepperoni Pizza Roll-Ups Variations
Feel free to make these roll-ups your own with these delightful twists and substitutions waiting for you to explore!
-
Gluten-Free: Use almond flour tortillas for a gluten-free version without sacrificing taste or texture. You won’t miss the traditional ones!
-
Keto-Friendly: Swap out pepperoni for thinly sliced salami or prosciutto. This low-carb option still delivers a hearty punch of flavor!
-
Veggie-Packed: Add a handful of sautéed spinach or roasted bell peppers to the filling for a nutritious boost; it’s a sneaky way to incorporate more veggies!
-
Spicy Kick: Toss in jalapeño slices or crushed red pepper for a fiery twist on your pizza roll-ups. Spice it up to suit your heat tolerance!
-
Breakfast Style: Substitute pepperoni with scrambled eggs and crumbled sausage for a delicious brunch option. Those morning cravings just got a gourmet upgrade!
-
Cheesy Varieties: Mix in different cheeses like provolone or pepper jack for an exciting flavor combination. The melting magic is endless, and it keeps things interesting!
-
Sweet Twist: Replace marinara with a drizzle of honey or BBQ sauce for an unexpected yet sweet experience. Not your average snack; it’s a treat!
For more fantastic adaptations, check out our Cinnamon Roll Banana recipe or give our Cheesy Beef Potato a try!
Cheesy Pepperoni Pizza Roll-Ups Recipe FAQs
How do I choose the best low-carb tortillas?
When selecting low-carb tortillas, look for those with a high fiber content and minimal additives. Brands like Mission or La Banderita often have great options. If you want something gluten-free, almond flour tortillas are fantastic, though their texture is slightly different. Always check for packaging signs of freshness, like no dark spots or tears.
How should I store leftover Cheesy Pepperoni Pizza Roll-Ups?
To store your Cheesy Pepperoni Pizza Roll-Ups, allow them to cool completely first. Place them in an airtight container lined with a paper towel to absorb any moisture. These can last in the fridge for 3-4 days. If you want them to stay extra fresh, separate layers with parchment paper to prevent sticking.
Can I freeze Cheesy Pepperoni Pizza Roll-Ups?
Absolutely! To freeze, lay the cooled roll-ups in a single layer on a baking sheet. Once frozen solid, transfer them into a freezer-safe zip-top bag, ensuring to remove as much air as possible. They can be frozen for up to 2 months! When you’re ready to enjoy them, reheat in an air fryer or oven at 375°F (190°C) for about 5-7 minutes until crispy.
What can I do if my pizza roll-ups are soggy?
If your Cheesy Pepperoni Pizza Roll-Ups come out a bit soggy, don’t worry! You can reheat them for 2-3 minutes in an oven or air fryer at 375°F (190°C) to restore some of that desired crispiness. Additionally, if they’ve been sitting for a while, allowing them to cool uncovered for a few minutes can help them regain some crunch!
Are there any dietary concerns I should be aware of?
Absolutely! If you’re catering to specific dietary needs, opt for gluten-free tortillas for those sensitive to gluten, and check your pepperoni for any allergens—such as casein in dairy. For a less processed option, choose an all-natural pepperoni brand, and if you’re unsure, personalizing ingredients like veggies can ensure everyone enjoys them safely.
Irresistible Cheesy Pepperoni Pizza Roll-Ups in 15 Minutes
Ingredients
Equipment
Method
- Preheat your oven to 375°F (190°C) and line a baking sheet with parchment paper.
- Lay out two low-carb tortillas and sprinkle about ¼ cup of mozzarella cheese over each, leaving a ½-inch border.
- Arrange 5 pepperoni slices over the cheese on each tortilla.
- Roll each tortilla tightly, seam-side down on the lined baking sheet.
- Bake for 10-12 minutes until golden brown and cheese is bubbling.
- Allow to cool for a minute, then slice into 1-inch pieces and serve with marinara sauce.
Leave a Reply