
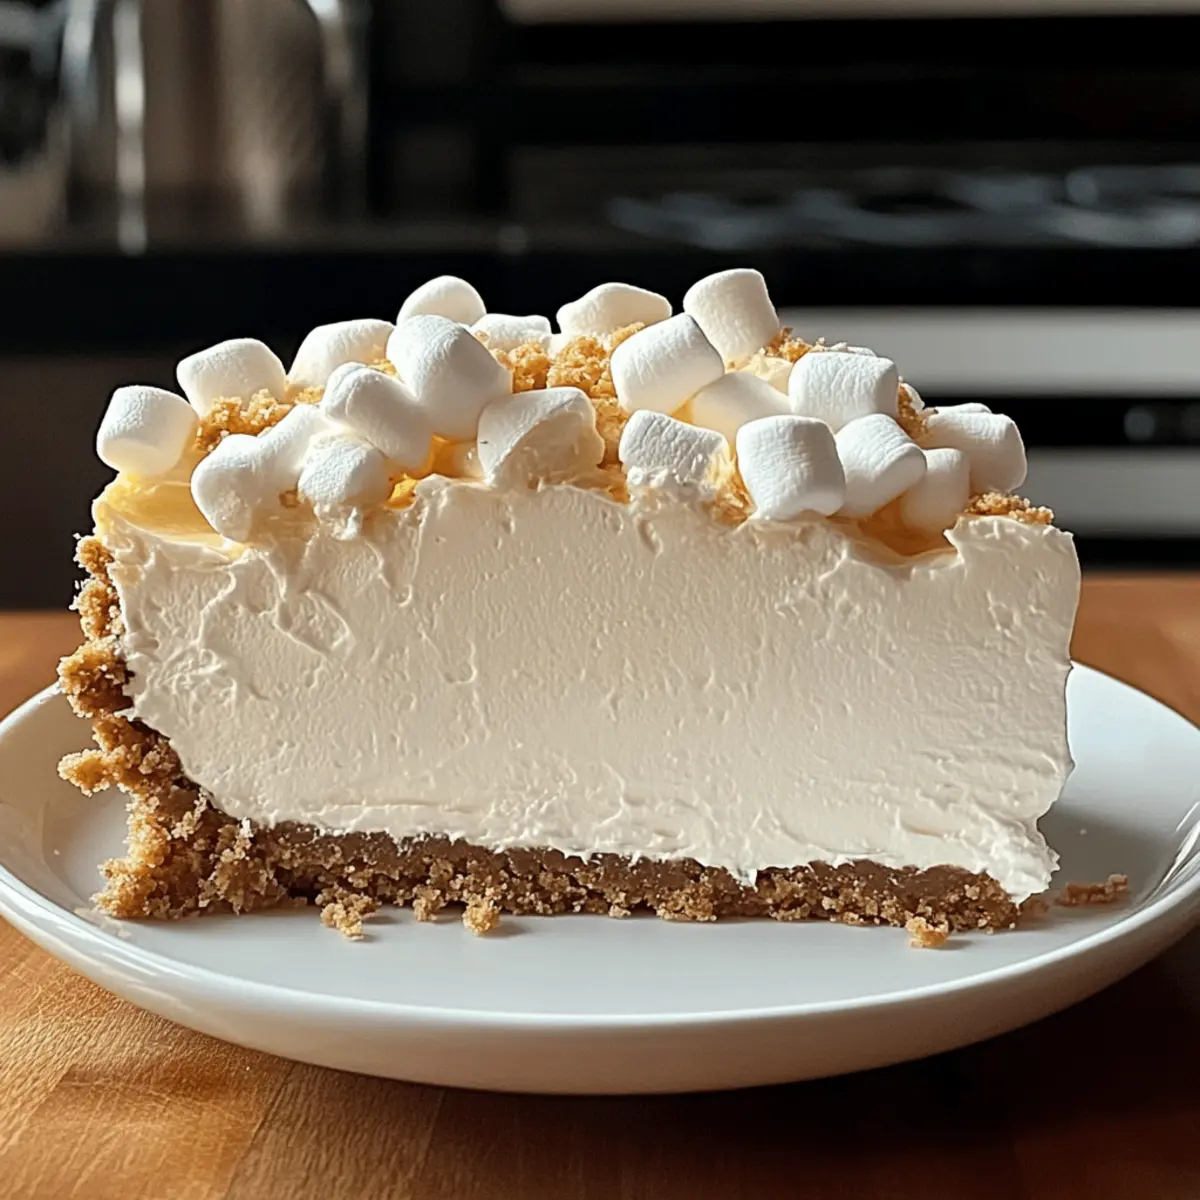
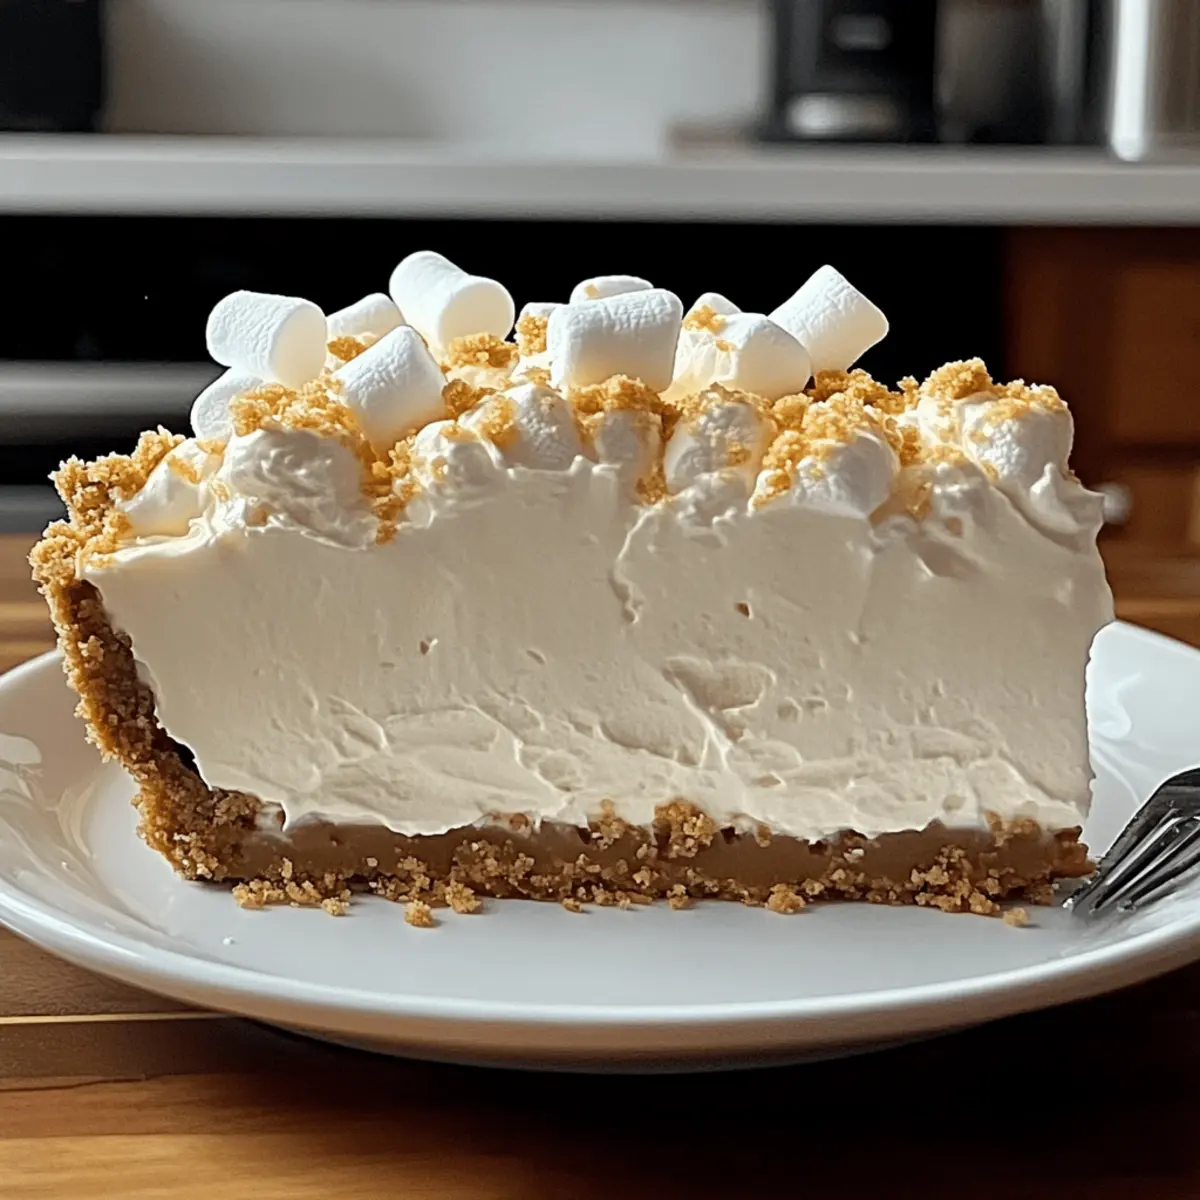
Under the swirling summer sun, nothing beats the thrill of a creamy, melt-in-your-mouth dessert that requires zero baking. Enter my No-Bake Marshmallow Whip Cheesecake—a delightful concoction that combines fluffy marshmallows and luscious cream cheese, all resting on a buttery graham cracker crust. The best part? It’s not just easy to whip up; it’s also the perfect make-ahead treat for those warm evenings when you want to impress friends without the fuss. With its light and airy texture, this cheesecake is destined to be your new go-to dessert for gatherings and special moments. Curious about how to make this dreamy delight? Let’s dive into the recipe that’s sure to become a family favorite!
Why You’ll Love This Cheesecake
Simplicity at Its Best: This No-Bake Marshmallow Whip Cheesecake comes together without any baking fuss, making it a stress-free option for busy days.
Creamy, Dreamy Flavor: With a fluffy filling of marshmallow fluff and cream cheese, each bite is an explosion of sweet, creamy bliss.
Make-Ahead Magic: Prepare it the night before! Just chill, and it’s ready to serve when you are, perfect for impromptu gatherings.
Versatile Topping Choices: Garnish it with fresh berries or chocolate drizzle to suit your taste, as seen in popular dessert ideas like Peach Bruschetta Whipped or Churro Cheesecake Indulge.
Crowd-Pleasing Appeal: This cheesecake dazzles guests and family alike, making it the star of any party or celebratory moment.
Marshmallow Whip Cheesecake Ingredients
For the Crust
• Graham Cracker Crumbs – The base of the crust provides a sweet and crunchy texture; for a twist, use crushed Oreos or chocolate wafer cookies.
• Granulated Sugar – Adds sweetness to the crust; consider brown sugar if you’re after a richer taste.
• Unsalted Butter (melted) – Binds the crust ingredients together and enriches the flavor; make sure it’s melted for a smooth mix.
For the Filling
• Cream Cheese (softened) – Offers a creamy, velvety texture to the cheesecake; let it sit at room temperature for easy mixing.
• Marshmallow Fluff – Brings fluffiness and sweetness; no direct substitution, but whipped cream can lighten it up.
• Vanilla Extract – Elevates the overall flavor; almond extract can be used if you’re looking for a unique twist.
• Whipped Topping – Imparts fluffiness; you can swap it with 2½ cups of homemade whipped cream for fresher flavor.
Optional Toppings
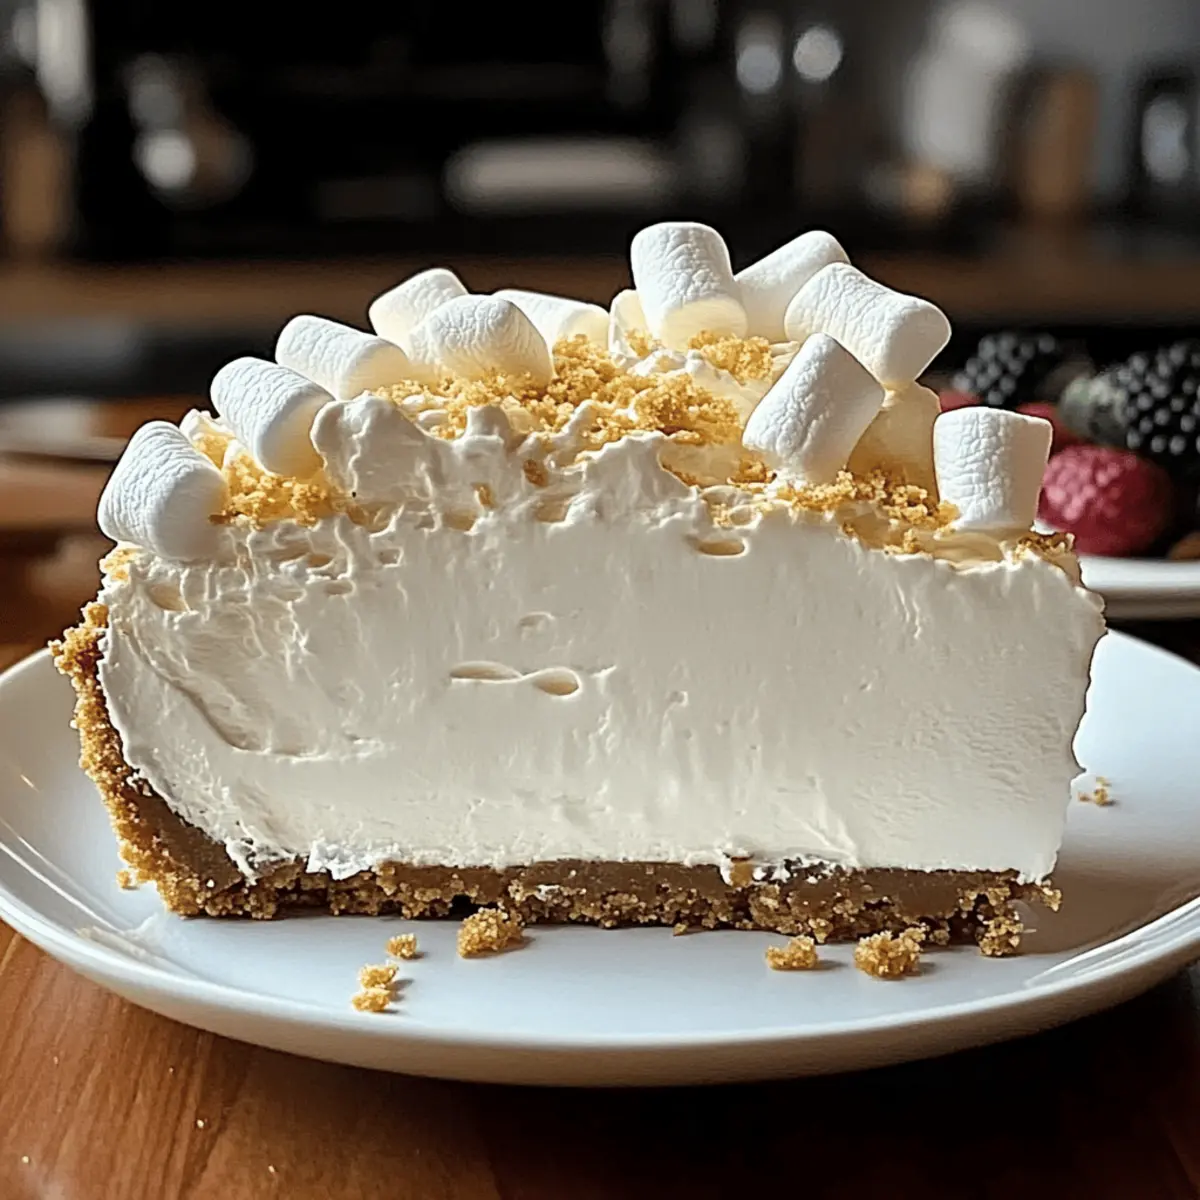
• Fresh Berries – A delightful garnish that adds freshness; strawberries or blueberries work wonderfully.
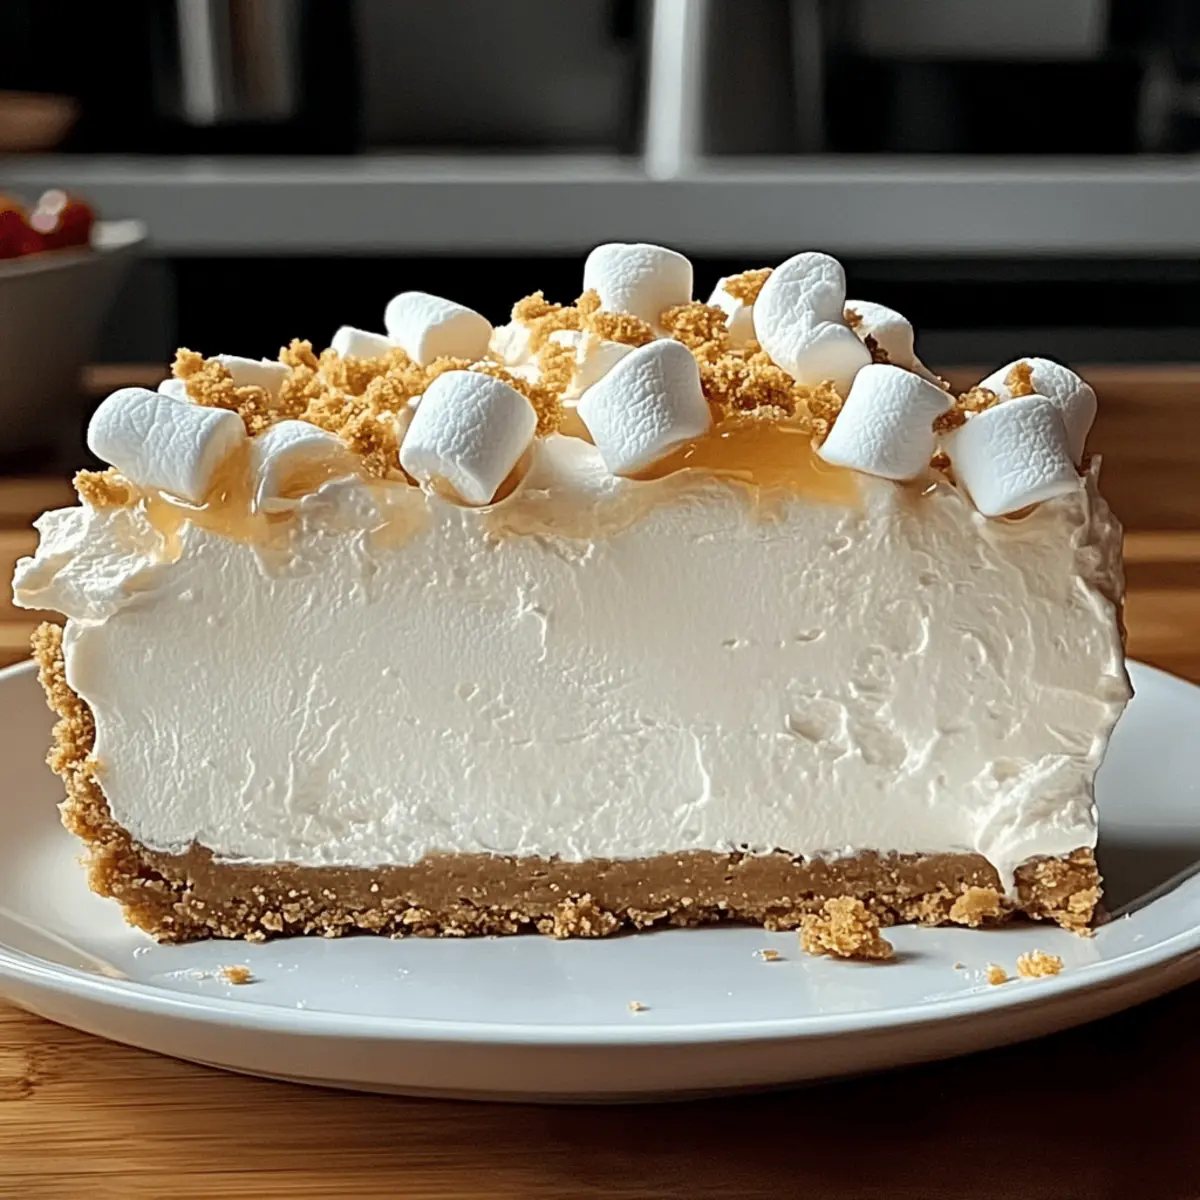
• Mini Marshmallows – These sweet little additions add texture and charm to your dessert.
• Chocolate Shavings or Drizzle – Enhances the cheesecake’s richness and complements the marshmallow fluff perfectly.
• Crushed Graham Crackers – Sprinkled on top for an added crunch and decorative flair.
Step‑by‑Step Instructions for Marshmallow Whip Cheesecake
Step 1: Make the Crust
In a medium bowl, blend graham cracker crumbs, granulated sugar, and melted butter until evenly combined. The mixture should resemble wet sand. Press this mixture firmly into the bottom of a 9-inch springform pan, ensuring an even layer. Once pressed, place the pan in the refrigerator for about 30 minutes to set and firm up the crust.
Step 2: Prepare the Filling
In a large mixing bowl, beat the softened cream cheese using an electric mixer on medium speed until it’s smooth and fluffy, about 2-3 minutes. Add in the marshmallow fluff and vanilla extract, mixing until all ingredients are fully incorporated and the mixture is creamy. This ensures your Marshmallow Whip Cheesecake filling will be light and airy.
Step 3: Fold in Whipped Topping
Gently fold in the whipped topping using a spatula, taking care not to deflate the mixture. Fold until the whipped topping is fully integrated, resulting in a light, fluffy filling. This step is crucial, as it enhances the dreamy texture of the Marshmallow Whip Cheesecake, making it irresistibly creamy.
Step 4: Assemble the Cheesecake
Spread the filling evenly over the chilled crust using a spatula to smooth the top. Once the filling is spread out nicely, cover the springform pan with plastic wrap. Refrigerate the cheesecake for at least 4 hours, but preferably overnight, allowing it to set properly for a decadent and creamy dessert.
Step 5: Decorate and Serve
Just before you’re ready to serve, add your choice of toppings, such as fresh berries, mini marshmallows, or a drizzle of chocolate. Carefully remove the springform ring to reveal the beautifully set cake. Slice the Marshmallow Whip Cheesecake into portions and serve it chilled for a delightful end to your meal.
What to Serve with Marshmallow Whip Cheesecake
Under the radiant summer sun, accompany this luscious dessert with perfect pairings to create a delightful ensemble.
-
Fresh Fruit Salad: A vibrant mix of seasonal fruits adds a refreshing contrast to the rich cheesecake, enhancing its sweet notes.
-
Coffee or Espresso: The robust flavors of coffee cut through the creaminess of the cheesecake, creating a harmonious balance.
-
Chocolate Covered Strawberries: Juicy strawberries dipped in chocolate provide a decadent complement that enhances the cake’s sweetness.
-
Vanilla Ice Cream: A scoop of sweet vanilla ice cream on the side creates a classic pairing that’s creamy, cool, and utterly delicious.
-
Minted Lemonade: The zesty, minty freshness of lemonade refreshes the palate and pairs beautifully with the sweetness of the cheesecake.
-
Almond Biscotti: Crunchy, nutty biscotti serves as a delightful accompaniment that adds texture and elevates the dessert experience.
-
Whipped Cream with a Twist: Flavored whipped cream, perhaps with a hint of orange or cinnamon, can add a delightful new dimension when dolloped atop the cheesecake.
Expert Tips for Marshmallow Whip Cheesecake
• Softened Cream Cheese: Ensure your cream cheese is at room temperature to avoid lumps and achieve a smooth filling.
• Chilling Is Key: Allow the cheesecake to chill overnight if possible; this helps it set properly and enhances the flavor.
• Gentle Folding: When mixing in the whipped topping, fold gently to maintain the airy texture essential for a light Marshmallow Whip Cheesecake.
• Warm Springform Tip: If the cheesecake sticks to the pan, use a warm cloth on the exterior of the springform pan for easy release.
• Decorate to Impress: Get creative with your toppings—use seasonal fruits or a chocolate drizzle to elevate your dessert’s presentation and taste.
Make Ahead Options
These No-Bake Marshmallow Whip Cheesecakes are perfect for busy home cooks looking to save time while impressing guests! You can prepare the crust and filling up to 24 hours in advance for maximum convenience. Simply make the crust and let it chill in the fridge. For the filling, mix your cream cheese, marshmallow fluff, and vanilla, then fold in the whipped topping. Store the mixture in an airtight container in the refrigerator. When ready to serve, spread the chilled filling over the crust and let it set for a few more hours. This way, your cheesecake will still taste just as delightful as if made fresh, ensuring a stress-free dessert for any occasion!
How to Store and Freeze Marshmallow Whip Cheesecake
Fridge: Store your cheesecake in the refrigerator for up to 3 days. Keep it covered with plastic wrap to maintain freshness and prevent absorbing other odors.
Freezer: Wrap tightly in plastic or aluminum foil and freeze for up to 1 month. Thaw overnight in the fridge before serving for the best texture.
Serving Size: For easy access, cut into slices before freezing. This allows for quick serving and keeps portions manageable, especially delicious for those on the go!
Reheating: No reheating necessary! Simply enjoy it chilled straight from the fridge or after thawing from the freezer.
Marshmallow Whip Cheesecake Variations
Feel free to get creative with this delightful no-bake cheesecake! Each variation adds a unique twist that’s sure to please.
-
Zesty Citrus: Add lemon or lime zest to the filling for a refreshing, tangy flavor that perfectly complements the sweetness.
A hint of citrus can elevate your cheesecake to a new level of brightness, making each bite truly refreshing. -
Mini Cheesecakes: Use a muffin tin with cupcake liners to create individual mini cheesecakes for parties or celebrations.
Perfect for guests on the go, these mini versions are not only adorable but also make serving easy and fun. -
Berry Swirl: Incorporate a fruit puree, like raspberry or strawberry, into the filling for a colorful swirl that adds a burst of flavor.
The vibrant colors and tastes create a stunning visual appeal while enhancing the cheesecake with fruity goodness. -
Chocolate Lovers: Mix in some cocoa powder or melted chocolate into the filling for a rich, chocolatey variation.
This chocolate twist is sure to satisfy any chocoholic, transforming the cheesecake into a decadent dessert to remember. -
Nutty Crunch: Fold in crushed nuts, like almonds or pecans, into the filling or sprinkle on top for added texture and flavor.
This extra crunch perfectly balances the creamy cheesecake, creating a delightful contrast with each bite. -
Caramel Drizzle: Drizzle homemade or store-bought caramel sauce over the top for an indulgent twist that adds an extra layer of sweetness.
Pairing this with fresh berries creates a luxurious topping that takes your dessert to new heights. -
Theme Variations: Adapt the cheesecake to different holidays by adding colors or flavored toppings; think pastel shades for Easter or festive red and green for Christmas.
Your cheesecake can become a festive centerpiece, loved by all who gather around the table for special occasions.
As you explore these variations, you might want to check out the equally delicious Churro Cheesecake Indulge or refreshingly delightful Vanilla Pumpkin Marshmallow for more dessert inspiration!
Marshmallow Whip Cheesecake Recipe FAQs
How do I choose the right marshmallow fluff?
Absolutely! When selecting marshmallow fluff, look for a brand that’s light and fluffy without any artificial ingredients. Check the expiration date for freshness, and if you can, choose organic options for a more natural taste.
What’s the best way to store leftover cheesecake?
After enjoying your Marshmallow Whip Cheesecake, store any leftovers in the refrigerator for up to 3 days. Make sure to cover it tightly with plastic wrap to keep it from soaking up other flavors and to maintain its creamy texture.
Can I freeze the cheesecake?
Yes, you can! To freeze your cheesecake, wrap it tightly in plastic wrap or aluminum foil, ensuring no air gets in. It will stay fresh for up to 1 month. When you’re ready to enjoy, thaw it overnight in the fridge for the best texture.
What if my cheesecake is too soft?
No worry at all! If your cheesecake turns out too soft, it could be due to insufficient chilling time. Make sure to refrigerate it for at least 4 hours, but preferably overnight, to allow it to set properly. If time is tight, try adding a bit more whipped topping and refrigerating again briefly to firm up the texture.
Any allergy considerations for this recipe?
Indeed! This Marshmallow Whip Cheesecake contains dairy and gluten, which can be troublesome for some people. For a dairy-free alternative, use vegan cream cheese and coconut whipped topping. If gluten is a concern, opt for gluten-free graham crackers or a nut-based crust instead.
What can I substitute for the whipped topping?
Great question! If you’d prefer a lighter alternative, 2½ cups of homemade whipped cream is excellent. Just whip heavy cream until soft peaks form, and gently fold it into the cream cheese mixture as you would with the store-bought whipped topping. It warms my heart to see people make it their own!
Creamy Marshmallow Whip Cheesecake to Delight Your Tastebuds
Ingredients
Equipment
Method
- In a medium bowl, blend graham cracker crumbs, granulated sugar, and melted butter until combined. Press into the bottom of a 9-inch springform pan and refrigerate for about 30 minutes to set.
- In a large mixing bowl, beat the softened cream cheese until smooth and fluffy. Add marshmallow fluff and vanilla extract, mixing until creamy.
- Fold in the whipped topping gently with a spatula until fully integrated.
- Spread the filling evenly over the chilled crust and cover with plastic wrap. Refrigerate for at least 4 hours or overnight.
- Before serving, add your choice of toppings, remove the springform ring, slice, and serve chilled.
Leave a Reply