
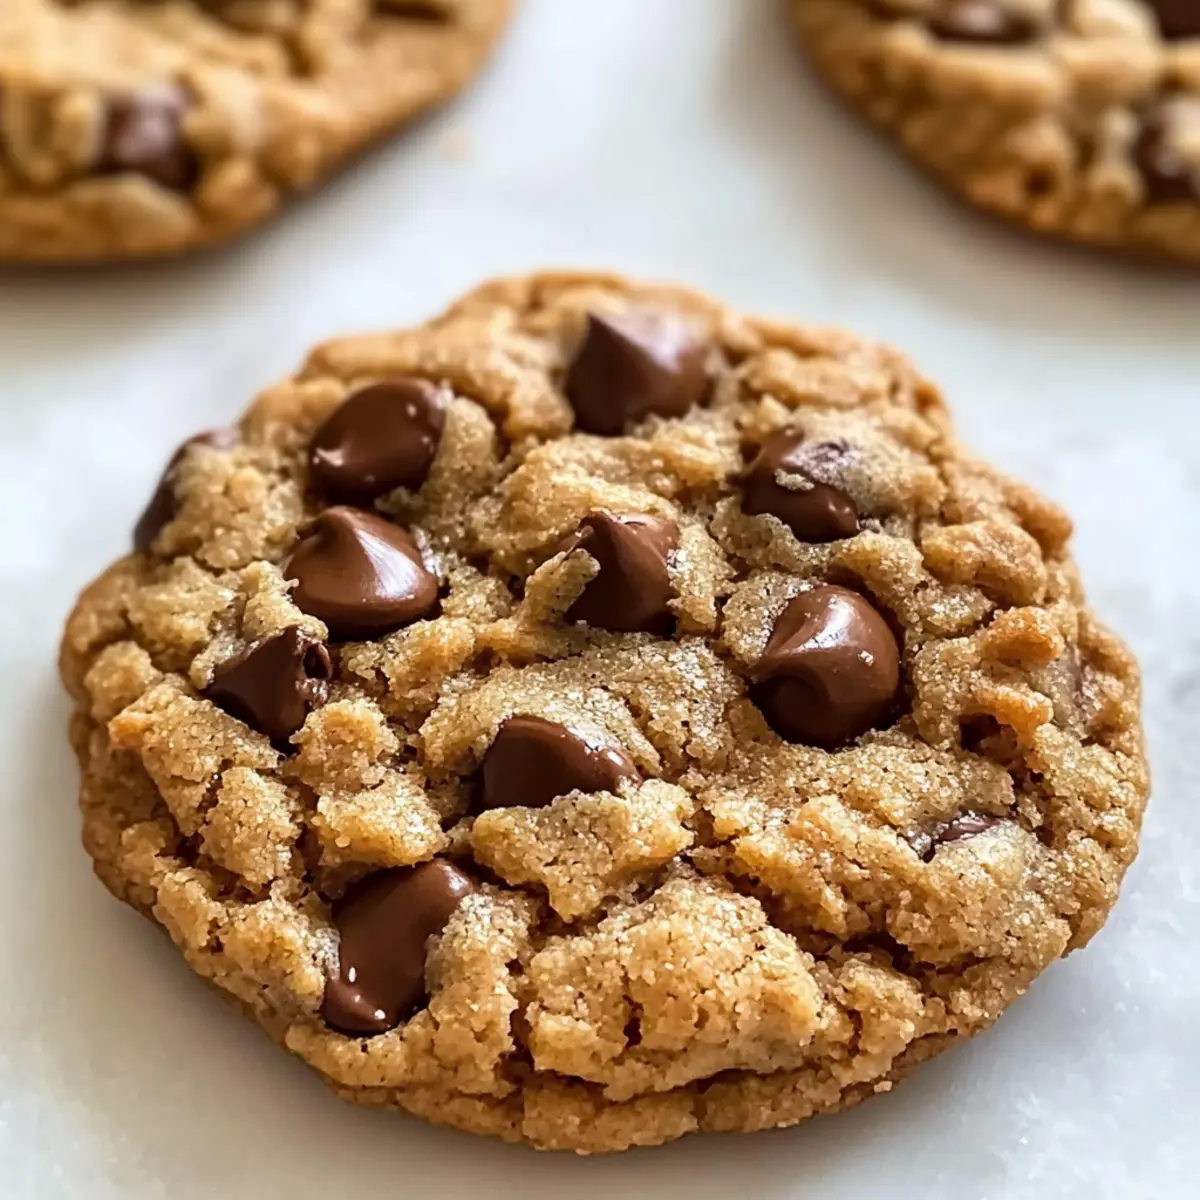
You won’t believe how easy it is to whip up a batch of Protein Cookies with just four ingredients! These are not your average cookies; they manage to combine a thick, chewy texture with the satisfaction of indulging your sweet tooth—without any guilt. Perfect for a quick snack or a post-workout boost, these cookies each pack over 20 grams of protein, making them a nutritious choice for anyone striving to fuel their day. I love that they’re customizable, so I can switch up the flavor with different protein powders or add-ins like chocolate chips or nuts. Are you ready to transform your snack game with these simple yet delicious cookies? Let’s dive in!
Why Will You Love These Cookies?
Simplicity, no complicated steps here! With just four easy-to-find ingredients, these Protein Cookies come together in a flash.
Guilt-Free Indulgence is the name of the game. Each cookie is loaded with over 20 grams of protein, making it an excellent choice for those wanting to satisfy cravings while maintaining a healthy lifestyle.
Customizable Flavor options are endless! Feel free to swap in your favorite protein powder or toss in some chocolate chips, nuts, or dried fruits to make these cookies uniquely yours.
Perfect for Any Occasion: Whether you need a quick snack, a post-workout treat, or something sweet after dinner, these cookies fit the bill beautifully. Pair them with a glass of almond milk for an extra touch of delight.
Crowd-Pleaser: Friends and family will love these cookies as much as you do—perfect for gatherings or meal prep!
If you’re looking for more healthy treats, why not check out our High Protein Cottage or Chocolate Oat Cookies?
Protein Cookies Ingredients
For the Cookies
- Peanut Butter – Provides richness and acts as the binding agent; can substitute with almond or sunflower seed butter for allergies.
- Brown Sugar Substitute – Adds sweetness without the calories; choose erythritol or stevia as alternatives.
- Egg – Adds moisture and helps the cookies bind together; for a vegan option, substitute with 1/4 cup unsweetened applesauce or a flaxseed meal mixture.
- Vanilla Protein Powder – Boosts protein content and flavor; can vary the flavor of protein powder for different taste profiles.
Embrace the joy of making these Protein Cookies with just four simple ingredients that pack a nutritious punch!
Step‑by‑Step Instructions for Protein Cookies
Step 1: Preheat Your Oven
Start by preheating your oven to 180°C (350°F) to ensure it’s ready for baking. While the oven warms up, line a baking sheet with parchment paper—this will prevent the cookies from sticking and make cleanup a breeze. Having these steps prepped helps set the stage for your delicious Protein Cookies!
Step 2: Mix the Ingredients
In a mixing bowl, combine 1 cup of peanut butter, 1/2 cup of brown sugar substitute, 1 egg, and 1 scoop of vanilla protein powder. Using a spatula or wooden spoon, stir the mixture until it is fully incorporated and smooth, which should take about 2-3 minutes. The dough will be thick but cohesive, ready for shaping into cookies!
Step 3: Shape the Cookies
Once your dough is mixed, use your hands to form it into 12 equal balls, about the size of a golf ball. Place each ball on the prepared baking sheet, spacing them a few inches apart. Gently press each ball down with your palm to flatten them into cookie shapes, which ensures even baking and gives you that perfect chewy texture.
Step 4: Bake
Carefully place the baking sheet in your preheated oven and bake the Protein Cookies for 12-14 minutes. Keep an eye on them, looking for golden brown edges as a sign they’re done. Avoid overbaking; this helps maintain a chewy center that you’ll love!
Step 5: Cool Before Enjoying
Once baked, remove the cookies from the oven and let them cool on the baking sheet for about 10 minutes. This cooling time allows them to set and finish cooking through without becoming too crispy. After that, you can transfer them to a wire rack to cool completely before indulging in your tasty Protein Cookies.
What to Serve with 4-Ingredient Protein Cookies
Elevate your snacking experience with delightful pairings that will transform these cookies into a full meal.
-
Creamy Almond Milk: A glass of this light, nutty milk perfectly balances the rich flavors of the cookies while supporting a healthy diet.
-
Fresh Fruit Salad: The juicy sweetness of seasonal fruits adds brightness, contrasting the chewy texture of the cookies for a refreshing bite.
-
Greek Yogurt Parfait: Layer your cookies with creamy Greek yogurt and berries for a nutritious dessert that’s both satisfying and indulgent.
-
Nutty Trail Mix: A handful of trail mix packed with almonds, walnuts, and seeds complements the cookie’s protein and offers a delightful crunch.
-
Dark Chocolate Dipped Strawberries: Elevate your dessert game by pairing the cookies with strawberries dipped in rich dark chocolate—a blissful flavor explosion!
-
Chia Seed Pudding: Serve a side of this creamy pudding for a smooth, nutritious contrast; it also adds an extra punch of protein and fiber.
For something more spontaneous, consider topping your cookies with a dollop of natural nut butter or indulging in a cup of herbal tea to unwind. The combinations are endless, inviting you to savor each bite!
How to Store and Freeze Protein Cookies
Fridge: Store your Protein Cookies in an airtight container for up to one week. This keeps them fresh and chewy, ready to satisfy your snack cravings!
Freezer: For long-term storage, freeze the cookies in a single layer on a baking sheet until solid, then transfer them to a zip-top bag. They can last up to three months in the freezer.
Reheating: When you’re ready to enjoy a cookie, simply microwave it for about 15-20 seconds or warm it in the oven at 180°C (350°F) for a few minutes to bring back that fresh-baked taste!
Layering: If stacking cookies in a container, place parchment paper between layers to prevent them from sticking together. Enjoy your guilt-free Protein Cookies any time!
Protein Cookies Variations & Substitutions
Feel free to tailor these Protein Cookies to your taste buds—let’s turn up the flavor and excitement!
- Nut-Free: Substitute peanut butter with sunflower seed butter to create a delicious nut-free version everyone can enjoy.
- Sweetness Swap: For a low-calorie treat, swap brown sugar substitute with stevia or monk fruit sweetener. Each option lends its own unique sweetness!
- Vegan Twist: Replace the egg with 1/4 cup of unsweetened applesauce or a flaxseed mixture for a delightful vegan alternative.
- Flavor Pop: Experiment with different flavored protein powders like chocolate, vanilla, or even cookies and cream to keep your cookies fresh and exciting.
- Crunchy Goodness: Add-in chocolate chips or nuts for a delightful textural contrast. This not only enhances the flavor but also gives an irresistible crunch!
- Fruit Fusion: Mix in dried fruits such as cranberries or raisins to add a chewy sweetness that pairs beautifully with the nutty flavors.
- Spice It Up: Sprinkle in a dash of cinnamon or a hint of espresso powder for an unexpected yet delightful flavor twist!
- Guilt-Free Ice Cream Sandwich: Use two cookies to sandwich a scoop of your favorite frozen yogurt for a fun, healthy treat. Perfect for hot days!
For more healthy delicious ideas, be sure to check out our High Protein Taco and indulge in some scrumptious Chocolate Oat Cookies!
Make Ahead Options
These Protein Cookies are perfect for meal prep enthusiasts looking to save time during busy weeks! You can prepare the cookie dough up to 24 hours in advance by mixing all the ingredients and storing the dough in an airtight container in the refrigerator; this helps the flavors meld beautifully. For even greater convenience, shape the cookie balls and refrigerate them, ensuring they’re ready to bake when you need a quick snack. When you’re ready to enjoy your cookies, simply bake them straight from the fridge for about 14-16 minutes, adjusting the time as needed. Rest assured, they will turn out just as delicious and chewy, making your meal planning seamless and satisfying!
Expert Tips for Protein Cookies
Combine Well: Using room-temperature ingredients helps achieve a smooth dough. Ensure they’re thoroughly mixed to avoid crumbly Protein Cookies.
Don’t Overbake: The secret to the perfect chewy texture is to remove the cookies from the oven when the edges are golden, keeping the center soft.
Measure Precise Ingredients: Use a digital scale for accurate measurements. This is especially important when substituting ingredients like different nut butters or sweeteners.
Experiment with Flavors: Don’t hesitate to mix and match protein powder flavors or add-ins such as nuts or chocolate chips to keep things exciting.
Storing Tips: For best freshness, store your Protein Cookies in an airtight container in the fridge and enjoy them within a week.
Protein Cookies Recipe FAQs
How do I choose the right peanut butter for these cookies?
Absolutely! Look for natural peanut butter without added sugars or hydrogenated oils for the best flavor. If you have allergies, almond butter or sunflower seed butter will work beautifully as substitutes.
How should I store my Protein Cookies for freshness?
To keep your Protein Cookies chewy for up to one week, store them in an airtight container in the refrigerator. If you prefer them at room temperature, just be sure to enjoy them within 3 to 4 days to maintain their best quality.
Can I freeze Protein Cookies, and if so, how?
Yes, you can freeze your Protein Cookies! After they cool, place them on a baking sheet in a single layer and freeze until solid, which usually takes about 1-2 hours. Then, transfer them to a zip-top bag where they can last up to three months. When you’re ready, simply thaw them in the fridge or microwave them for a warm treat!
What if my cookies turn out crumbly? What did I do wrong?
Very! Crumbly cookies can often be attributed to under-mixing the dough or not having enough binding ingredient. Make sure to mix all components thoroughly until well combined. If you still encounter difficulties, adding a touch more peanut butter or an extra egg could help the cookies stick together better.
Are Protein Cookies suitable for my dog?
While the ingredients in Protein Cookies are generally safe for human consumption, it’s best to keep them away from your furry friends. Ingredients like protein powder and sweeteners may not be suitable for pets. If you want to treat your dog, consider creating a pup-friendly version without added sugar or chocolate.
Can I customize the protein powder flavor, and how does that affect the cookies?
Absolutely! You can use any flavor of protein powder you enjoy, and it will significantly impact the cookie’s taste. Chocolate protein powder adds a rich, decadent flavor, while vanilla powder gives a subtle sweetness. Just keep the overall proportions the same for a successful batch!
Chewy Protein Cookies You'll Crave – Guilt-Free Indulgence
Ingredients
Equipment
Method
- Preheat your oven to 180°C (350°F) and line a baking sheet with parchment paper.
- In a mixing bowl, combine peanut butter, brown sugar substitute, egg, and vanilla protein powder until smooth.
- Form the dough into 12 equal balls, place them on the baking sheet, and flatten them slightly.
- Bake in the preheated oven for 12-14 minutes, looking for golden brown edges.
- Let them cool on the baking sheet for about 10 minutes before transferring to a wire rack.
Leave a Reply