
The aroma of warm bread wafted through my kitchen, instantly transporting me to bustling Mediterranean markets. Today, I’m thrilled to share my recipe for Gluten Free Pita Bread, a scrumptious homemade option that rivals anything you’d find at the store. Not only does it deliver a beautifully soft and chewy texture, but it’s also incredibly quick to whip up with just a handful of simple ingredients. Whether you’re shaping it into wraps for lunch or serving it warm alongside savory dips, this easy recipe is the perfect solution for those craving something wholesome and satisfying without the fuss. Curious how to achieve that ideal puff and flavor in every bite? Let’s dive into making this delightful bread together!
Why is This Gluten Free Pita Bread Special?
Homemade Delight: There’s something rewarding about making your own bread, and this easy gluten free pita bread brings joy to your kitchen. Quick Preparation: With minimal ingredients and a simple method, you can go from dough to delicious pita in under an hour. Perfect Texture: These pitas are soft, chewy, and puff up beautifully—a texture that store-bought gluten free breads often lack. Versatile Use: Great for wraps, sandwiches, or serving with dips like hummus or tzatziki, just like you would with Pumpkin Bread Buttery. Crowd-Pleasing: Whether you’re hosting a dinner party or just enjoying a meal at home, these pitas are sure to impress everyone at the table. Wholesome Ingredients: Made with gluten-free all-purpose flour and wholesome fats, plus you can store leftovers easily for later enjoyment!
Gluten Free Pita Bread Ingredients
• Here’s what you’ll need to create your soft and fluffy gluten free pita bread.
For the Dough
- Gluten Free All-Purpose Flour – Ensures a sturdy base for your pita; opt for a high-quality blend for the best results.
- Baking Powder – This key ingredient helps the pitas puff up perfectly; don’t skimp for optimal rise.
- Salt – A crucial flavor enhancer that balances the sweetness in the bread; essential for deliciousness.
- Olive Oil – Adds richness and moisture to the dough; can be swapped with any neutral oil if desired.
- Warm Water – Binds the mixture and activates the baking powder; using warm water aids in achieving the right dough consistency.
These simple yet essential ingredients come together to create an irresistible gluten free pita bread that you’ll love!
Step‑by‑Step Instructions for Gluten Free Pita Bread
Step 1: Preheat and Prepare
Begin by preheating your oven to a sizzling 450°F (230°C). This temperature is crucial for ensuring your gluten free pita bread puffs up beautifully. While the oven heats, gather a large mixing bowl and your kitchen whisk to prepare for combining the dry ingredients.
Step 2: Mix Dry Ingredients
In the large bowl, combine gluten free all-purpose flour, baking powder, and salt. Use your whisk to mix these dry ingredients thoroughly, ensuring an even distribution of the baking powder. This step aerates the flour and sets a solid foundation for your pitas, creating a fluffy and tender texture once baked.
Step 3: Add Wet Ingredients
Drizzle in the olive oil and warm water into your flour mixture. Stir gently with a spatula or wooden spoon until a shaggy dough begins to form. This should take just a minute or two as you incorporate all the ingredients to create a cohesive mixture that holds together without being sticky.
Step 4: Knead the Dough
Turn the shaggy dough out onto a lightly floured surface. Knead gently for about 2-3 minutes until the dough becomes smooth and elastic. Be careful not to over-knead, as we want to maintain the softness of the gluten free pita bread. The dough should feel soft yet pliable—just perfect for shaping.
Step 5: Shape the Pitas
Divide the dough into four equal pieces. Roll each piece into a ball and then flatten it into a circle approximately ¼ inch thick. Aim for uniform thickness to ensure even cooking. As you shape your gluten free pita bread, feel the soft elasticity of the dough, which will help it puff beautifully in the oven.
Step 6: Arrange for Baking
Place the rolled circles of dough onto a baking sheet lined with parchment paper. Make sure to space them out adequately—this allows the gluten free pitas room to puff up as they bake. Keep a close eye on their arrangement; this will ensure that they won’t stick together during baking.
Step 7: Bake to Perfection
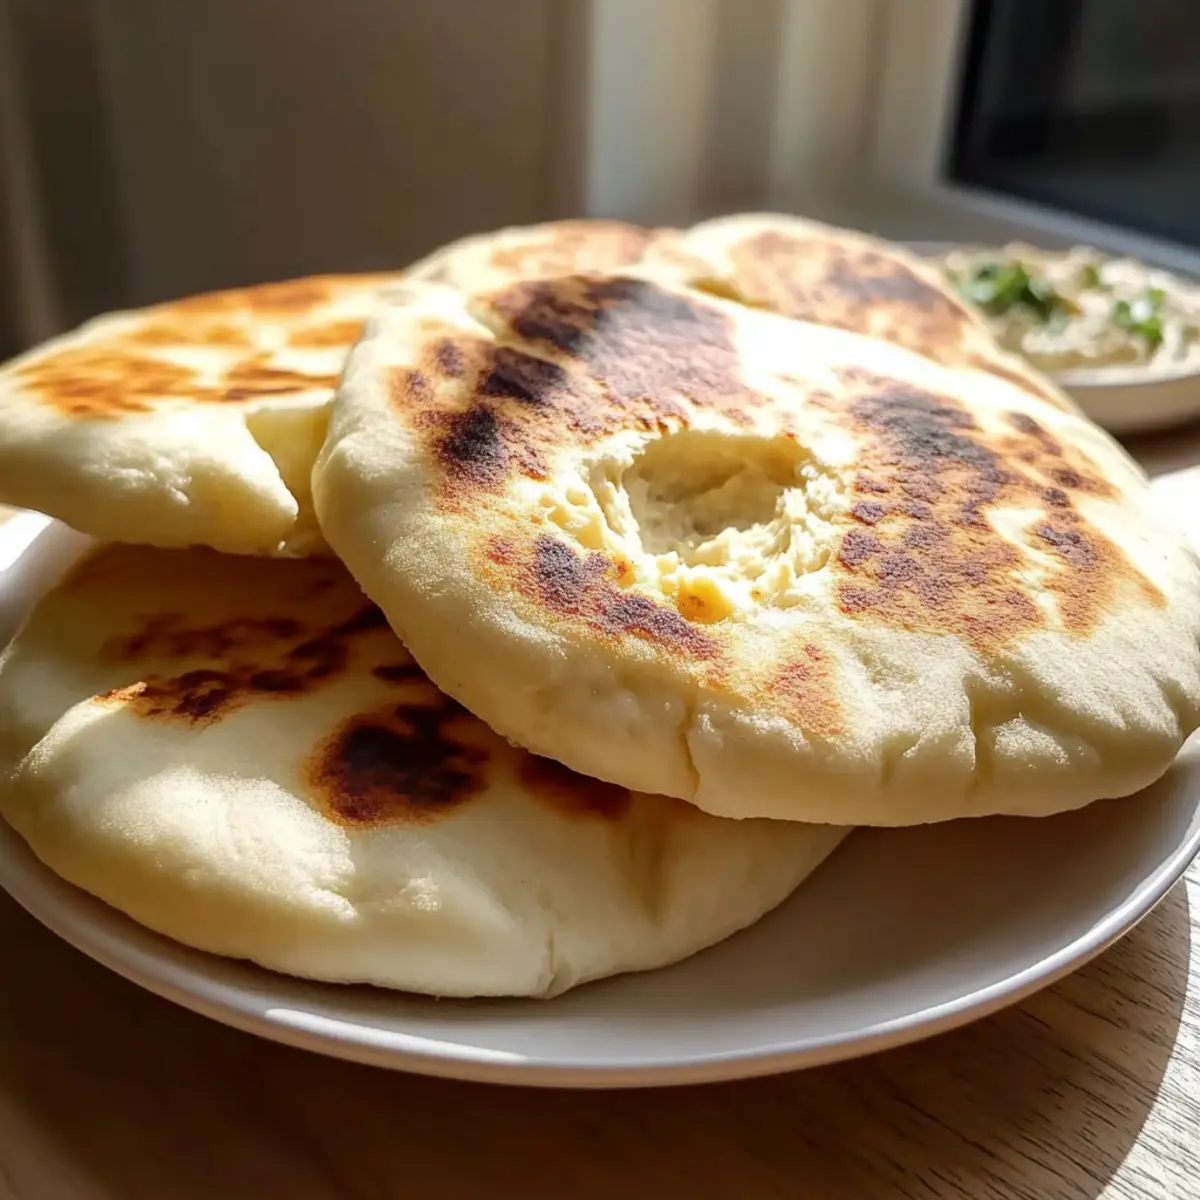
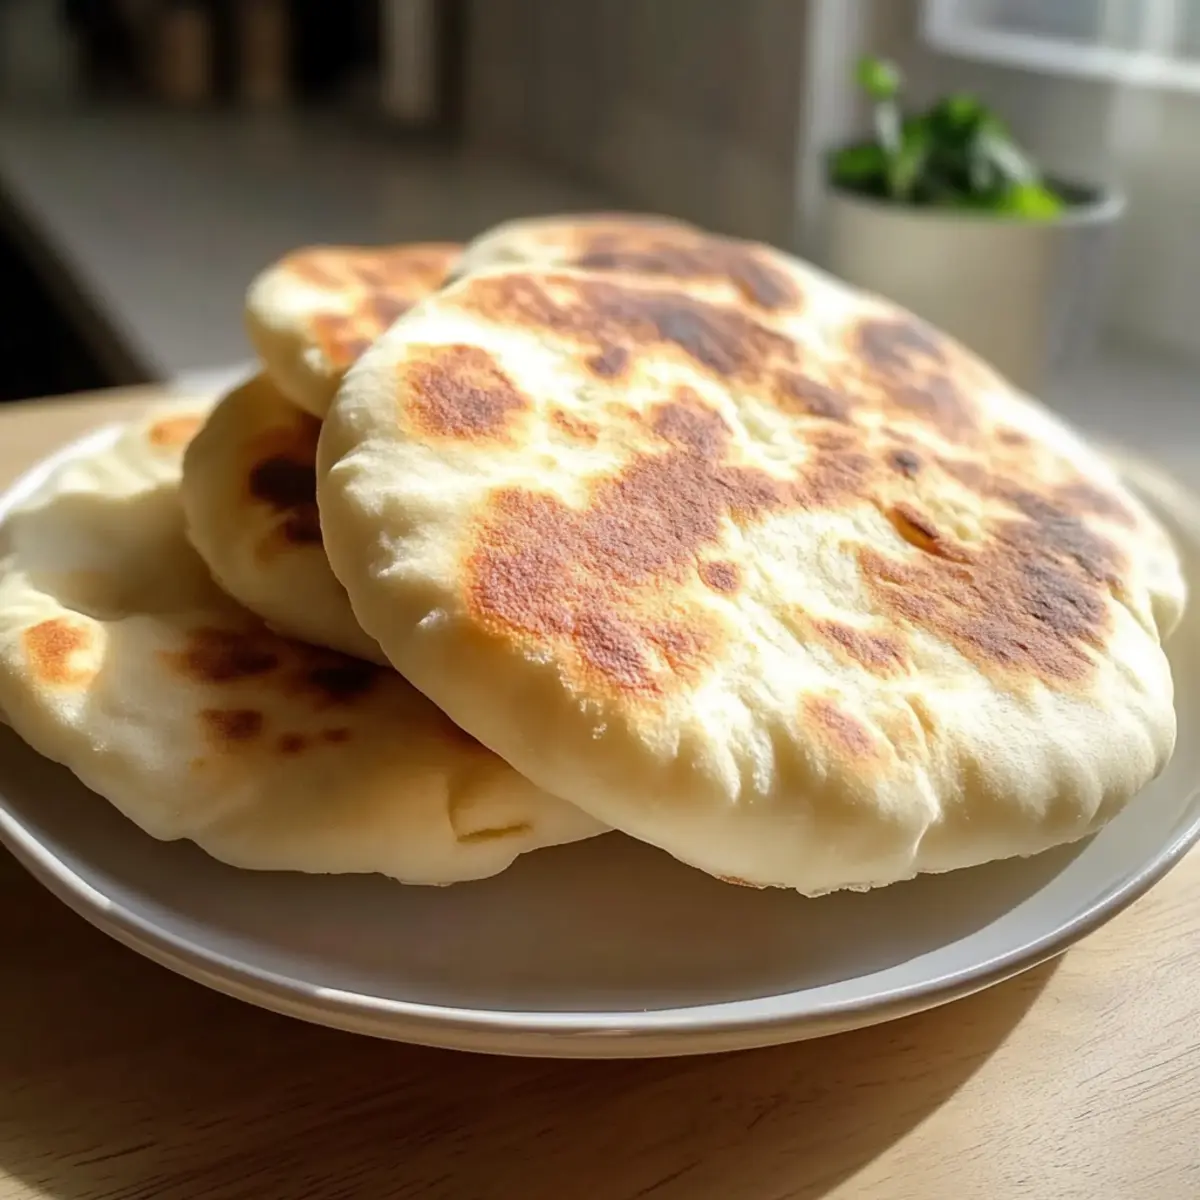
Slide the baking sheet into your preheated oven and bake for 5-7 minutes. Watch for the gluten free pita bread to puff up and turn a light golden brown. It’s essential to monitor closely during this time, as you want them to rise beautifully without burning.
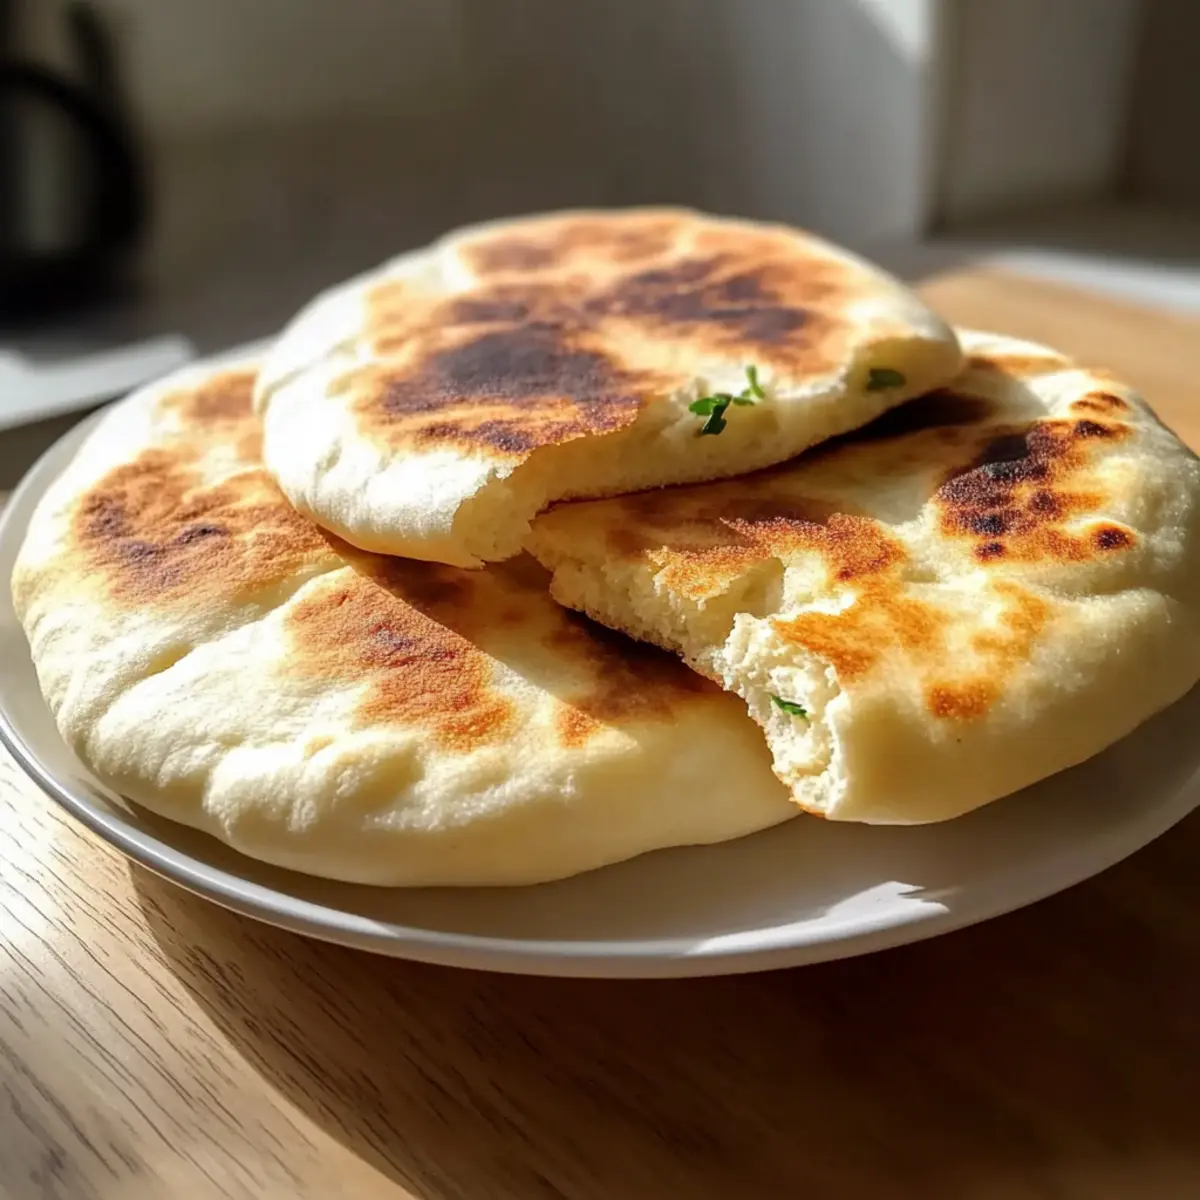
Step 8: Cool and Serve
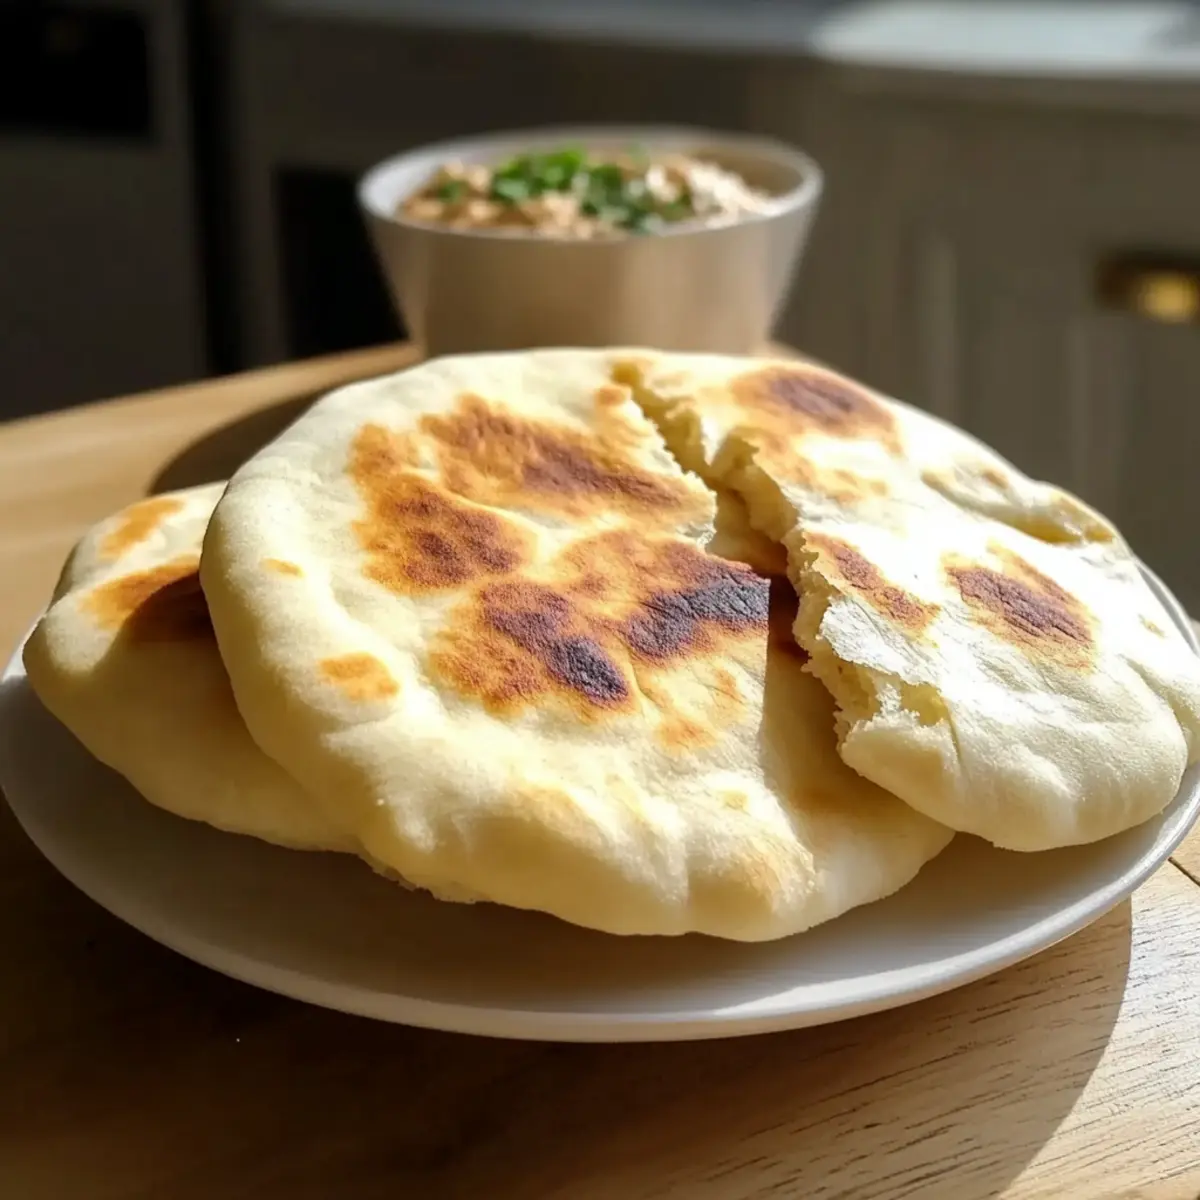
Once puffed and lightly golden, remove the pitas from the oven and let them cool slightly on a wire rack. This cooling is crucial as it allows the texture to set perfectly. Serve these delightful, warm gluten free pita breads alongside hummus, tzatziki, or as wraps filled with your favorite ingredients.
Make Ahead Options
These Gluten Free Pita Breads are perfect for meal prep enthusiasts! You can prepare the dough up to 24 hours in advance, storing it wrapped tightly in plastic wrap in the refrigerator. This keeps it fresh and ready to roll at a moment’s notice. When you’re ready to finish, simply take the dough out, allow it to sit at room temperature for about 30 minutes to ensure it’s pliable, then divide, shape, and bake as instructed. To maintain the softness of the pitas, avoid overworking the dough during shaping. With these make-ahead tips, you’ll enjoy quick, delicious meals without the last-minute scramble!
Storage Tips for Gluten Free Pita Bread
- Room Temperature: Store leftover pitas in an airtight container at room temperature for up to 2-3 days to maintain their soft texture and prevent them from drying out.
- Freezer: Freeze pitas by wrapping them tightly in plastic wrap, then placing them in a freezer bag. They can be stored for up to 3 months; this method keeps them fresh for your next craving.
- Reheating: To reheat, simply warm the pitas in a preheated oven at 350°F (175°C) for about 5-10 minutes, or until heated through. This revives their soft and chewy quality, making them perfect for wraps or dips!
- Thawing: When ready to use frozen gluten free pita bread, let them thaw in the fridge overnight or at room temperature for a few hours before reheating.
What to Serve with Easy Gluten Free Pita Bread
Indulging in warm, fluffy homemade pita bread opens the door to creating a delightful and satisfying meal experience.
-
Hummus: This creamy, flavorful dip pairs perfectly with pita, making each bite incredibly satisfying and nutritious. The smoothness of hummus beautifully complements the chewy texture of the bread.
-
Tzatziki Sauce: A refreshing cucumber yogurt sauce that adds a cool contrast to the warm pita. Its bright flavors elevate your meal, especially when serving grilled meats or veggies.
-
Grilled Vegetables: Marinated bell peppers, zucchini, and eggplant lend a lovely smoky flavor and a burst of freshness to your meal. Their vibrant colors make the plate visually inviting.
-
Shawarma or Grilled Chicken: Wrap tender slices of seasoned meat in your pita for a succulent sandwich. The juicy flavors of the protein balance the bread’s soft chewiness, creating a delicious bite every time.
-
Mediterranean Salad: A refreshing mix of cucumber, tomatoes, olives, and feta provides a bright and healthy side that complements pita’s hearty texture. The crisp veggies add essential crunch and flavor.
-
Olive Tapenade: This savory spread enhances the Mediterranean flair of your meal. Spread it on your pita for an added layer of richness infused with briny olive goodness.
-
Spiced Lentil Soup: Serve a warm bowl of spiced lentil soup alongside your pita for a comforting touch. The soft bread is perfect for dipping into the hearty, aromatic broth.
-
Mint Lemonade: A chilled, minty lemonade can refresh your palate and balance the savory elements of the meal. Its citrus notes are a delightful pairing alongside warm dishes.
-
Baklava: For dessert, consider a sweet bite of baklava. The layers of flaky pastry, nuts, and honey are a perfect sweet contrast to the savory pita, bringing your meal to a glorious close.
Expert Tips for Gluten Free Pita Bread
- Preheat Properly: Ensure your oven is fully preheated to 450°F (230°C) before baking; this is essential for achieving that perfect puff and soft texture.
- Measure Flour Correctly: Use the spoon and level method for gluten free flour to avoid adding too much, which can make your dough dense.
- Avoid Overworking: Be gentle while kneading; 2-3 minutes is sufficient. Over-kneading can make your gluten free pita bread tough instead of soft.
- Watch the Bake Time: Keep a close watch while baking; every oven is different. Remove the pitas when they are puffed and lightly golden to prevent burning.
- Use Quality Ingredients: Choosing a high-quality gluten free all-purpose flour blend is key for the best flavor and texture in your pitas.
Gluten Free Pita Bread Variations
Feel free to unleash your creativity and customize your gluten free pita bread experience with these delightful variations!
-
Flavored Pitas: Add herbs like rosemary or thyme to your dough for an aromatic twist. These savory notes elevate your pita and make them perfect for dipping.
-
Spicy Kick: Incorporate a pinch of cayenne pepper or some finely chopped jalapeños into the dough. This adds warmth and a zing that pairs beautifully with dips, especially spicy hummus.
-
Cheesy Delight: Mix in grated cheese such as mozzarella or cheddar to the dough. This transforms your pitas into cheesy wonders that will pair great with any savory filling.
-
Nutty Flavor: Swap a quarter of the gluten free flour with almond flour for a nutty taste and texture. This change not only enhances flavor but also adds a bit of healthy fat.
-
Sesame Seeds: Before baking, sprinkle sesame seeds on top of each pita for added crunch and a flavorful finish. It gives your bread a delightful nutty aroma that’s hard to resist.
-
Grainy Texture: Use a mix of gluten free flours such as chickpea and brown rice flour for added depth in flavor and texture. The variety makes each bite interesting and satisfying.
-
Sweet Variation: Add a tablespoon of honey or agave syrup to the mix for a touch of sweetness. These pitas can become delightful wraps for roasted vegetables drizzled with balsamic glaze.
-
Dipped Delight: Serve your pitas alongside a unique dip like spinach artichoke or roasted red pepper dip, making it a star attraction at your next gathering, reminiscent of my Roll Banana Bread concept that pairs beautifully with spreads.
Try these variations the next time you whip up your gluten free pita bread, and discover exciting new flavors perfect for any meal!
Gluten Free Pita Bread Recipe FAQs
How do I select the best gluten free flour for my pita bread?
Absolutely! When choosing gluten free all-purpose flour, look for a blend that contains xanthan gum, as this helps provide structure and elasticity to the dough. Brands like Bob’s Red Mill or King Arthur Gluten-Free Measure for Measure flour work wonderfully for this recipe. Always check the package to ensure it’s fresh and not past its expiration date.
What’s the best way to store leftover gluten free pita bread?
After enjoying your homemade pita bread, store any leftovers in an airtight container at room temperature for up to 2-3 days. If you want to keep them longer, wrap the pitas in plastic wrap and place them inside a freezer bag. This way, they can last for up to 3 months in the freezer without losing their delightful softness!
Can I freeze gluten free pita bread?
Definitely! To freeze your pitas, wrap each one tightly in plastic wrap and place them in a freezer-safe bag. When you’re ready to enjoy them, simply thaw the pitas in the refrigerator overnight or at room temperature for a few hours, then reheat them in a preheated oven at 350°F (175°C) for about 5-10 minutes. This keeps them soft and perfect for serving!
What should I do if my pita bread doesn’t puff up while baking?
Very common! If your pitas don’t puff up, it might be due to the oven temperature not being hot enough or if the dough was overworked during kneading. Make sure to always preheat your oven thoroughly to 450°F (230°C) and keep an eye on the baking time—aim for around 5-7 minutes. If you notice they still won’t puff, consider ensuring that your baking powder is fresh before starting again!
Are these pitas suitable for people with specific dietary considerations, such as allergies?
Absolutely! This gluten free pita bread recipe is egg-free and dairy-free, making it suitable for vegans. For those with nut allergies, ensure your gluten free all-purpose flour blend is nut-free. If you or your family members are sensitive to any other ingredients, always check the product labels to ensure they meet your dietary needs.
Warm and Fluffy Gluten Free Pita Bread You Can Make at Home
Ingredients
Equipment
Method
- Preheat your oven to 450°F (230°C). Gather a large mixing bowl and a whisk.
- In the bowl, combine the gluten-free flour, baking powder, and salt. Whisk well.
- Add the olive oil and warm water to the dry mixture. Stir until a shaggy dough forms.
- Turn the dough out onto a floured surface and knead gently for 2-3 minutes.
- Divide the dough into four equal pieces. Roll each into a ball and flatten into a circle about ¼ inch thick.
- Place the circles on a baking sheet lined with parchment paper, spaced out.
- Bake in the oven for 5-7 minutes until puffy and golden brown.
- Remove from the oven and let cool slightly on a wire rack before serving.
Leave a Reply