
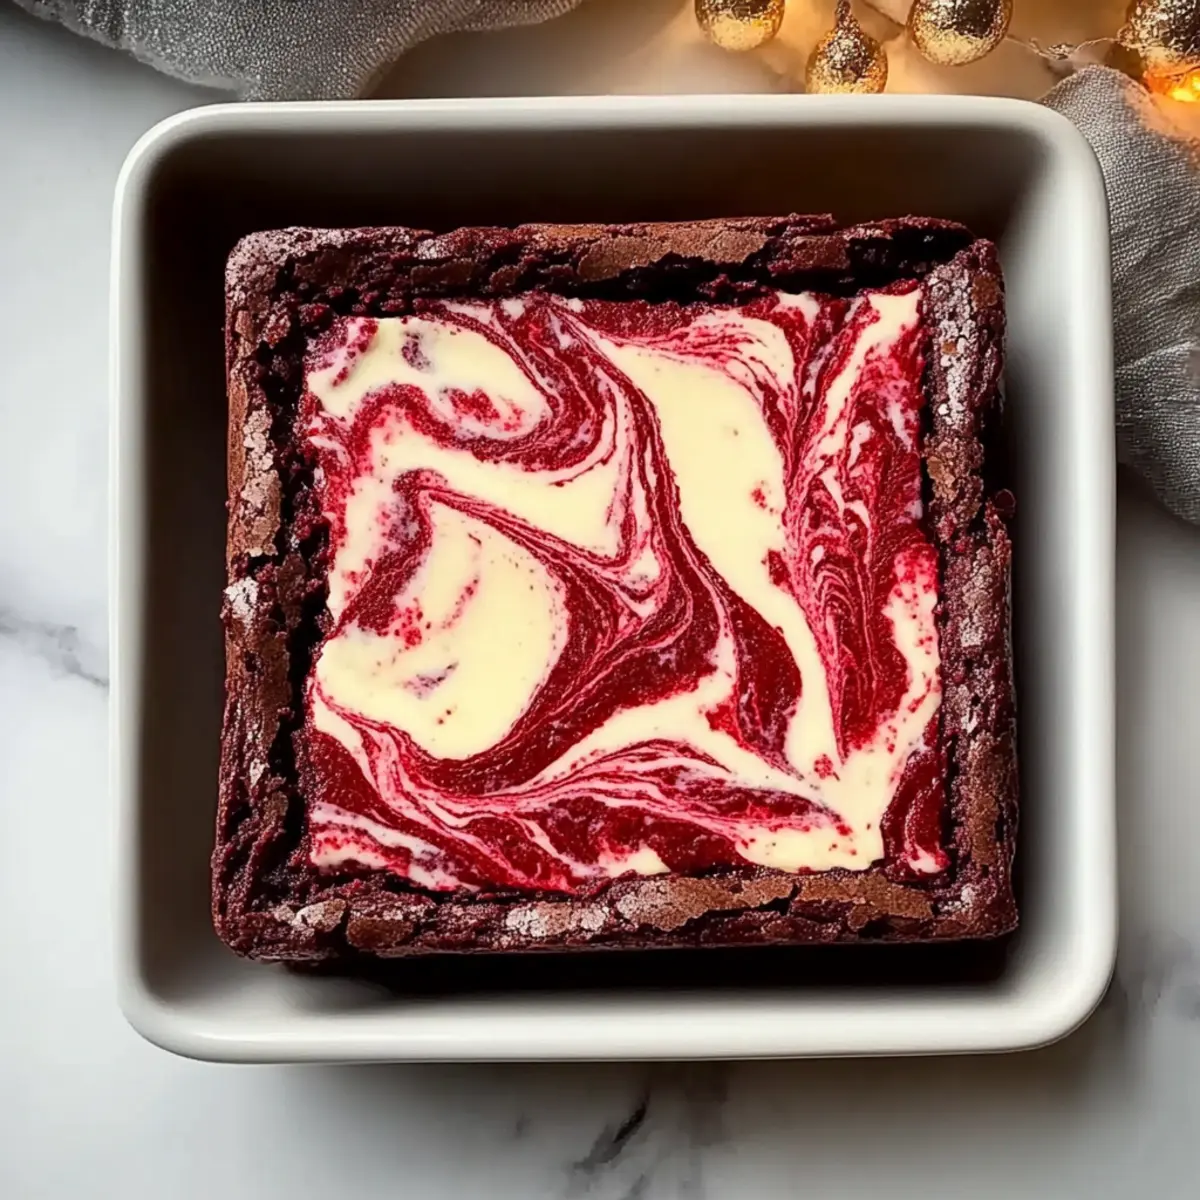
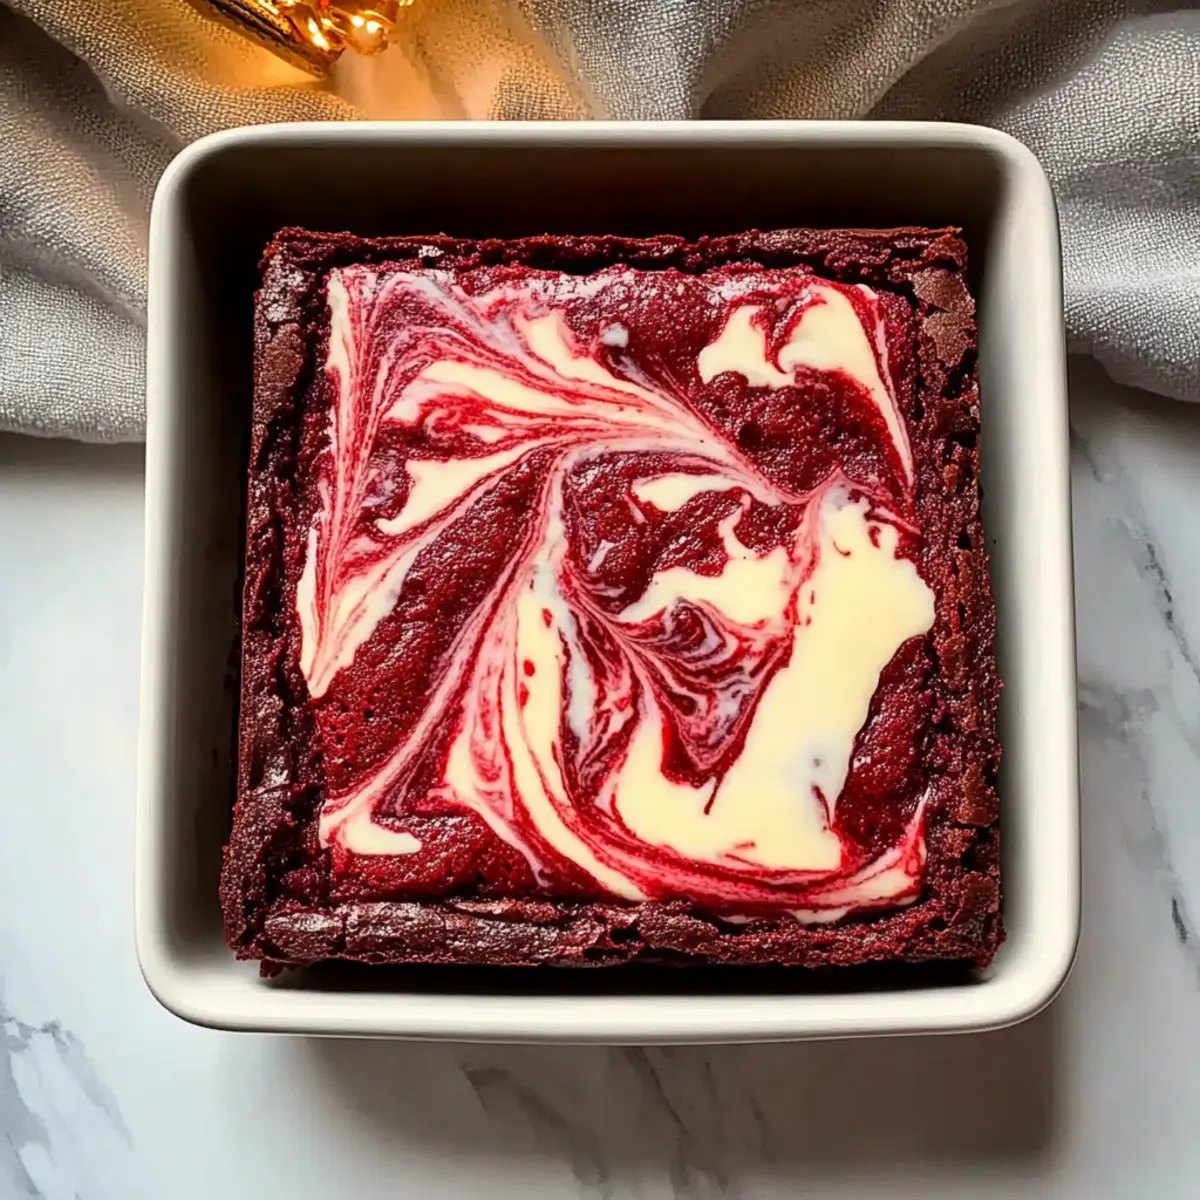
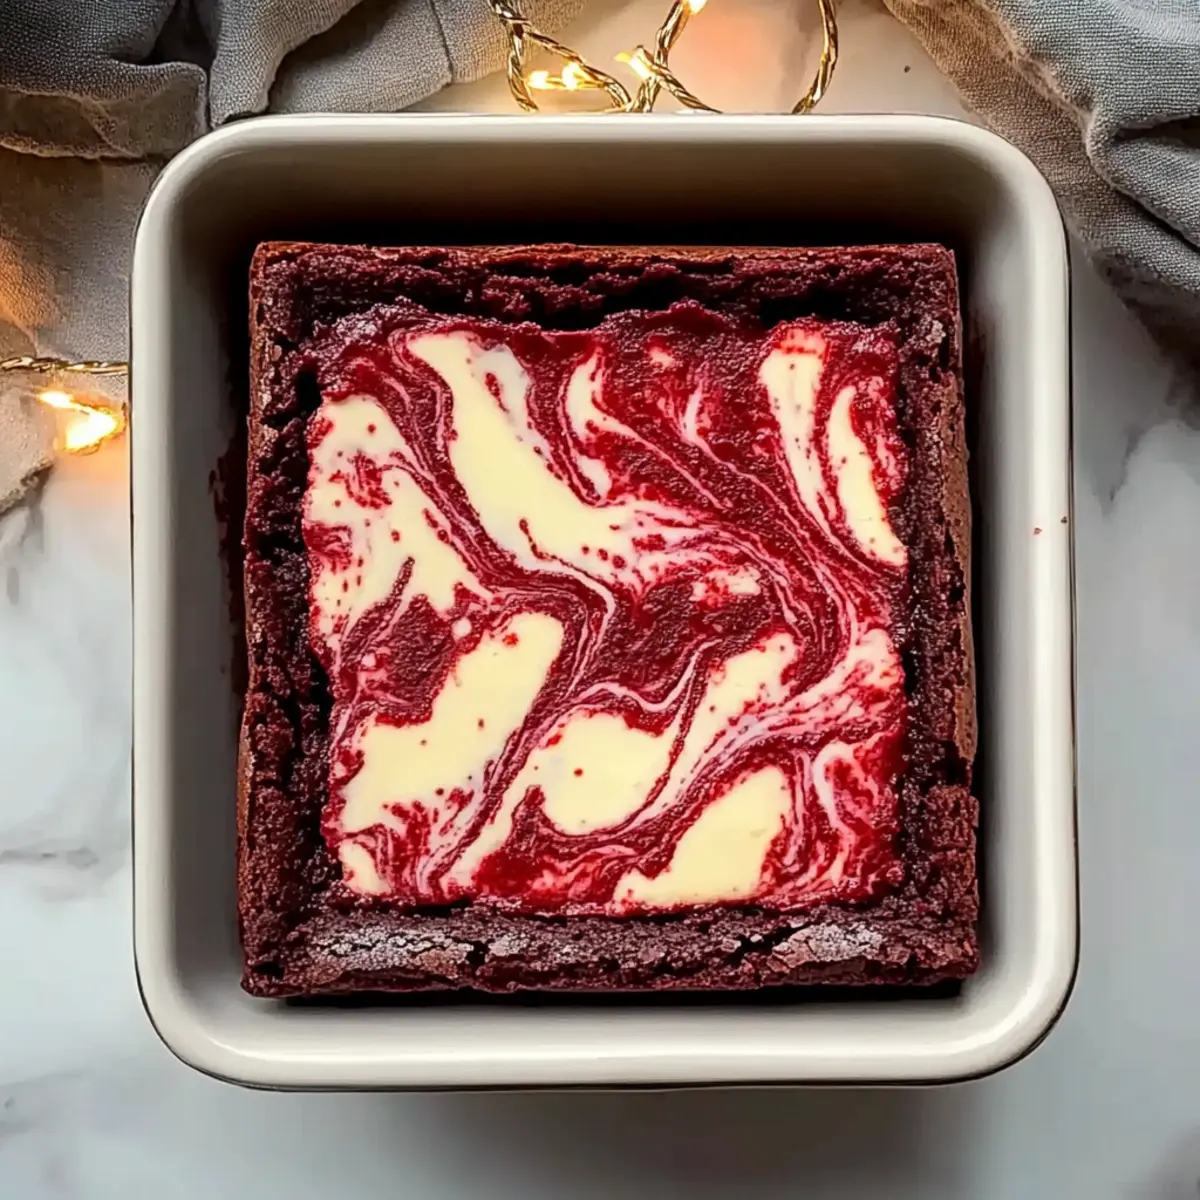
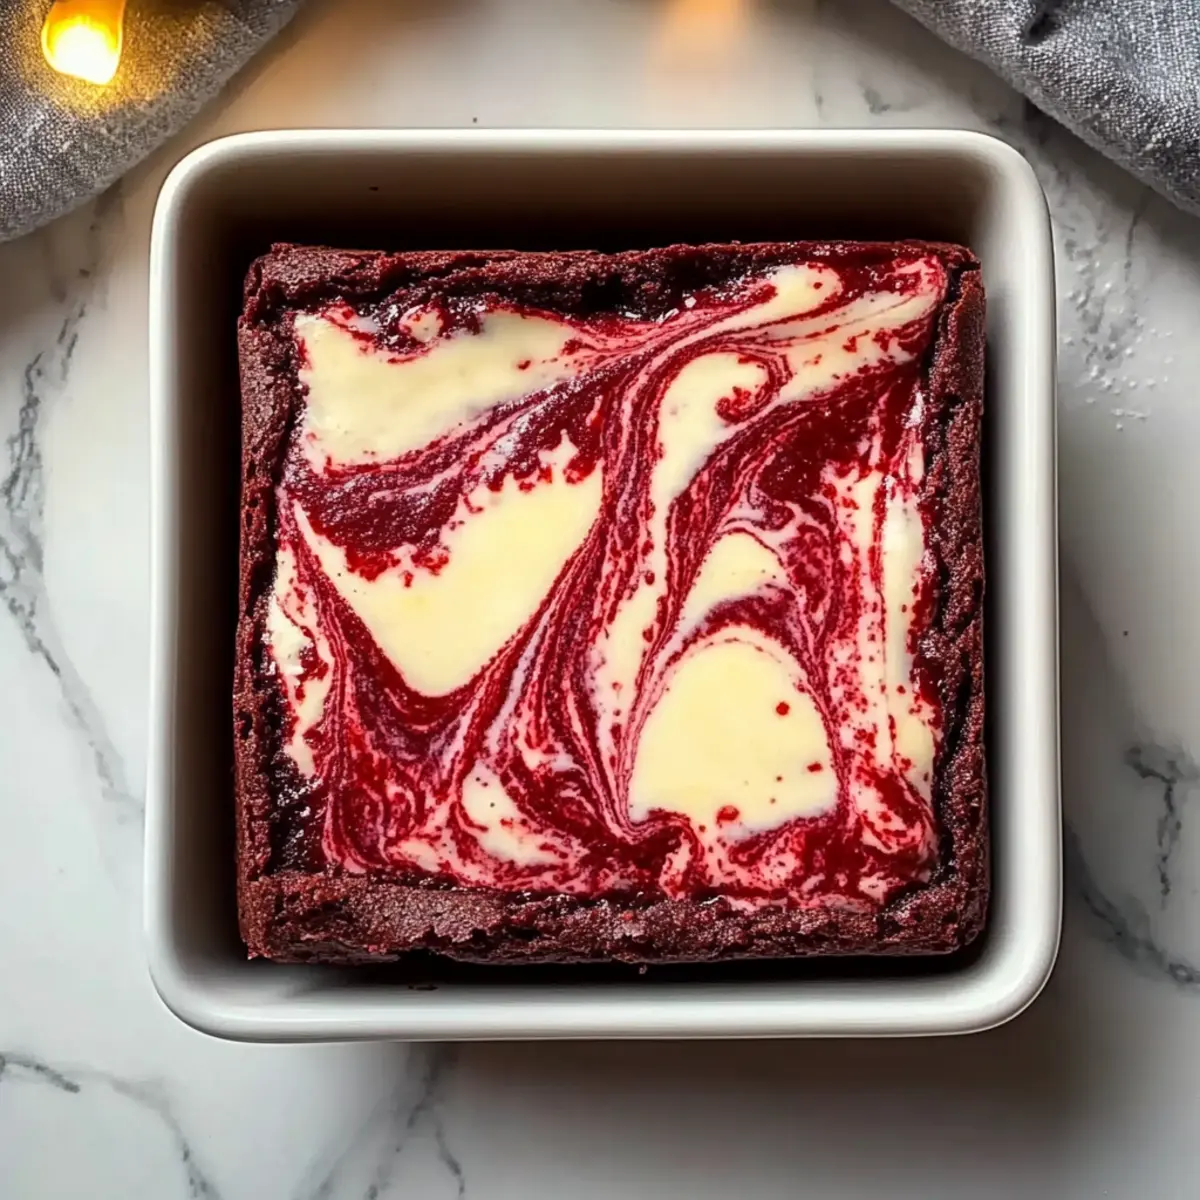
As I stirred the vibrant red batter, I couldn’t help but feel a wave of nostalgia wash over me—these aren’t just any brownies; they’re Classic Red Velvet Brownies with Cheesecake Layer, a recipe that has wowed friends and family for years. The best part? They strike the perfect balance between creamy and fudgy, making them a crowd-pleaser at every gathering, whether it’s a birthday party or a cozy family dinner. Not only are they strikingly beautiful, but they also bring the joy of homemade sweetness without too much fuss. Imagine slicing into that marbled masterpiece, revealing the rich chocolate contrasting beautifully with the tangy cheesecake. Isn’t that a delightful way to share the love for baking? Ready to dive in? Let’s create something magical together!
Why Are These Brownies a Must-Try?
Irresistible Flavor: The marriage of rich cocoa and creamy cheesecake creates a dessert that dances on your palate, giving every bite an exceptional taste experience.
Visually Stunning: Those vibrant red swirls offer a gorgeous presentation, making these brownies perfect for impressing guests at any gathering.
Family-Friendly Fun: Easy to make with simple ingredients, these brownies are a wonderful baking project to enjoy with family—dishing out smiles with every slice.
Versatile Treat: Whether served alone, with a scoop of ice cream, or alongside fresh berries, they adapt effortlessly to your serving style.
Time-Saving Delight: Ready in under an hour, you can whip up these beauties for unexpected visitors or a last-minute dessert craving without breaking a sweat.
Try pairing them with Crockpot Garlic Potatoes for a complete, delightful dinner experience!
Red Velvet Brownies with Cheesecake Layer Ingredients
• Prepare to be amazed by how simple yet delightful these Red Velvet Brownies with Cheesecake Layer are to make!
For the Brownie Base
- Butter – Essential for moisture and richness; use unsalted for better flavor control.
- Sugar – Provides sweetness and helps create a fudgy texture; consider brown sugar for a deeper flavor.
- Vanilla Extract – Enhances the overall flavor profile; opt for pure vanilla for the best results.
- Cocoa Powder – Adds rich chocolate flavor and color; recommended: Hershey’s Special Dark for deeper color.
- Salt – Balances sweetness and enhances overall flavors.
- Red Food Coloring – Gives the brownies their signature red hue; gel color is recommended for vibrancy.
- Vinegar – Activates cocoa flavor, enriching texture and taste.
- Eggs – Provide structure and moisture; ensure they are at room temperature for perfect incorporation.
- All-Purpose Flour – The main structural component of the brownies; mix gently to avoid overmixing.
For the Cheesecake Layer
- Cream Cheese – The star of the cheesecake layer, yielding creaminess and tang; full-fat, brick-style cream cheese is best.
- Cheesecake Sugar – Sweetens the cheesecake layer; adjust to taste for perfect sweetness.
- Cheesecake Eggs – Keeps the cheesecake layer light and airy, contributing to a delicious, smooth texture.
Get ready to create an unforgettable treat that everyone will love!
Step‑by‑Step Instructions for Red Velvet Brownies with Cheesecake Layer
Step 1: Preheat the Oven
Begin by preheating your oven to 375°F (190°C). While the oven warms up, grease an 8×8 inch baking dish with butter or non-stick spray, ensuring it’s completely coated to prevent sticking. This will give your decadent red velvet brownies a perfect, clean edge when they’re done baking.
Step 2: Prepare Brownie Batter
In a medium saucepan over low heat, melt the unsalted butter until it’s completely liquid. Once melted, remove from heat and stir in the sugar, vanilla extract, cocoa powder, salt, red food coloring, and vinegar until well combined. Incorporate the eggs one at a time, mixing until fully mixed, then gently fold in the all-purpose flour, being careful not to overmix. Reserve about 1/4 cup of this rich brownie batter for later.
Step 3: Layer Brownie Base
Pour approximately three-quarters of the brownie batter into the greased baking dish, using a spatula to spread it evenly across the bottom. This layer will create a fudgy base, so take care to push the batter into the corners and sides of the dish, ensuring a solid foundation for the cheesecake layer that will follow.
Step 4: Prepare Cheesecake Layer
In a mixing bowl, beat the cream cheese with the sugar until smooth and creamy, ensuring there are no lumps. Then, mix in the egg and a splash of vanilla extract until completely incorporated. This mixture will create the tangy and creamy cheesecake layer that beautifully complements the chocolatey brownies.
Step 5: Spread Cheesecake Layer
Once your cheesecake mixture is ready, pour it over the brownie base that’s already in the baking dish. Use a spatula to gently spread it, ensuring an even layer across the surface. This luscious cheesecake layer will add a delightful creaminess to your Red Velvet Brownies with Cheesecake Layer.
Step 6: Swirl Top Layer
Spoon dollops of the reserved brownie batter over the cheesecake layer. Take a knife or a toothpick and gently swirl it through the layers, creating a marbled effect. Be careful not to over-swish, as you want to maintain contrast between the luscious cream cheese and the rich brownie batter.
Step 7: Bake
Place the prepared baking dish in the oven and bake for 30-35 minutes. You’ll know the brownies are done when the edges look set and the center has a slight jiggle. Avoid overbaking; the center will firm up as it cools, ensuring a gooey, fudgy treat.
Step 8: Cool and Slice
Once baked, remove the brownies from the oven and let them cool in the pan on a wire rack for 1-2 hours at room temperature. For cleaner slices, refrigerate the brownies for an hour before cutting into squares. This will help maintain the beautiful marbled design of your Red Velvet Brownies with Cheesecake Layer.
What to Serve With Classic Red Velvet Brownies with Cheesecake Layer
Looking to complement the joy of these rich and creamy brownies with a full meal experience?
- Vanilla Ice Cream: A dollop of creamy vanilla ice cream adds a delightful contrast that enhances the brownie’s rich texture and cocoa flavor.
- Fresh Berries: Serve with strawberries or raspberries for a pop of freshness that beautifully balances the sweetness of the brownies.
- Chocolate Drizzle: A simple chocolate drizzle elevates their presentation and adds an extra layer of indulgence. Just melt some dark chocolate for a quick topping!
- Coffee or Espresso: Pairing these brownies with a warm cup of coffee or a shot of espresso intensifies the chocolate flavors, creating a perfect match.
- Caramel Sauce: A drizzle of warm caramel sauce brings a whole new dimension of flavor, enriching the overall experience and adding contrasting sweetness.
- Mint Chocolate Chip Ice Cream: This refreshing flavor plays well with the chocolate and creamy notes, providing a cool, delightful finish to the dessert.
- Lemonade: The zesty brightness of lemonade can cut through the richness, offering a lively contrast that will awaken your taste buds.
- Chocolate Milkshake: Indulge in a thick chocolate milkshake for a nostalgic treat that pairs phenomenally with the rich brownie flavors.
- Peanut Butter Cup Milkshake: Blending the flavors of chocolate and peanut butter delivers a rich and creamy accompaniment that brownie lovers will adore.
Make Ahead Options
These Red Velvet Brownies with Cheesecake Layer are a fantastic choice for meal prep, allowing you to enjoy homemade decadence with ease! You can prepare the brownie batter and the cheesecake layer up to 24 hours in advance. Simply mix the brownie batter and store it in an airtight container in the fridge, while the cheesecake mixture can also be made and refrigerated separately. When ready to bake, simply layer the brownie base and cheesecake mixture, swirl the reserved batter on top, and bake as instructed. To maintain the rich texture and flavor, ensure all components are tightly covered to avoid drying out. Enjoy the convenience of these make-ahead brownies for a delightful treat any time!
Storage Tips for Red Velvet Brownies with Cheesecake Layer
Room Temperature: Keep brownies at room temperature in an airtight container for up to 3 days to maintain their fudgy texture and deliciousness.
Fridge: For longer storage, refrigerate brownies in a tightly sealed container for up to 5 days. This helps preserve the creamy cheesecake layer and enhances the flavor.
Freezer: Store individual slices wrapped tightly in plastic wrap and then in a freezer-safe bag for up to 3 months. Thaw in the fridge before enjoying for the best texture.
Reheating: To enjoy leftover brownies warm, microwave for 10-15 seconds until just heated through without overheating, which can dry them out. Indulge in the delightful layers of your Red Velvet Brownies with Cheesecake Layer!
Red Velvet Brownies with Cheesecake Layer Variations
Feel free to let your creativity shine by customizing these delicious brownies to suit your taste buds!
- Natural Color: Swap red food coloring for beet juice to get that gorgeous crimson hue naturally, appealing to health-conscious bakers.
- Almond Twist: Add a splash of almond extract in place of vanilla for a fragrant, nutty flavor that will surprise and delight your senses.
- Lemon Zest: Incorporate the zest of one lemon into the cheesecake layer for a refreshing citrus burst that brightens every bite.
- Nutty Delight: Toss in some chopped walnuts or pecans into the brownie batter for an added crunch and extra depth of flavor.
- Spicy Kick: Add a pinch of cayenne pepper or cinnamon for a warm spice note that complements the rich chocolate beautifully.
- Vegan Version: Use flax eggs and replace cream cheese with cashew cream for a plant-based treat that maintains all the lusciousness!
- Minty Freshness: A few drops of peppermint extract in the brownie batter will transform these into tantalizing mint red velvet brownies, perfect for festive occasions.
- Mascarpone Layer: Swap cream cheese for mascarpone for a richer, creamier cheesecake layer that elevates the dessert even more.
Remember, like these delightful brownies, baking is all about experimenting and having fun. While you’re at it, consider trying out these tempting Apple Cider Cheesecake or Churro Cheesecake Indulge recipes for your next sweet adventure!
Expert Tips for Red Velvet Brownies with Cheesecake Layer
-
Temperature Matters: Ensure your eggs and cream cheese are at room temperature. This helps them integrate smoothly into the batter, avoiding lumps in your cheesecake layer.
-
Don’t Overmix: When combining the brownie batter and flour, mix just until combined. Overmixing can lead to tough brownies instead of the desired fudgy texture.
-
Perfectly Swirled: Use a toothpick or knife to create gentle swirls, but avoid over-swirling. You want to showcase those beautiful layers of Red Velvet Brownies with Cheesecake Layer!
-
Watch the Bake Time: Every oven is different, so start checking your brownies at 30 minutes. They should have a slight jiggle in the center when done, firming up as they cool.
-
Cooling Time: Be patient! Allowing the brownies to cool completely before slicing ensures cleaner cuts and keeps the marbled design intact.
Red Velvet Brownies with Cheesecake Layer Recipe FAQs
How do I choose the right cocoa powder for my brownies?
Absolutely! For a rich and deep chocolate flavor, I highly recommend using Hershey’s Special Dark cocoa powder. This type offers a more intense flavor and adds to the brownies’ stunning color. If you prefer a milder taste, regular unsweetened cocoa powder works just fine as well!
What’s the best way to store leftover brownies?
Very good question! Keep your Red Velvet Brownies with Cheesecake Layer tightly covered in the fridge, where they can last up to 5 days. I often wrap them individually to maintain their fudgy texture and prevent any refrigerator odors from seeping in.
Can I freeze these brownies? How?
Absolutely! To freeze your brownies, first, let them cool completely. Then, cut them into squares and wrap each piece tightly in plastic wrap. Place the wrapped brownies in a freezer-safe bag or container, and they will stay fresh for up to 3 months. When you’re ready to enjoy them, simply thaw in the fridge overnight for the best texture.
What should I do if my brownie batter is too thick?
If your brownie batter seems too thick, it could be that your butter wasn’t melted completely or your flour was over-measured. You can add a splash of milk or water to achieve the desired consistency. Just mix gently until combined—overmixing can lead to a tougher texture!
Are these brownies safe for everyone to eat?
Great question! These Red Velvet Brownies with Cheesecake Layer contain common allergens such as eggs, gluten (from the all-purpose flour), and dairy (from the cream cheese). If you’re baking for someone with allergies, you might consider substituting egg replacers and gluten-free flour alternatives. Always check ingredient labels to ensure safe choices!
Why is my cheesecake layer lumpy?
This commonly happens if the cream cheese isn’t softened properly. For a smooth texture, remember to let your cream cheese sit at room temperature for at least 30 minutes before mixing. This step is incredibly crucial to avoid lumps and ensure a creamy cheesecake layer that complements those delightful brownies!
Decadent Red Velvet Brownies with Creamy Cheesecake Layer
Ingredients
Equipment
Method
- Preheat your oven to 375°F (190°C) and grease an 8x8 inch baking dish.
- Melt the unsalted butter in a saucepan over low heat, then remove from heat and stir in sugar, vanilla extract, cocoa powder, salt, red food coloring, and vinegar. Incorporate the eggs one at a time and gently fold in the all-purpose flour.
- Pour three-quarters of the brownie batter into the baking dish, spreading it evenly across the bottom.
- Beat cream cheese with sugar until smooth, then mix in the egg and a splash of vanilla extract.
- Pour the cheesecake mixture over the brownie base and spread it evenly.
- Spoon dollops of the reserved brownie batter over the cheesecake layer and swirl gently to create a marbled effect.
- Bake for 30-35 minutes until the edges look set and the center has a slight jiggle.
- Let the brownies cool in the pan for 1-2 hours, then refrigerate for an hour before slicing.
Leave a Reply