
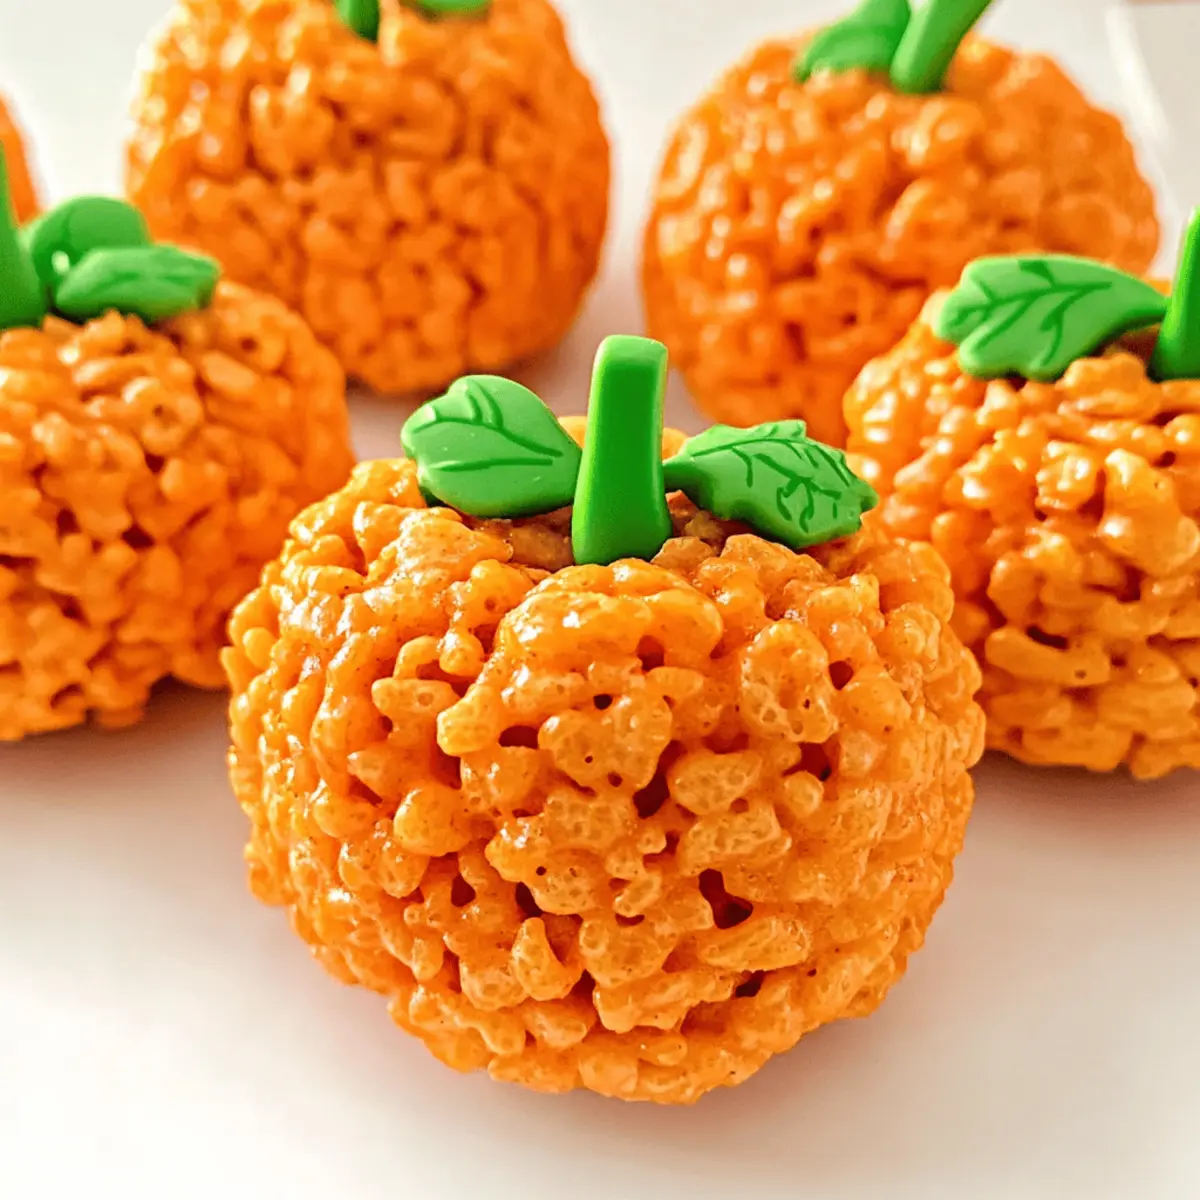
As I stood in my kitchen, the warm scent of melted marshmallows wafted through the air, instantly transporting me to a cozy fall day. I couldn’t help but smile as I reached for the Rice Krispies to create my No-Bake Pumpkin Rice Krispie Treats. These vibrant orange bites are not just fun to make; they offer a delightful way to embrace the Halloween spirit and are a perfect addition to any autumn gathering. With no baking required, you can whip these treats up in no time, making them an effortless crowd-pleaser for kids and adults alike. So, are you ready to transform your kitchen into a pumpkin patch of sweetness? Let’s dive in!
Why Are These Treats So Irresistible?
Deliciously Fun: These Pumpkin Rice Krispie Treats are not only visually adorable but also deliciously fun to make with kids. No-Bake Simplicity: With no baking required, even novice cooks can create these delightful treats effortlessly. Fall Flavor: The vibrant orange color and festive toppings perfectly capture the spirit of autumn, making them irresistible at any gathering. Endless Variations: Feel free to customize your treats with extra goodies like chopped candies or spices for a personal touch. Crowd-Pleasing Appeal: Whether for Halloween or Thanksgiving, these adorable treats are guaranteed to put smiles on faces, making you the star of any fall festivity!
Pumpkin Rice Krispie Treats Ingredients
For the Base
• Rice Krispies Cereal – Provides the essential crunch and structure for your treats.
• Miniature Marshmallows – The secret to sweetness and a gooey texture when melted; vegan marshmallows can also be used.
• Unsalted Butter – Adds richness and helps bind the mixture; substitute with a dairy-free option if desired.
For the Color
• Orange Gel Food Coloring – Gives the treats their vibrant pumpkin color; feel free to opt for natural color alternatives if you prefer.
For Decoration
• Tootsie Roll Candies – Serves as the perfect little stem atop your pumpkin treats; chocolate-covered pretzel sticks can be a fun alternative.
• Green M&M Candies – Adds a pop of color as decorative leaves; chocolate chips or any green candy can also substitute.
These Pumpkin Rice Krispie Treats ingredients are simple yet essential for capturing that fall magic!
Step‑by‑Step Instructions for Pumpkin Rice Krispie Treats
Step 1: Melt the Butter
In a large pot, melt 3 tablespoons of unsalted butter over medium heat, stirring gently until it’s completely liquid. This should take about 2-3 minutes, and you’ll see it turning bubbly. Make sure not to let it brown—this step is key to a rich flavor that will enhance your Pumpkin Rice Krispie Treats.
Step 2: Melt the Marshmallows
Next, add 6 cups of miniature marshmallows to the melted butter, stirring frequently for about 4-5 minutes. Keep an eye on them as you want them to melt completely into a smooth, gooey mixture without any lumps. The sweetness of the marshmallows combined with the butter creates a luscious base for your treats.
Step 3: Add Food Coloring
Once the marshmallows are melted, promptly remove the pot from heat and stir in ½ teaspoon of orange gel food coloring. Mix well until the color is uniform and vibrant, creating that quintessential pumpkin hue. This step brings your Pumpkin Rice Krispie Treats to life, infusing them with the delightful essence of fall.
Step 4: Combine with Rice Krispies
Gently fold in 6 cups of Rice Krispies cereal into the marshmallow mixture until every piece is evenly coated. This should take about 2-3 minutes. You want to see every Rice Krispie glistening orange, forming a cohesive mixture. Be careful not to crush the cereal; we’re after that satisfying crunch in every bite!
Step 5: Shape the Treats
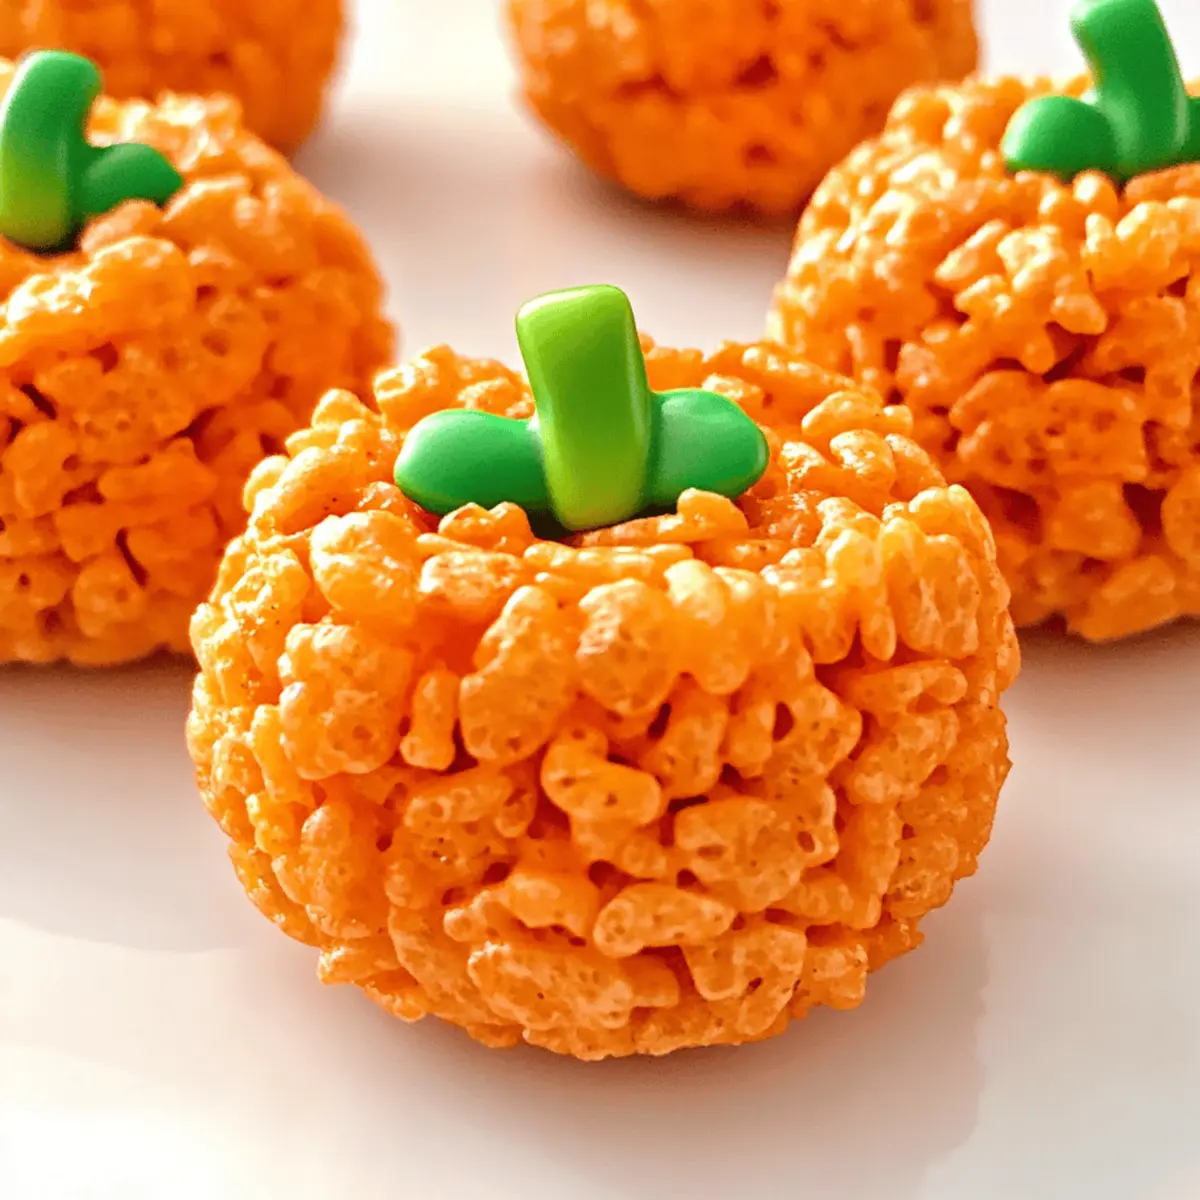
Lightly spray your hands with non-stick cooking spray to prevent sticking and grab small portions of the mixture. Shape them into 10 large balls, about the size of a small orange. It may feel sticky at first, but using the spray will help you form beautifully round Pumpkin Rice Krispie Treats without the mess.
Step 6: Add the Stems
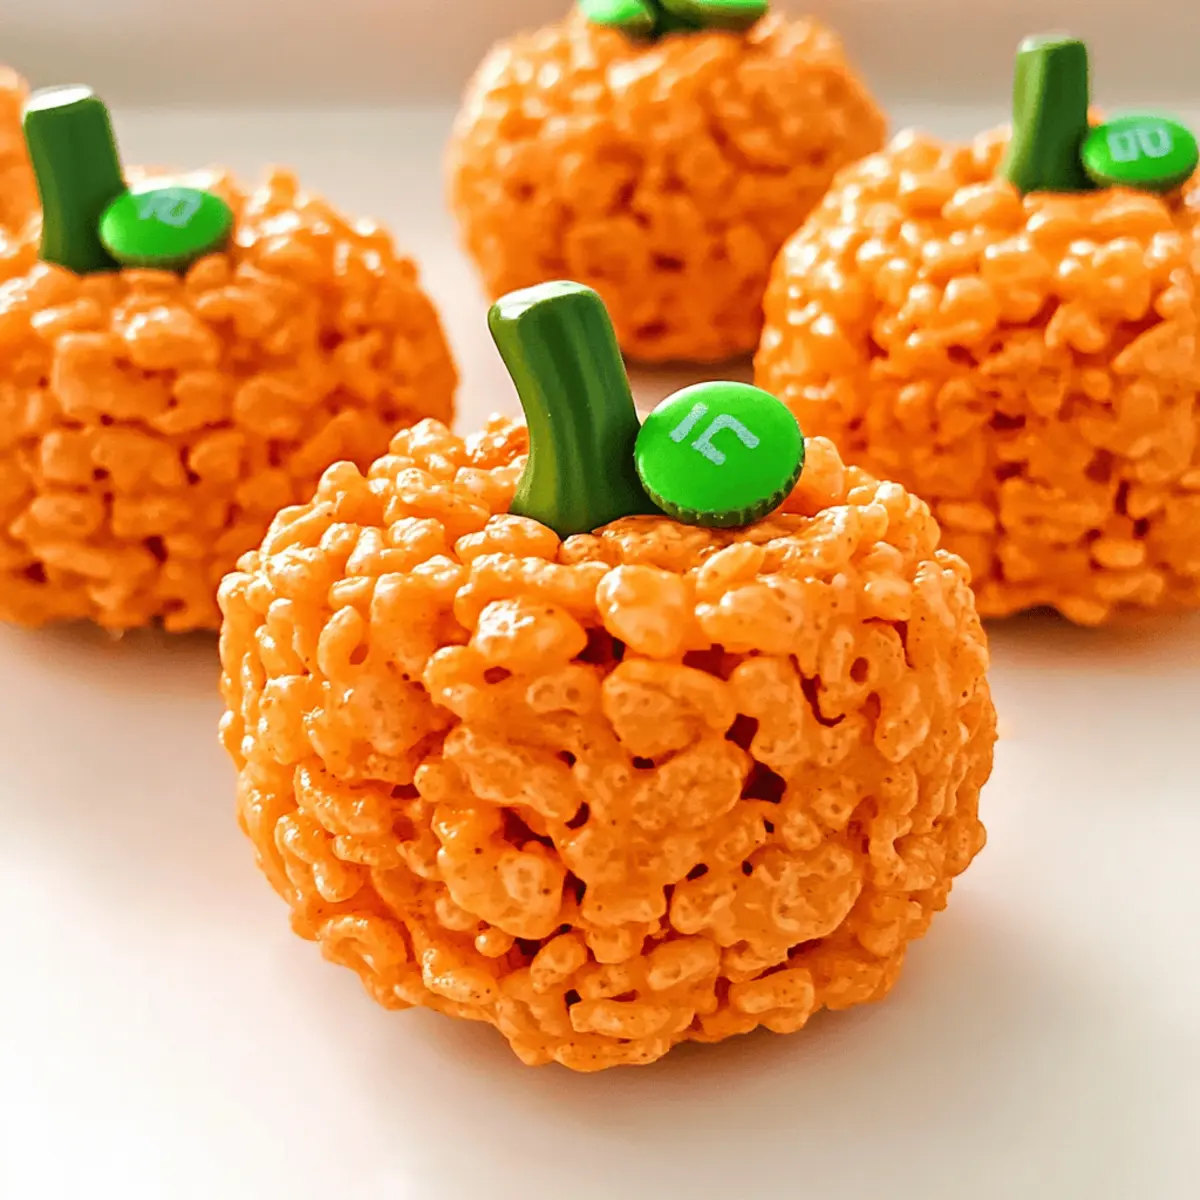
To complete the pumpkin look, insert a Tootsie Roll candy into the center of each ball, creating a cute “stem.” Press down gently but firmly so it stays in place. This playful element adds character to your treats and makes them irresistibly adorable, perfect for any fall celebration!
Step 7: Add the Leaves
Next, press a green M&M onto the top of each ball to serve as a decorative leaf. Make sure each M&M is firmly positioned so it doesn’t topple off. The vibrant green adds a lovely contrast to the orange, enhancing the visual appeal of your Pumpkin Rice Krispie Treats and making them look extra festive.
Step 8: Allow to Set
Finally, let the treats sit at room temperature for about an hour to set properly. This allows the marshmallow mixture to firm up, ensuring each bite is delightful and holds its shape. If you’re eager to taste, you can check for firmness after about 30 minutes, but patience will yield the best results!
What to Serve with Pumpkin Rice Krispie Treats
Indulging in these playful treats opens up a world of delightful pairings to elevate your autumn gatherings.
-
Apple Cider: This warm, spiced beverage complements the sweetness of the treats while enhancing the cozy fall atmosphere.
Nothing beats sipping on freshly pressed apple cider while savoring a Pumpkin Rice Krispie Treat; it’s like a hug in a mug! -
Chocolate Milk: The rich, creamy taste pairs wonderfully with the crunchy texture of the treats, perfect for kids’ parties.
Serve it chilled or warm for a comforting treat duo that children will adore; it’s a classic combo! -
Ginger Snap Cookies: Their spiced zing contrasts beautifully with the gooey sweetness of the Pumpkin Rice Krispie Treats.
This pairing brings in a delightful crunch and a hint of holiday cheer—perfect for a festive table! -
Whipped Cream Dip: A light and fluffy dip adds a touch of creaminess to balance the crunchy treats, making for a fun and interactive dessert.
Kids and adults alike can dip their treats for extra flavor—a playful twist everyone will love! -
Roasted Pumpkin Seeds: For a savory crunch, these add a contrasting flavor and texture to the sweet treats.
This simple addition is not only nutritious but also ties in the pumpkin theme beautifully! -
Hot Chocolate: A warm cup of luscious hot chocolate pairs perfectly, especially on chilly autumn evenings.
Imagine cozying up by the fire with a treat in one hand and a warm cup of cocoa in the other—pure bliss! -
Caramel Sauce: Drizzling warm caramel adds an indulgent sweetness that enhances the pumpkin flavor of the treats.
This luxurious touch elevates a simple dessert into something truly special and festive!
Expert Tips for Pumpkin Rice Krispie Treats
-
Prevent Sticking: Lightly coat your hands with cooking spray to keep the marshmallow mixture from sticking as you shape the balls.
-
Color Perfection: Adjust the orange gel food coloring to achieve your desired pumpkin shade—more for vibrant orange, less for a subtle tint.
-
Mixing Method: Stir the Rice Krispies gently into the marshmallow mixture to maintain their crispness, avoiding crushing for the perfect crunch in your treats.
-
Sizing Matters: Make sure to shape the mixture into balls about the size of small oranges; too big may result in uneven setting.
-
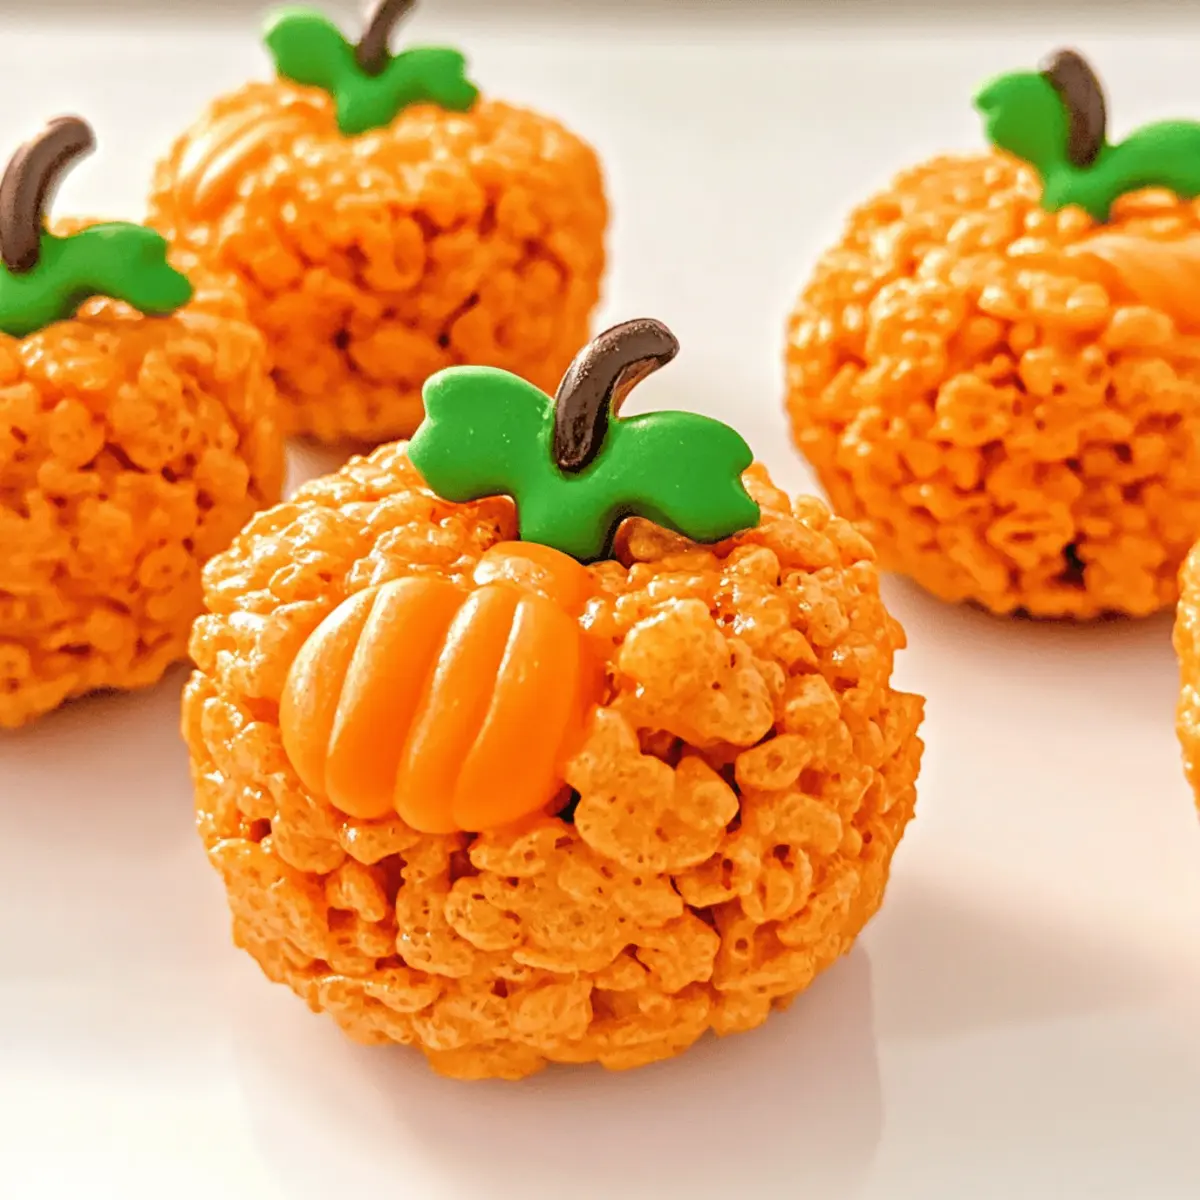
Creative Decor: Switch up the Tootsie Roll and M&M decorations for mini chocolate chips or colorful sprinkles to personalize your Pumpkin Rice Krispie Treats!
Variations & Substitutions for Pumpkin Rice Krispie Treats
Feel free to mix things up and make these delightful treats your own with these simple variations!
-
Vegan Option: Replace the miniature marshmallows with vegan marshmallows and use coconut or vegan butter for a dairy-free twist. You’ll still get that wonderful gooey goodness.
-
Nutty Crunch: Add 1 cup of chopped nuts, like pecans or walnuts, to the Rice Krispies mixture for a delicious crunch. The nutty flavor brings a delightful contrast to the sweetness of the marshmallows, making every bite a little surprise!
-
Choco-Pumpkin Treats: Fold in 1 cup of mini chocolate chips to the cereal mixture for a rich chocolate flavor. This combination creates a beautiful sweet-and-salty balance, perfect for chocolate lovers!
-
Spiced Delight: Incorporate 1 teaspoon of pumpkin pie spice into the melted marshmallow mixture for a warm autumn flavor. This addition makes the treats even more celebratory and comforting.
-
Decorative Frosting: Swap out the green M&Ms for piped green frosting leaves if you want to try your hand at decorating. This creative twist lets you express your artistic side while adding a touch of sweetness!
-
Crispy Alternatives: Experiment with different crispy cereals, like Corn Pops or Fruity Pebbles, instead of Rice Krispies for a fruity or toasted flavor. Each cereal brings its unique texture and taste, sure to keep things interesting!
-
Flavor Boost: Drizzle melted caramel over the shaped treats before adding the Tootsie Roll stems, taking your Pumpkin Rice Krispie Treats to an entirely new indulgent level. The added sweetness complements the pumpkin vibe beautifully!
Make sure to check out some more delightful fall treats like Brown Butter Pumpkin Chocolate Chip Cookies or enjoy a cozy cup alongside Homemade Pumpkin Coffee Creamer. Whether you stick to the classic recipe or try one of these variations, you’re in for a treat!
Make Ahead Options
These Pumpkin Rice Krispie Treats are fantastic for busy cooks looking to save time! You can prepare the pumpkin mixture and shape the treats up to 24 hours in advance. Simply follow the steps until you shape the balls, then place them on a baking sheet lined with parchment paper and cover them tightly with plastic wrap. To maintain their freshness, refrigerate the balls and wait to add the Tootsie Roll stems and green M&Ms until just before serving. When you’re ready to wow your guests, simply remove them from the fridge, add the decorations, and allow them to sit at room temperature for about 30 minutes to soften slightly before serving. Enjoy these adorable treats without the last-minute rush!
Storage Tips for Pumpkin Rice Krispie Treats
Room Temperature: Store the treats in an airtight container at room temperature for up to 2 weeks to maintain their delightful texture and flavor.
Fridge: If you live in a particularly warm environment, you can refrigerate the treats for up to 1 week, but be aware this may make them a bit firmer.
Freezer: For longer storage, freeze the Pumpkin Rice Krispie Treats in a freezer-safe container for 2–3 months. Thaw them at room temperature before serving to enjoy their signature taste.
Reheating: There’s no need to reheat these no-bake treats, but if you prefer them a bit softer, briefly microwave each treat for about 10 seconds before enjoying!
Pumpkin Rice Krispie Treats Recipe FAQs
How do I choose the right marshmallows?
Absolutely! When selecting miniature marshmallows, look for ones that are soft and fresh, without any dark spots or hard edges. This ensures they melt smoothly and create that delightful gooey texture crucial for your Pumpkin Rice Krispie Treats. If you prefer a vegan option, there are brands available that offer plant-based marshmallows which work beautifully!
How should I store my Pumpkin Rice Krispie Treats?
To keep your treats fresh, store them in an airtight container at room temperature for up to 2 weeks. It’s ideal to place a piece of parchment paper between layers to prevent them from sticking together. If your home is particularly warm, consider refrigerating them for up to 1 week to maintain their texture.
Can I freeze the Pumpkin Rice Krispie Treats?
Absolutely! Freeze your Pumpkin Rice Krispie Treats in a single layer on a baking sheet for about an hour until firm. Then, transfer them to a freezer-safe container, separating layers with parchment paper. They can be frozen for up to 2-3 months. When you’re ready to enjoy, simply thaw at room temperature for a sweet, autumnal treat.
What if my mixture is too sticky to handle?
No problem! If you find your marshmallow mixture is sticking to your hands, you can spray your hands lightly with cooking spray. This will give you an easier time forming the balls. If it’s just too gooey, try chilling the mixture in the refrigerator for about 15-20 minutes to firm it up slightly before shaping.
Are there any dietary considerations I should keep in mind?
Very! If you’re preparing these treats for kids or guests with allergies, check the packaging for potential allergens. For instance, ensure the marshmallows and butter used are free from dairy or nuts if needed. You can substitute with dairy-free butter and vegan marshmallows for a kid-friendly option. Always keep in mind that chocolate candies may contain allergens, so it’s wise to read the labels!
Can I add different flavors or decorations to my treats?
The more the merrier! You can certainly customize your Pumpkin Rice Krispie Treats by adding extra ingredients such as chopped peanut butter cups or spices like cinnamon for an autumn twist. Feel free to switch out the Tootsie Roll and M&M decorations for mini chocolate chips or colorful sprinkles to match any festive theme!
Pumpkin Rice Krispie Treats That Kids Will Love This Fall
Ingredients
Equipment
Method
- Melt the 3 tablespoons of unsalted butter over medium heat in a large pot, stirring gently until completely liquid (2-3 minutes). Be careful not to let it brown.
- Add 6 cups of miniature marshmallows to the melted butter, stirring frequently for about 4-5 minutes until melted into a smooth mixture.
- Remove the pot from heat and stir in 1/2 teaspoon of orange gel food coloring until the color is uniform and vibrant.
- Fold in 6 cups of Rice Krispies cereal until evenly coated, taking care not to crush the cereal.
- Shape small portions into 10 large balls, about the size of small oranges, using non-stick cooking spray to prevent sticking.
- Insert a Tootsie Roll candy into the center of each ball to create a cute stem.
- Press a green M&M onto the top of each ball to serve as a decorative leaf.
- Let the treats sit at room temperature for about 60 minutes to set properly.
Leave a Reply