
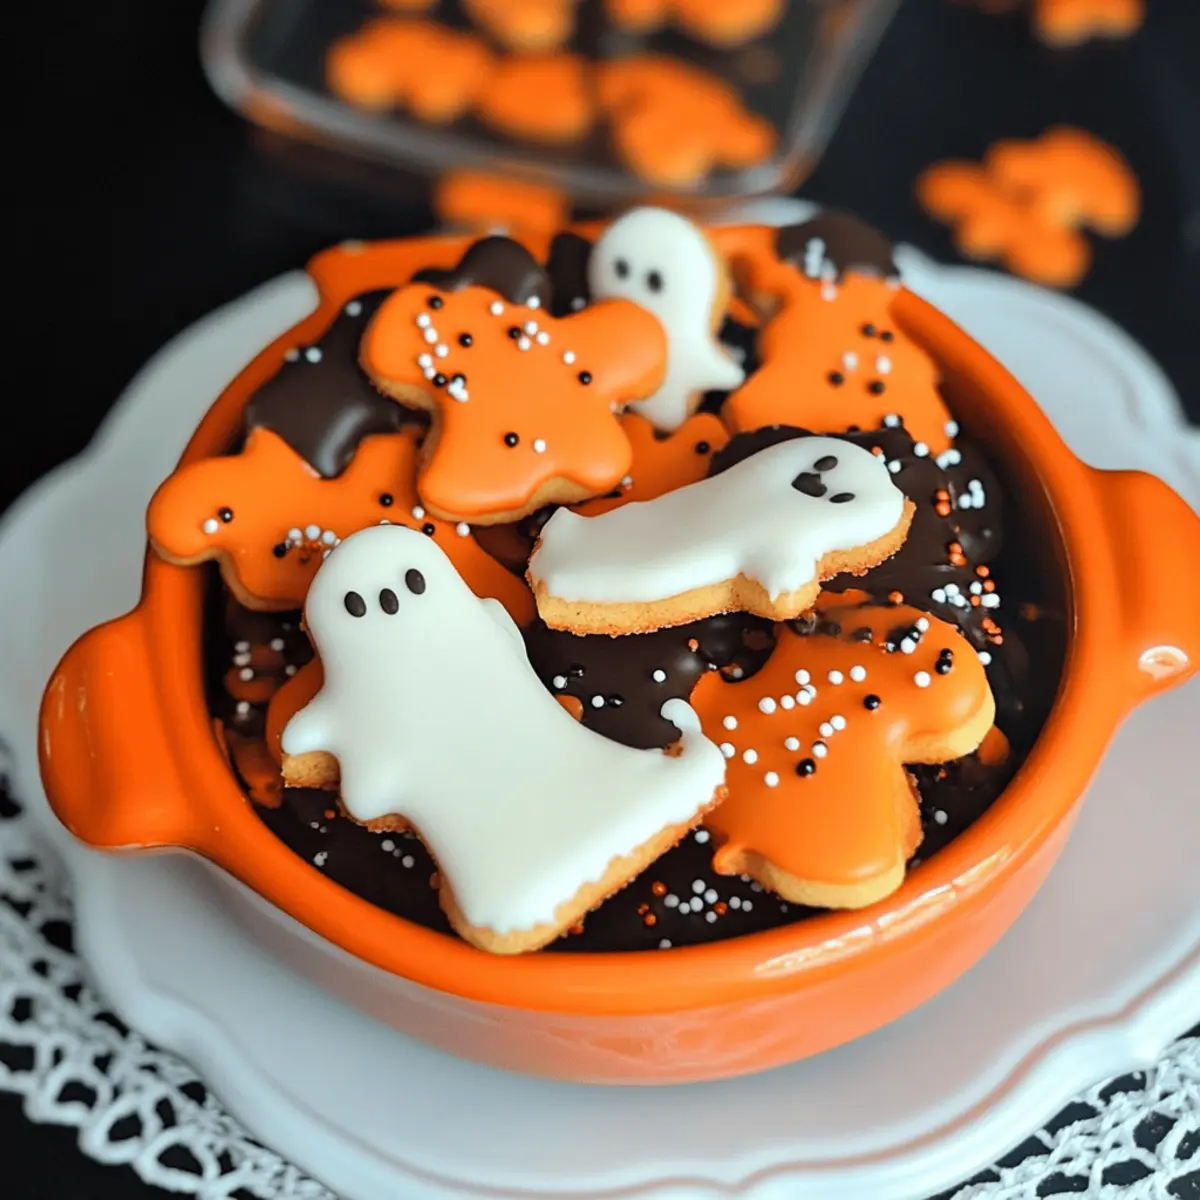
As I stood in my kitchen, the scent of sweet vanilla rich in the air, I couldn’t help but smile at the vibrant colors waiting to bring life to my Mini Halloween Sugar Cookies. Inspired by the nostalgic Circus Animal Cookies of my childhood, these delightful treats not only look festive but are also easy to make, ensuring that even the busiest home chefs can whip up a batch for Halloween fun. With their playful sprinkles and buttery texture, they are a hit at every gathering—perfect for families looking to craft memorable moments together. Whether you’re hosting a spooky soirée or simply treating your little ones, these cookies are sure to be a crowd-pleaser! Can you imagine how much fun it will be decorating them as a family? Let’s dive into this sweet adventure!
Why are Mini Halloween Sugar Cookies a must-have?
Irresistible Nostalgia: Reminiscent of Circus Animal Cookies, these treats evoke childhood memories that make baking even sweeter.
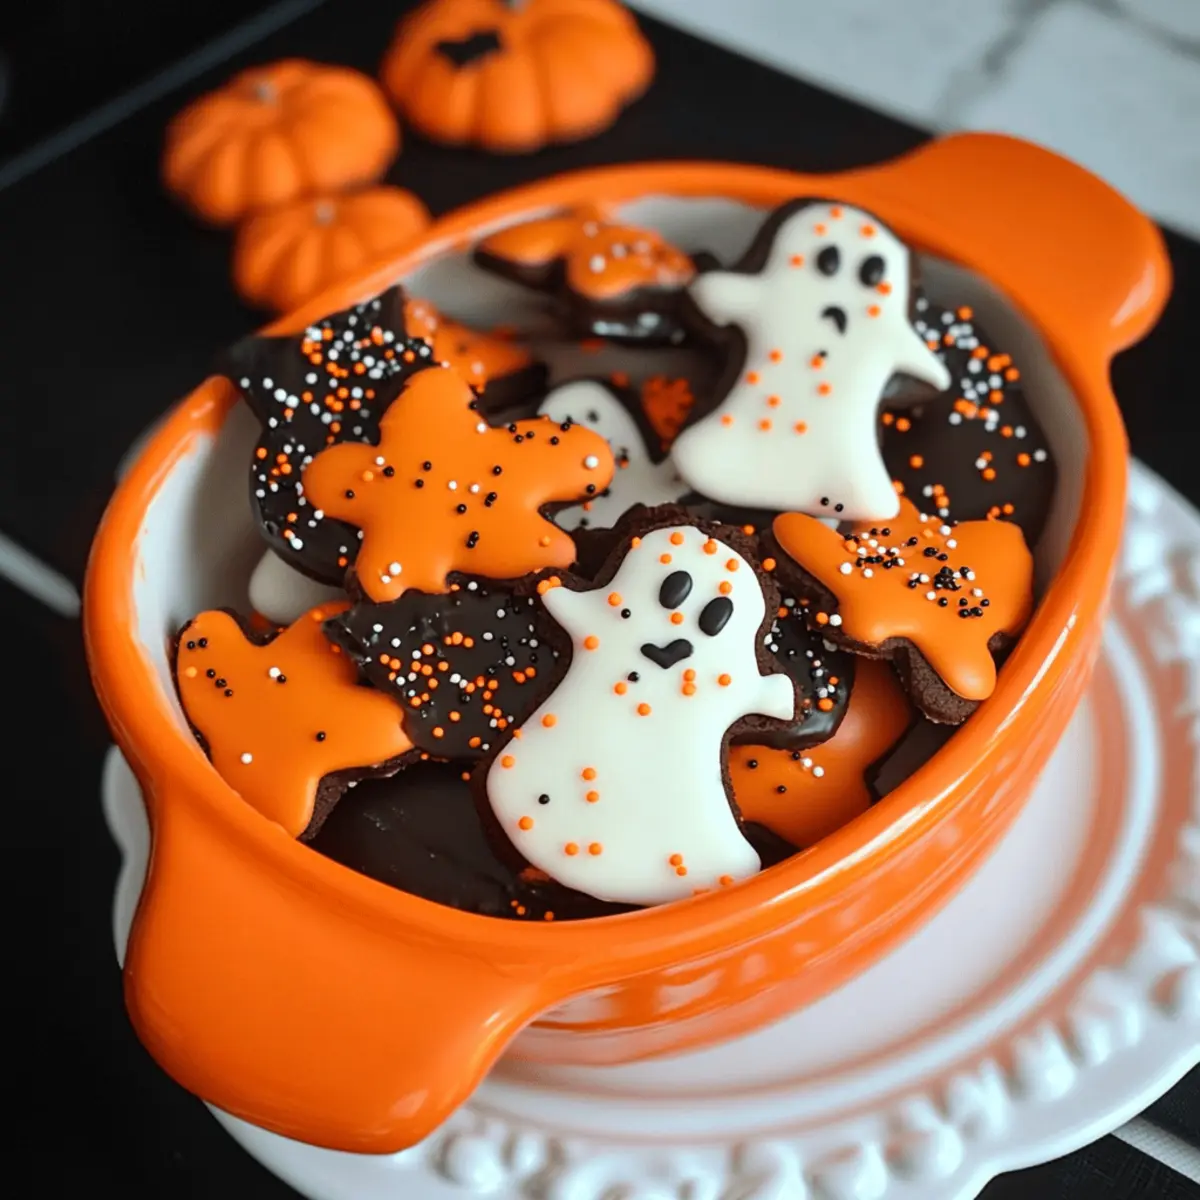
Vibrant Colors: Bright candy melts and festive sprinkles transform ordinary cookies into eye-catching delights perfect for Halloween celebrations.
Simple Process: With easy-to-follow instructions, even beginners can master this delightful recipe—no culinary expertise needed!
Family Fun: Gather the kids round for a creative decorating session that will forge lasting memories while indulging in deliciousness.
Versatile Treats: Enjoy them fresh, or package them as thoughtful gifts! You can even explore variations, like adding citrus zest for a fun twist on flavor.
Crowd-Pleaser: Everyone loves a good cookie, making these a guaranteed hit at any gathering, whether it’s a spooky party or a cozy family night.
Mini Halloween Sugar Cookies Ingredients
For the Cookie Dough
- All-Purpose Flour – Provides structure; can use gluten-free flour blend for a gluten-free version.
- Salt – Enhances flavor for a well-rounded taste.
- Baking Powder – Aids in leavening for a light texture.
- Butter – Adds richness and flavor; can use margarine if dairy-free.
- Sugar – Sweetens the cookie; can also substitute with granulated or brown sugar for slight flavor variations.
- Egg – Binds ingredients together; use room temperature for better incorporation.
- Vanilla Extract – Adds warmth and depth to the flavor.
For the Decoration
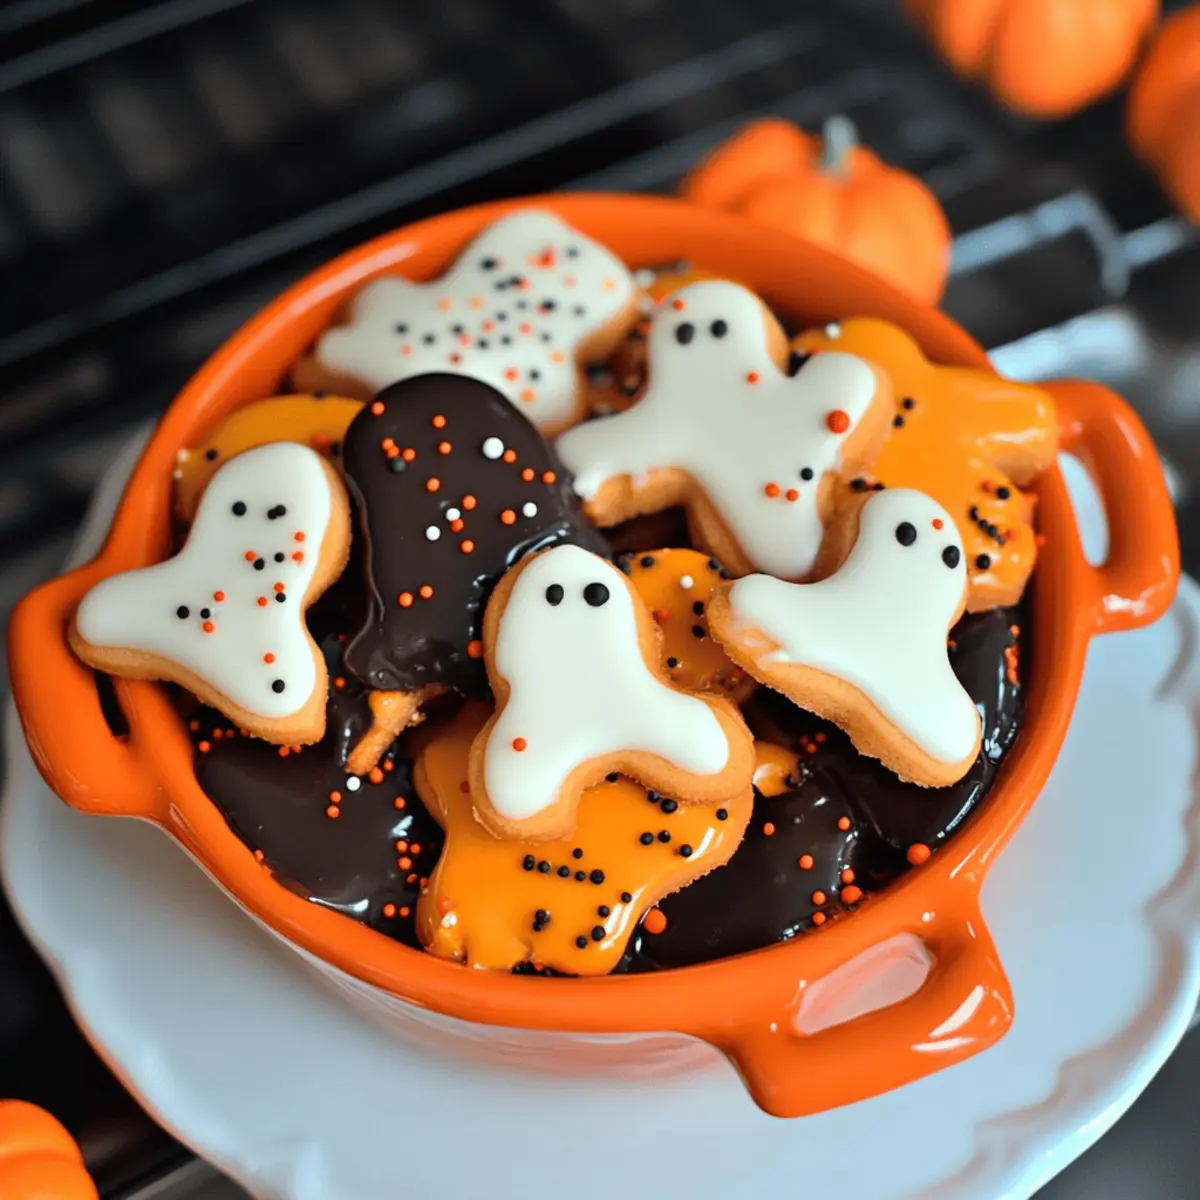
- Orange Candy Melts – For coating, giving a festive look and delicious taste.
- White Candy Melts or White Chocolate – For additional festive decoration.
- Brown Candy Melts or Semi-Sweet Chocolate – For drizzle or accents, adding a scrumptious chocolate flavor.
These Mini Halloween Sugar Cookies are not just tasty—they’re perfect for festive gatherings and family occasions where everyone can join in the fun of decorating!
Step‑by‑Step Instructions for Mini Halloween Sugar Cookies
Step 1: Prepare Cookie Dough
In a large mixing bowl, whisk together 2 cups of all-purpose flour, 1/2 teaspoon of salt, and 1 teaspoon of baking powder until well combined. In another bowl, cream 1 cup of softened butter with 3/4 cup of sugar until light and fluffy, about 3-4 minutes. Add in 1 room-temperature egg and 1 teaspoon of vanilla extract, mixing until smooth. Gradually incorporate the dry ingredients into the wet mixture until just combined, forming a soft dough.
Step 2: Chill Dough
Wrap the prepared dough tightly in plastic wrap, pressing it into a flat disc. Refrigerate for at least 1 hour to allow it to firm up, which will make rolling and cutting out shapes much easier. During this time, the flavors can meld together, enhancing the taste of your Mini Halloween Sugar Cookies, so resist the temptation to skip this essential step!
Step 3: Shape and Bake
Preheat your oven to 350°F (175°C) before rolling out the chilled dough on a lightly floured surface to about 1/4 inch thick. Use fun Halloween-themed cookie cutters to cut out shapes, and transfer them to a lined baking sheet, leaving space between each cookie. Bake in the preheated oven for 8-10 minutes, watching closely until the edges are lightly golden. Allow the cookies to cool on the baking sheet for a few moments before transferring them to a wire rack.
Step 4: Decorate
Once the cookies are completely cool, it’s time to add some festive flair! Melt 1 cup of orange candy melts in a microwave-safe bowl, microwaving in 30-second intervals and stirring until smooth. Dip each cookie into the melted candy or drizzle it on top using a fork. While the coating is still wet, sprinkle colorful sprinkles on top to make your Mini Halloween Sugar Cookies even more vibrant and eye-catching. Let the cookies sit until the chocolate hardens completely before serving.
What to Serve with Mini Halloween Sugar Cookies
As you whip up a batch of these festive treats, consider complementing their sweet magic with delightful pairings that enhance your Halloween celebration.
- Spiced Apple Cider: The warmth of spiced apple cider balances the sugar cookies’ sweetness while embracing the season’s flavors.
- Pumpkin Cheesecake Bites: These rich, creamy bites offer a cozy contrast to the light, buttery cookies, making them a perfect pairing.
- Chocolate-Dipped Pretzels: The salty crunch of pretzels dipped in chocolate brings a satisfying texture that complements the soft cookies beautifully.
- Caramel Popcorn: Combining the sweetness of caramel with the crunch of popcorn provides a fun snack mix that kids and adults alike adore.
For a festive touch, consider serving the cookies on a vibrant platter alongside a spooky-themed punch or some creamy hot chocolate. This way, your Halloween gathering becomes a feast for both the palate and the eyes, creating an atmosphere of pure joy.
Make Ahead Options
These Mini Halloween Sugar Cookies are perfect for busy home cooks looking to save time during the Halloween rush! You can prepare the cookie dough up to 3 days in advance. Simply follow the initial dough preparation steps, wrap the formed dough in plastic wrap, and refrigerate it. This chilling process not only firm up the dough but also enhances the flavors for a more delicious cookie. When you’re ready to bake, simply roll out the dough, cut your favorite shapes, and bake as directed. For even more convenience, you can bake the cookies ahead of time and store them in an airtight container at room temperature for up to one week—just decorate them before serving for that fresh, festive touch!
Expert Tips for Mini Halloween Sugar Cookies
- Chill the Dough: Ensure the dough is well-chilled before rolling to prevent it from sticking to your surface, making your cookie-making experience smoother.
- Watch the Bake Time: Avoid overbaking! A slight softness in the center is ideal, as they will continue to firm up while cooling.
- Use Creative Cutters: Experiment with various cookie cutters to make different shapes, adding to the festive flair of your Mini Halloween Sugar Cookies.
- Perfect Sprinkles: Add sprinkles while the candy coating is still wet to ensure they stick well; this adds a vibrant touch to your cookies.
- Room Temperature Egg: Use a room-temperature egg to ensure it incorporates smoothly into the dough, enhancing the texture of your cookies.
Mini Halloween Sugar Cookies Variations & Substitutions
Feel free to get creative with these delightful cookies and make them your own!
- Gluten-Free: Swap all-purpose flour with a gluten-free flour blend for a suitable option for gluten-sensitive friends.
- Dairy-Free: Replace butter with margarine or coconut oil to keep these cookies soft and flavorful without dairy.
- Citrus Zest: Add zest from an orange or lemon to the dough to brighten up the flavors and give a refreshing twist.
- Flavor Boost: Incorporate a teaspoon of almond extract in addition to vanilla for a richer and nuttier flavor profile.
- Decorate Differently: Use royal icing instead of candy melts for a more traditional and intricate decorating style.
- Candy Melt Variations: Choose different colors of candy melts, like green or pink, to create unique seasonal designs that impress everyone.
- Chocolate Chip Twist: Fold in semi-sweet or milk chocolate chips into the dough for extra chocolatey goodness that complements the sweetness.
- Spicy Option: Add a pinch of cinnamon or nutmeg to the dough for a warm spice twist that gives your cookies a cozy feel.
These variations are perfect for personalizing your treats, and if you’re looking for more inspiration, try out our engaging Cauldron Cookies Spooky or indulge in some flavorful Chocolate Oat Cookies. Happy baking!
How to Store and Freeze Mini Halloween Sugar Cookies
Room Temperature: Store your decorated Mini Halloween Sugar Cookies in an airtight container at room temperature for up to 1 week, keeping them fresh and delicious.
Fridge: If you prefer a longer shelf life, you can refrigerate the cookies in an airtight container for up to 2 weeks. This helps maintain their softness and flavor.
Freezer: For longer storage, freeze un-decorated cookies in a single layer on a baking sheet until solid, then transfer to a freezer-safe bag. They can stay fresh for up to 3 months.
Reheating: To enjoy the cookies after freezing, let them thaw at room temperature. For a little warmth, pop them in the microwave for about 10-15 seconds before serving.
Mini Halloween Sugar Cookies Recipe FAQs
How do I choose the right ingredients for my Mini Halloween Sugar Cookies?
Absolutely! For the best results, use fresh ingredients. When selecting eggs, choose ones that are free-range or organic for quality. Opt for unsalted butter to better control the cookie’s saltiness. If you’re using flour, make sure it’s not past its expiration date, as older flour can impact texture.
What’s the best way to store my Mini Halloween Sugar Cookies?
To keep your cookies fresh and delicious, store them in an airtight container at room temperature for up to 1 week. For longer storage, place them in the fridge for up to 2 weeks. If you want to freeze the cookies, ensure they’re frozen in a single layer on a baking sheet and then transfer to a freezer-safe bag. They can remain good for up to 3 months!
Can I freeze the dough for Mini Halloween Sugar Cookies?
Certainly! You can wrap the prepared cookie dough tightly in plastic wrap and store it in a freezer-safe bag. It should stay fresh for up to 3 months. When you’re ready to bake, let the dough thaw overnight in the refrigerator before rolling it out and cutting shapes. This prevents freezer burn and ensures delicious cookies.
What should I do if my cookie dough is too sticky?
If your dough feels sticky, don’t worry—it’s an easy fix! Simply sprinkle a little extra flour onto your work surface and your hands while kneading or rolling the dough. Chill it for a bit longer if needed, as a well-chilled dough is easier to work with. Remember, the more chill time, the better it will roll out!
Are there any dietary considerations I should keep in mind with this recipe?
Very! If you’re making cookies for someone with allergies, ensure to check that your ingredients are safe. You can easily make these Mini Halloween Sugar Cookies gluten-free by substituting all-purpose flour with a gluten-free blend. For dairy-free options, margarine works great in place of butter, just ensure it’s lactose-free. Always label treats carefully when sharing!

Mini Halloween Sugar Cookies with Festive Sprinkles Magic
Ingredients
Equipment
Method
- In a large mixing bowl, whisk together 2 cups of all-purpose flour, 1/2 teaspoon of salt, and 1 teaspoon of baking powder until well combined. In another bowl, cream 1 cup of softened butter with 3/4 cup of sugar until light and fluffy, about 3-4 minutes. Add in 1 room-temperature egg and 1 teaspoon of vanilla extract, mixing until smooth. Gradually incorporate the dry ingredients into the wet mixture until just combined, forming a soft dough.
- Wrap the prepared dough tightly in plastic wrap, pressing it into a flat disc. Refrigerate for at least 1 hour to allow it to firm up.
- Preheat your oven to 350°F (175°C) before rolling out the chilled dough on a lightly floured surface to about 1/4 inch thick. Use fun Halloween-themed cookie cutters to cut out shapes and transfer them to a lined baking sheet, leaving space between each cookie. Bake in the preheated oven for 8-10 minutes until edges are lightly golden.
- Once the cookies are completely cool, melt 1 cup of orange candy melts in a microwave-safe bowl. Dip each cookie into the melted candy or drizzle it on top using a fork. While coating is still wet, sprinkle colorful sprinkles on top. Let the cookies sit until the chocolate hardens completely before serving.
Leave a Reply