
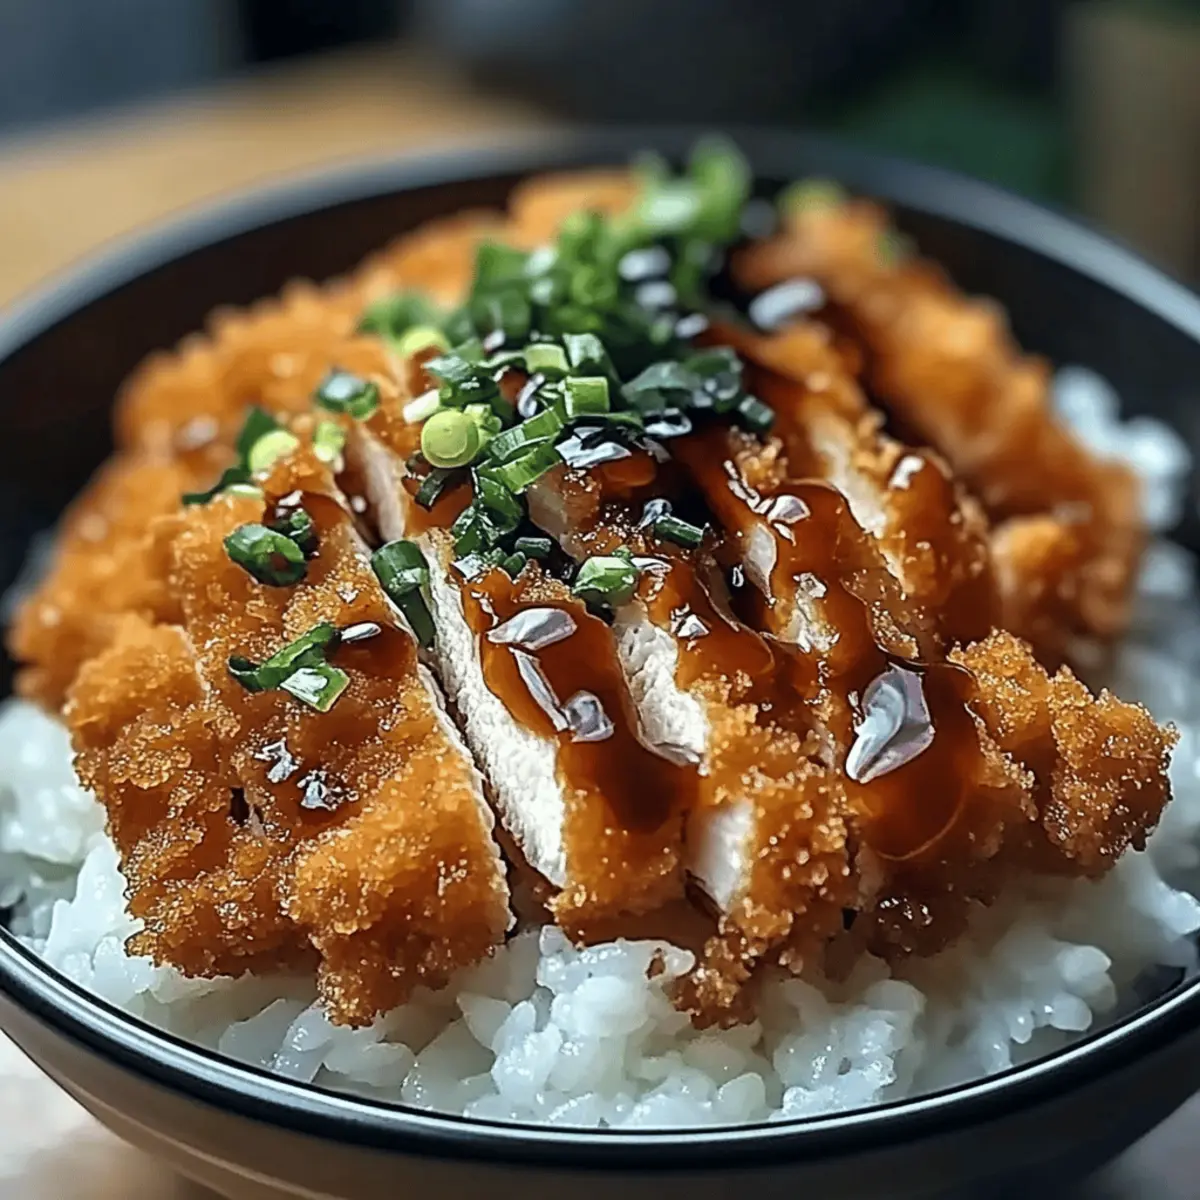
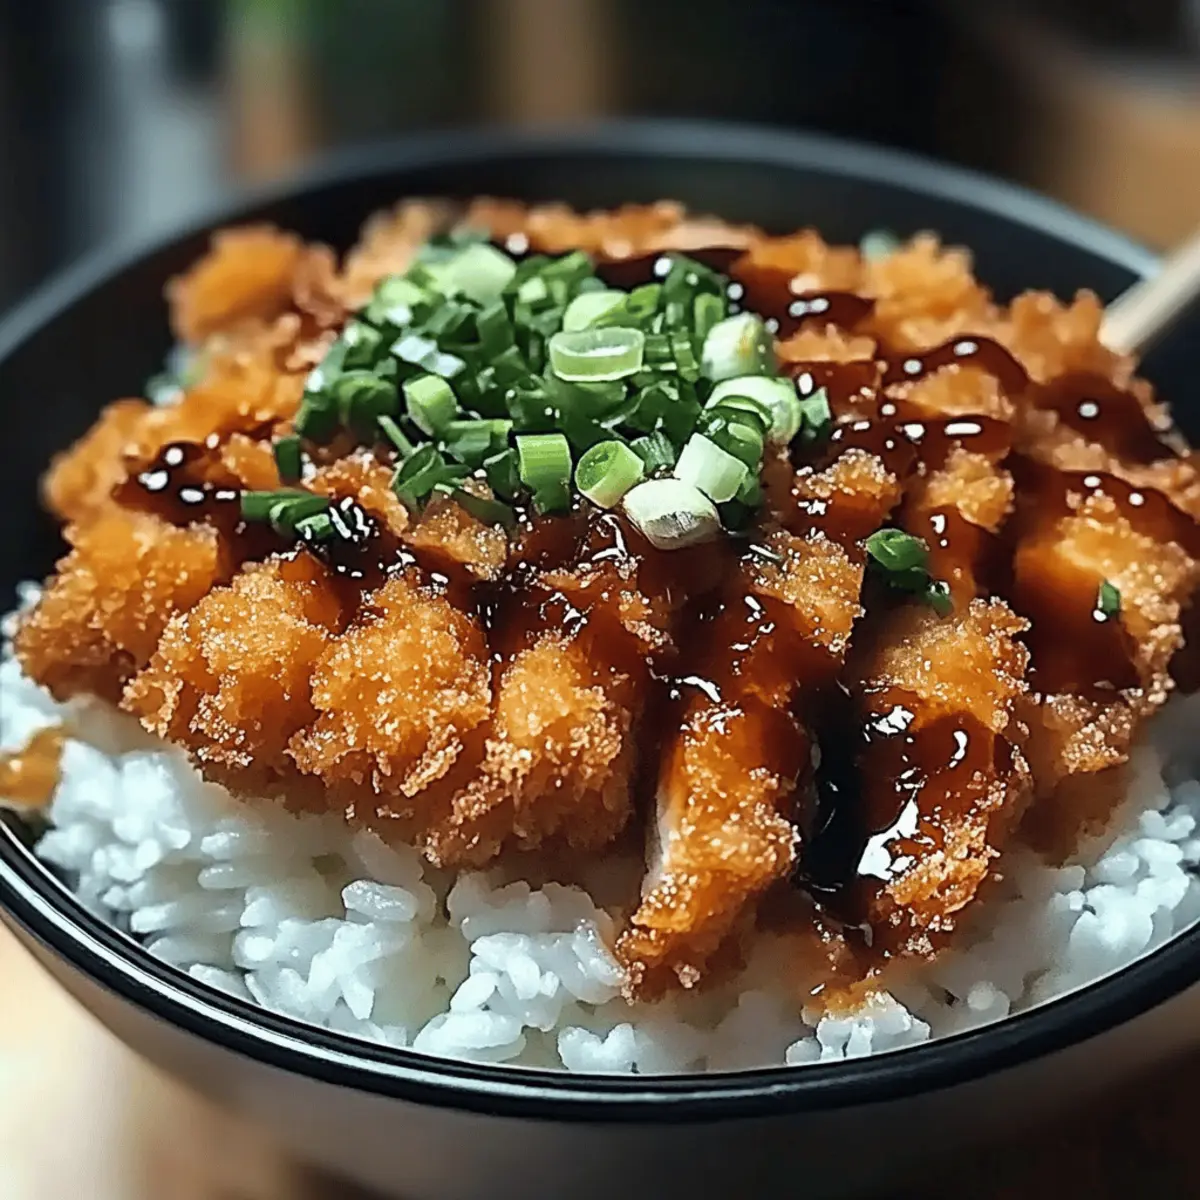
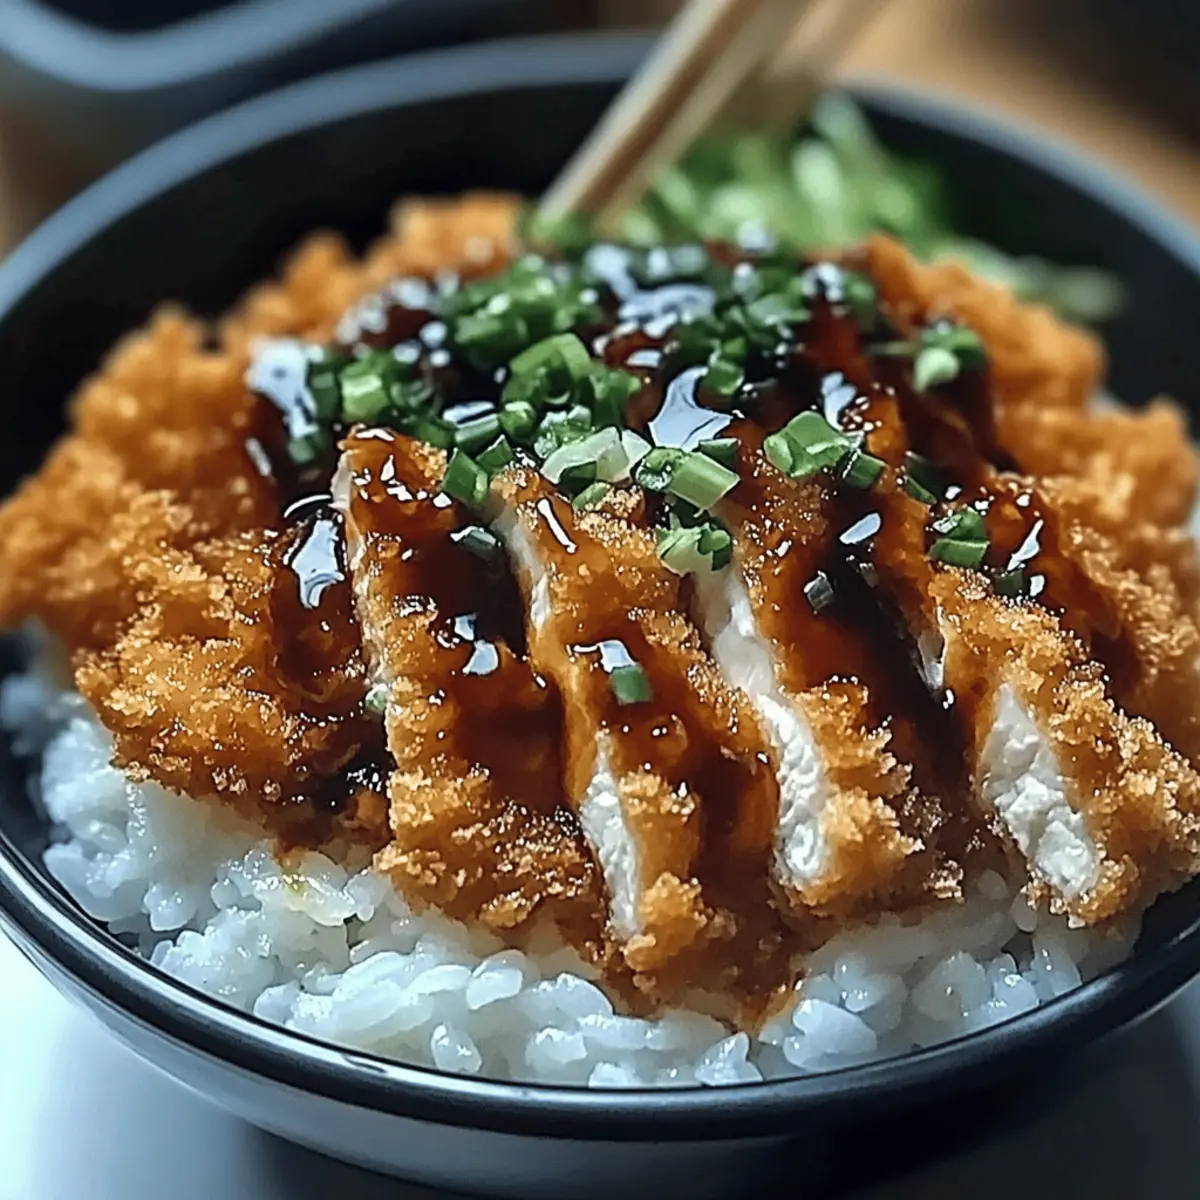
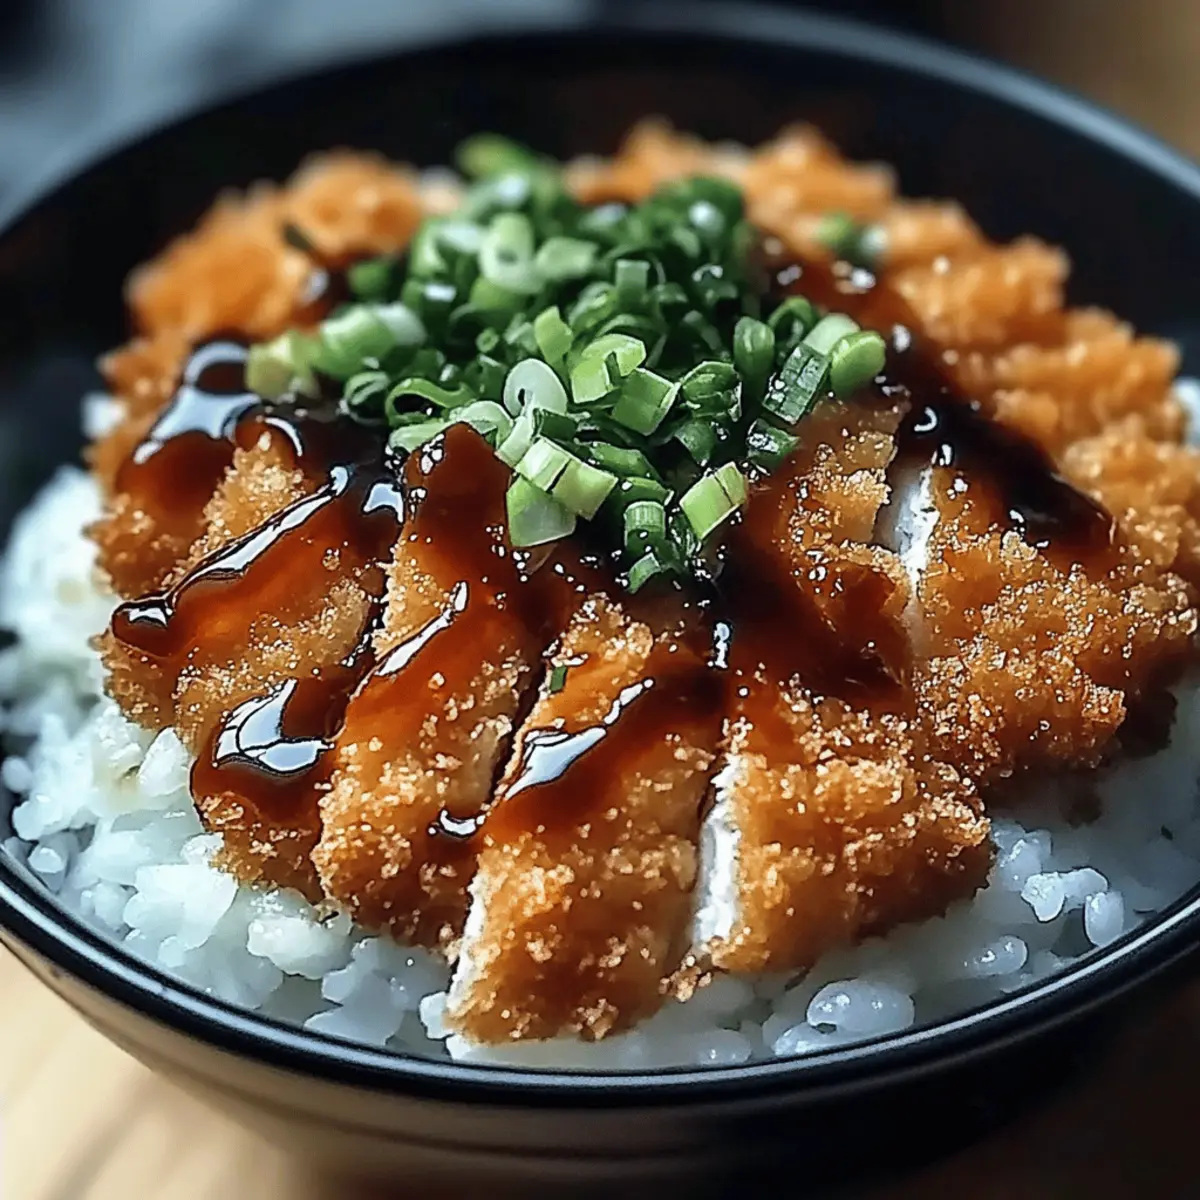
As the sizzle of crispy chicken fills my kitchen, I’m transported to a bustling Tokyo street market, where every bite of Japanese Katsu Bowls captures the essence of comfort and joy. This beloved dish pairs golden, crunchy katsu—whether it’s chicken or pork—with a bed of fluffy rice and a drizzle of savory tonkatsu sauce. Not only is it a guaranteed crowd-pleaser, but it’s also surprisingly quick to whip up for those busy weeknights. With the option to swap in eggplant or tofu, there’s a version for everyone at the table! So, are you ready to bring a taste of Japan into your home? Let’s dive into this delicious adventure together!
What makes Katsu Bowls so irresistible?
Crispy Perfection: Each bite of golden-brown katsu is a delightful crunch, beautifully contrasted by a tender inside.
Deliciously Versatile: Whether you choose succulent chicken, flavorful pork, or a delightful vegetarian option with eggplant or tofu, there’s a version for everyone’s palate.
Quick & Easy: This recipe is perfect for busy weeknights, taking less time than you think to create a satisfying meal.
Crowd-Pleaser: Impress family and friends with a dish that’s not just delicious, but visually appealing too—serve it with fresh toppings like sesame seeds and green onions for a pop of color!
Comfort Food Delight: Japanese Katsu Bowls embody warmth and happiness, making them a go-to choice when you need a dose of comfort.
Pair this with a refreshing salad or pickled vegetables for the perfect complete meal, similar to our Teriyaki Chicken Bowls. Ready to experience a culinary escape? Let’s get cooking!
Japanese Katsu Bowls Ingredients
For the Katsu
• Boneless Chicken Breasts (or Pork Loin) – Use chicken for a classic katsu, or pork for a traditional twist.
• Salt and Pepper – Essential seasonings that enhance the flavors of your protein.
• All-Purpose Flour – This forms the basis of the breading; substitute with gluten-free flour if desired.
• Large Eggs – They act as a binding agent for the crispy panko coating.
• Panko Breadcrumbs – Traditional Japanese breadcrumbs that create an extra crispy texture; regular breadcrumbs can work in a pinch.
• Vegetable Oil – For frying; works best with oils that have a high smoke point, like canola or peanut oil.
For the Rice
• Japanese Short-Grain Rice – Provides that sticky, fluffy base that is characteristic of katsu bowls; alternatives like jasmine rice can be used.
• Water – Required for cooking your rice to perfection.
• Rice Vinegar, Sugar, Salt – This combo seasons the rice beautifully, boosting its flavor profile.
For the Sauce
• Tonkatsu Sauce – The star of the dish; choose between store-bought convenience or homemade goodness.
• Soy Sauce, Worcestershire Sauce, Ketchup – These enhance the flavor profile of your tonkatsu sauce for added depth.
For Toppings
• Shredded Cabbage – Adds a nice crunch and freshness to your bowl.
• Green Onions – A sprinkle provides a vibrant color and burst of flavor.
• Sesame Seeds – Perfect for a nutty finish and visual appeal.
• Pickled Ginger (optional) – Adds a tangy kick that complements the katsu beautifully.
Explore these ingredients and prepare for a delightful journey into the world of Japanese Katsu Bowls!
Step‑by‑Step Instructions for Japanese Katsu Bowls
Step 1: Prepare Rice
Rinse 1 cup of Japanese short-grain rice under cold water until the water runs clear, removing excess starch. Soak the rice in water for 30 minutes, then drain. In a rice cooker or saucepan, combine the soaked rice with 1.5 cups of water. Cook on medium heat, bringing it to a boil, then reduce to low, cover, and let simmer for 18 minutes. Allow the rice to steam with the lid on for an additional 10 minutes.
Step 2: Season Rice
In a small bowl, mix 2 tablespoons of rice vinegar, 1 tablespoon of sugar, and ½ teaspoon of salt until dissolved. Once the rice has finished steaming, transfer it to a large bowl. Gently fold in the vinegar mixture, being careful not to mash the rice. This step enhances the flavor of your Japanese Katsu Bowls and gives the rice a lovely sheen.
Step 3: Pound Chicken
Take 2 boneless chicken breasts and place them between two sheets of plastic wrap. Using a meat mallet or rolling pin, gently pound the chicken to an even thickness of about ½ inch. This ensures even cooking and helps the chicken stay juicy within the crispy coating.
Step 4: Season Chicken
Sprinkle both sides of the pounded chicken breasts generously with salt and pepper. This simple seasoning enhances the natural flavors of the chicken and prepares it for the crispy coating that makes Japanese Katsu Bowls so delicious.
Step 5: Breading Station Setup
Set up your breading station with three shallow dishes: one with ½ cup of all-purpose flour, one with 2 beaten large eggs, and another with 1 cup of panko breadcrumbs. This arrangement will streamline the breading process, ensuring each piece of chicken gets the proper coating for optimal crispiness.
Step 6: Bread Chicken
Take each seasoned chicken breast and dredge it in the flour, shaking off any excess. Next, dip it into the beaten eggs, allowing any excess to drip off before coating it thoroughly with panko breadcrumbs. Press the panko onto the chicken to ensure an even, crispy layer, essential for the perfect katsu in your Japanese Katsu Bowls.
Step 7: Fry Chicken
In a large skillet, heat about ½ inch of vegetable oil to 350°F (175°C) over medium heat. Carefully add the breaded chicken breasts, frying them for about 4–5 minutes per side, or until golden brown and internal temperature reaches 165°F (75°C). Avoid overcrowding the pan; fry in batches if necessary for even cooking.
Step 8: Slice Chicken
Once fried to perfection, transfer the cooked chicken to a paper towel-lined plate to drain excess oil. Allow it to rest for a few minutes to lock in juices, then slice the chicken into strips against the grain. This ensures tenderness in each bite of your Japanese Katsu Bowls.
Step 9: Make Sauce
In a small bowl, combine ¼ cup of tonkatsu sauce, 1 tablespoon of soy sauce, 1 tablespoon of Worcestershire sauce, and 1 tablespoon of ketchup. Whisk together until well blended. This flavorful sauce complements the crispy katsu perfectly, enhancing the overall taste experience of your Japanese Katsu Bowls.
Make Ahead Options
These Japanese Katsu Bowls are perfect for meal prep enthusiasts! You can bread the chicken and keep it in the refrigerator for up to 24 hours before frying, ensuring it’s just as crispy when cooked. Additionally, you can cook the rice ahead of time and refrigerate it for up to 3 days; just reheat gently before serving to maintain its texture. For the sauce, whip it up ahead and store in an airtight container in the fridge for convenient use. When you’re ready to enjoy your meal, simply fry the chicken and assemble the bowls, and you’ll have a delicious dinner with minimal effort!
Japanese Katsu Bowls Variations
Feel free to get creative and tailor these delightful Katsu Bowls to suit your taste and dietary needs!
-
Pork Swap: Use pork loin for a traditional katsu experience. The juicy, flavorful cuts elevate the dish beautifully.
-
Vegetarian Delight: Replace chicken with eggplant or tofu. Slice the eggplant into thick rounds, or press and cube the tofu for a satisfying, crispy alternative.
-
Gluten-Free: Substitute regular flour and panko with gluten-free alternatives. Your katsu will still turn out crispy and delicious!
-
Spicy Twist: Add heat by mixing sriracha or chili paste into your tonkatsu sauce. It adds a fiery kick that enhances the flavor profile.
-
Unique Sauces: Dabble with different sauces like ponzu for a citrusy zest or spicy mayo for a creamy finish. Both can elevate your katsu experience!
-
Topping Extravaganza: Enhance with toppings such as avocado slices or soft-boiled eggs for a rich, creamy layer on top of your katsu bowls.
-
Crispy Shallots: Fry up some shallots for crunchy breadcrumbs that add another layer of texture and flavor. A sprinkle will elevate your dish to the next level.
-
Sweet Fruit Addition: Try adding thin slices of fresh pineapple or mango as a topping. The sweetness perfectly contrasts the savory katsu flavors.
Need more delicious inspiration? Try our Fajita Rice Bowls for a burst of flavor! Enjoy your culinary adventure with these variations!
Storage Tips for Japanese Katsu Bowls
Fridge: Store leftover cooked katsu in an airtight container in the refrigerator for up to 3-4 days. Keep rice and katsu separate for the best texture.
Freezer: Freeze individual portions of cooked katsu in freezer-safe bags for up to 2 months. Make sure to wrap them tightly to avoid freezer burn.
Reheating: To reheat, bake the katsu in the oven at 350°F (175°C) for about 10-15 minutes until crispy again. Steamed rice can be reheated in a microwave with a splash of water to retain moisture.
Assembly: If refrigerated or frozen, assemble your Japanese Katsu Bowls fresh for the best flavor and texture, adding toppings just before serving.
Tips for the Best Japanese Katsu Bowls
Crispy Coating: Ensure your oil is hot enough (350°F/175°C) before adding the chicken; this will give you that signature crispy katsu texture.
Don’t Overcrowd: Fry only a few pieces at a time to avoid lowering the oil temperature and achieve even cooking.
Perfectly Seasoned Rice: Rinse your rice thoroughly to remove excess starch for fluffy, non-sticky grains in your Japanese Katsu Bowls.
Resting Time: Allow the fried chicken to rest before slicing; this helps retain moisture and ensures tender bites.
Sauce Balance: Adjust your tonkatsu sauce by adding a splash of soy or Worcestershire for a more complex flavor that complements the dish perfectly.
What to Serve with Japanese Katsu Bowls
Set the stage for an unforgettable meal experience that balances crispy katsu with fresh, vibrant flavors.
-
Refreshing Cucumber Salad: This cool salad adds a crisp texture and lightness, perfect for contrasting the rich katsu. Toss thin cucumber slices with rice vinegar and sesame oil for a quick and zesty side.
-
Miso Soup: Warm and comforting, a bowl of miso soup complements the savory notes of katsu beautifully. It’s a light addition that enhances the meal’s Asian flavors while providing nourishment.
-
Pickled Vegetables: Bright, tangy pickles awaken the palate, cutting through the richness of the chicken or pork. A colorful assortment can include pickled radishes or carrots, adding a delightful crunch.
-
Steamed Broccoli: Tender yet slightly crunchy broccoli offers a nutritious element that balances heartiness with freshness. Drizzle with a hint of soy sauce or lemon for added zest.
-
Sushi Rolls: For an elevated experience, pair your katsu bowls with sushi rolls like California or tempura shrimp. The contrast of textures and flavors makes for an exciting mix that everyone will love.
-
Japanese Green Tea: A warm cup of green tea is the perfect beverage to accompany your meal. Its subtle bitterness complements the savory elements of katsu, creating a harmonious dining experience.
-
Mochi Ice Cream: Complete your meal with a sweet touch of mochi ice cream for dessert. Its chewy texture and creamy filling will leave your taste buds dancing with joy after the savory katsu bowls.
-
Soft-Boiled Eggs: Adding a soft-boiled egg on top of your katsu bowl introduces a creamy richness that melds beautifully with the crispy katsu and fluffy rice.
Each of these pairings enhances the overall experience, making your Japanese Katsu Bowls not just a meal, but a celebration of flavors.
Japanese Katsu Bowls Recipe FAQs
How do I choose the right meat for my Katsu Bowls?
Absolutely! Opt for boneless chicken breasts or pork loin for the classic katsu experience. Look for cuts that are uniform in thickness to ensure even cooking. Freshness is key—choose meat with a vibrant color and minimal dark spots. If you’re unsure, ask your butcher for recommendations on the best cuts available!
How should I store leftover Katsu Bowls?
For sure! Store leftover cooked katsu in an airtight container in the refrigerator for up to 3-4 days. It’s best to keep the rice and katsu separate to maintain their textures. Reheat in the oven for the crispiest results, and enjoy your meal again without compromising on flavor!
Can I freeze the cooked Katsu?
Very much so! To freeze your katsu, allow it to cool completely, then wrap each piece tightly in plastic wrap and place in a freezer-safe bag. It can be stored in the freezer for up to 2 months. When you’re ready to enjoy, simply bake at 350°F (175°C) for 10-15 minutes until heated through and crispy again.
What can I do if my katsu isn’t crispy enough after frying?
Here’s a helpful tip! If your katsu doesn’t turn out crispy, it might be due to the oil temperature not being hot enough. Make sure to heat your oil to 350°F (175°C) before adding the chicken. If you find that it’s still soggy, try dredging the chicken in a little more panko or frying it in smaller batches to avoid overcrowding the pan. This ensures an even cook and that signature crunch!
Are there any dietary concerns with Katsu Bowls?
Absolutely! If you have dietary restrictions, consider using gluten-free flour and breadcrumbs to create a version that’s safe for those with gluten allergies. For a vegetarian option, you can substitute chicken or pork with eggplant or tofu, which can be equally delicious! Just ensure to slice and bread them in the same way for that delightful katsu experience.
Delicious Japanese Katsu Bowls That You Can Make Tonight
Ingredients
Equipment
Method
- Rinse the rice under cold water until the water runs clear, soak in water for 30 minutes, then drain. Combine soaked rice with water and cook on medium heat.
- Mix rice vinegar, sugar, and salt until dissolved. Fold into cooked rice gently.
- Pound chicken breasts between plastic wrap to ½ inch thickness for even cooking.
- Season both sides of chicken breasts with salt and pepper.
- Set up breading station with flour, beaten eggs, and panko breadcrumbs in shallow dishes.
- Dredge chicken in flour, dip in eggs, and coat in panko breadcrumbs.
- Heat vegetable oil in a skillet to 350°F and fry chicken for 4-5 minutes per side until golden brown.
- Transfer fried chicken to a paper towel-lined plate to drain; let rest for a few minutes before slicing.
- Combine tonkatsu sauce ingredients in a small bowl, whisk together until blended.
Leave a Reply