
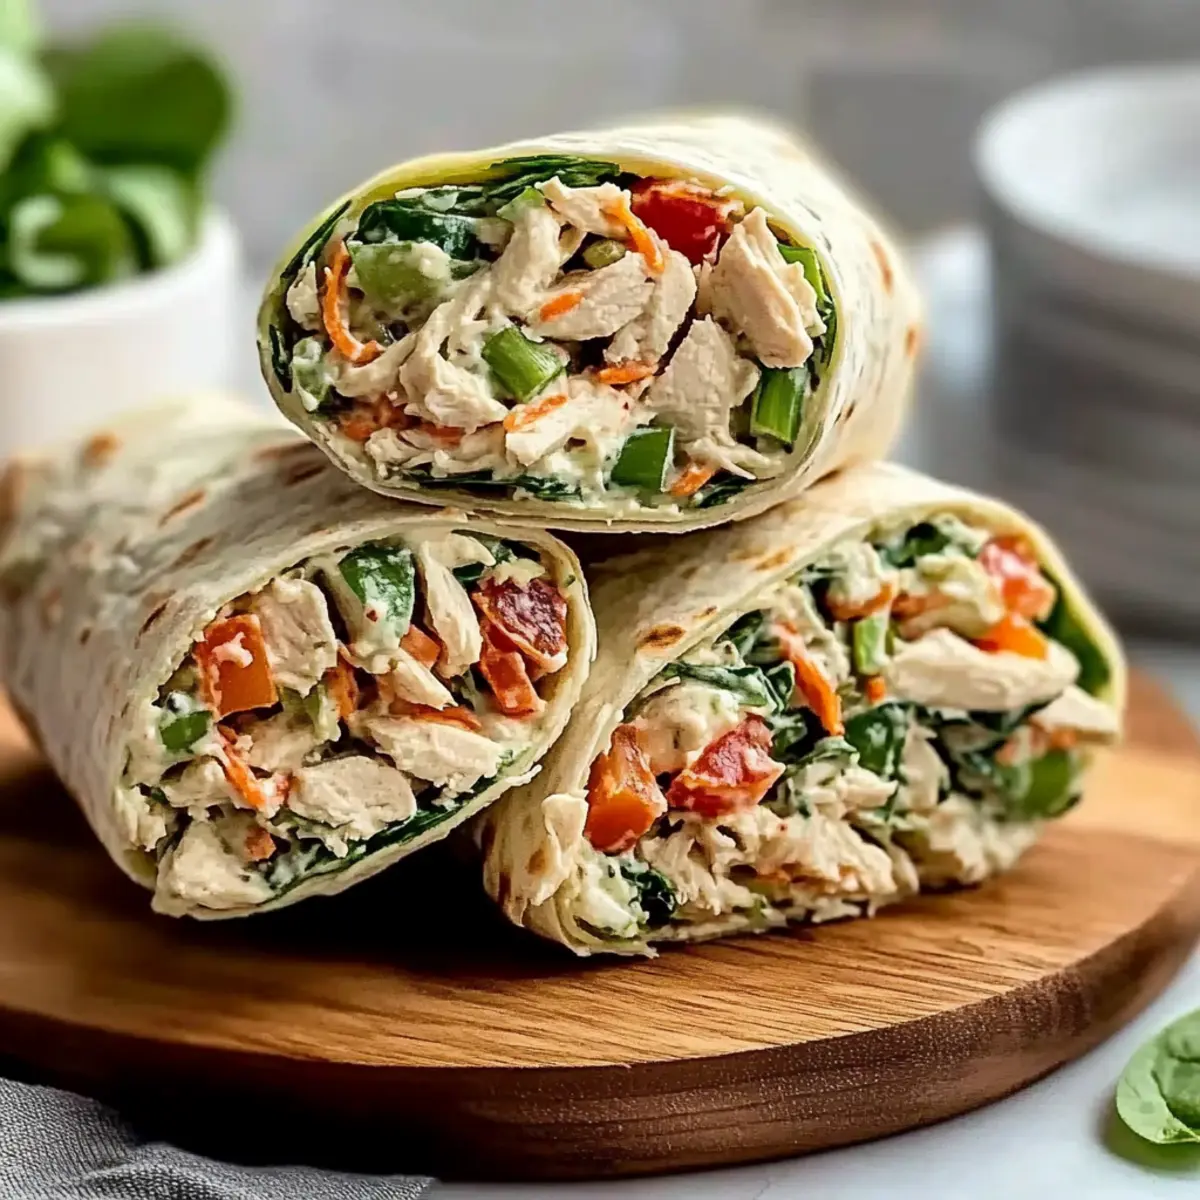
Every time I bite into a homemade chicken salad wrap, I’m transported to sun-soaked picnics and easy weekday lunches. This Homemade Chicken Salad Wrap is my secret weapon for quick meals that don’t skimp on flavor or freshness. The perfect balance of creamy yogurt and mayonnaise creates a light filling packed with seasonal vegetables and a pop of lemon zest. Not only are these wraps a delightful option for busy family days, but you can prep them ahead of time—ideal for meal prep enthusiasts! With versatile chicken choices like rotisserie or leftover grilled options, they cater to every lifestyle. Who wouldn’t want a satisfying and nutritious meal at their fingertips? Curious how to customize these delicious wraps for your next lunch adventure? Let’s dive in!
Why Choose Homemade Chicken Salad Wraps?
Freshness: With your choice of vegetables and seasonings, each bite bursts with vibrant flavors.
Quick and Easy: In just a few simple steps, you can whip up a delicious lunch—perfect for those hectic weekdays!
Meal Prep Friendly: Make a big batch in advance, then enjoy fresh wraps throughout the week, making it easier than ever to eat healthy.
Family Approved: Kids and adults alike will love these flavorful wraps, making them a hit at lunch or dinner. Try pairing them with a side of Grilled Chicken Sweet Potato Bowl for a complete meal!
Customizable: Whether you’re using leftover baked chicken or a store-bought rotisserie chicken, you can easily adapt this recipe to fit your pantry needs. Plus, check out variations for a different twist!
Homemade Chicken Salad Wrap Ingredients
• Here’s everything you need for your savory wraps!
For the Chicken Salad
- Chicken (14 oz, cooked and shredded) – Use rotisserie chicken for convenience or poached/baked for that homemade touch.
- Green Onions (2, thinly sliced) – Adds a mild onion flavor; replace with regular onions if you prefer a stronger taste.
- Yogurt (2 oz, plain, unsweetened) – Keeps the salad light and creamy; Greek yogurt makes an excellent substitution for extra thickness.
- Mayonnaise (4 oz) – Provides a delicious creaminess; feel free to use your favorite brand for a personal touch.
- Dijon Mustard (1.5 tsp) – Introduces a tangy kick; substitute with yellow mustard if that’s what you have on hand.
For the Vegetables
- Carrot (1/2, finely grated) – Adds sweetness and crunch; bell peppers can be a refreshing alternative.
- Spinach (1.5 oz, roughly chopped) – Delivers a fresh taste, or swap in shredded lettuce for a lighter option.
- Tomatoes (1 oz, diced) – Offers juiciness; grape tomatoes work beautifully and can be traded for diced cucumbers for added crunch.
- Celery (1 stalk, finely diced) – Brings a satisfying crunch; fennel can provide a nice twist if you’re feeling adventurous.
For the Dressing
- Lemon Zest (from 1/2 lemon) – Elevates the flavor profile; lime zest can be used if you’re out of lemons.
- Lemon Juice (juice of 1/2 lemon) – Balances the richness; you can reach for bottled juice in a pinch.
- Parmesan Cheese (1 oz, finely grated) – Enhances creaminess and richness; use nutritional yeast for a dairy-free option if preferred.
- Pinch of Black Pepper – Adds warmth; feel free to omit for a milder flavor.
- Dried Dill (1/2 tsp) – Provides a fresh herbal note; thyme or oregano can be great substitutes if you’re in the mood for something different.
For Assembly
- Tortillas (6, flour or whole wheat) – Perfect for holding your delicious filling; try lettuce wraps or gluten-free tortillas for a change.
Step‑by‑Step Instructions for Homemade Chicken Salad Wrap
Step 1: Prepare Ingredients
Begin by prepping your vegetables for the homemade chicken salad wrap. Dice the celery and tomatoes, thinly slice the green onions while separating the whites from the greens, and grate the carrot. Zest and juice the lemon, and chop the spinach roughly. Having all your ingredients ready will ensure a smooth mixing process and enhance your wrap’s freshness.
Step 2: Mix Dressing
In a large mixing bowl, combine the yogurt, mayonnaise, Dijon mustard, lemon juice, dill, black pepper, and finely grated Parmesan cheese. Whisk these ingredients together until the mixture is smooth and creamy, forming the perfect dressing for your chicken salad. The creamy base will bind all the flavors together beautifully, making the chicken salad wrap irresistibly delicious.
Step 3: Combine Salad
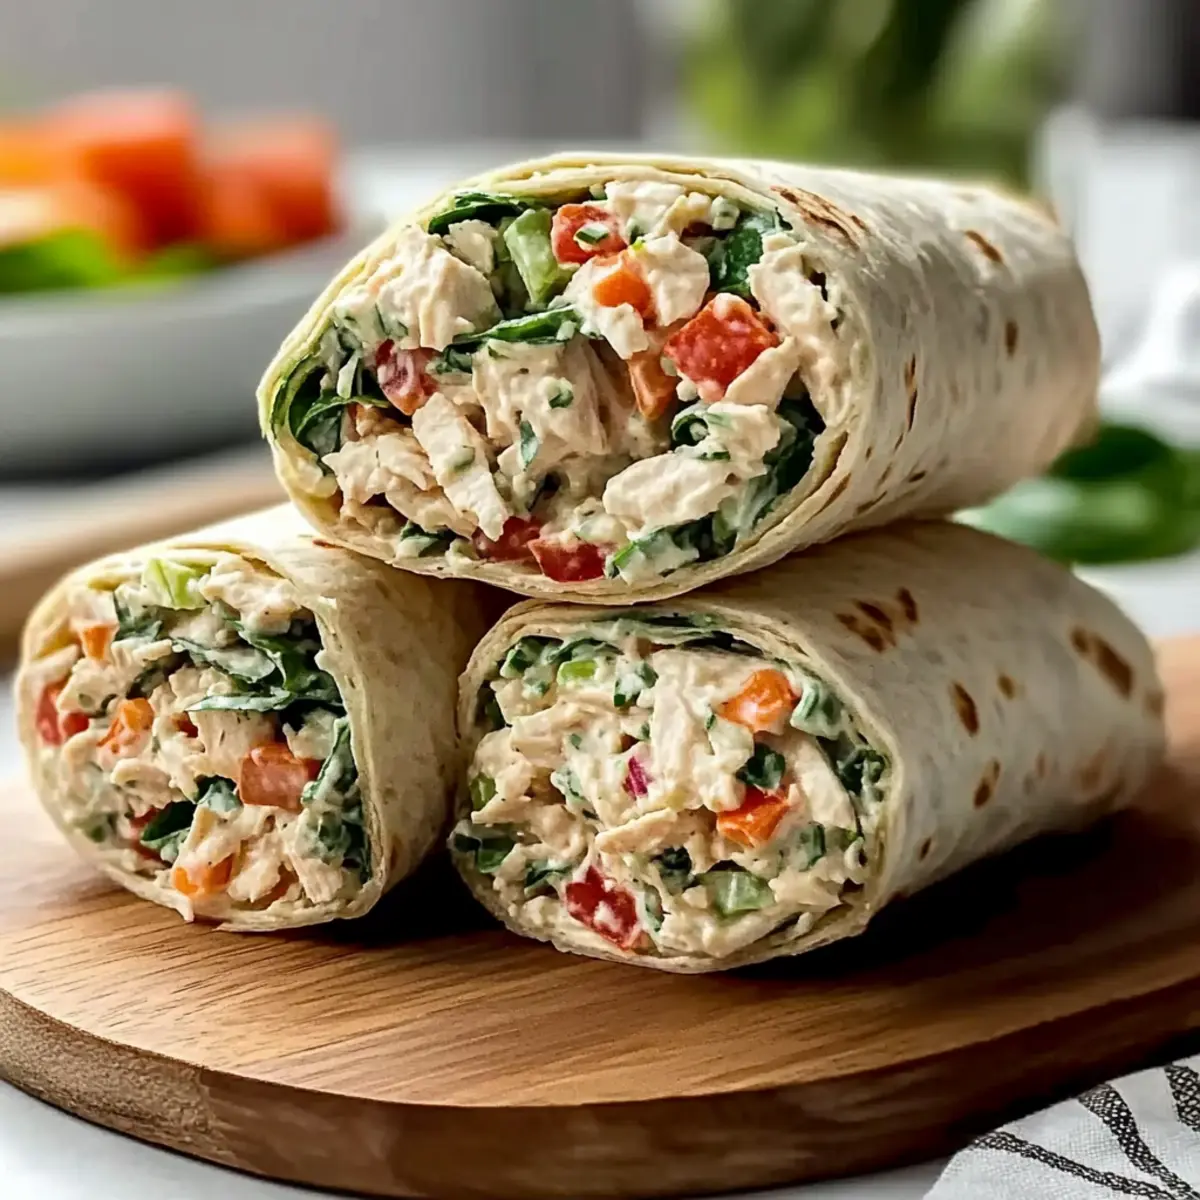
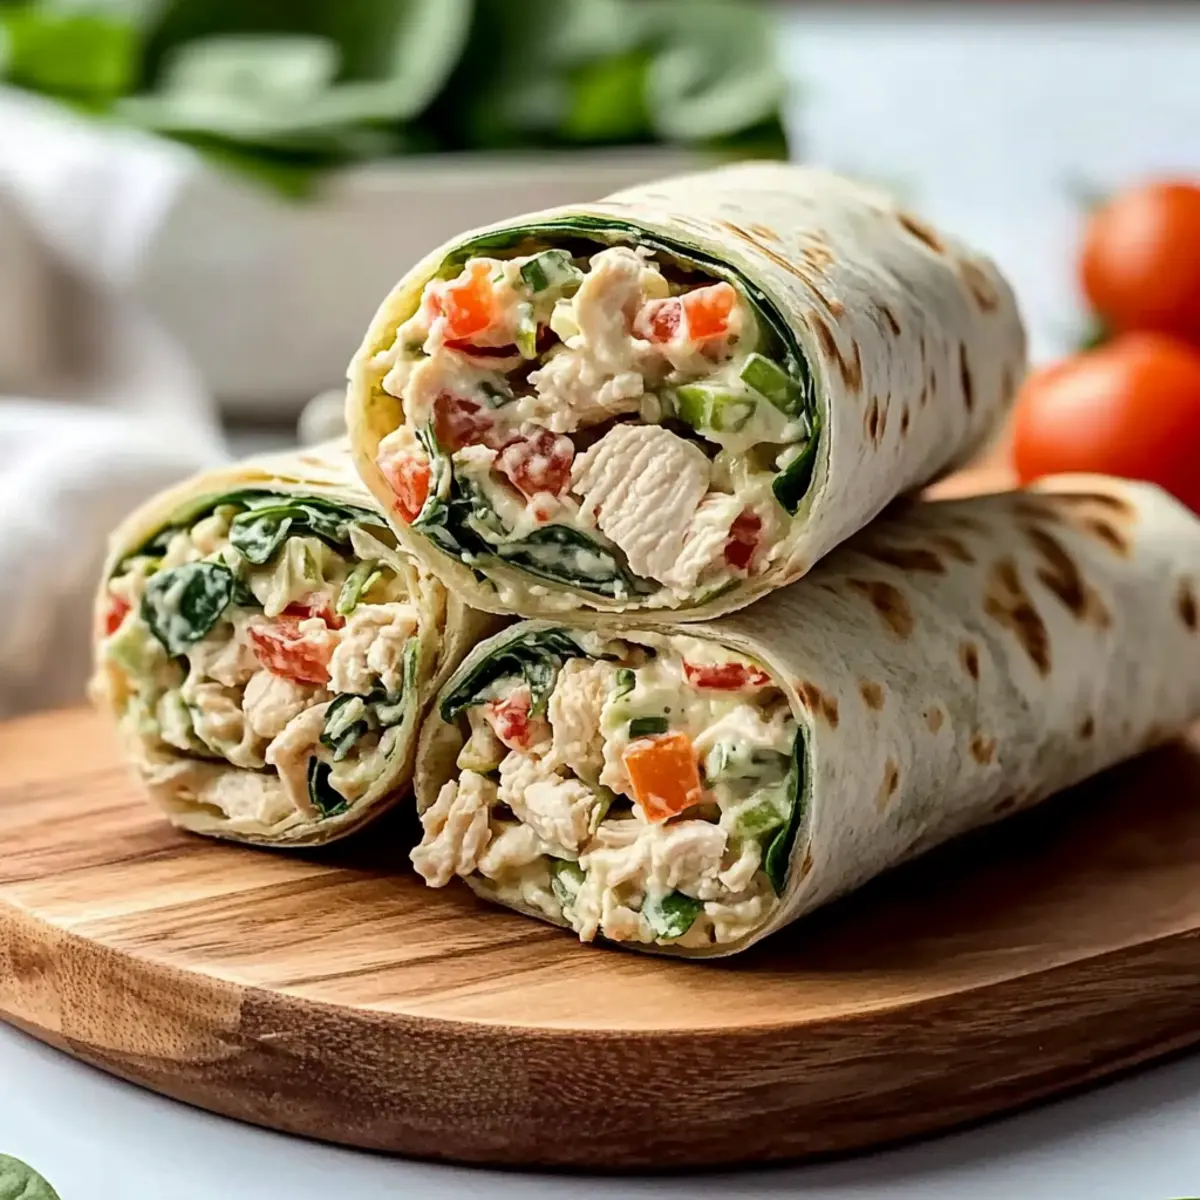
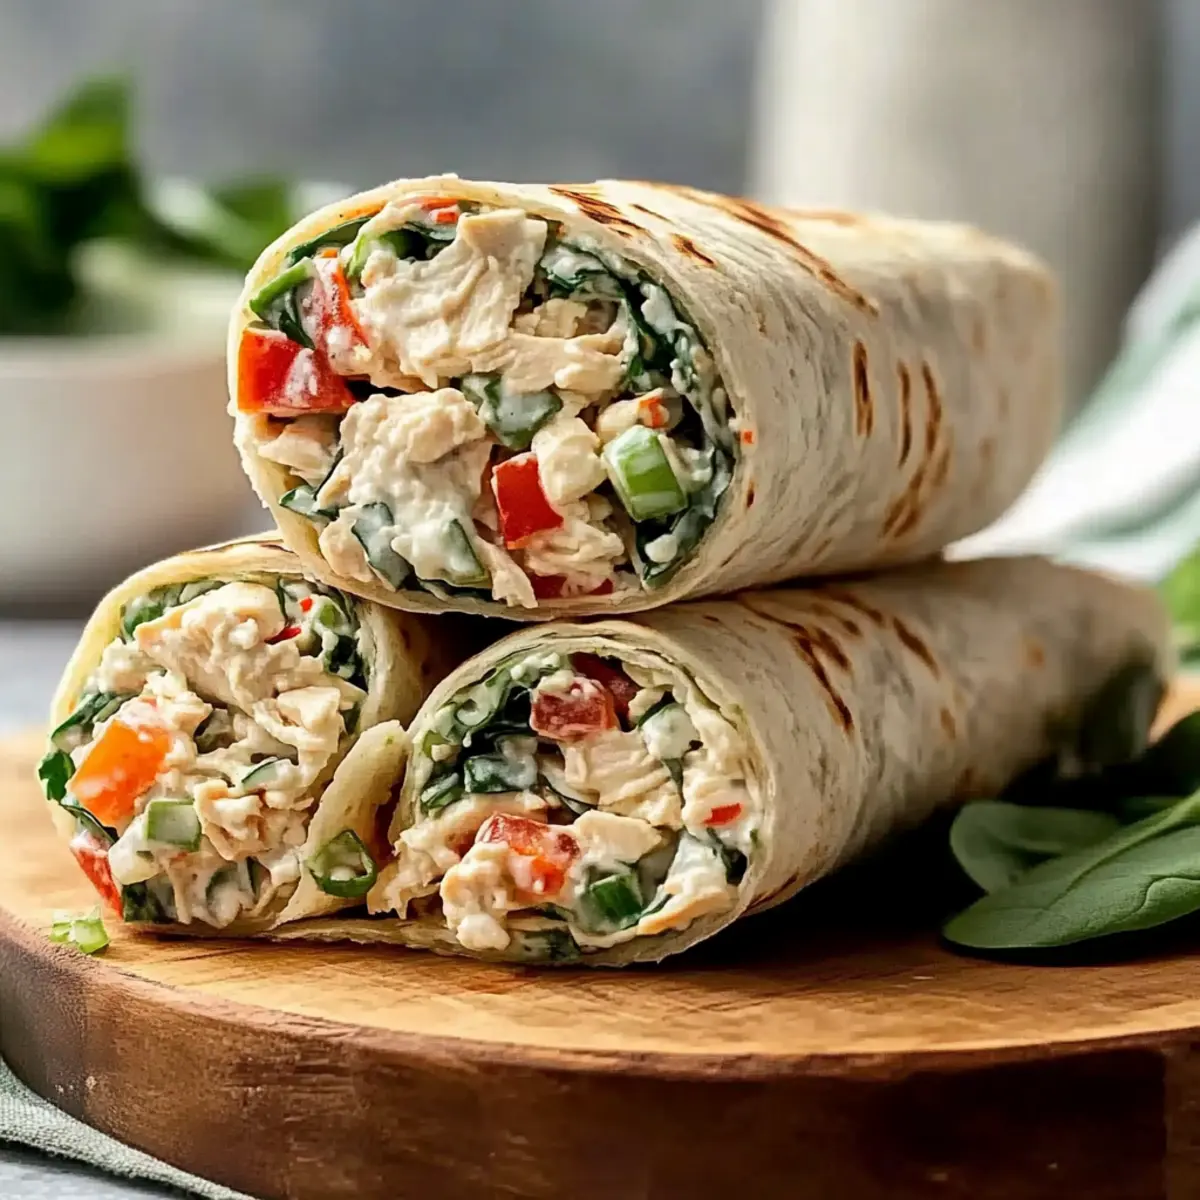
Gently fold in the shredded chicken along with all the prepared vegetables into the dressing. Ensure everything is coated evenly without overmixing, which helps maintain the crunchiness of the veggies and the tenderness of the chicken. The vibrant colors and textures will come together, creating a mouthwatering filling for your homemade chicken salad wraps.
Step 4: Warm Tortillas
To prepare your tortillas for wrapping, heat a skillet over low-medium heat. Place each tortilla in the skillet for about 20 to 30 seconds per side until they’re warmed and slightly pliable. Alternatively, you can wrap the tortillas in a damp paper towel and microwave them for 15 to 20 seconds. Warming the tortillas will make assembling the wraps easier and enhance their flavor.
Step 5: Assemble Wraps
Lay each warm tortilla flat on a clean surface and spoon 1 to 1.5 cups of the chicken salad mixture slightly off-center. Carefully fold in the sides of the tortilla and then roll it tightly from the bottom. This technique ensures that your delicious homemade chicken salad wrap stays intact and is easy to handle, making it perfect for lunches on-the-go.
Step 6: Optionally Toast
For an extra touch, heat a skillet over medium heat and place the assembled wraps seam-side down. Toast each wrap for 1 to 2 minutes per side until they’re golden and warmed through. This optional step adds a delightful crispness to the wraps, making each bite even more satisfying, while locking in the fresh flavors of the chicken salad filling.
What to Serve with Homemade Chicken Salad Wraps?
Elevate your mealtime with delightful sides and drinks that enhance the fresh flavors of your wraps.
-
Crispy Sweet Potato Fries: Their sweetness complements the savory chicken salad while adding a satisfying crunch to the meal. Serve them hot for an irresistible pairing.
-
Fresh Fruit Salad: A mix of seasonal fruits adds a refreshing contrast to the wraps, making every bite feel like a burst of sunshine. This vibrant side is perfect for serving on warm days.
-
Zesty Pasta Salad: The tangy dressing and chewy pasta offer a heartier element that balances the lightness of the wraps. A perfect make-ahead dish that can be enjoyed chilled or at room temperature.
-
Creamy Coleslaw: The crunch and tang from the cabbage create a textural contrast that pairs wonderfully. Adding a splash of vinegar keeps the flavors bright and vibrant.
-
Garlic Bread: The buttery, garlicky goodness provides comfort alongside the wraps, uniting a savory theme that’s perfect for lunch or dinner.
-
Herbal Iced Tea: A refreshing drink that doubles as a palate cleanser, the herbal notes enhance the wrap’s flavors. Serve it chilled for a delightful balance to your meal.
-
Chocolate Chip Cookies: End your meal on a sweet note! The warmth and gooeyness of the cookies feel like a comforting hug to round off your delightful afternoon.
Expert Tips for Homemade Chicken Salad Wraps
-
Cool the Chicken: Ensure cooked chicken is completely cooled before mixing to maintain the freshness of the salad and prevent wilting.
-
Avoid Overstuffing: Stick to 1 to 1.5 cups of filling to avoid a messy wrap; it makes rolling easier and ensures everything stays intact.
-
Toast Wisely: If you choose to toast your wraps, wait to add spinach and tomatoes until after toasting to keep them crisp and fresh.
-
Perfect Flavor Balance: Don’t skip the lemon juice and zest; they are essential for enhancing the overall flavor of your homemade chicken salad wrap.
-
Mix Ingredients Gently: Fold the ingredients together gently to keep the vegetables crunchy; overmixing can turn your salad mushy.
How to Store and Freeze Homemade Chicken Salad Wraps
Fridge: Store assembled wraps in an airtight container for up to 4 days. To maintain tortilla crispness, separate the chicken salad from the tortillas until ready to serve.
Freezer: For longer storage, freeze chicken salad mixture (without tortillas) in an airtight container for up to 3 months. Thaw in the fridge overnight before assembling fresh wraps.
Reheating: If toasting wraps after freezing, heat seam-side down in a skillet for 1-2 minutes until warmed through, then add fresh vegetables.
Make-Ahead: Prepare chicken and chop vegetables up to 3 days in advance. Keep everything prepared separately and mix right before you’re ready to assemble your delicious Homemade Chicken Salad Wraps.
Homemade Chicken Salad Wrap Variations
Feel free to turn these chicken salad wraps into your personal canvas by adding a splash of creativity and flavor!
- Rotisserie Chicken: Use leftover rotisserie chicken for a quick and flavorful option that’ll cut down on prep time.
- Greek Yogurt: Swap out the plain yogurt for Greek yogurt for added creaminess and a protein boost that packs a punch!
- Crunchy Cucumbers: Add diced cucumbers for a refreshing crunch that contrasts nicely with the creamy filling. They brighten each bite!
- Spiced Up: For added heat, mix in some diced jalapeños or a dash of hot sauce to the chicken salad for a zesty kick.
- Herbaceous Twist: Integrate fresh herbs such as basil or cilantro instead of dill for a fresh twist—enhancing the flavor profile beautifully.
- Vegan Version: Substitute chicken with chickpeas or tofu, and use dairy-free yogurt and mayonnaise for a delicious plant-based wrap.
- Different Greens: Experiment with mixed greens or arugula instead of spinach for a peppery bite that elevates your wrap.
- Lettuce Wraps: For a low-carb twist, take your chicken salad filling and wrap it in large lettuce leaves instead of tortillas for a lighter, fresh experience.
With so many variations, your homemade chicken salad wraps can cater to every mood and dietary need. Discover your favorite combination, and don’t forget to try pairing them with a side of Fiesta Lime Chicken or Cowboy Butter Chicken for an even more delightful meal!
Make Ahead Options
These Homemade Chicken Salad Wraps are ideal for meal prep, allowing you to enjoy fresh flavors even on the busiest days! You can prepare the chicken salad mixture up to 3 days in advance, keeping it in an airtight container in the refrigerator to maintain maximum freshness. For the best quality, store the tortillas separately to prevent them from getting soggy. When you’re ready to serve, simply warm the tortillas (in a skillet or microwave) and fill them with the prepped chicken salad. This ensures you’ll have a satisfying, nutritious meal ready in minutes—perfect for busy lunches or dinners!
Homemade Chicken Salad Wrap Recipe FAQs
What type of chicken should I use for the wraps?
Absolutely! You can use rotisserie chicken for convenience, or if you enjoy cooking, you can poach or bake your chicken for a homemade touch. Leftover grilled chicken works wonderfully too! The key is to have around 14 oz of cooked and shredded chicken for the perfect filling.
How long can I store the chicken salad?
Chicken salad keeps well in the fridge for up to 4 days when stored in an airtight container. Remember to keep the salad separate from the tortillas until you’re ready to eat to prevent sogginess—just assemble when you’re ready for a fresh wrap!
Can I freeze the chicken salad mixture?
Yes, you can! For freezing, place the chicken salad mixture (without the tortillas) in an airtight container and store it for up to 3 months. When you’re ready to enjoy, simply thaw it in the fridge overnight. This way, you’ll have a quick meal ready to go!
What if I don’t have all the ingredients at home?
The more the merrier! This recipe is very customizable. Feel free to substitute ingredients based on what you have; for example, bell peppers can replace carrots, or you can use Greek yogurt instead of regular yogurt for added creaminess. Don’t hesitate to get creative with the veggies or even swap the cheese and herbs.
Is this recipe suitable for those with dairy allergies?
If you’re looking for a dairy-free option, you can replace the Parmesan cheese with nutritional yeast for a similar flavor profile. Additionally, make sure to use dairy-free yogurt and mayonnaise to ensure the wraps are safe for anyone avoiding dairy products. It’s all about adapting to your needs!
Delicious Homemade Chicken Salad Wrap: Your Easy Lunch Solution
Ingredients
Equipment
Method
- Begin by prepping your vegetables for the homemade chicken salad wrap. Dice the celery and tomatoes, thinly slice the green onions while separating the whites from the greens, and grate the carrot. Zest and juice the lemon, and chop the spinach roughly.
- In a large mixing bowl, combine the yogurt, mayonnaise, Dijon mustard, lemon juice, dill, black pepper, and finely grated Parmesan cheese. Whisk these ingredients together until the mixture is smooth and creamy.
- Gently fold in the shredded chicken along with all the prepared vegetables into the dressing to ensure everything is coated evenly without overmixing.
- To prepare your tortillas for wrapping, heat a skillet over low-medium heat. Place each tortilla in the skillet for 20 to 30 seconds per side until they're warmed.
- Lay each warm tortilla flat on a clean surface and spoon 1 to 1.5 cups of the chicken salad mixture slightly off-center. Carefully fold in the sides of the tortilla and then roll it tightly from the bottom.
- For an extra touch, heat a skillet over medium heat and place the assembled wraps seam-side down. Toast each wrap for 1 to 2 minutes per side until they’re golden and warmed through.
Leave a Reply