
“Do you want to delight your little ghouls and goblins this Halloween with a fun twist on pizza?” That’s the question I found myself asking while swirling tomato sauce and string cheese in my kitchen one afternoon. The result? These adorable Halloween Mini Mummy Pizzas! It only takes 15 minutes to whip up this quick and family-friendly snack, making it a lifesaver for busy parents or anyone looking to escape the fast-food trap this season. With just four simple ingredients, these pizzas are not only customizable but also a healthier alternative to traditional Halloween treats. Whether you whip them up for a party or just a spooky family movie night, you’ll find that everyone will be begging for seconds. Curious about how these little mummies turn your kitchen into a festive hub? Let’s get started!
Why Are Mini Mummy Pizzas a Hit?
Quick & Easy: Just 15 minutes from prep to plate, making them a perfect solution for busy weeknights.
Fun Presentation: The spooky mummy design delights kids and adults alike, transforming ordinary pizza into a festive treat.
Customizable: Easily swap ingredients for dietary preferences—try vegan cheese for dairy-free options or change up toppings for variety!
Healthy Alternative: At around 185 calories each, these Mini Mummy Pizzas are a lighter choice compared to traditional snacks, letting you indulge guilt-free.
Crowd-Pleaser: Perfect for Halloween parties, family movie nights, or any gathering, ensuring everyone leaves happy! If you’re feeling creative, check out my Cauldron Cookies for more festive fun!
Halloween Mini Mummy Pizza Ingredients
For the Pizza Base
• English Muffins – The sturdy foundation for your mummies; mini pita bread or crumpets also work well.
For the Sauce
• Pizza Sauce – A flavorful layer that adds moisture; feel free to substitute with your favorite tomato sauce.
For the Mummy Wrappings
• String Cheese – Melted into lovely bandages; vegan cheese strips or thin zucchini peels are great dairy-free alternatives.
For the Eyes
• Olives – These dark slices create the spooky eyes; blueberries can be an adventurous twist if you’re feeling creative.
These Halloween Mini Mummy Pizzas are so versatile and fun, allowing you to craft a spooky snack that satisfies everyone’s taste buds!
Step‑by‑Step Instructions for Halloween Mini Mummy Pizzas
Step 1: Preheat the Oven
Start by preheating your oven to 220°C (430°F), or 200°C for fan-forced settings. Ensure the oven is fully heated as this will give your Halloween Mini Mummy Pizzas that perfect crispy edge. While waiting, get your baking tray ready and lined with parchment paper for easy cleanup later.
Step 2: Prepare the Pizza Base
Slice each English muffin in half to create the pizza bases. If you prefer a little crunch, you can toast the muffin halves for about 3-5 minutes until golden brown. This extra step not only enhances the flavor but also provides a sturdier base for your mummy toppings.
Step 3: Spread the Sauce
Using a spoon, generously spread pizza sauce over the cut sides of each muffin. Ensure every nook is covered to infuse flavor into your Halloween Mini Mummy Pizzas. The vibrant red sauce will also contrast beautifully against the stretchy cheese you’ll add next, making for a visually appealing treat.
Step 4: Create the Mummy Wrappings
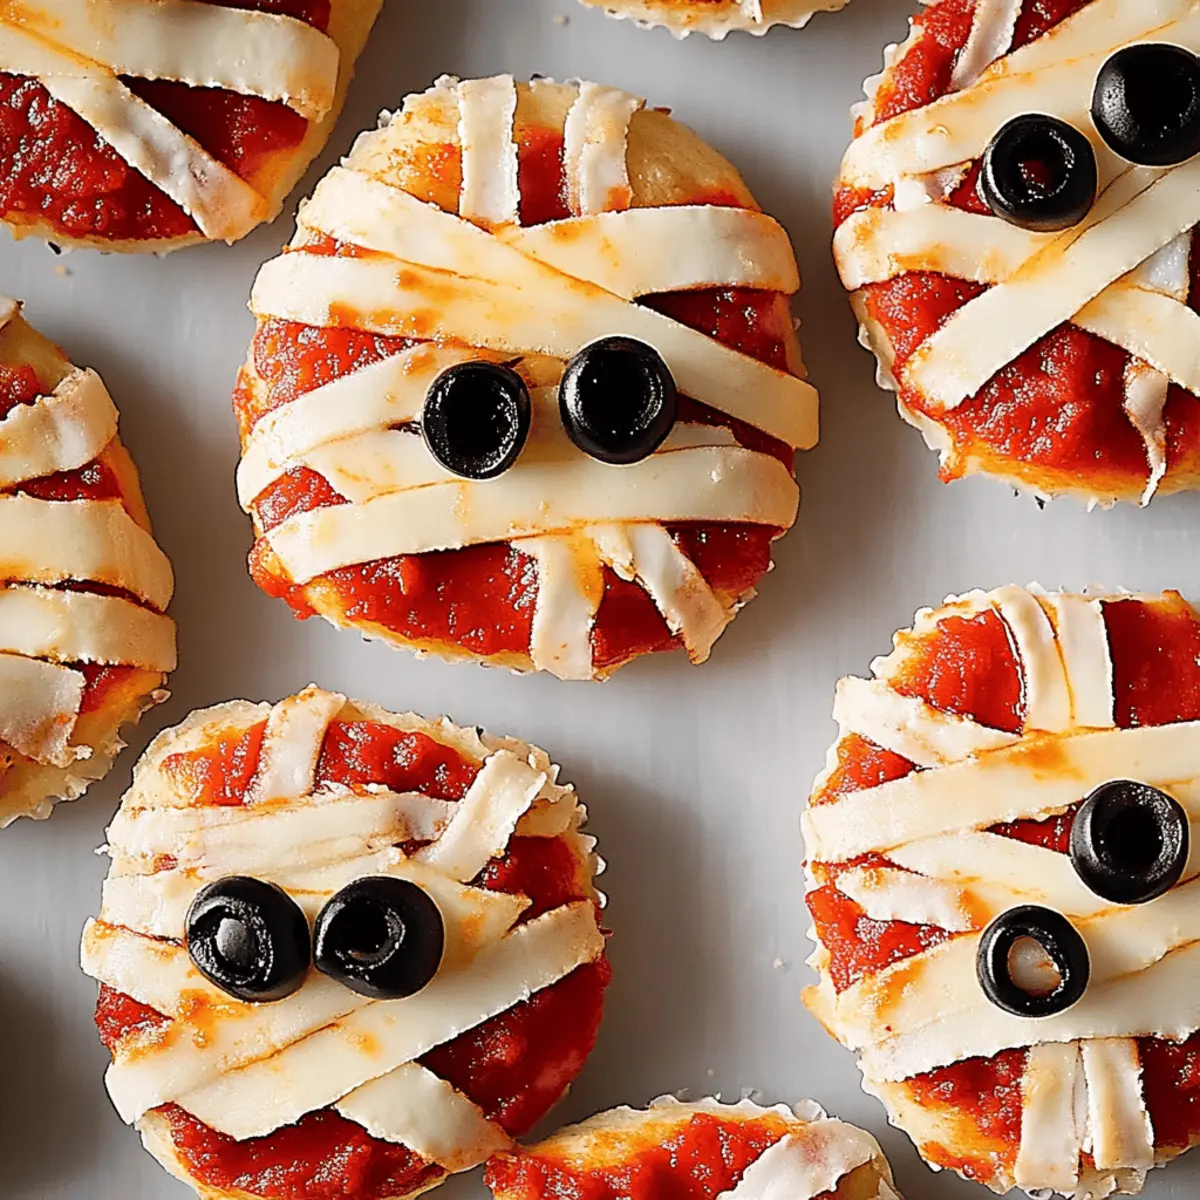
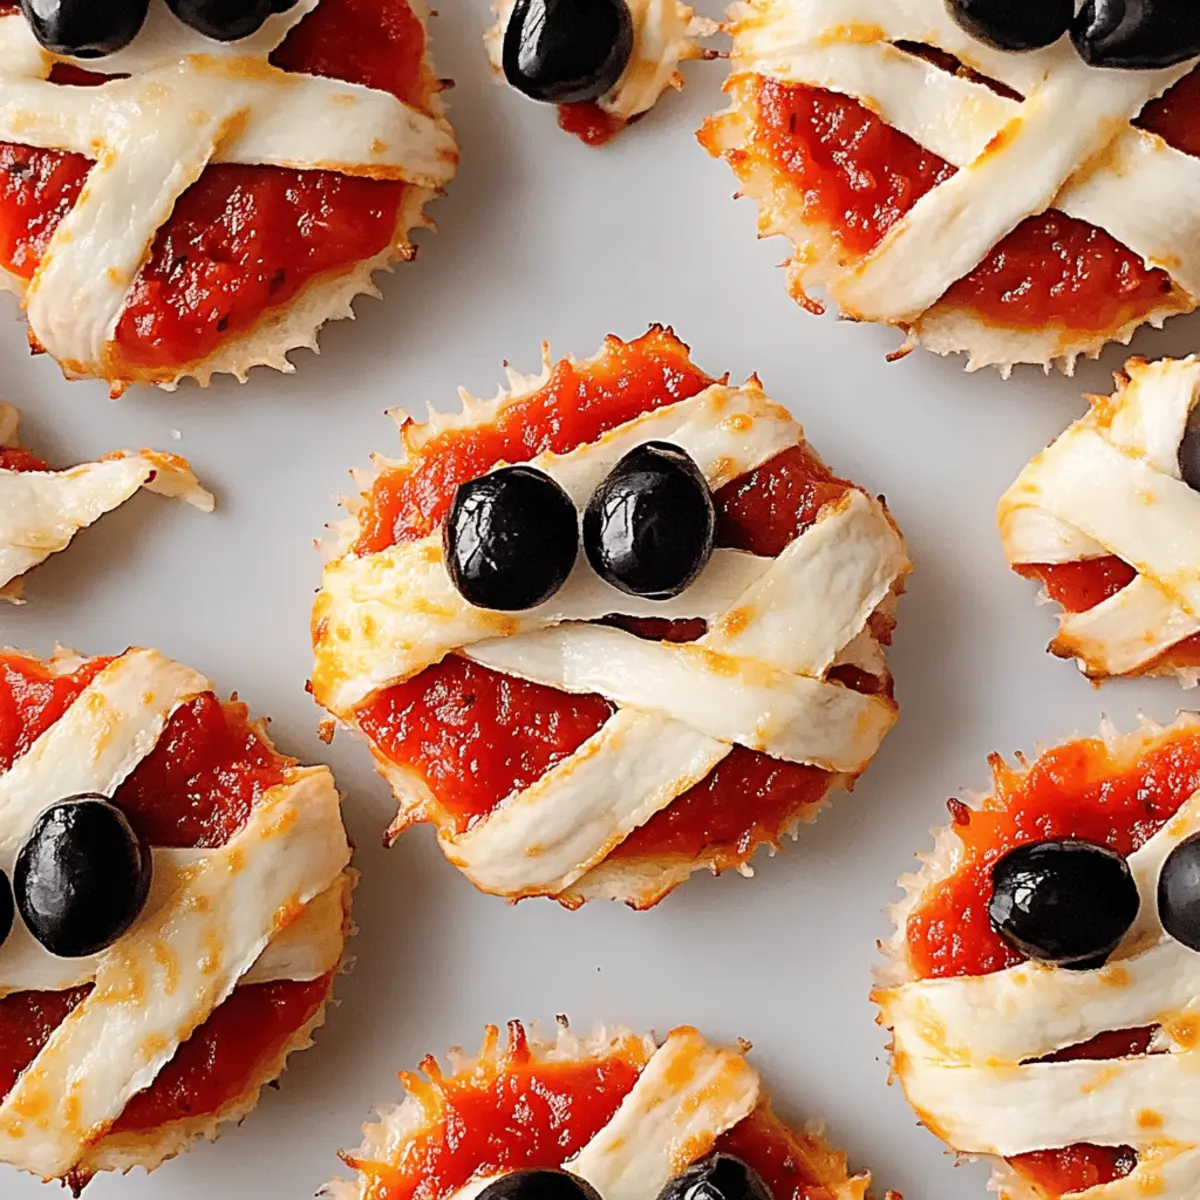
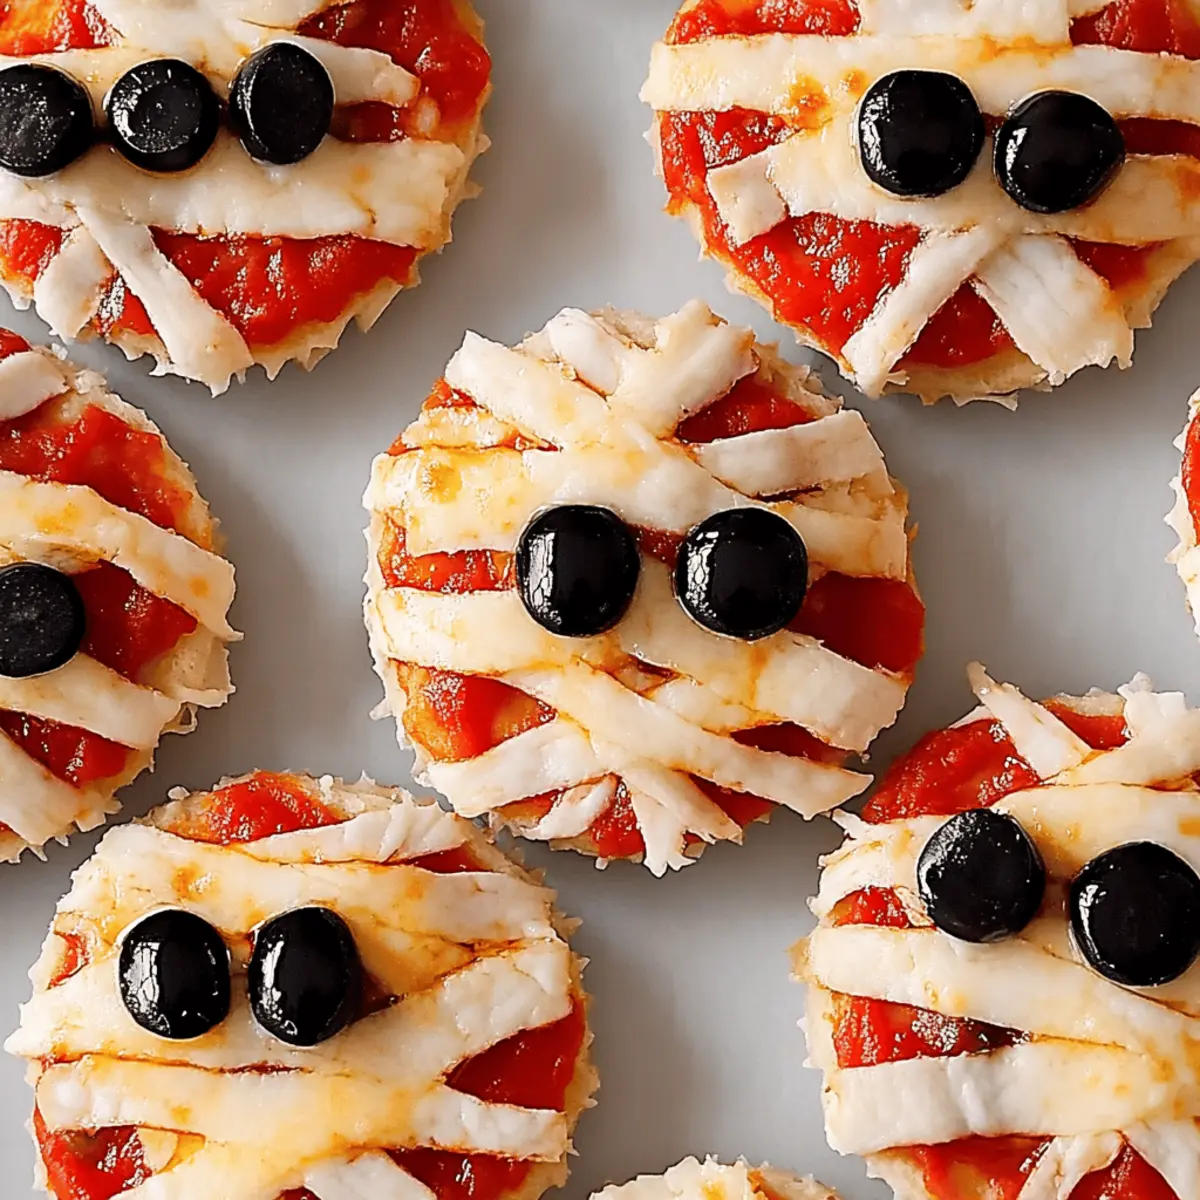
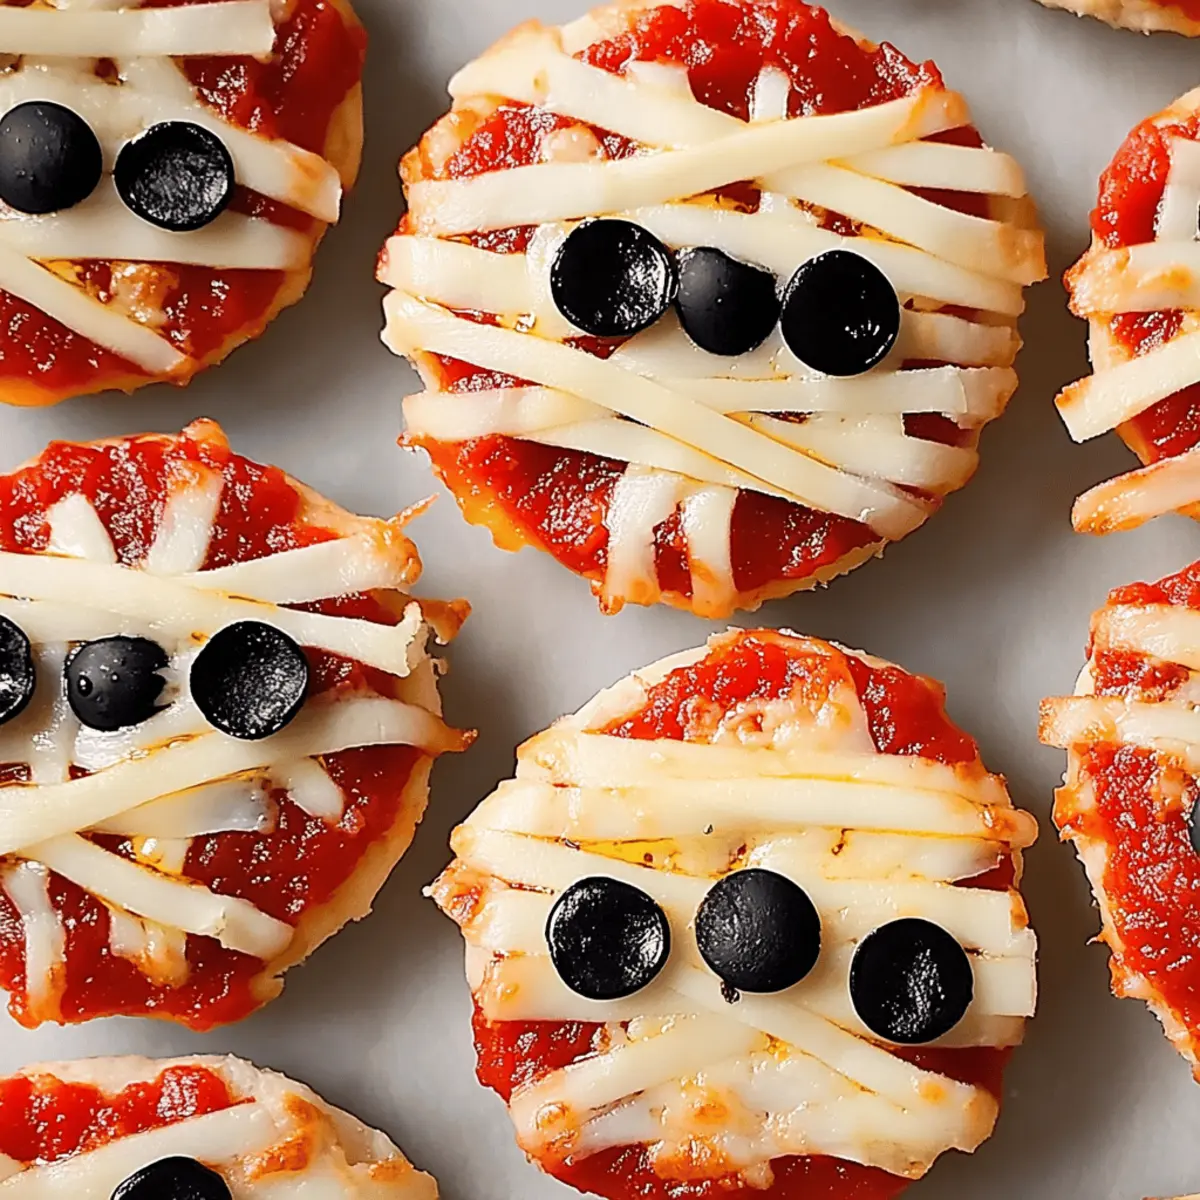
Pull apart the strings of cheese into long strips that can resemble bandages. Drape these strips over the sauced muffins, leaving a small gap in the middle for the “eyes” to peek through. Aim for an overlapping pattern to mimic mummy wrappings, ensuring the cheese is evenly distributed and will melt to perfection.
Step 5: Add the Eyes
For the spooky eyes, place two olive slices into each gap left in the cheese. Make sure they sit snugly so they don’t slide off during baking. These little details are what will turn your pizzas into adorable Halloween Mini Mummy Pizzas, sure to impress everyone at your gathering.
Step 6: Bake the Pizzas
Carefully place the prepared mini mummies on your baking tray and slide them into the preheated oven. Bake for 5 to 10 minutes, watching closely for the cheese to melt and become bubbly. The ideal state is when the cheese is delightfully gooey but not overly browned, creating a perfect mummy effect.
Step 7: Serve and Enjoy
Once out of the oven, let the Halloween Mini Mummy Pizzas cool for a minute, as the cheese will be hot. Serve them immediately on a festive platter, showcasing their playful design. Gather your family or friends and watch as they delight in these fun, spooky treats that are sure to vanish faster than you can make them!
Halloween Mini Mummy Pizzas Variations & Substitutions
Feel free to get creative with these Halloween Mini Mummy Pizzas and elevate your snacking game!
- Gluten-Free: Use gluten-free English muffins or rice cakes as the base for a delicious alternative. Your spooky mummies can be that much more inclusive!
- Vegan Cheese: For a dairy-free twist, swap in vegan cheese strips which melt beautifully and maintain that delightful mummy effect. Everyone deserves to join in the fun!
- Add Protein: Boost the nutrition by adding slices of cooked chicken, turkey pepperoni, or bacon bits underneath the cheese. The savory flavors will take your mummies to the next level.
- Spicy Twist: Sprinkle on some crushed red pepper flakes or jalapeño slices for those who enjoy a little heat. These Mini Mummy Pizzas can become a spooktacular spicy treat!
- Veggie Loaded: Layer diced bell peppers, onions, or spinach beneath the cheese. Not only does this add flavor and color, but it also sneaks in some extra nutrition for the kiddos!
- Creative Eyes: Swap olives for cherry tomatoes or even mini marshmallows for a fun, sweet twist. Mummy eyes can be even more amusing with these flavorful alterations.
- Sweets for Treats: Transform these into a dessert by using a sweetened cream cheese spread and topping with fruit for a Halloween-themed delicacy. Just think of how delightful your guests will find mini mummy fruit pizzas!
- Snack Packs: Assemble the pizzas without baking, then pack them for school lunches or picnics. A little homemade charm goes a long way in making your kids excited for lunch!
These variations make the Halloween Mini Mummy Pizzas versatile enough to please all tastes. If you’re looking for another festive treat, check out my spooktacular Halloween Oreo Cookies or my delightful Candy Corn Cookies for even more fun in the kitchen!
Expert Tips for Halloween Mini Mummy Pizzas
- Perfect Cheese Strips: Ensure your string cheese is pulled apart into long, thin strips for the best mummy appearance. If pieces are too short, they may not create the iconic bandage look.
- Try Before You Serve: Bake a few extra mummies to test doneness. You want the cheese to be melty but not brown. It’s a good way to adjust bake times for your oven.
- Prep Ahead: Assemble your Halloween Mini Mummy Pizzas ahead of time without the olives. Cover and refrigerate; add olives just before baking to keep them fresh.
- Storage Savvy: Store any leftovers in an airtight container but consume them within 2 days. Reheat in the oven to retain their crispness—microwaving may result in soggy bases.
- Vegan Options: For a dairy-free variation, use vegan cheese strips for your mummies. You won’t sacrifice flavor, and everyone can partake in this Halloween delight!
What to Serve with Halloween Mini Mummy Pizzas
Enjoy these spooky treats alongside delightful accompaniments that elevate your Halloween celebration!
-
Crispy Veggie Sticks: Fresh cucumber, carrots, and bell peppers add a nice crunch and vibrant color to your platter, making it more festive.
-
Haunted Hummus: A spooky dip made with chickpeas, garlic, and tahini. It pairs perfectly with the mummies and adds a nutritious touch.
-
Sweet Potato Fries: Their warm, crispy exterior offers a delightful contrast to the gooey pizza, while providing a hint of sweetness that everyone loves.
-
Ghostly Guacamole: Creamy avocado dip that complements the pizzas’ savory notes, it’s a crowd-pleaser with a hint of green simply screaming Halloween fun!
-
Chilling Apple Slices: Fresh, tart apples drizzled with peanut butter or caramel provide a delightful, healthy sweetness that counters the savory flavors of the pizzas.
-
Fizzy Spooky Punch: A refreshing blend of citrus juices mixed with sparkling water or a splash of ginger ale makes for a fun, festive drink option for all ages.
Each of these pairings beautifully complements your Halloween Mini Mummy Pizzas, creating a balanced and enticing meal that’s sure to be the talk of the spooky season!
How to Store and Freeze Halloween Mini Mummy Pizzas
Fridge: Place leftover Halloween Mini Mummy Pizzas in an airtight container. They can be stored for up to 2 days, but keep in mind the base may become softer over time.
Freezer: For longer storage, freeze assembled but unbaked pizzas. Wrap individual mummies tightly in plastic wrap, then foil, and store them for up to 1 month.
Reheating: Bake frozen mummies from the freezer at 220°C (430°F) for about 10-12 minutes until heated through and the cheese is melty.
Make-Ahead Option: You can also assemble the pizzas without olives, refrigerate, and add the olives just before baking. This method ensures freshness and maximum flavor!
Make Ahead Options
These Halloween Mini Mummy Pizzas are a fantastic choice for meal prep, allowing you to enjoy family time without stress! You can assemble the pizzas (excluding the olives) up to 24 hours in advance. Simply prepare your muffin bases, spread the sauce, and layer the cheese, then store them in an airtight container in the refrigerator to maintain quality. To ensure your mummies stay festive and tasty, reheat in the oven at 220°C (430°F) for about 5-7 minutes before serving, adding the olive eyes just before baking. This way, you’ll have delicious, spooky pizzas ready with minimal effort on busy weeknights!
Halloween Mini Mummy Pizzas Recipe FAQs
What type of English muffins work best for Mini Mummy Pizzas?
Absolutely! English muffins are the ideal base for these Mummy Pizzas due to their sturdy structure. You can also use mini pita bread or crumpets as tasty alternatives if English muffins aren’t available.
How should I store leftover Mini Mummy Pizzas?
Very! To store leftovers, place them in an airtight container in the refrigerator. They’ll stay fresh for up to 2 days. Remember, the longer they sit, the softer the base may become. Enjoy them quickly for the best texture!
Can I freeze Mini Mummy Pizzas?
Certainly! You can freeze the assembled but unbaked Mini Mummy Pizzas. Just wrap each one tightly in plastic wrap, then in foil, and store them in the freezer for up to 1 month. When ready to bake, simply pop them in the oven straight from the freezer for approximately 10-12 minutes at 220°C (430°F) until heated through and bubbly.
What can I use instead of olives for the eyes?
Great question! If olives aren’t your thing, you can try using blueberries or small cherry tomatoes for a fun and fruity twist. It’s a creative way to add a pop of color while keeping it spooky!
How can I avoid the cheese being too greasy?
A common concern! To prevent overly greasy cheese, make sure to pull your string cheese into long, thin strips for an even melt. Additionally, bake until just bubbly – this will keep it from becoming overly brown or greasy.
Are there any dietary substitutions I can make for Mini Mummy Pizzas?
Absolutely! For a dairy-free version, opt for vegan cheese strips or thinly sliced zucchini instead of string cheese. You can also customize your toppings, swapping in different vegetables or proteins to fit dietary preferences. Make it your own delightful, spooky treat!
Halloween Mini Mummy Pizzas: Quick & Fun Family Treats
Ingredients
Equipment
Method
- Preheat your oven to 220°C (430°F), or 200°C for fan-forced settings. Prepare a baking tray lined with parchment paper.
- Slice each English muffin in half to create pizza bases. Optionally, toast for 3-5 minutes until golden brown.
- Spread pizza sauce over the cut sides of each muffin, ensuring complete coverage for flavor.
- Pull apart the cheese into strips and drape over the muffins, leaving space in the middle for the eyes.
- Place two olive slices into the gaps for eyes, ensuring they sit snugly.
- Bake on the prepared tray for 5 to 10 minutes until the cheese is melted and bubbly but not browned.
- Allow pizzas to cool for a minute before serving on a festive platter.
Leave a Reply