
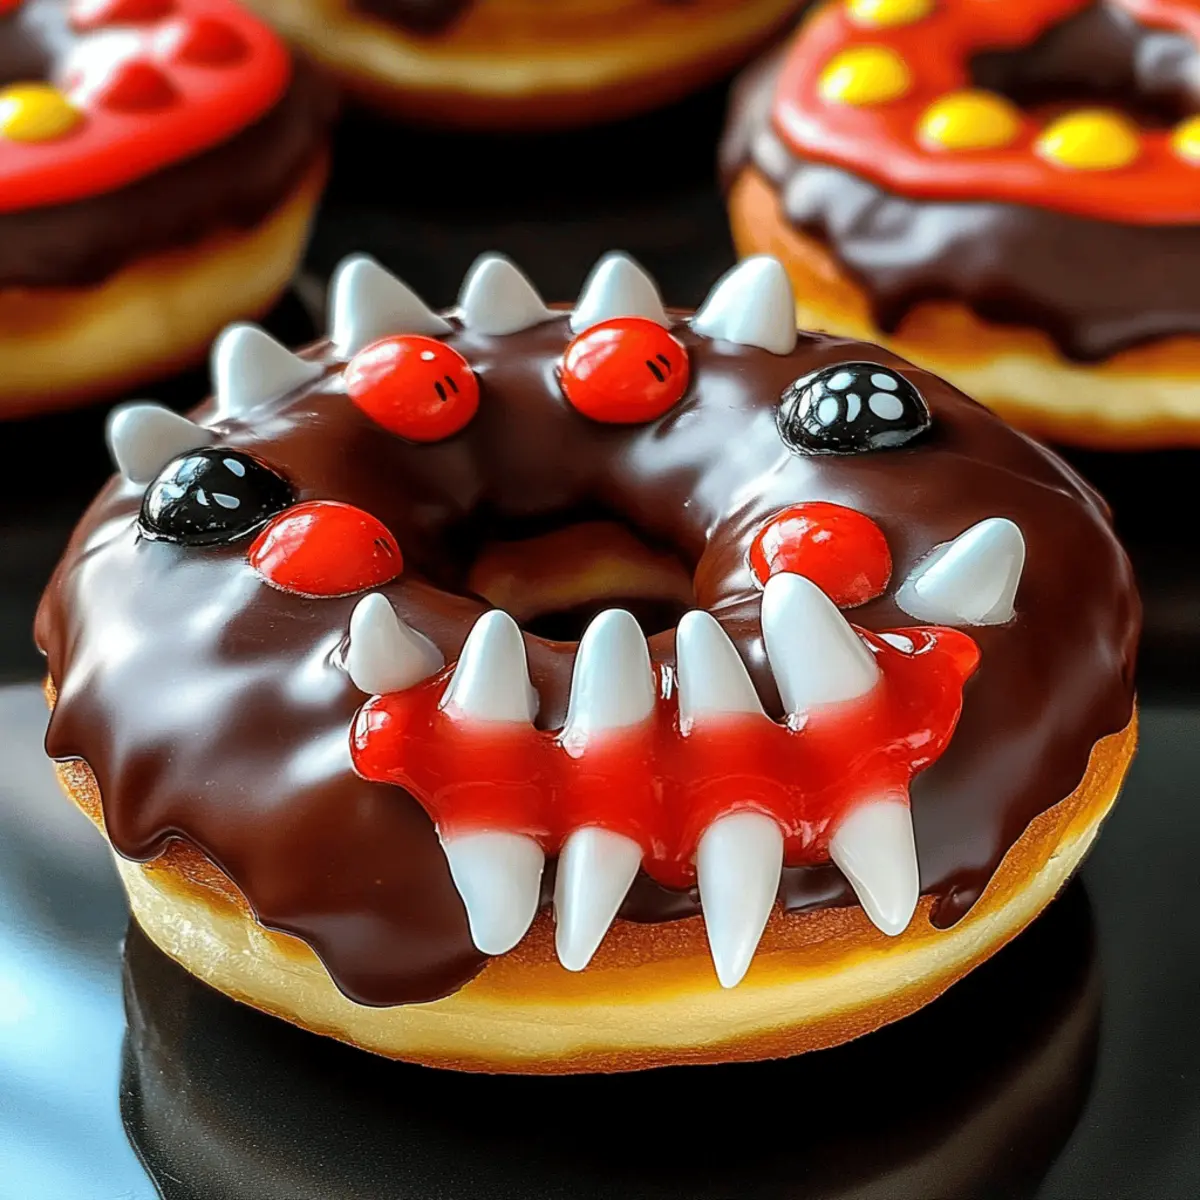
As I scrolled through countless Halloween party ideas, a thought struck me: what’s a celebration without a playful twist on dessert? Enter my Halloween Donuts With Teeth! These cheeky little delights are perfect for captivating the kids while sending giggles across the table. With their spooky vampire teeth and candy eyeballs, they’re not just visually amusing—they’re also a breeze to whip up, making them an excellent choice for busy parents or party planners. Whether it’s a classroom festivity or a spirited gathering with friends, these donuts combine a deliciously sweet flavor with a fun factor that will keep everyone smiling. Can you imagine the laughter as those devouring them pretend to be fearsome vampires? Let’s dive into this frightfully fun recipe and create some Halloween magic together!
Why are these donuts a Halloween hit?
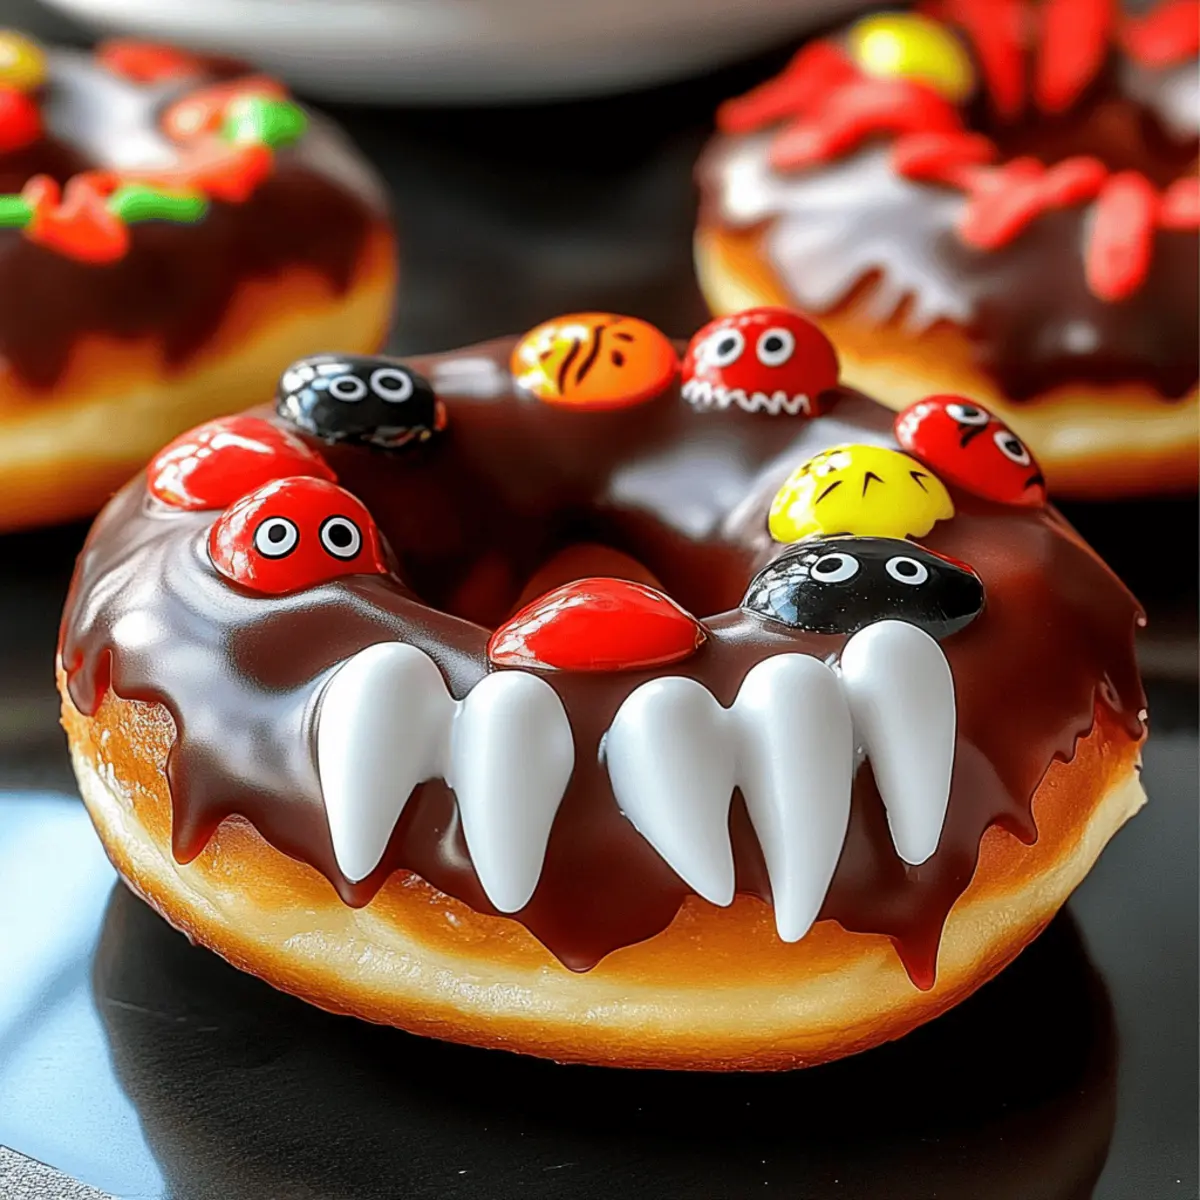
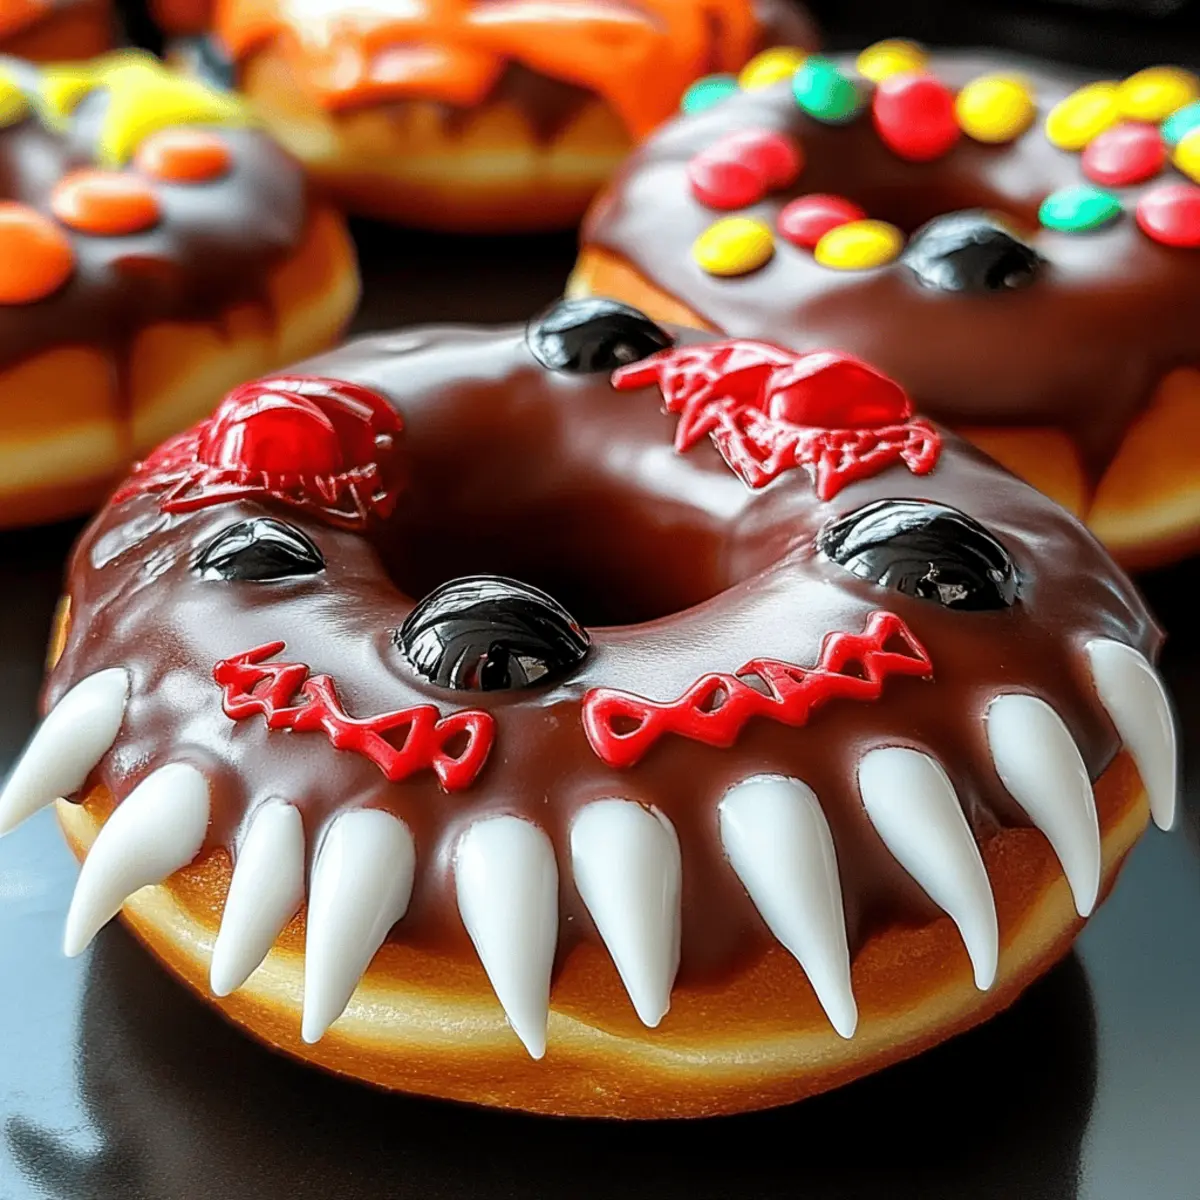
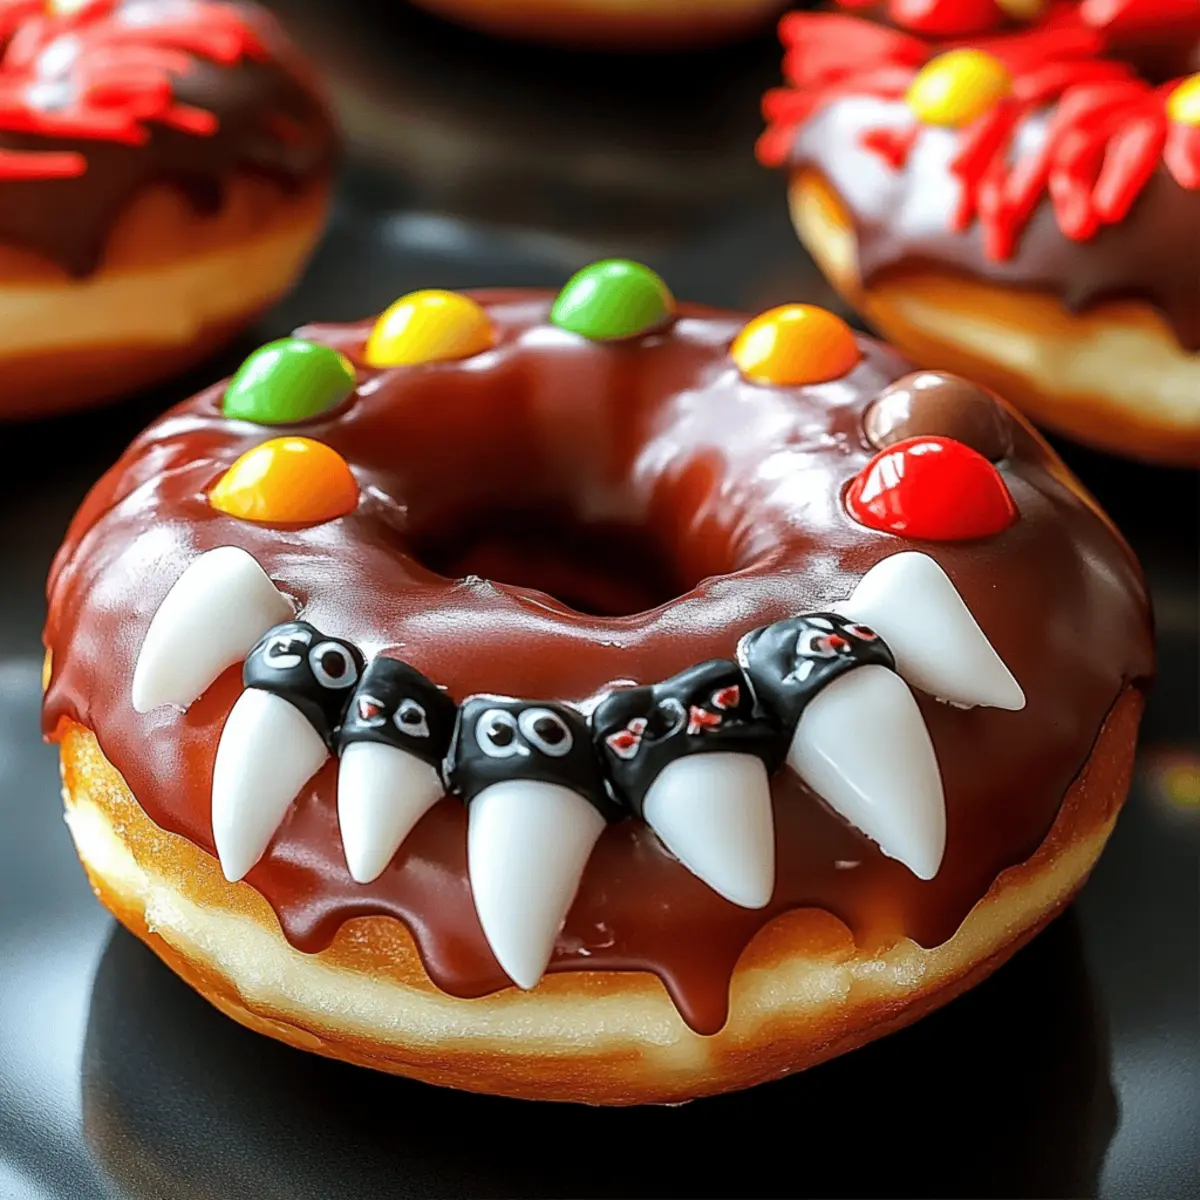
Visually Striking: These Halloween donuts feature playful vampire teeth and quirky candy eyeballs, making them an instant conversation starter at any gathering.
Easy to Make: With just a few ingredients and simple steps, you can whip these up in no time, perfect for busy parents or last-minute party planners.
Kid-Friendly Fun: Children will love helping you decorate, turning the kitchen into a candy-coated creativity zone.
Customizable Options: Feel free to swap out the vampire teeth for gummy candies or use different icing colors for unique, spooky looks, which adds a personal touch! Need some inspiration? You can check out my Spice Gooey Cake for another festive treat!
Ultimate Crowd Pleaser: Bring joy and laughter to your Halloween festivities with these quirky treats that are bound to delight kids and adults alike!
Halloween Donuts With Teeth Ingredients
For the Donuts
• Glazed Donuts – The base for this spooky treat; feel free to use any pre-made variety for convenience.
For the Decorations
• Plastic Vampire Teeth – These bring the ‘teeth’ effect to life; if unavailable, try marshmallows or pretzel sticks for a fun alternative.
• Candy Eyeballs – Perfect for that whimsical look; chocolate chips are a great substitute if you’re short on eyeballs.
• Red Icing or Red Gel Frosting – Adds a chilling ‘blood’ effect; regular white frosting tinted with red food coloring works just as well.
Step‑by‑Step Instructions for Halloween Donuts With Teeth
Step 1: Prepare the Donuts
Start by taking your glazed donuts and, using your fingers, gently stretch the center hole slightly wider to accommodate the plastic vampire teeth. This little adjustment is essential for a secure fit and ensures they don’t fall out. Once done, arrange the donuts on a clean serving plate, giving them a festive look as we proceed to the next step.
Step 2: Add the Eyes
Now, it’s time to give your Halloween donuts with teeth a spooky character! Press two candy eyeballs firmly onto the top of each donut, placing them slightly apart for that charmingly goofy look. If the eyeballs aren’t sticking, grab your red icing or frosting and apply a small dab on the back of each eyeball to secure them in place.
Step 3: Create the Blood Effect
Next, grab your red icing or gel frosting to add a chilling blood effect to the donuts. Carefully drizzle the red icing just below the vampire teeth, allowing it to run in thin lines, mimicking dripping blood. This step not only enhances the frightful vibe but also adds a sweet and sticky contrast that kids will find irresistible.
Step 4: Serve the Donuts
Your frighteningly fun Halloween donuts are ready to impress! Arrange them attractively on a decorated platter or in a themed box. Consider adding some Halloween-themed decorations around the donuts to enhance the festive atmosphere. Place them on your party table or at a child-friendly gathering to delight your guests and watch as smiles spread!
What to Serve with Halloween Donuts With Teeth?
Get ready to elevate your spooky dessert table and create an unforgettable Halloween experience!
-
Spooky Hot Chocolate: Rich and creamy hot chocolate topped with whipped cream and Halloween sprinkles adds warmth and indulgence to your festive treat.
-
Monster Fruit Salad: A colorful mix of seasonal fruits like oranges and grapes adds brightness and freshness, balancing the sweetness of the donuts beautifully. Kids can help assemble this fun, vibrant dish, making it a perfect family activity.
-
Pumpkin Spice Whipped Cream: A dollop of pumpkin spice whipped cream captures the essence of fall, enhancing the festive vibe while complementing the sweetness of the donuts.
-
Ghostly Sugar Cookies: Soft, frosted sugar cookies decorated to look like ghosts provide another playful element to your dessert spread, enticing both children and adults alike.
-
Witch’s Brew Punch: A fruity and fizzy punch garnished with floating eyeball gummies adds a fun and spooky drink option, keeping everyone refreshed while they enjoy the treats.
-
Candy Corn Parfait: Layer candy corn with yogurt or pudding, topped with crushed graham crackers for a crunchy finish that mirrors the festive spirit of Halloween.
-
Scarecrow Veggies: Crisp veggies arranged like a scarecrow dip can add a healthy choice, while offering a contrast to the sweet elements on the table.
-
Creepy Cupcakes: Decorated with eerie frosting and edible glitter, these cupcakes will steal the show and give guests a sweet bite to enjoy alongside the donuts.
-
Golden Caramel Apples: Dipped in caramel and rolled in nuts, these provide a chewy, sweet contrast that brings back nostalgic autumn flavors, making your dessert table truly festive.
Make Ahead Options
These Halloween Donuts With Teeth are perfect for busy cooks looking to save time without sacrificing fun! You can prepare the glazed donuts up to 24 hours in advance. Simply store them in an airtight container at room temperature to maintain their delightful freshness. When it’s time to serve, decorate your donuts with the plastic vampire teeth, candy eyeballs, and red icing for that eerie “blood” effect. Assemble them right before your event to ensure they look as charming as ever, as the decorations are best enjoyed fresh. This way, you can enjoy a stress-free, spooky celebration with minimal last-minute fuss!
Halloween Donuts With Teeth Variations
Feel free to let your creativity shine while making these delightful Halloween donuts!
-
Gummy Candy: Swap plastic vampire teeth for gummy cookies or spooky gummies for a softer taste and chewy texture. Kids will love the surprise!
-
Chocolate Drizzle: Enhance the “blood” effect with a rich chocolate drizzle instead of red icing for a chocolatey twist. This adds a deliciously indulgent finish to each bite.
-
Sprinkled Surprises: Add colored sprinkles on top of the icing to make your donuts even more festive. The added crunch creates a fun texture that the kids will adore.
-
Nutty Crunch: Use chopped nuts or crushed pretzel sticks for a crunchy topping. This texture contrast adds a delightful surprise that pairs beautifully with the soft donuts.
-
Spicy Kick: Incorporate a pinch of cinnamon into your icing for a warm, spicy surprise! It perfectly complements the sweetness of the donuts, giving them a cozy autumn flavor.
-
Fruity Flavor: Instead of icing, dip the donuts in melted fruit-flavored candy melts for an exciting fruity twist. They add vibrant color that’s sure to grab attention!
-
Festive Colors: Use a mix of colored icings (green, purple, orange) to create a spooky Halloween palette. Let each guest customize their creation to make it even more interactive!
-
Mini Donuts: Make mini versions of these donuts for bite-sized treats that are perfect for parties. They’re easy to grab and even more fun to decorate!
For more inspiration, check out my Bruschetta Whipped Ricotta recipe that brings a fresh and colorful twist to your table!
How to Store and Freeze Halloween Donuts With Teeth
Room Temperature: Keep the decorated donuts at room temperature in an airtight container. Enjoy them within 1–2 days for the best taste and freshness.
Fridge: If you want them to last a bit longer, you can store the donuts in the fridge for up to 3 days. However, the icing may lose some of its stickiness.
Freezer: For longer storage, freeze the un-decorated donuts in a freezer-safe bag for up to 2 months. Thaw at room temperature before decorating with vampire teeth and icing.
Reheating: If you prefer warm donuts, reheat them in the microwave for about 10–15 seconds. Add the decorations afterward to maintain their spooky charm!
Expert Tips for Halloween Donuts With Teeth
-
Donut Selection: Use fresh glazed donuts for the best texture. Stale donuts won’t hold toppings well and can affect flavor.
-
Secure Eyeballs: If candy eyeballs won’t stick, give them a little extra icing to adhere. This ensures they stay put during serving.
-
Icing Alternatives: Don’t stress if red icing isn’t available. Mixing a few drops of food coloring into plain white frosting provides a great alternative!
-
Creative Variations: Feel free to swap vampire teeth for fruity gummy candies to create a softer look. Just make sure they fit well without toppling over.
-
Assembly Line: Involve the kids in decorating! Set up a mini decorating station with sprinkles and toppings, and let everyone personalize their spooky treats.
-
Storage Tips: Keep leftover Halloween donuts with teeth in an airtight container at room temperature. Enjoy them fresh within two days for optimal taste!
Halloween Donuts With Teeth Recipe FAQs
What kind of donuts should I use for Halloween Donuts With Teeth?
I recommend using fresh glazed donuts for the best taste and texture. If you prefer convenience, feel free to pick up pre-made varieties from your local bakery or grocery store. Stale donuts won’t hold the toppings well and may affect the overall flavor, so aim for the freshest options!
How should I store my Halloween Donuts With Teeth?
To keep your decorated donuts at their best, store them in an airtight container at room temperature. They’ll stay fresh for about 1-2 days. If you need a bit more time, you can pop them in the fridge for up to 3 days, but be mindful that the icing might lose some stickiness over time.
Can I freeze the Halloween Donuts With Teeth?
Absolutely! If you’re looking to prepare ahead, freeze the un-decorated donuts in a freezer-safe plastic bag. They can be stored this way for up to 2 months. When you’re ready to embellish them, just thaw the donuts at room temperature before decorating, ensuring they maintain their fluffy goodness.
What if the candy eyeballs won’t stick to the donuts?
Not a problem! If you find that the candy eyeballs are slipping off, simply use a dab of red icing or even regular frosting to help them adhere better. This small trick will keep your spooky creations intact and looking fabulous until serving time!
Are there any dietary considerations for these Halloween Donuts With Teeth?
While this recipe is generally kid-friendly and fun, be mindful of any food allergies, especially related to candies or icing. If you have pets, keep these treats away from them, as sweets can be harmful to animals. Always check ingredient labels for any potential allergens to ensure a delightful and safe treat for everyone!
Can I customize the toppings for Halloween Donuts With Teeth?
The more the merrier! Feel free to switch out the plastic vampire teeth for gummy candies or any other fun treats you might have on hand. You can also experiment with different icing colors or even chocolate chips to keep the creativity flowing and make each donut uniquely enjoyable!
Spooky Halloween Donuts With Teeth That Kids Will Love
Ingredients
Equipment
Method
- Prepare the Donuts: Gently stretch the center hole of each glazed donut and arrange them on a serving plate.
- Add the Eyes: Press two candy eyeballs onto the top of each donut. Use red icing to secure them if needed.
- Create the Blood Effect: Drizzle red icing below the vampire teeth to mimic dripping blood.
- Serve the Donuts: Arrange the decorated donuts on a platter and enjoy the spooky look.
Leave a Reply