
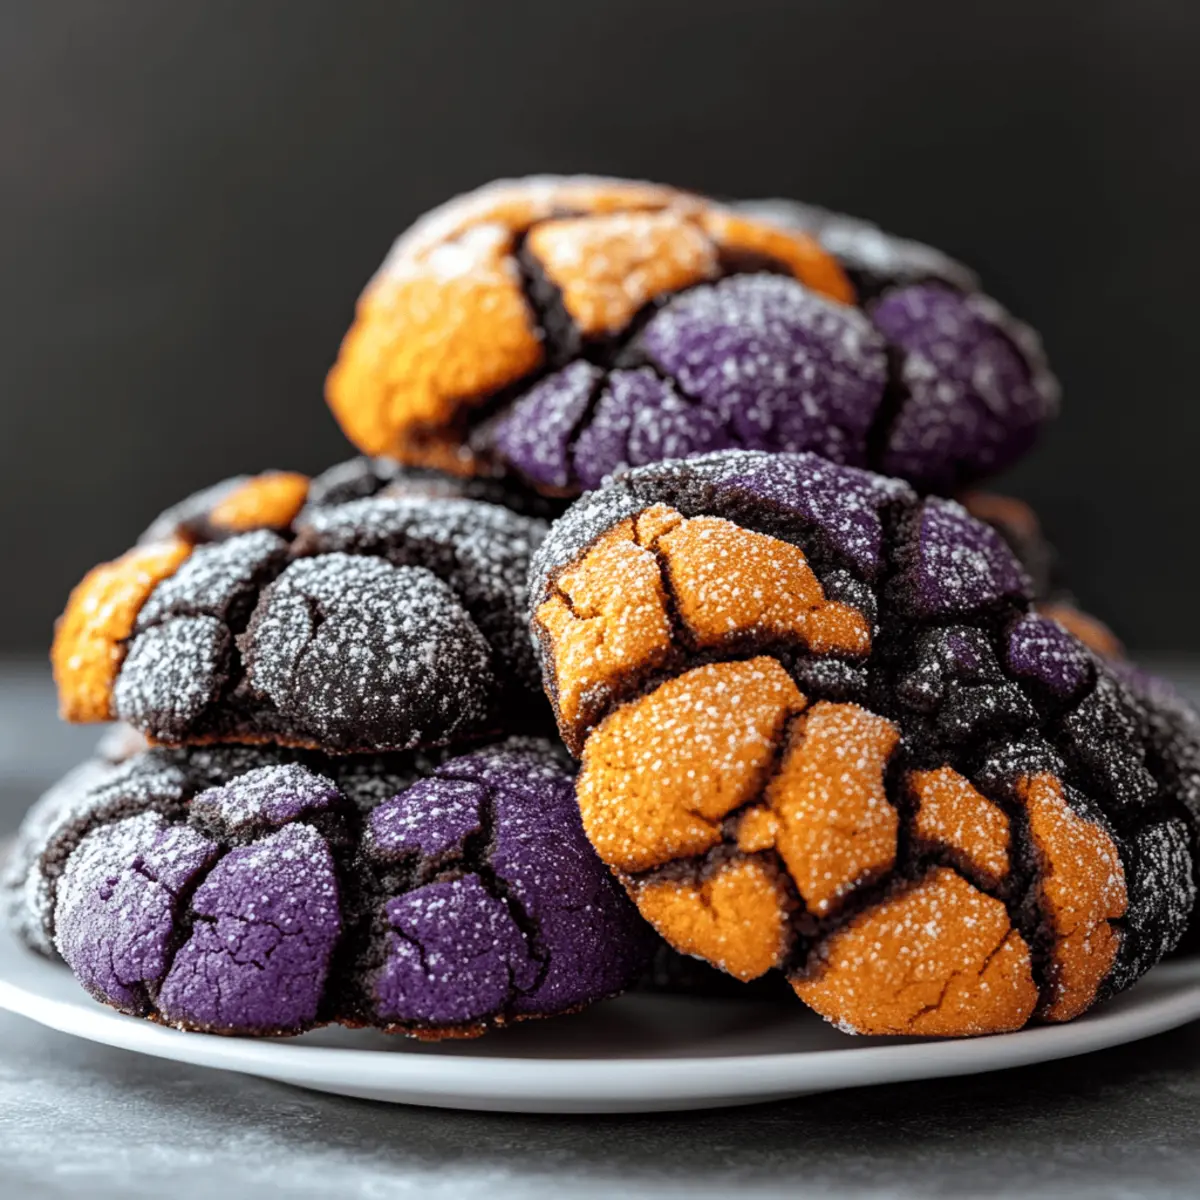
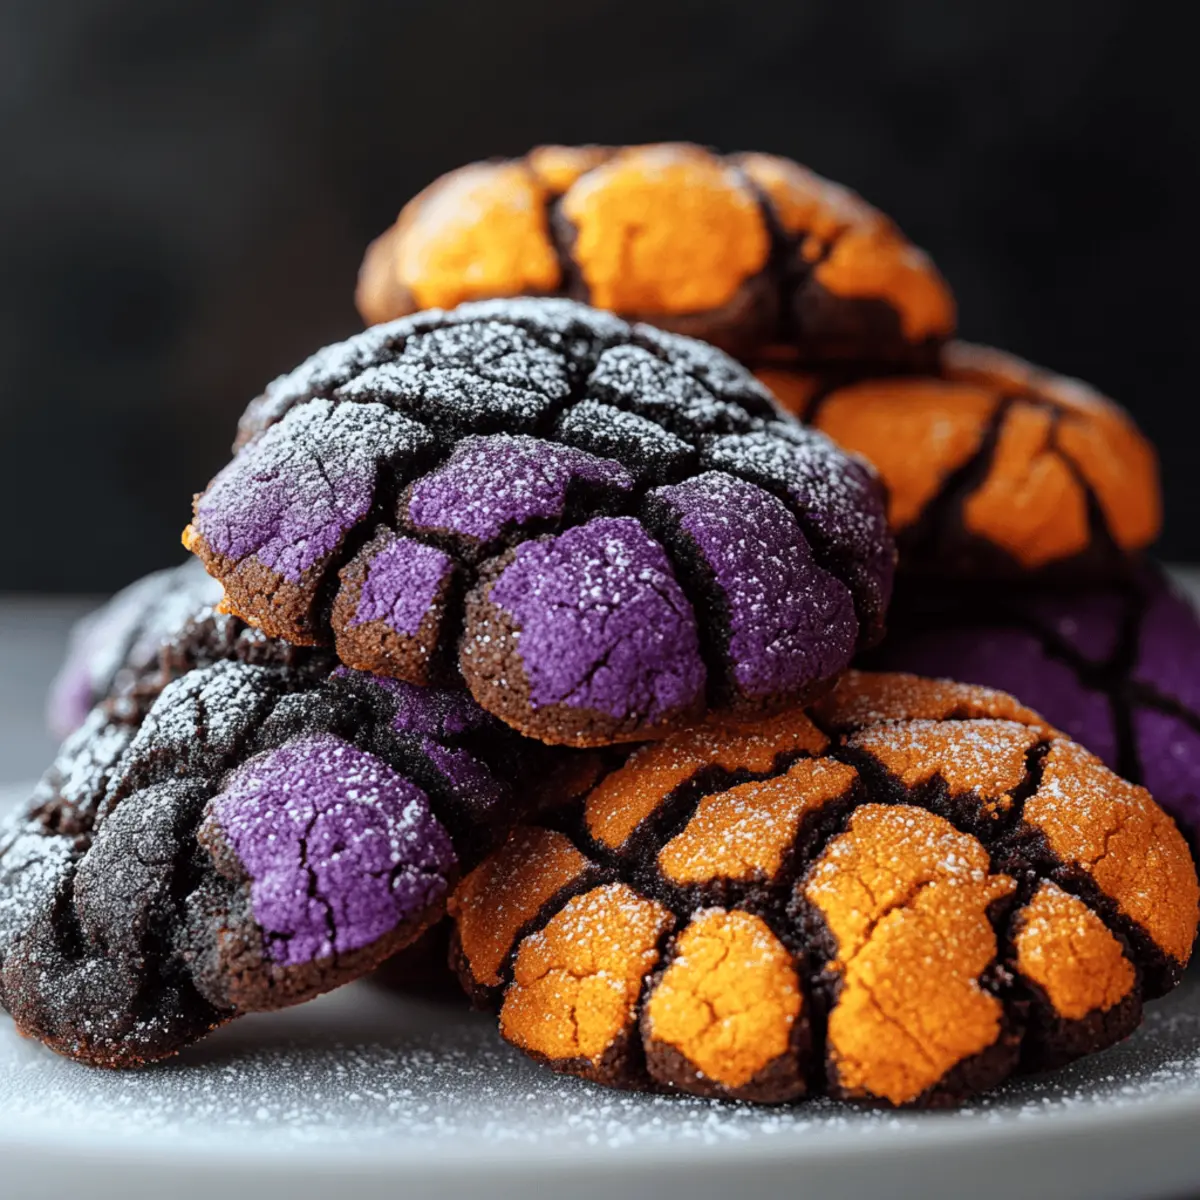
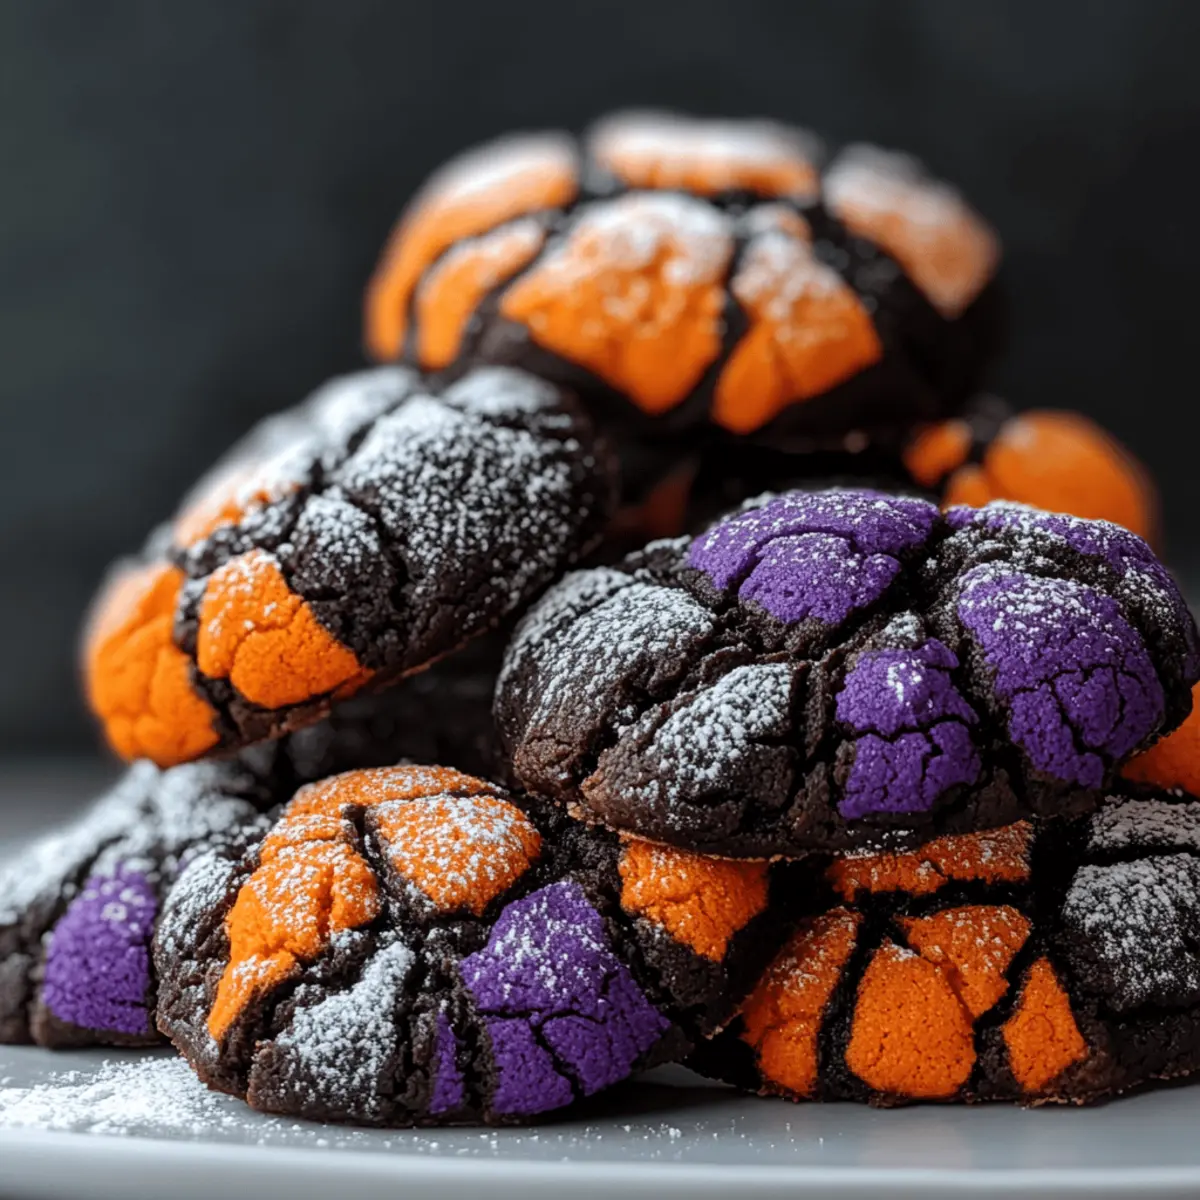
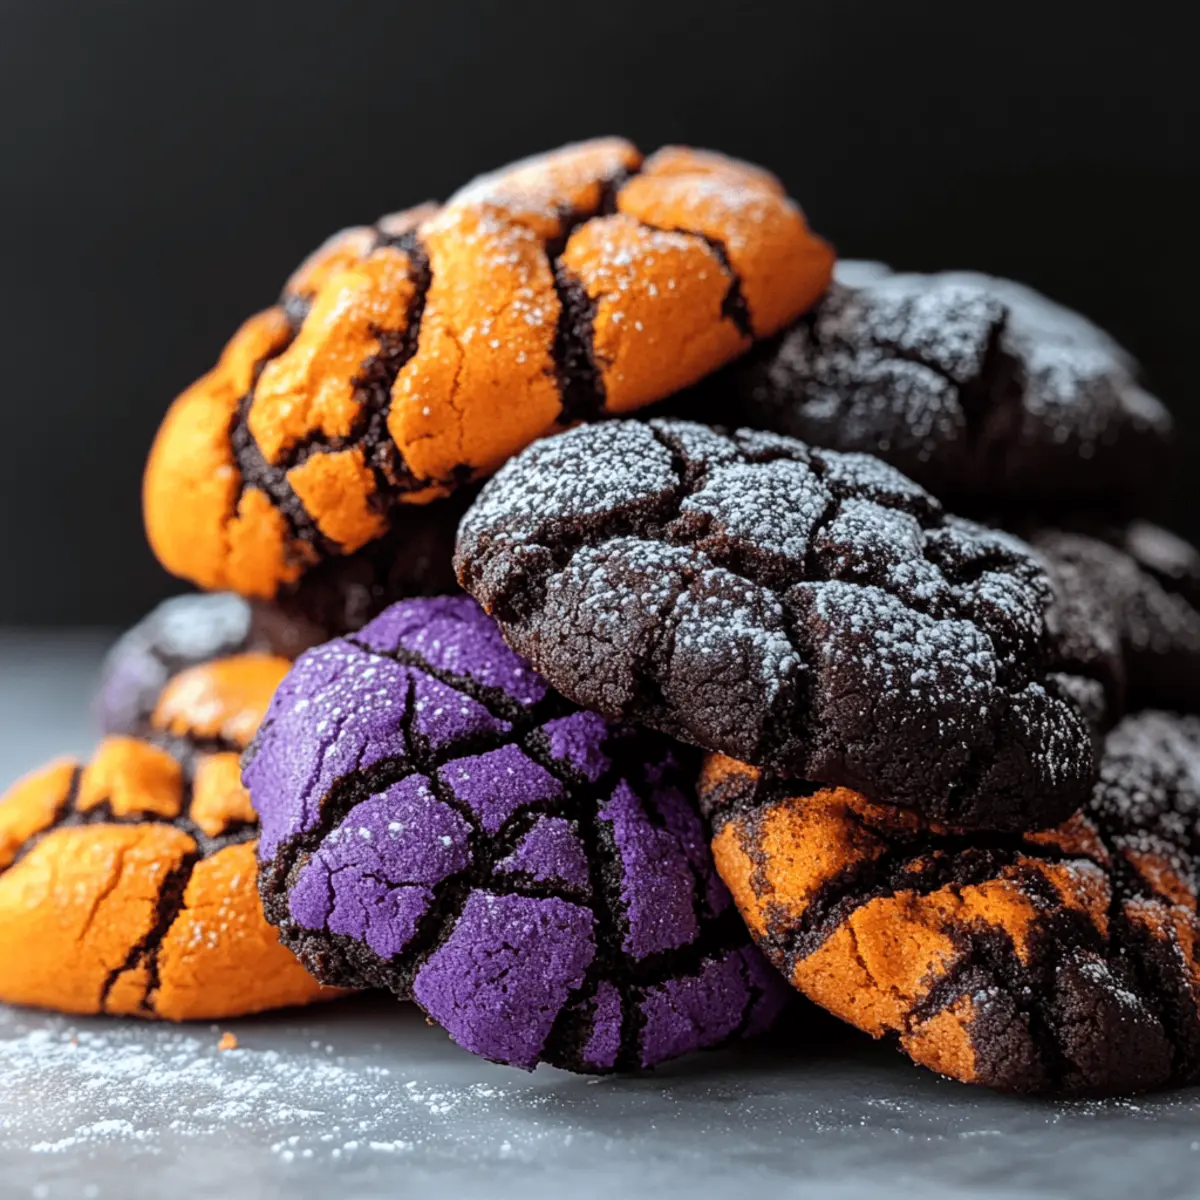
As the days grow shorter and the air turns crisp, a wave of delicious anticipation washes over me. Halloween isn’t just about spooky costumes and eerie decorations; it’s also the perfect excuse to whip up some delightful treats! This year, I’ve concocted an irresistible recipe for Halloween Crinkle Cookies that’s rich, fudgy, and playfully vibrant in orange, purple, and black. Not only are these cookies a feast for the eyes, but they’re also super easy to make, making them ideal for beginners eager to impress at any Halloween gathering. Plus, the delightful soft and chewy texture will have both kids and adults lining up for seconds. Are you ready to bring some festive fun to your kitchen? Let’s dive in!
Why Are Halloween Crinkle Cookies a Must-Try?
Simplicity at its best: With just a few ingredients, these Halloween Crinkle Cookies are a breeze to whip up, making them perfect for both beginners and seasoned bakers alike.
Fun and Festive: The vibrant colors of orange, purple, and black make these cookies the star of any Halloween party!
Rich, Fudgy Texture: These cookies boast a delectable fudgy inside that will have everyone reaching for more.
Versatility: Feel free to experiment with different gel colors or even seasonal spices like cinnamon for a unique twist! For more festive cookie delights, check out my Brown Butter Pumpkin Chocolate Chip Cookies or Cider Cheesecake Cookies.
Crowd-Pleaser: Whether you’re serving them at a party or gifting them to friends, these cookies are bound to impress!
Halloween Crinkle Cookies Ingredients
For the Cookie Batter
- All-Purpose Flour – Provides structure to the cookies. Substitution: Use a 1:1 gluten-free blend for gluten-free cookies.
- Unsweetened Cocoa Powder – Adds rich chocolate flavor and color. Note: Sift if lumpy for a smoother batter.
- Baking Powder – Helps cookies rise and achieve a light texture. Note: Ensure freshness for optimal results.
- Salt – Enhances sweetness and balances flavors. Note: Use fine salt for even distribution.
- Granulated Sugar – Contributes sweetness and moisture for a satisfying bite.
- Vegetable Oil – Adds moisture and contributes to a chewy texture. Substitution: Melted coconut oil can be used for a unique flavor.
- Eggs – Binds the ingredients and provides structure. Note: Use at room temperature for better mixing.
- Vanilla Extract – Adds depth of flavor, complementing the chocolate perfectly.
For the Halloween Colors
- Gel Food Coloring – Provides vibrant color for Halloween themes. Note: Use gel over liquid for better results in achieving bright hues.
For the Signature Coating
- Powdered Sugar – Used for rolling the cookies, creating the signature snowy coating that adds to their irresistible charm.
Dive into the delight of Halloween Crinkle Cookies and let your festive spirit flourish with these rich, fudgy treats!
Step‑by‑Step Instructions for HALLOWEEN CRINKLE COOKIES
Step 1: Mix Dry Ingredients
In a large mixing bowl, whisk together 1 cup of all-purpose flour, 1/3 cup of unsweetened cocoa powder, 1 teaspoon of baking powder, and a pinch of salt until well combined. Look for a uniform mixture with no lumps, which ensures a smooth texture for your Halloween Crinkle Cookies. Set this bowl aside as you prepare the wet ingredients.
Step 2: Combine Wet Ingredients
In a separate bowl, whisk together 1 cup of granulated sugar, 1/3 cup of vegetable oil, 2 room-temperature eggs, and 1 teaspoon of vanilla extract until the mixture is smooth and creamy. Once blended, add a few drops of gel food coloring for that festive touch. Mix thoroughly until the color is vibrant and evenly distributed throughout the wet mixture.
Step 3: Combine Mixtures
Gradually fold the dry mixture into the wet ingredients using a spatula or wooden spoon. Stir gently until just combined; you want to see a thick, fudgy dough that is well mixed but not overworked. Be cautious to avoid overmixing, as this will impact the texture of your Halloween Crinkle Cookies.
Step 4: Chill Dough
Cover the bowl with plastic wrap or a clean kitchen towel, and refrigerate the dough for at least 1 hour. Chilling will help firm up the dough and amplify the crackled effect when baking. Use this time to preheat your oven or gather your baking sheets and powdered sugar for rolling.
Step 5: Prepare to Bake
When ready to bake, preheat your oven to 350°F (175°C) and line your baking sheets with parchment paper. This step ensures easy removal of your cookies later. Make sure your baking sheets are spread out to allow for even baking, as the HALLOWEEN CRINKLE COOKIES will expand slightly while in the oven.
Step 6: Shape Cookies
Once the dough has chilled sufficiently, use a tablespoon to scoop out portions and roll them into balls. Make about 1-inch balls, then generously roll each ball in powdered sugar until fully coated. This snowy layer is essential for that signature crinkle look, making your Halloween Crinkle Cookies irresistibly festive and fun!
Step 7: Bake
Place the coated cookie balls onto the prepared baking sheets, spacing them about 2 inches apart. Bake in your preheated oven for 10-12 minutes or until the tops are cracked but the centers remain soft. Keep an eye on them, as they should look just set with a slight gloss on top, perfect for a soft, fudgy inside.
Step 8: Cool
After baking, let the cookies cool on the baking sheets for about 5 minutes. This allows them to firm up slightly. Then, gently transfer the Halloween Crinkle Cookies to a wire rack to cool completely. Enjoy the delightful aroma while they cool, and get ready to share these spookily delicious treats with friends and family!
Expert Tips for Halloween Crinkle Cookies
- Chill Time Matters: Ensure your dough is fully chilled for at least an hour. This step is crucial for achieving that perfect crackle on your cookies!
- Mind the Mixing: Overmixing will lead to tough cookies. Gently mix until just combined—this keeps your HALLOWEEN CRINKLE COOKIES wonderfully soft and fudgy.
- Watch the Oven: Keep an eye on the baking time! Pull the cookies when they look slightly underbaked in the center for the ideal chewy texture.
- Use Gel Color Carefully: Apply gel food coloring gradually; a little goes a long way in creating vibrant colors without making the batter too runny.
- Powdered Sugar Coating: Don’t be shy with the powdered sugar—this gives the cookies their signature snowy appearance and adds a delightful sweetness!
What to Serve with Halloween Crinkle Cookies
As you prepare to treat your friends and family with these festive delights, consider what would make the perfect accompanying spread.
-
Creamy Pumpkin Soup: A warm, velvety bowl of pumpkin soup brings a savory balance to the sweetness of cookies, making it perfect for chilly Halloween nights.
-
Spiced Apple Cider: Served warm or cold, this drink complements the cookies’ fudgy texture and adds seasonal spice, making every sip a fall delight.
-
Chocolaty Hot Cocoa: Pairing these cookies with a rich cup of hot cocoa magnifies their chocolate experience—especially with whipped cream on top!
-
Ghostly Marshmallow Treats: Making marshmallow “ghosts” with just a few simple ingredients provides a fun, chewy contrast to the cookies while keeping up the playful Halloween theme.
-
Chewy Caramel Corn: The crunchy, sweet bite of caramel corn adds a delightful texture contrast to the soft crinkle cookies, creating a delightful autumnal snack mix.
-
Vanilla Ice Cream: A scoop of creamy vanilla ice cream drizzled with chocolate sauce perfectly complements the rich flavors of Halloween Crinkle Cookies, creating a divine dessert experience.
These pairings not only enhance the festive flavors but also create a joyful atmosphere, turning any gathering into a spooky yet scrumptious celebration!
Storage Tips for Halloween Crinkle Cookies
Room Temperature: Store cookies in an airtight container at room temperature for up to 1 week to maintain their soft and fudgy texture.
Fridge: If you prefer your cookies chilled, you can refrigerate them in an airtight container for up to 10 days, but be aware that they may become slightly drier.
Freezer: To extend their life, freeze shaped dough balls for up to 3 months. Make sure to wrap them tightly in plastic wrap or place them in a freezer-safe bag. Bake from frozen, adding a minute or two to the baking time.
Reheating: If you’d like to enjoy warm cookies, simply pop them in the microwave for about 10-15 seconds. Perfect for a cozy treat any time, especially with your Halloween Crinkle Cookies!
Halloween Crinkle Cookies Variations & Substitutions
Feel free to let your creativity shine and customize these delightful cookies!
-
Gluten-Free: Use a 1:1 gluten-free blend instead of all-purpose flour for a deliciously inclusive treat.
-
Dairy-Free: Swap in plant-based milk or yogurt for a rich, non-dairy alternative if you want to keep things vegan!
-
Flavor Boost: Add 1 teaspoon of pumpkin spice or cinnamon to the dry ingredients for a seasonal flavor twist that’s simply irresistible.
-
Nutty Addition: Fold in 1/2 cup of chopped nuts, like pecans or walnuts, for a delightful crunch that complements the fudgy texture beautifully!
-
White Chocolate Drizzle: After baking, drizzle melted white chocolate over the cooled cookies for an elegant and sweet touch that pairs perfectly with the rich chocolate flavor.
-
Cocoa Swap: For an exciting change, replace the cocoa powder with peanut butter powder to create a delightful peanut butter chocolate crinkle cookie!
-
Festive Shapes: Use seasonal cookie cutters to shape your cookies before rolling them in powdered sugar, adding a whimsical flair for Halloween that everyone will love.
-
Color Combos: Mix and match different gel colors for various holiday celebrations. Shimmery reds and greens can transform these cookies for Christmas gatherings, as showcased in my Cauldron Cookies Spooky recipe!
Explore these variations, and don’t hesitate to create your version of Halloween Crinkle Cookies that your family will cherish!
Make Ahead Options
These Halloween Crinkle Cookies are a fantastic choice for meal prep enthusiasts! You can prepare the cookie dough up to 24 hours in advance by mixing all the ingredients and chilling the dough. Just cover it tightly with plastic wrap to prevent drying out or absorbing any odors in the refrigerator. For longer storage, shape the cookies into balls, coat them in powdered sugar, and freeze them for up to 3 months. When you’re ready to bake, simply place them on a lined baking sheet straight from the freezer and add a couple of extra minutes to the baking time. This way, you’ll serve up fresh, fudgy treats with minimal effort whenever the Halloween spirit strikes!
Halloween Crinkle Cookies Recipe FAQs
How do I select the perfect ingredients for Halloween Crinkle Cookies?
Absolutely! When choosing your ingredients, consider using fresh, high-quality items. For all-purpose flour, check for a fine texture and no lumps. When selecting cocoa powder, ensure it is unsweetened and sifted for a smooth batter. Using room-temperature eggs will help with blending; keep this in mind! Lastly, opt for gel food coloring rather than liquid for brighter, more vibrant hues.
What is the best way to store Halloween Crinkle Cookies?
To maintain their soft and fudgy texture, store your Halloween Crinkle Cookies in an airtight container at room temperature for up to 1 week. If you prefer a chilled treat, you can refrigerate them for up to 10 days, but they may lose some moisture. To keep them fresh longer, you can also freeze the cookies; see the next question for more details!
Can I freeze the dough or baked cookies?
Definitely! You can freeze shaped dough balls for up to 3 months. Simply wrap them tightly in plastic wrap or place them in a freezer-safe bag. When you’re ready to bake, there’s no need to thaw—just bake directly from the freezer and add an extra minute or two to your baking time. As for baked cookies, they can also be frozen. Just ensure they are completely cooled before placing them in an airtight container.
What should I do if my cookies don’t have the desired crackle?
Very! If your cookies aren’t cracking as expected, it might be due to insufficient chilling time. Make sure you chill the dough for at least 1 hour to promote that lovely crackled top. Additionally, avoid overmixing your dough; mixing until just combined helps preserve that fudgy texture. Lastly, be mindful of baking time; pulling them out of the oven when they look slightly underbaked will enhance their soft centers.
Are there any dietary considerations I should be aware of for Halloween Crinkle Cookies?
Certainly! If you have dietary restrictions or allergies, there are substitutions available. For gluten-free cookies, swap out the all-purpose flour with a 1:1 gluten-free blend. For vegans, consider using flax eggs in place of regular eggs—simply mix 1 tablespoon of ground flaxseed with 2.5 tablespoons of water and let it sit until it thickens. Always check that your gel food coloring is free from allergens if you are serving these to guests with specific dietary needs.
Halloween Crinkle Cookies: Soft, Fudgy, and Spooktacularly Fun
Ingredients
Equipment
Method
- In a large mixing bowl, whisk together 1 cup of all-purpose flour, 1/3 cup of unsweetened cocoa powder, 1 teaspoon of baking powder, and a pinch of salt until well combined.
- In a separate bowl, whisk together 1 cup of granulated sugar, 1/3 cup of vegetable oil, 2 room-temperature eggs, and 1 teaspoon of vanilla extract until smooth and creamy, then add gel food coloring.
- Gradually fold the dry mixture into the wet ingredients, stirring gently until just combined to achieve a thick, fudgy dough.
- Cover the bowl and refrigerate the dough for at least 1 hour.
- Preheat your oven to 350°F (175°C) and line your baking sheets with parchment paper.
- Use a tablespoon to scoop out portions and roll them into 1-inch balls, then coat each ball in powdered sugar.
- Place the coated cookie balls onto the prepared baking sheets, spacing them 2 inches apart, and bake for 10-12 minutes.
- After baking, let the cookies cool on the baking sheets for about 5 minutes before transferring them to a wire rack.
Leave a Reply