
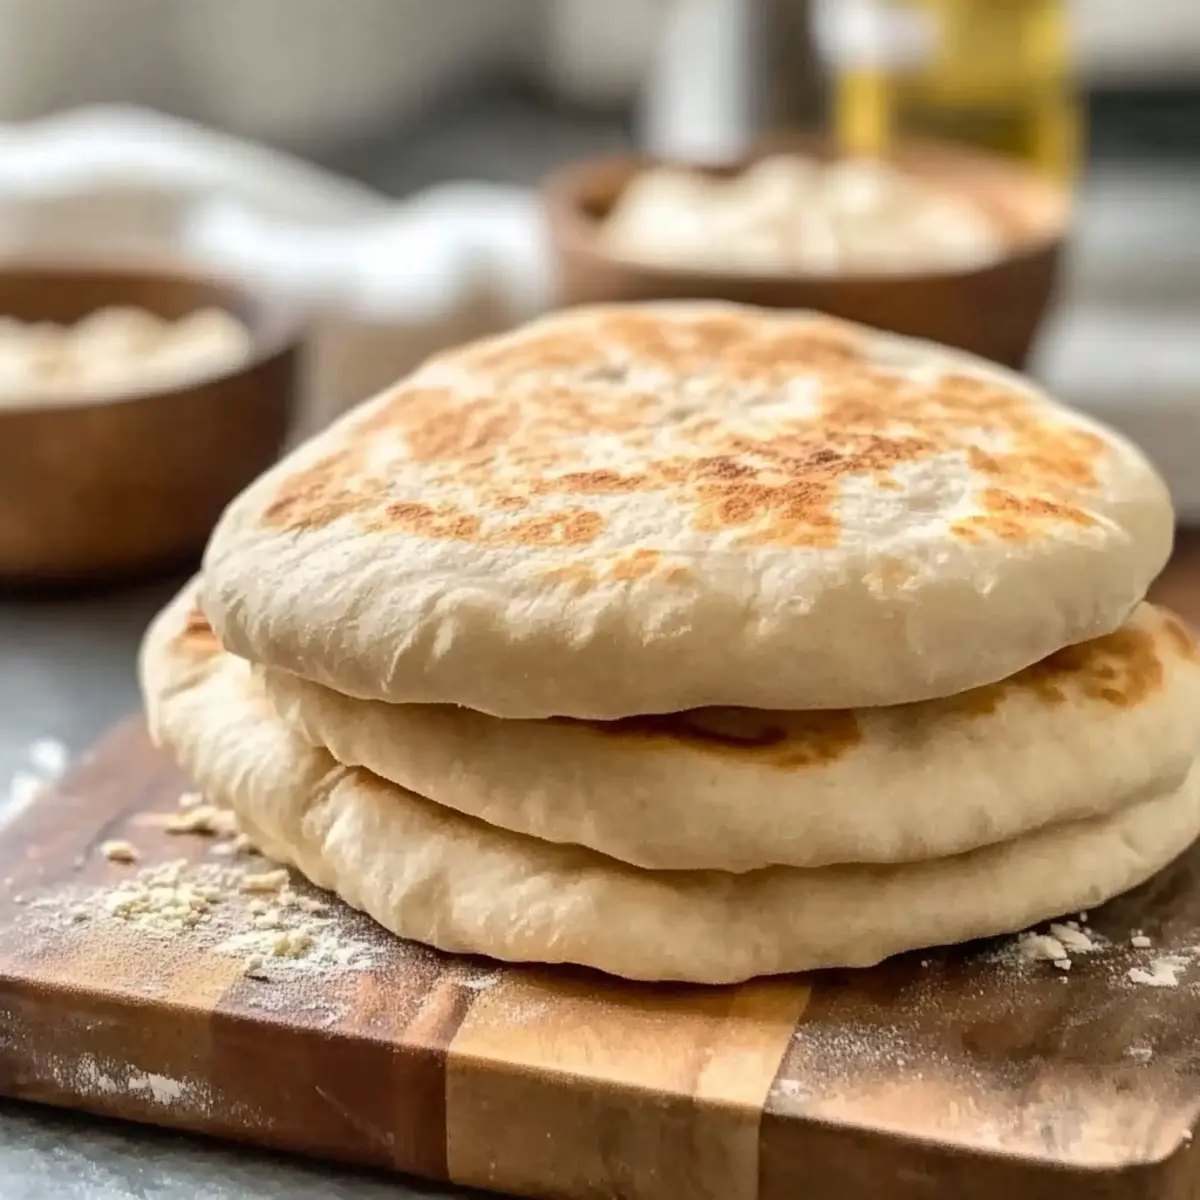
The first time I pulled freshly baked gluten-free pita bread from the oven, a wave of warm nostalgia washed over me. This simple yet transformative recipe not only brings the joy of homemade bread into your kitchen but also opens the door to endless culinary creativity. With my Soft and Fluffy Gluten-Free Pita Bread, you’ll discover how this easy-to-make treat can elevate everything from wraps to dips without compromising texture or flavor. The best part? You can whip it up in no time and customize it with herbs or spices for a personal twist. Whether you’re looking for a wholesome alternative to store-bought options or aiming to impress at your next gathering, this recipe is your ticket. Ready to take your homemade bread game to the next level? Let’s get started!
Why is homemade gluten-free pita better?
Freshly baked goodness: There’s nothing like the aroma of homemade bread wafting through your kitchen, and this gluten-free pita delivers that comforting experience effortlessly.
Versatile base: Use these pitas for wraps, sandwiches, or even as a dip holder for your favorite hummus or tzatziki – they’re incredibly adaptable!
Quick and easy: With just a few simple steps, you’ll have soft, fluffy pitas ready to enjoy in no time.
Customize to your taste: Get creative by adding herbs or spices into the dough, giving each batch its own unique flair—try mixing in oregano or garlic for an extra burst of flavor.
Crowd-pleaser: Surprise your friends and family with not just a gluten-free option but a delicious one that everyone will love! Whether at a potluck or family dinner, these pitas are sure to impress.
Gluten-Free Pita Bread Ingredients
For the Dough
• Gluten-Free All-Purpose Flour – The main structure for your pita; feel free to substitute with rice flour or sorghum flour for a nubby twist.
• Tapioca Starch – This ingredient enhances the texture and adds that delightful chewiness we love.
• Xanthan Gum – Provides much-needed elasticity to gluten-free dough; psyllium husk is a great alternative if you’re in a pinch.
• Active Dry Yeast – Acts as the leavening agent, helping your bread rise beautifully; instant yeast can be a convenient swap.
• Salt – Essential for enhancing flavor and strengthening the dough’s structure.
• Sugar – Promotes browning and activates the yeast; consider using maple syrup as a delightful substitute.
• Warm Water (110°F/43°C) – The warm water is crucial; ensure it’s at the right temperature to activate your yeast effectively.
• Olive Oil – Adds moisture and richness, making the pitas even more delightful!
This Gluten-Free Pita Bread recipe is your ticket to homemade deliciousness!
Step‑by‑Step Instructions for Soft and Fluffy Gluten-Free Pita Bread
Step 1: Mix Dry Ingredients
In a large mixing bowl, combine 2 cups of gluten-free all-purpose flour, ½ cup of tapioca starch, 1 teaspoon of xanthan gum, 1 teaspoon of salt, and 1 tablespoon of sugar. Whisk the dry ingredients thoroughly until they are well combined and free of lumps. This mixture serves as the foundation for your gluten-free pita bread, giving it structure and flavor.
Step 2: Activate Yeast
In a separate bowl, combine 1 cup of warm water (110°F/43°C) with 2 teaspoons of active dry yeast. Let this mixture sit for 5 to 10 minutes, until it becomes frothy and bubbly on the surface. This crucial step activates the yeast, ensuring that your gluten-free pita bread will rise beautifully as it bakes.
Step 3: Combine Mixtures
Once the yeast is frothy, pour the yeast mixture into the bowl with the dry ingredients. Add 2 tablespoons of olive oil to enrich the dough. Stir the mixture with a wooden spoon or spatula until a sticky dough forms. This dough should hold together but remain soft, which is characteristic of gluten-free pita bread.
Step 4: Rest the Dough
Cover the bowl with a damp kitchen towel and place it in a warm spot, allowing the dough to rest and rise for 30 minutes to 1 hour. You want the dough to expand slightly, which is important for achieving that fluffy texture in your gluten-free pita bread. Keep an eye on it as it rises!
Step 5: Shape Pitas
Once the dough has risen, turn it out onto a lightly floured surface. Divide the dough into equal portions, typically about 8 to 10 balls. Roll each ball into a smooth disc, about 6 inches in diameter. Make sure the discs are even in thickness for uniform cooking and puffing when baked.
Step 6: Cook the Pitas
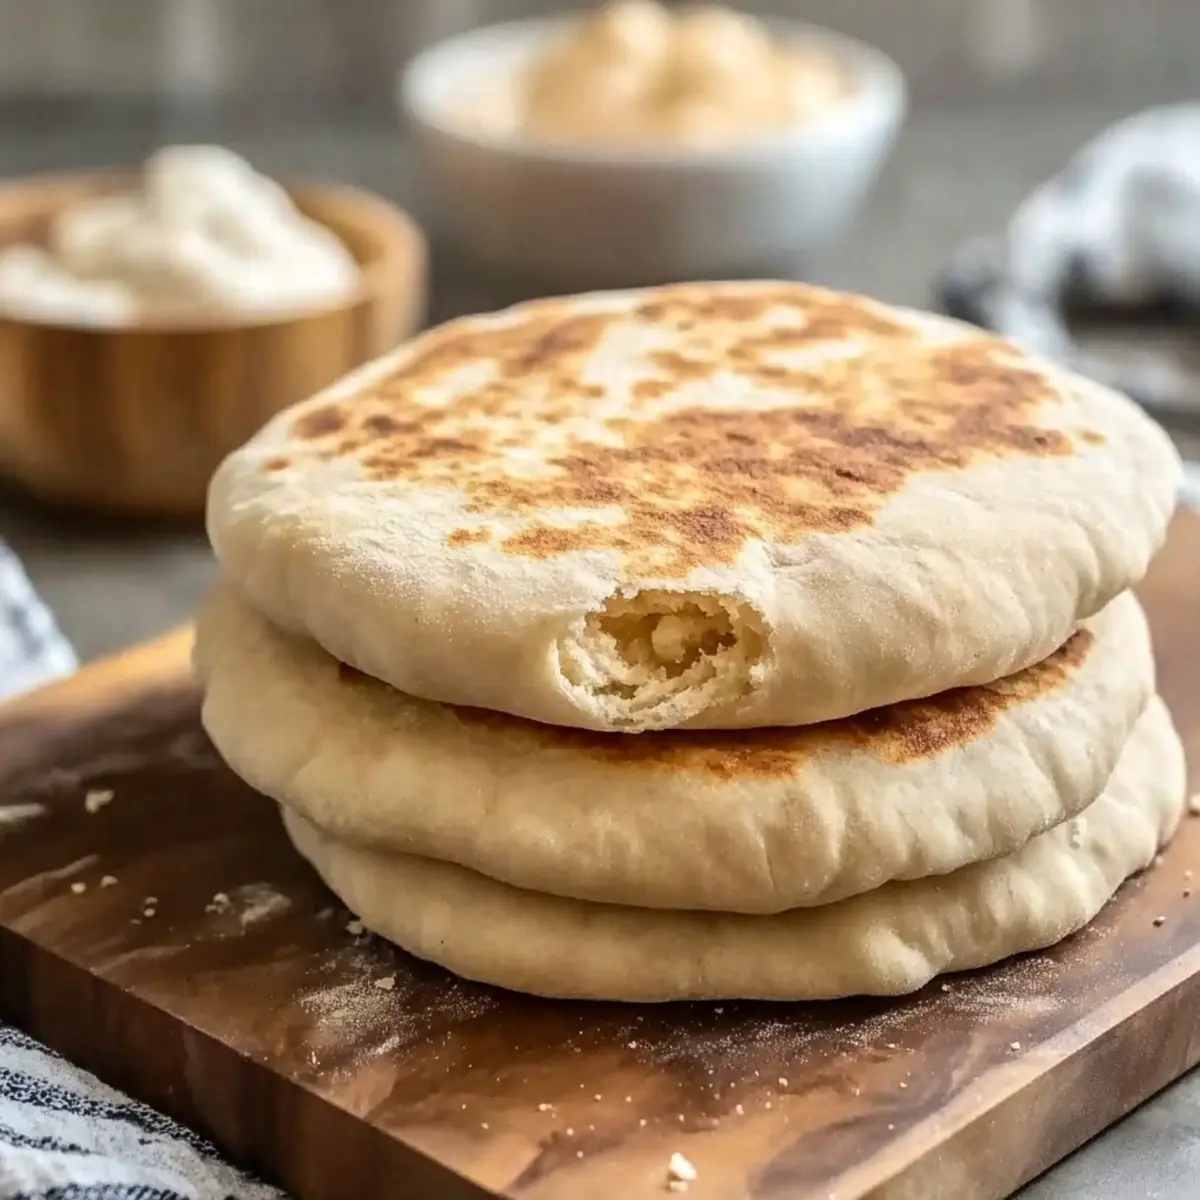
Heat a skillet or frying pan over medium-high heat. Place one disc of dough into the hot skillet and cook for 2 to 3 minutes, or until it puffs up and develops light brown spots on the underside. Flip the pita and cook for an additional 2 to 3 minutes on the other side. Repeat this process with each disc, adjusting heat as needed to avoid burning.
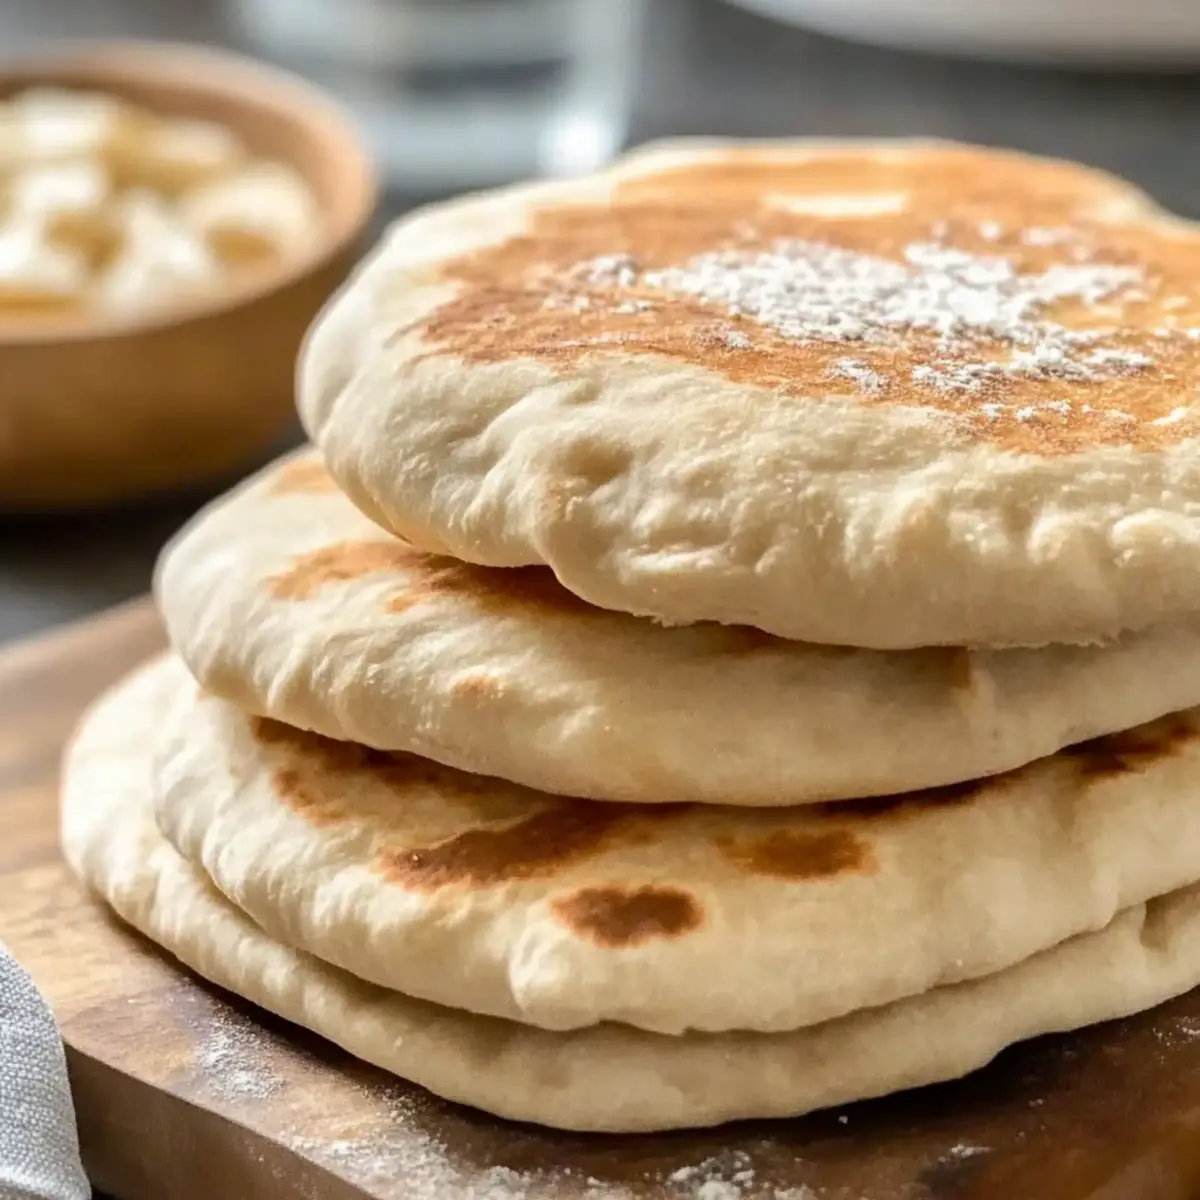
Step 7: Cool and Store
Once cooked, remove the pitas from the skillet and let them cool on a wire rack. This prevents them from getting soggy. Store your gluten-free pita bread in an airtight container at room temperature, and enjoy them within 2 days. For longer storage, freeze the pitas and reheat them as desired.

Make Ahead Options
These Soft and Fluffy Gluten-Free Pita Bread are perfect for busy meal prep enthusiasts! You can prepare the dough up to 24 hours in advance by following the recipe until the resting stage. After the dough rises, portion the discs and place them on a parchment-lined tray; cover with plastic wrap and refrigerate. When you’re ready to enjoy, simply cook the pitas straight from the fridge—this will keep them fresh and fluffy, just as delightful as when made on the spot. Alternatively, you can freeze the uncooked discs for up to 3 months. When it’s time to serve, just thaw them overnight in the fridge and proceed with cooking. Enjoy homemade quality with minimal effort!
What to Serve with Soft and Fluffy Gluten-Free Pita Bread
Elevate your homemade gluten-free pita experience by pairing it with delightful accompaniments that will tantalize your taste buds!
- Creamy Hummus: A classic dip that adds rich flavor and smooth texture, perfect for filling those fluffy pockets.
- Grilled Vegetables: Seasonal veggies grilled to perfection bring a charred, smoky flavor that complements the soft pita beautifully.
- Zesty Tzatziki: This refreshing yogurt and cucumber sauce adds a cool, tangy kick that pairs wonderfully with pita for a Mediterranean flair.
- Spicy Lentil Soup: Serve a warm bowl of hearty lentil soup for a comforting contrast, making each bite satisfying and soul-warming.
Picture cozy evenings with a hearty soup dipping into fresh pita, a match made in culinary heaven! - Crispy Falafel: Golden-brown falafel balls bring a crunchy texture that perfectly balances the softness of the pita, ideal for wraps or on their own.
- Fresh Greek Salad: A colorful mix of tomatoes, cucumbers, olives, and feta adds a refreshing element that brightens the meal.
- Roasted Garlic Dip: The creamy, savory flavors of garlic dip create a mouthwatering contrast, enhancing the taste of your pita as you scoop it up.
- Chilled White Wine: A crisp glass of white wine or a refreshing sparkling water elevates the entire dining experience with a touch of elegance.
Gluten-Free Pita Bread Variations
Feel free to explore your creativity and customize this delightful gluten-free pita bread recipe to suit your taste and dietary preferences!
-
Herb-Infused: Mix in 1-2 tablespoons of dried herbs like oregano, thyme, or rosemary for a fragrant twist. Your kitchen will smell heavenly!
-
Garlic Lover’s Delight: Add 1 tablespoon of garlic powder to the dry ingredients, offering a savory flavor that elevates your pitas, making them perfect for dipping.
-
Spicy Kick: Incorporate a pinch of cayenne pepper or red chili flakes into the dough for a delicious heat that adds excitement to your wraps and sandwiches.
-
Cheesy Goodness: Fold in ½ cup of your favorite grated cheese, like mozzarella or cheddar, for a cheesy, gooey gluten-free pita that’s sure to please!
-
Sweet Twist: For a sweeter option, mix in 2 tablespoons of honey or maple syrup and try pairing your pitas with fruit and yogurt – a breakfast delight!
-
Nutty Flavor: Swap half of the gluten-free flour for almond or coconut flour to introduce a nutty flavor and lower the carbohydrate content.
-
Veggie Loaded: Inject some nutrition by adding finely chopped spinach or grated zucchini into the dough, making your pitas as wholesome as they are tasty.
-
Flavored Oils: Use infused olive oils, like garlic or chili oil, to replace regular olive oil in the recipe, enhancing the overall taste of your gluten-free pita bread.
Once you’ve experimented with these variations, consider enjoying your custom pitas with flavorful dips like hummus or tzatziki, or try them alongside fresh grilled vegetables!
How to Store and Freeze Gluten-Free Pita Bread
Room Temperature: Store your freshly baked gluten-free pita bread in an airtight container at room temperature for up to 2 days to maintain softness.
Freezer: For longer storage, freeze the pitas in a freezer-safe bag or container. They can last up to 3 months while preserving their delicious flavor and texture.
Reheating: To enjoy your pita bread again, wrap it in foil and heat it in a preheated oven at 350°F (175°C) for about 10 minutes or warm it on a skillet for a few minutes.
Tip: Allow the pitas to cool completely before storing to prevent moisture buildup, ensuring they stay fluffy and fresh!
Expert Tips for Perfect Gluten-Free Pita Bread
- Water Temperature Matters: Ensure your warm water is between 110°F and 115°F. Too hot can kill the yeast, leading to flat pitas.
- Don’t Over-Knead: Gluten-free dough is delicate. Mix just until combined to avoid tough pitas; they should be soft and pliable.
- Rest for Fluffiness: Allow the dough to rise in a warm spot. This step is crucial for achieving that soft, fluffy texture in your gluten-free pita bread.
- Uniform Thickness: When shaping, roll the discs evenly to help them puff equally during cooking. Uneven thickness can lead to inconsistent results.
- Flavor Boost: For a twist, add herbs or spices to the dough—garlic powder or dried oregano can elevate the flavor of your gluten-free pita bread!
Gluten-Free Pita Bread Recipe FAQs
What type of gluten-free flour should I use?
For the best results, I recommend using a good quality gluten-free all-purpose flour blend. These blends typically include a mix of different flours and starches that provide great structure and texture. You can also experiment with alternatives like rice flour or sorghum flour for a delicious nutty flavor.
How should I store the gluten-free pita bread?
Store your freshly baked gluten-free pita bread in an airtight container at room temperature for up to 2 days. If you need to keep them longer, freeze them in a freezer-safe bag or container for up to 3 months. Just ensure they are completely cooled before storage to prevent moisture buildup.
Can I freeze the gluten-free pita bread?
Absolutely! To freeze your gluten-free pita bread, first let them cool completely. Then stack them with parchment paper between each pita to avoid sticking, and place them in an airtight bag or container. When you’re ready to enjoy, there’s no need to thaw; simply reheat them in a preheated oven or on a skillet.
What should I do if my gluten-free pita bread didn’t puff up?
If your pitas don’t puff up, it could be because the dough didn’t rise enough during resting. To fix this, allow the dough to rise in a warm area for a longer period before shaping. Another reason could be the cooking temperature; ensure your skillet is adequately heated before adding the pitas. If they’re not puffing, try increasing the heat slightly to help with rising.
Are there any dietary considerations I should be aware of?
Yes! This gluten-free pita bread is a fantastic option for those with gluten intolerance or celiac disease. However, always double-check the labels on your ingredients (especially the gluten-free flour) for potential allergens. Additionally, xanthan gum, used in many gluten-free recipes, can cause digestive issues for some individuals; you can substitute it with psyllium husk as needed.
Can I add flavors to my gluten-free pita bread?
Very! This recipe is versatile. Consider mixing in dried herbs like oregano or thyme, or spices such as garlic powder or onion powder into the dry ingredients. This not only enhances the flavor but also gives each batch a personal touch, delighting your palate with every bite.
Soft and Chewy Gluten-Free Pita Bread You'll Love
Ingredients
Equipment
Method
- In a large mixing bowl, combine gluten-free all-purpose flour, tapioca starch, xanthan gum, salt, and sugar. Whisk until well combined.
- In a separate bowl, mix warm water with active dry yeast. Let it sit for 5-10 minutes until frothy.
- Pour the yeast mixture into the dry ingredients. Add olive oil and stir until a sticky dough forms.
- Cover the bowl with a damp towel and let the dough rise in a warm place for 30 minutes to 1 hour.
- Turn the risen dough onto a floured surface and divide it into 8-10 equal balls. Roll each into a 6-inch disc.
- Heat a skillet over medium-high heat. Cook each disc for 2-3 minutes per side until puffed and browned.
- Remove from skillet and cool on a wire rack before storing.
Leave a Reply