
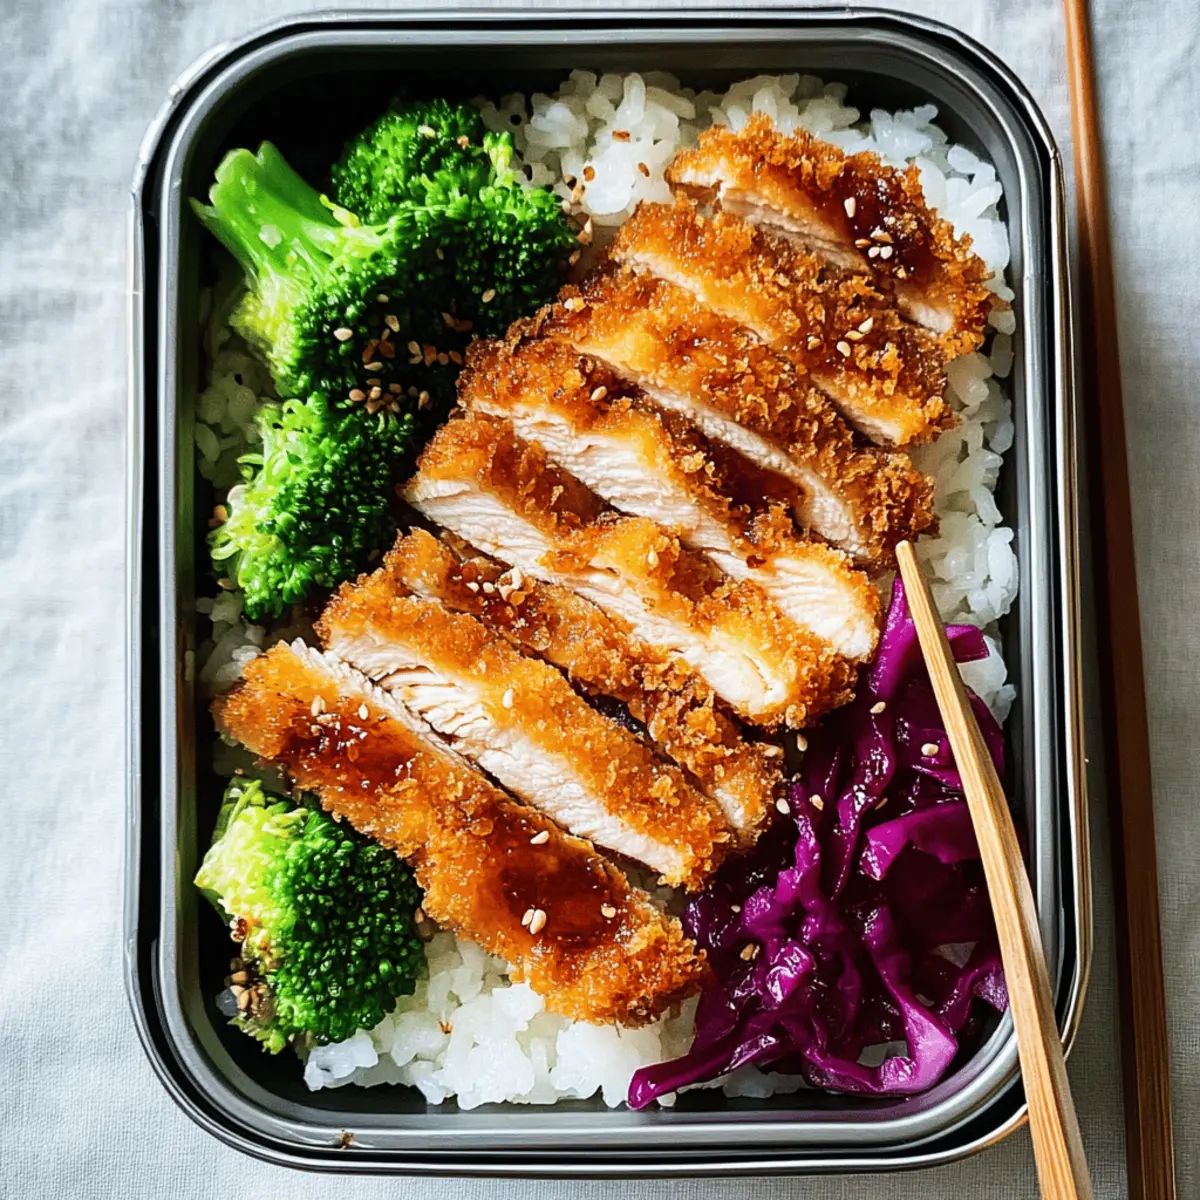
As I stood in my kitchen, the aroma of sizzling chicken filled the air, taking me back to my favorite Japanese restaurant. Today, I’m excited to share my twist on this classic with an Easy Chicken Katsu Bento Box! This delightful meal marries perfectly crunchy chicken cutlets with fluffy furikake rice and a rainbow of fresh veggies, making it not only a feast for the eyes but also incredibly nourishing. In just 35 minutes, you can whip up a balanced lunch that’s meal prep-friendly—perfect for those busy weekdays—but also brings a touch of culinary adventure to your table. Have you ever wondered how to make a delightful meal that travels well and is full of flavor? Let’s dive into the recipe!
Why is Chicken Katsu Bento Box so special?
Satisfying Crunch: The crispy coating of chicken katsu delivers an irresistible texture, making each bite a delightful experience.
Customizable Delight: This bento box is versatile—swap chicken for crispy tofu for a scrumptious vegetarian option!
Meal Prep Friendly: Perfect for busy lifestyles, this dish can be prepared ahead and stored separately, ensuring freshness and flavor.
Nutrient-Packed: Not only is it tasty, but the colorful veggies and rice create a balanced meal, providing essential nutrients.
Quick & Easy: Ready in just 35 minutes, it’s a hassle-free way to enjoy a restaurant-quality meal without the wait.
This Chicken Katsu Bento Box is sure to impress—try it today and elevate your lunch game!
Chicken Katsu Bento Box Ingredients
Discover the essentials for a delicious Chicken Katsu Bento Box!
For the Chicken Katsu
- Chicken Breasts – Boneless and skinless for a tender bite that cooks quickly.
- All-Purpose Flour – A must for coating; helps bind the egg and panko for crunch.
- Egg – Moisture provider that adheres the panko; use a plant-based egg for a vegan option.
- Panko Breadcrumbs – Light and crispy; these are key for achieving that satisfying crunch.
- Vegetable Oil – Essential for frying, contributes to that golden crust; can be replaced with canola oil.
- Salt, Pepper, Garlic Powder – Simple seasonings that elevate the chicken’s flavor; adjust these to your liking.
For the Rice
- Cooked Rice – Use as the fluffy base for your bento; both white and brown rice work beautifully.
- Furikake – A Japanese seasoning that enhances your rice with umami goodness; omit or substitute with sesame seeds if desired.
For the Vegetables
- Broccoli Florets – Blanched for color and nutrition; you can swap in snap peas or green beans for variety.
- Sesame Oil and Seeds – Adds a lovely nutty flavor to your greens; replace with olive oil if you have allergies.
- Red Cabbage – For crunch and tang; pickled for added flavor; napa cabbage or carrots can work in its place.
- Rice Vinegar – Adds acidity for pickling the cabbage; apple cider vinegar is a suitable substitute.
For Serving
- Tonkatsu Sauce – Sweet and tangy; a must-have complement for the chicken; ketchup mixed with Worcestershire sauce is a quick alternative.
With these Chicken Katsu Bento Box ingredients, you’re ready to create a mouthwatering meal that’s both delicious and visually stunning!
Step‑by‑Step Instructions for Chicken Katsu Bento Box
Step 1: Pound the Chicken
Start by placing the chicken breasts between two pieces of plastic wrap. Use a meat mallet to gently pound them to an even thickness of about 1/2 inch. This ensures even cooking and helps achieve that satisfying crunch when frying the Chicken Katsu.
Step 2: Season the Chicken
Once the chicken is evenly flattened, season both sides with salt, pepper, and garlic powder. This simple blend of seasonings will enhance the flavor of the chicken katsu, making each bite a delightful experience. Let it sit for a few minutes to absorb the flavors.
Step 3: Set Up the Breading Station
Prepare a breading station by arranging three shallow dishes: one with all-purpose flour, one with a beaten egg, and one with panko breadcrumbs. This setup allows for an efficient breading process. Make sure your equipment is ready, as this is essential for creating the crispy texture of the Chicken Katsu.
Step 4: Bread the Chicken
Take each seasoned chicken breast and dredge it in the flour, shaking off excess. Then dip it into the beaten egg, ensuring full coverage, before finally coating it with panko breadcrumbs. Press the crumbs onto the chicken for a thicker, crunchier layer, making it perfect for your bento box.
Step 5: Fry the Chicken
Heat about 1/4 inch of vegetable oil in a medium pan over medium heat. Once the oil shimmers, gently place the breaded chicken into the pan. Fry for 3–4 minutes on each side, until golden brown and cooked through, reaching an internal temperature of 165°F (75°C). Alternatively, use an air fryer at 375°F (190°C) or bake at 400°F (200°C) for 15-20 minutes, flipping halfway.
Step 6: Let the Chicken Rest
After frying, transfer the Chicken Katsu to a plate lined with paper towels to absorb excess oil. Allow it to rest for a few minutes. Once cooled slightly, slice the chicken into strips; this makes for easier assembly in your Chicken Katsu Bento Box and a lovely presentation.
Step 7: Cook the Rice
While the chicken is resting, cook your rice according to package instructions. Once done, fluff the rice with a fork and sprinkle with furikake for an umami-rich flavor. This fluffy rice serves as the perfect base for your bento, complementing the savory chicken katsu beautifully.
Step 8: Prepare the Pickled Cabbage
Thinly slice the red cabbage and place it in a bowl. Drizzle with rice vinegar and let it sit for 10-15 minutes to pickle. This quick pickling process adds a tangy crunch that brightens your Chicken Katsu Bento Box and balances the richness of the fried chicken.
Step 9: Blanch the Broccoli
Bring a small pot of salted water to a boil and blanch the broccoli florets for 1-2 minutes. Once bright green, transfer them to an ice bath to stop cooking. Once cooled, drain and toss the broccoli with sesame oil and seeds for an added nutty flavor to your bento box.
Step 10: Assemble the Bento Box
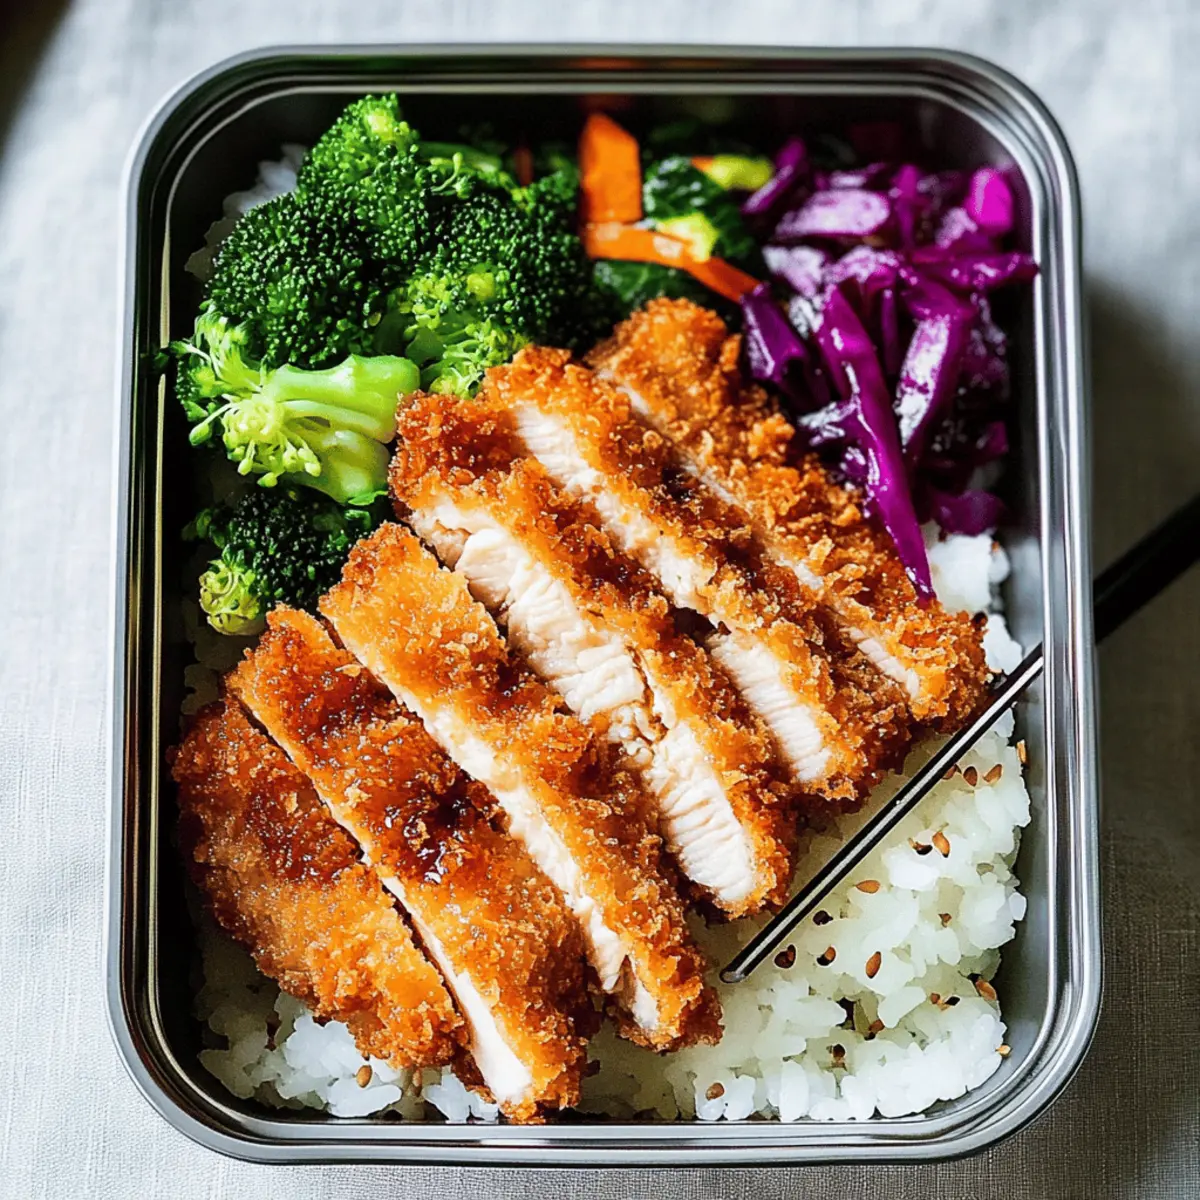
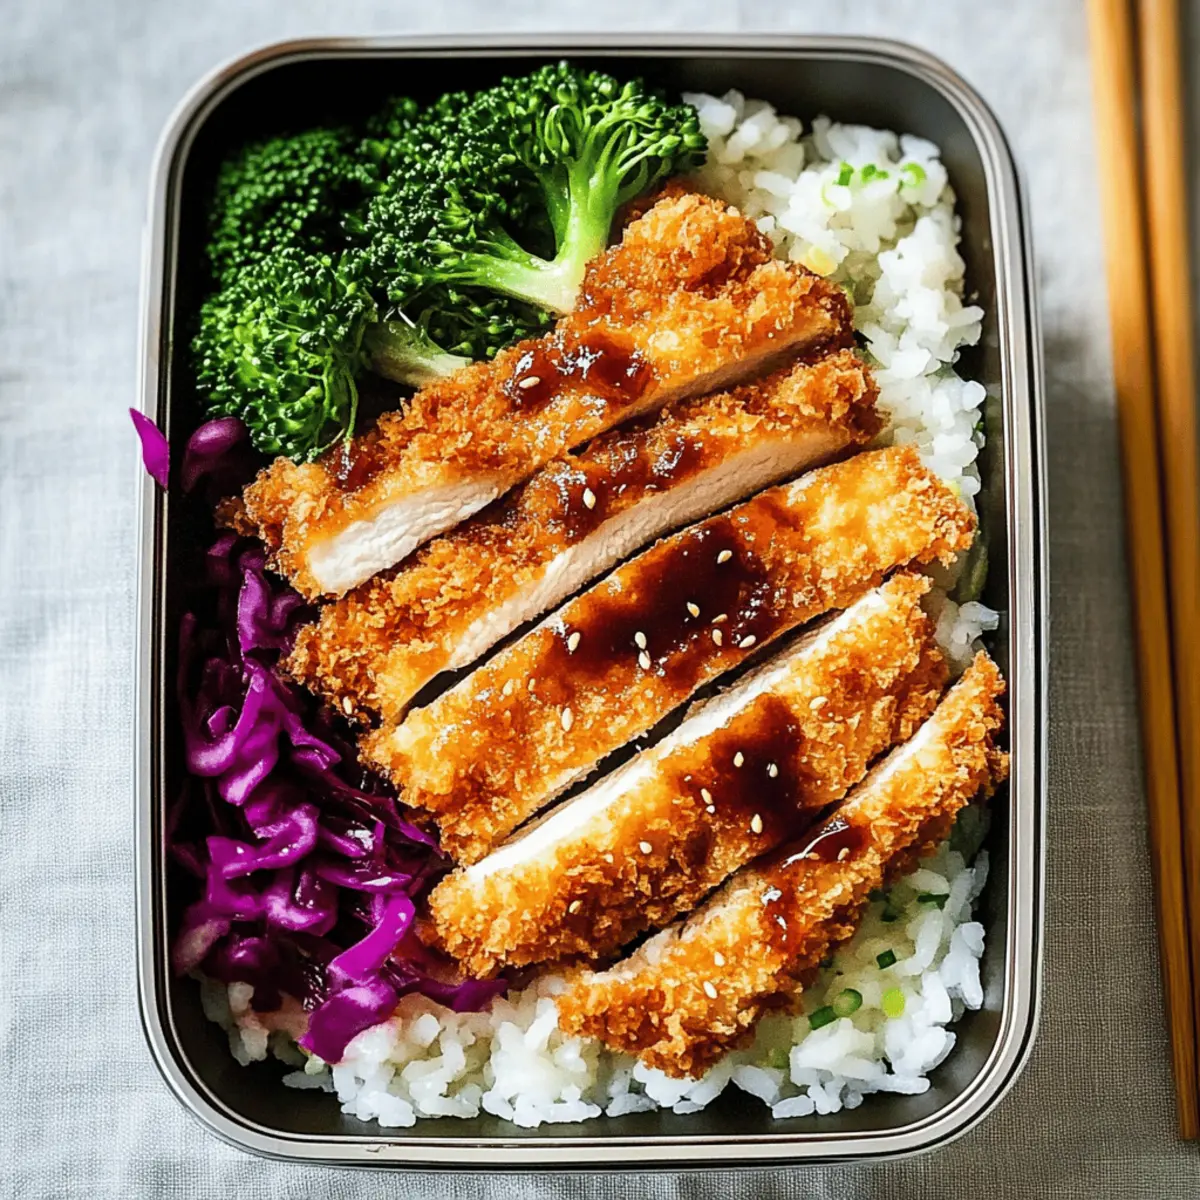
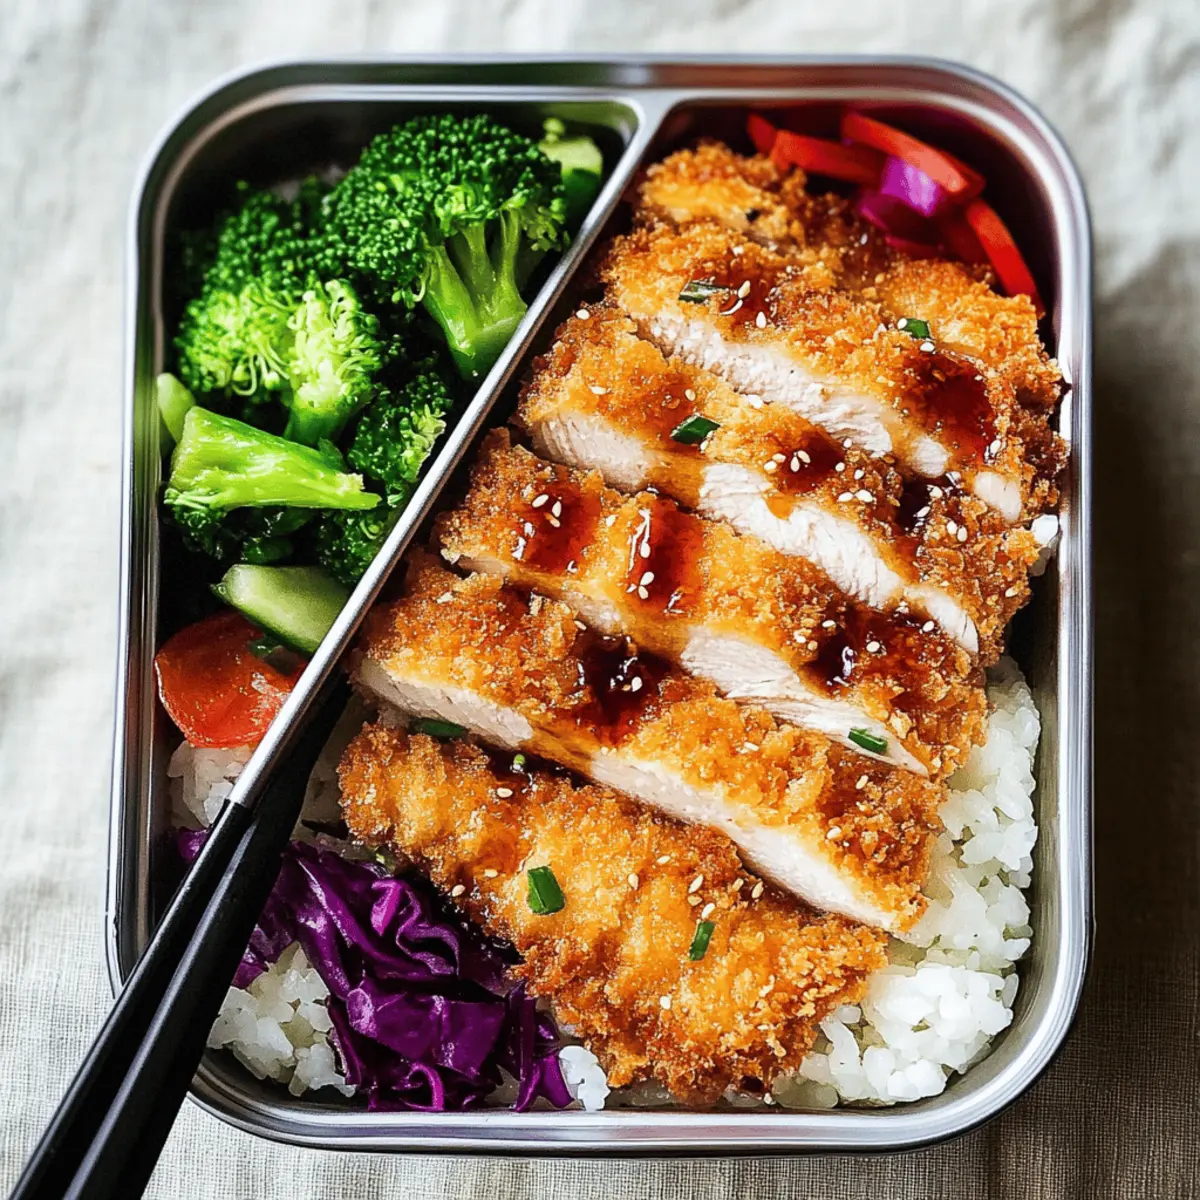
Now it’s time to assemble your Chicken Katsu Bento Box! Start with a layer of fluffy rice, followed by the crispy Chicken Katsu strips. Add the blanched broccoli and pickled cabbage, arranging everything for a visually appealing presentation. Optionally, add cherry tomatoes for a pop of color and freshness. Drizzle tonkatsu sauce over the chicken or serve on the side to complement the flavors.
Make Ahead Options
Preparing your Chicken Katsu Bento Box in advance can save valuable time during busy weekdays! You can bread the chicken and store it in the refrigerator for up to 24 hours; this allows the flavors to meld while keeping the coating fresh. Additionally, you can cook the rice and let it cool before refrigerating it for the same time period. For the vegetables, blanch the broccoli and pickle the cabbage up to 3 days in advance. When it’s time to enjoy your meal, simply fry the chicken (or reheat it) in a pan, assemble your bento box with the rice and veggies, and drizzle with tonkatsu sauce for a quick, delicious lunch that is just as delightful as if freshly made!
Chicken Katsu Bento Box Variations
Feel free to get creative with your Chicken Katsu Bento Box—each twist can turn your meal into a new delight!
-
Crispy Tofu: Swap chicken for crispy tofu to create a delicious vegan alternative that’s just as satisfying.
-
Karaage Upgrade: Use chicken karaage instead of katsu for a richer, more complex flavor profile that will elevate your lunch experience.
-
Curry Twist: Replace traditional sides with vegetable curry for a hearty option, infusing warmth and spice into your bento.
-
Seasonal Veggies: Mix in seasonal vegetables like bell peppers or carrots for added color and nourishment—play with what’s fresh to balance your meal.
-
Noodle Base: Swap rice for soba or udon noodles for an exciting twist on texture and flavor, perfect for noodle lovers!
-
Spicy Kick: For a heat boost, incorporate sriracha into the tonkatsu sauce or drizzle some over the finished dish—ideal for those who like it hot.
-
Garnish Flavor: Top with fresh herbs, like cilantro or sliced green onions, to add brightness and extra flavor to each bite.
-
Nutty Goodness: Toss in some toasted nuts or seeds for added crunch and nutrition—walnuts or sunflower seeds work well!
These variations not only enhance the dish’s flavor but also give you the freedom to explore and customize your Chicken Katsu Bento Box. Dive into the fun of meal prep with options that suit your mood! If you’re in the mood for more culinary inspiration, check out our delightful recipes for Grilled Chicken Sweet or Fiesta Lime Chicken. Enjoy your cooking adventure!
Storage Tips for Chicken Katsu Bento Box
Room Temperature: Enjoy your Chicken Katsu Bento Box fresh upon assembly, ideally within 2 hours for the best flavor and texture.
Fridge: Store components separately in airtight containers for up to 24 hours to maintain freshness. Assemble just before eating for optimal crunch!
Freezer: If you need to freeze, store the chicken katsu and rice separately in airtight containers for up to 3 months. Thaw overnight in the fridge before reheating.
Reheating: To revive the Chicken Katsu’s crispy texture, reheat in an air fryer or oven at 375°F (190°C) for about 5-10 minutes, ensuring it’s heated through without becoming soggy.
What to Serve with Chicken Katsu Bento Box
Experience delightful pairings that elevate your bento experience, bringing out the vibrant flavors of this beloved dish!
- Miso Soup: A warm bowl of miso soup is comforting and enhances the umami flavor of the chicken katsu, making it a perfect companion.
- Japanese Pickles: A tangy assortment of pickled vegetables, called tsukemono, adds a crunchy contrast that freshens your palate between bites.
- Steamed Edamame: Lightly salted edamame provides a delightful bite size, boosting the meal with protein and fiber for a balanced experience.
- Fresh Salad: A simple green salad with sesame dressing adds freshness and texture, complementing the heartiness of the katsu beautifully.
- Chilled Soba Noodles: These buckwheat noodles served cold with a light dipping sauce introduce an interesting texture while keeping the meal light.
- Green Tea: A cup of soothing green tea pairs well, bringing balance to the flavors and adding a touch of tradition to your bento box.
- Fruit Salad: A refreshing mix of seasonal fruits like melon, strawberry, and kiwi offers a sweet finish, enhancing the vibrant colors of your lunch!
- Tempura Vegetables: Crispy tempura offers additional crunch and flavor, fitting perfectly into the bento theme with a touch of indulgence.
- Fruit Sorbet: A light dessert like sorbet serves as a refreshing end to the meal, cleansing your palate after savoring the katsu.
Expert Tips for Chicken Katsu Bento Box
- Pound Evenly: Ensure chicken breasts are pounded to uniform thickness for even cooking and a crispy coating throughout.
- Check Oil Temperature: Test the oil by dropping in a piece of bread; it should sizzle when hot enough for frying the Chicken Katsu.
- Rest the Chicken: Let fried chicken rest on paper towels to absorb excess oil for maximum crunch before slicing.
- Separate Components: Pack components of the Chicken Katsu Bento Box separately to maintain crispiness; use dividers for wet ingredients like sauce.
- Prep in Advance: Prepare and store components in airtight containers beforehand for quick assembly—ideal for busy days!
Chicken Katsu Bento Box Recipe FAQs
How do I choose ripe chicken for this recipe?
Absolutely! When selecting chicken breasts, look for ones that are plump, moist, and free of dark spots or unpleasant odors. Fresh chicken typically has a light pink hue. Avoid any pieces that appear discolored or have a slimy texture.
How should I store leftovers from my Chicken Katsu Bento Box?
I recommend storing components separately in airtight containers in the fridge. This way, they’ll stay fresh for up to 24 hours. Assemble your bento box shortly before you plan to enjoy it to maintain fantastic texture and flavor!
Can I freeze the Chicken Katsu Bento Box?
Very! To freeze, store the chicken katsu and rice in separate airtight containers. They can be frozen for up to 3 months. When you’re ready to enjoy, thaw overnight in the fridge and then reheat in an air fryer or oven at 375°F (190°C) for about 5-10 minutes for that fresh-crisp texture.
What if my chicken katsu doesn’t crisp up?
Oh no! If your chicken katsu isn’t crispy, there may be a few reasons. Be sure that the oil is hot enough by testing it with a piece of bread—it should sizzle. You can also try pressing the panko crumbs more firmly onto the chicken during breading. Lastly, letting it rest on paper towels after frying helps keep it crispy by absorbing excess oil.
Is this dish suitable for people with dietary restrictions?
Definitely! For those with gluten allergies, you can easily substitute all-purpose flour with gluten-free flour and use gluten-free panko breadcrumbs. If you’re looking for vegetarian options, swap the chicken for crispy tofu or tempeh, and adjust seasonings accordingly. Always check sauces for hidden allergens like gluten or soy.
How long can the chicken katsu sit out at room temperature?
It’s best to enjoy your Chicken Katsu Bento Box within 2 hours of assembly for optimal texture and safety. If left out longer, bacteria may grow, so just be mindful of food safety standards.
Savory Chicken Katsu Bento Box: Flavor-Packed Meal Prep!
Ingredients
Equipment
Method
- Pound the chicken breasts between two pieces of plastic wrap to an even thickness of about 1/2 inch.
- Season both sides of the chicken with salt, pepper, and garlic powder, letting it sit for a few minutes.
- Set up a breading station with all-purpose flour, beaten egg, and panko breadcrumbs.
- Dredge each chicken breast in flour, dip in egg, and coat with panko breadcrumbs.
- Heat vegetable oil in a medium pan and fry the breaded chicken for 3–4 minutes on each side.
- Transfer the fried chicken to a plate lined with paper towels to absorb excess oil and let it rest.
- Cook the rice according to package instructions and mix with furikake once done.
- Slice the red cabbage and drizzle with rice vinegar, letting it sit for 10-15 minutes to pickle.
- Blanch the broccoli florets in salted boiling water for 1-2 minutes, then cool in an ice bath.
- Assemble the bento box with rice, chicken strips, blanched broccoli, and pickled cabbage.
Leave a Reply