
As I stood in my kitchen, I couldn’t help but notice the vibrant scent of apples mingling with memories of past baking adventures. That’s when it hit me—why not turn my apple scraps into something extraordinary? This Apple Scrap Jelly Recipe for Canning is not just a delicious way to conserve those overlooked peels and cores; it’s a charming twist on the art of preserving. In just a few simple steps, you can whip up a delightful spread that’s both sustainable and incredibly sweet. The joy of this jelly lies in its quick prep time and the satisfaction of minimizing food waste, all while treating your family to a homemade delight. So, are you ready to transform your leftovers into something magical? Let’s dive into this fun and fruity adventure!
Why is Apple Scrap Jelly a Must-Try?
Sustainable Cooking: This recipe is a fantastic way to utilize apple scraps, turning peels and cores into a delicious jelly. Easy to Prepare: With straightforward steps, anyone can enjoy homemade jelly, even if you’re new to canning. Great for Spreading: Perfect on toast, muffins, or pancakes, this jelly adds a sweet touch to your breakfasts. Customizable Flavor: Add your favorite spices or other fruit scraps for a unique twist. Celebrate Waste Reduction: Enjoy the satisfaction of minimizing food waste while indulging in a delightful treat. Transform your kitchen scraps into a delightful experience!
Apple Scrap Jelly Ingredients
• Note: Gather these essentials for your Apple Scrap Jelly Recipe for Canning!
-
For the Jelly
-
Apple Scraps – The heart of this recipe, bringing a natural sweetness and depth of flavor perfect for jelly.
-
Water – 5 cups to boil the apple scraps and extract their juice.
-
Lemon Juice – 2 tablespoons for acidity; it enhances the flavor while also helping your jelly set.
-
Powdered Pectin – 1 package (1.75 oz) necessary for thickening your jelly effectively.
-
Sugar – 4 cups to sweeten your jelly, ensuring a delightful balance of flavors.
-
For Canning
-
Sterilized Jars – Essential for safe canning; ensure they are hot and clean for best results.
-
Boiling Water – Necessary for processing the jars to ensure your jelly remains preserved.
Step‑by‑Step Instructions for Apple Scrap Jelly Recipe For Canning
Step 1: Prepare Apple Scraps
Start your Apple Scrap Jelly by gathering your apple scraps—peels and cores will work perfectly. Place them in a large pot, making sure they are clean and free of any mold. Pour in 5 cups of water, ensuring the scraps are fully submerged. This delightful process begins with bringing the mixture to a rapid boil over medium-high heat.
Step 2: Simmer For Extraction
Once boiling, reduce the heat to a gentle simmer, cooking for 30 minutes. This step allows the apple scraps to release their natural sweetness and flavors into the water. Stir occasionally to make sure everything is cooking evenly. You’ll know it’s ready when the mixture is fragrant and the water has taken on a lovely golden hue.
Step 3: Strain the Liquid
After simmering, it’s time to strain your delicious concoction. Place a fine mesh sieve or cheesecloth over a large saucepan and carefully pour the mixture through it. Allow the liquid to drain completely, collecting all the wonderful apple essence. Discard the solids, and keep the strained liquid—this will become the base of your jelly.
Step 4: Combine Ingredients
In the clean large pot, add 4 cups of your freshly strained apple liquid, followed by 2 tablespoons of lemon juice. Sprinkle in the powdered pectin, stirring gently to dissolve it completely. This is a crucial step for your Apple Scrap Jelly to set properly, so ensure there are no lumps before moving on.
Step 5: Bring to a Boil
Heat the mixture over medium-high heat, bringing it to a gentle boil. You should see a lively bubble in about 5 to 10 minutes. Stir continuously for one minute as it simmers, ensuring even consistency. This is where the magic begins, turning the simple mixture into the foundation of your delicious jelly.
Step 6: Sweeten the Mixture
Gradually mix in 4 cups of sugar into your boiling mixture, stirring steadily until it is fully dissolved. Continue to boil for an additional 1 to 2 minutes. The bubbly surface should remain active, indicating that your jelly is on its way to perfection. Take a moment to appreciate the sweet aroma that fills your kitchen!
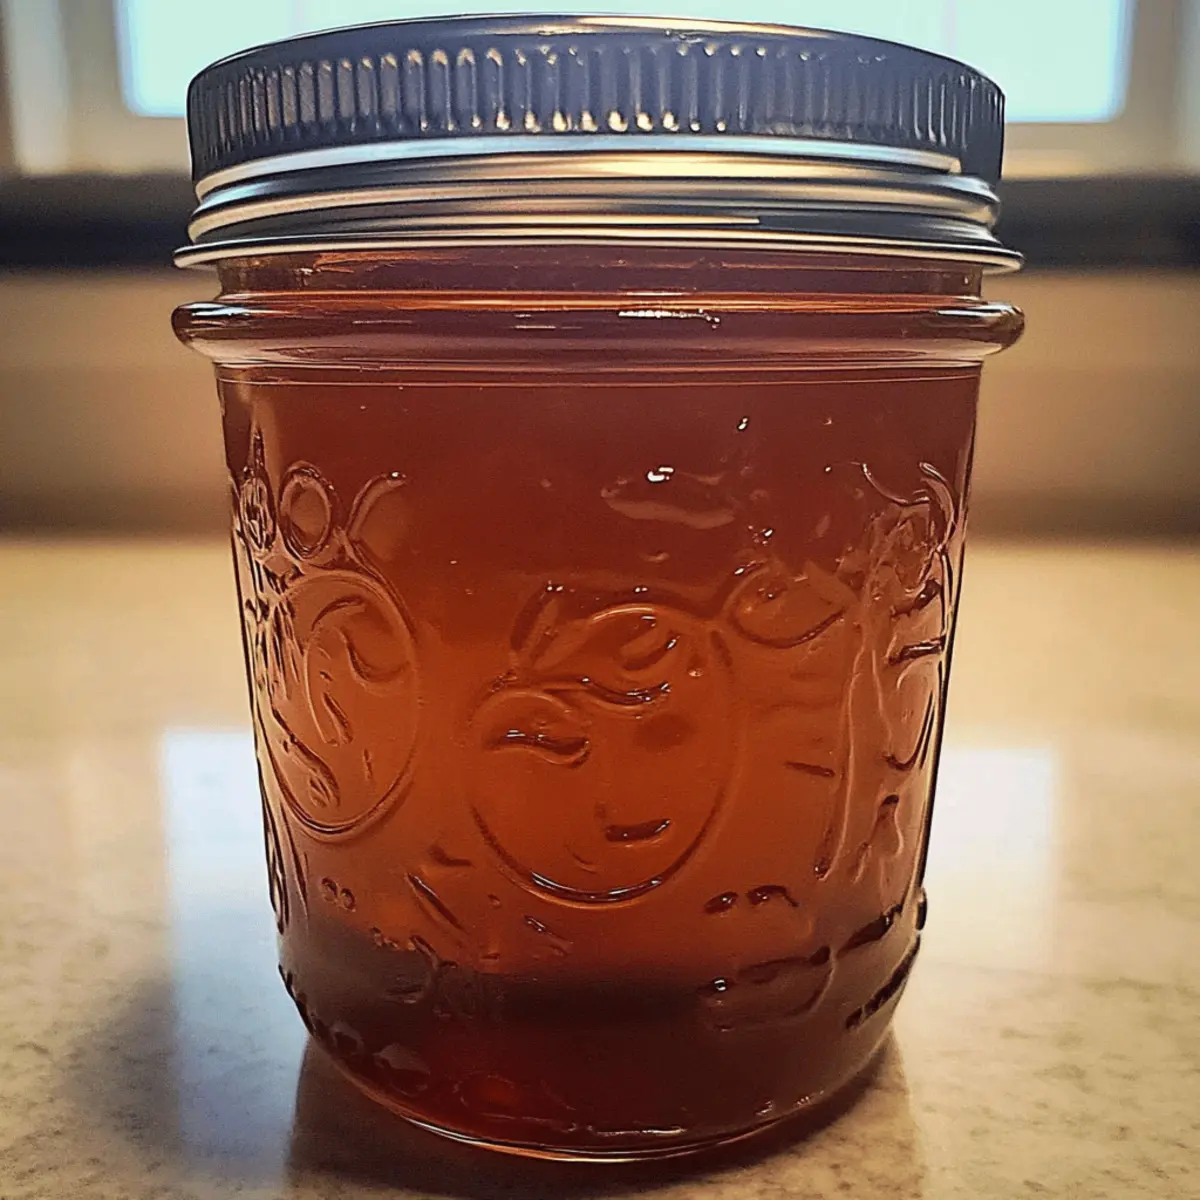
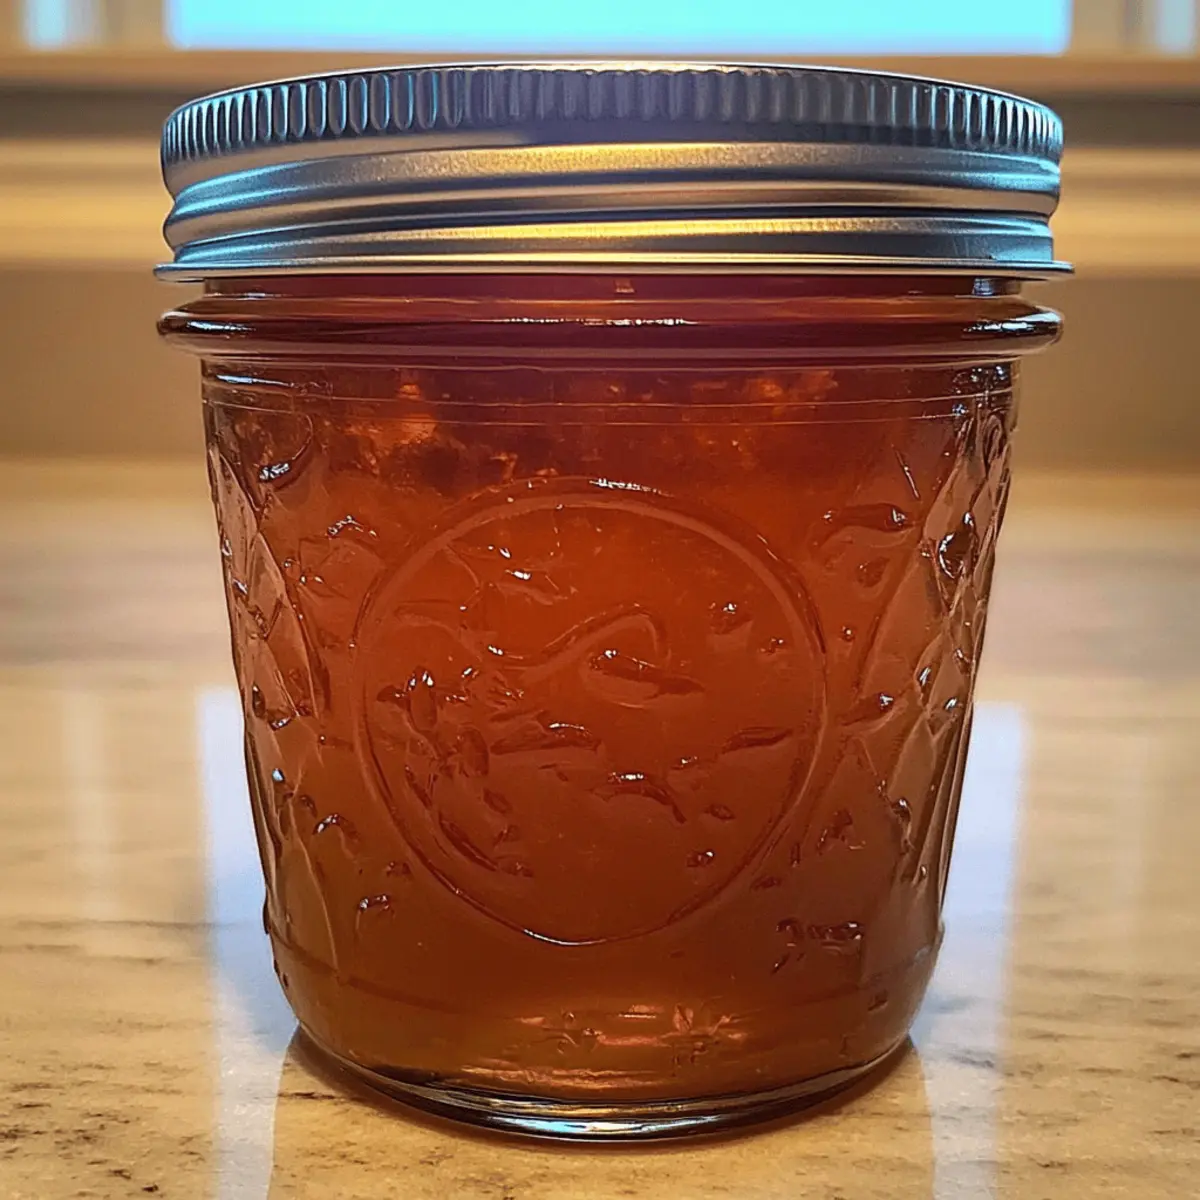
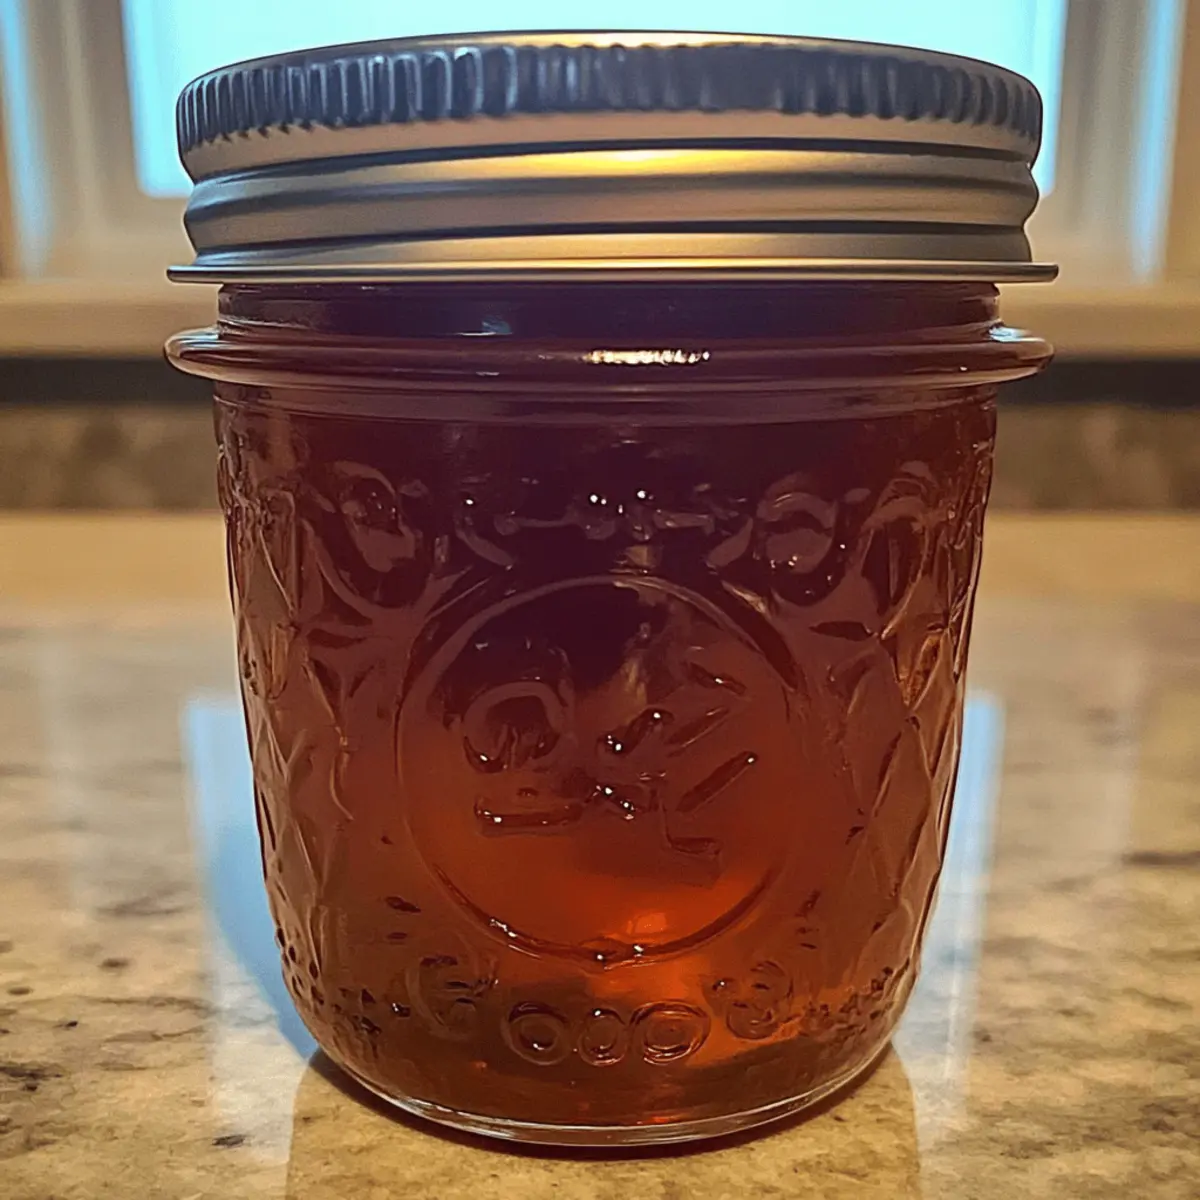
Step 7: Jar the Jelly
Ladle the hot jelly into sterilized canning jars, carefully leaving about 1/4 inch of headspace at the top. Wipe the rim of each jar with a damp cloth to ensure a tight seal and prevent contamination. This step is critical for achieving a solid seal while canning your Apple Scrap Jelly.
Step 8: Process the Jars
Securely screw on the lids and process your jars in a boiling water bath for 10 minutes. This will help to preserve the jelly and keep it safe for storage. Ensure the water covers the jars by at least an inch while boiling, creating the perfect environment to seal your delicious jelly.
Step 9: Cool and Set
Once processed, carefully remove the jars using a jar lifter, placing them on a clean kitchen towel or cooling rack. Allow the jars to cool undisturbed for 24 hours. This step ensures that your Apple Scrap Jelly sets properly, so resist the temptation to check on them too soon; patience will pay off!
Expert Tips for Apple Scrap Jelly
-
Choose Fresh Scraps: Ensure your apple scraps are clean and sound without any signs of mold or spoilage to maintain the quality of your jelly.
-
Perfect Consistency: If your jelly doesn’t set properly, it could be due to not boiling long enough or incorrect pectin measurement. Make sure to follow the Apple Scrap Jelly Recipe for Canning closely!
-
Sterilization Matters: Always sterilize your jars before canning. This step is essential for preventing any bacterial growth and ensuring your jelly lasts!
-
Flavor Enhancements: Experiment with spices like cinnamon or ginger during simmering for a delightful twist that elevates your jelly’s unique flavor.
-
Patience is Key: Let your jars cool undisturbed for at least 24 hours to allow proper setting. Disturbing them too soon may affect the texture of your jelly.
-
Label and Store: Don’t forget to label your jars with the date! Store them in a dark, cool place, and enjoy your homemade creation within a year for the best flavor.
Make Ahead Options
These Apple Scrap Jelly Recipe for Canning options are perfect for busy home cooks looking to save time in the kitchen! You can prepare the apple scraps and simmer them in water up to 3 days ahead, storing the strained liquid in the refrigerator until you’re ready to make the jelly. Simply cover the pot with a lid to maintain freshness and prevent contamination. When you’re ready to finish the jelly, proceed with mixing in the lemon juice and pectin, then bring to a boil. This way, you’ll enjoy the convenience of quick prep on a busy day, resulting in just as delicious homemade jelly with minimal effort!
Apple Scrap Jelly Recipe Variations
Feel free to make this apple scrap jelly your own with these tasty tweaks that will elevate every bite!
- Spicy Kick: Add a pinch of cayenne pepper while simmering for a subtle heat that contrasts beautifully with the sweetness.
- Herbal Infusion: Incorporate fresh rosemary or thyme during cooking for a fragrant twist that complements the jelly’s flavor.
- Citrusy Zing: Mix the lemon juice with orange juice for a vibrant citrus flavor that adds brightness and complexity.
- Pear Perfection: Substitute half of the apple scraps with pear skins and cores for a delightful blend that enhances the jelly’s texture and taste.
- Nutty Boost: Stir in a tablespoon of almond extract just before boiling for a creamy, nutty flavor that makes your jelly really special.
Feel inspired? Dive into creativity with overlapping recipes; try pairing your jelly with dishes like Honeycrisp Apple Broccoli for a crunch or as a drizzle over Chicken Stroganoff Comfort for a surprising sweet twist!
- Classic Cinnamon: Sprinkle ground cinnamon into the boiling mixture for a warm, familiar flavor reminiscent of fall harvests.
- Ginger Kick: Add finely grated ginger as the jelly simmers for a spiced profile that’s invigorating and aromatic.
With these variations, you can explore endless possibilities, creating a unique jelly that delights both yourself and your loved ones!
How to Store and Freeze Apple Scrap Jelly
Fridge: Store opened jars of apple scrap jelly in the refrigerator for up to 3 weeks to maintain freshness and flavor.
Pantry: Unopened jars can be kept in a cool, dark place for up to a year. Ensure jars are sealed tightly to prevent spoilage.
Freezer: While not typical, you can freeze apple scrap jelly by transferring it to freezer-safe containers, leaving some space for expansion. Use within 6 months for the best quality.
Reheating: If the jelly thickens in the fridge, gently warm it in a saucepan over low heat to return it to a spreadable consistency. Enjoy the delightful flavors of your homemade apple scrap jelly recipe for canning!
What to Serve with Apple Scrap Jelly
There’s nothing quite like a homemade jelly to elevate your meals and snacks into something delightful!
-
Warm Toast: The perfect canvas for apple scrap jelly, warm toast enhances the sweet, fruity flavors while offering a comforting crunch.
-
Buttermilk Pancakes: Adding a dollop of apple scrap jelly to fluffy pancakes creates a deliciously sweet topping that pairs beautifully with maple syrup.
-
Creamy Yogurt: Swirling this jelly into a bowl of tangy yogurt not only brightens the dish but adds a natural sweetness and fruity aroma.
-
Cheese Platter: Serve apple scrap jelly alongside brie or cheddar to create a lovely contrast of savory and sweet, making for a sophisticated appetizer.
Crafting a cheese board? Spread the jelly on crackers topped with cheese for a delightful bite that will impress your guests.
-
Vanilla Ice Cream: Drizzle warm apple scrap jelly over a scoop of vanilla ice cream for an indulgent dessert that plays on the classic apple pie experience.
-
Breakfast Muffins: Slathering apple scrap jelly over warm, fresh-baked muffins adds a burst of flavor that welcomes each bite with a sweet twist.
-
Herbal Tea: A warm cup of herbal tea serves as a calming companion to your jelly, letting the tangy sweet notes shine through while you relax.
Each pairing invites you to explore the versatility of this delightful jelly, making every meal a bit more special!
Apple Scrap Jelly Recipe FAQs
What kind of apple scraps should I use?
Absolutely! You can use any apple scraps, such as peels and cores from previously prepared apples. Just make sure they are fresh and free from any signs of spoilage, like dark spots or mold, to ensure your jelly retains the best flavor.
How should I store apple scrap jelly once it’s made?
Store opened jars of apple scrap jelly in the refrigerator for up to 3 weeks to preserve its flavor and freshness. Unopened jars, on the other hand, can be kept in a cool, dark pantry for up to a year. Be sure that the lids are tightly sealed to prevent spoilage!
Can I freeze apple scrap jelly? How?
Yes, you can freeze apple scrap jelly! To do this, transfer the jelly into freezer-safe containers, and leave about an inch of space at the top for expansion. This will help prevent cracking. It can be stored in the freezer for up to 6 months. When you’re ready to use it, simply thaw it in the refrigerator overnight.
What should I do if my jelly doesn’t set?
If your jelly doesn’t set properly, it could be due to insufficient boiling time or incorrect measurements of pectin. To troubleshoot, you can remelt your jelly by placing it back into a pot. Add another package of powdered pectin and boil for one minute, stirring constantly. This should help it reach the desired consistency. Just ensure you’re following the Apple Scrap Jelly Recipe for Canning closely for future batches!
Can I use my apple scrap jelly for gifts?
Very! Homemade apple scrap jelly makes a charming and thoughtful gift. Just ensure the jars are properly sterilized, labeled with the date and type, and tied with a lovely ribbon. Your friends and family will appreciate a heartfelt treat that also embodies sustainable cooking and waste reduction!
Is this recipe suitable for people with food allergies?
While this apple scrap jelly recipe is generally safe, always be mindful of allergies. The ingredients are simple, but check for sensitivities to apples or other components like lemon juice. If necessary, you can substitute the lemon juice with diluted citric acid for those who may need a different option.

Delicious Apple Scrap Jelly Recipe for Canning at Home
Ingredients
Equipment
Method
- Gather apple scraps, clean, and place them in a large pot. Pour in 5 cups of water and bring to a rapid boil over medium-high heat.
- Reduce heat to a gentle simmer for 30 minutes, stirring occasionally.
- Strain the mixture through a fine mesh sieve or cheesecloth into a large saucepan, discarding the solids.
- In the clean pot, combine 4 cups of strained liquid with 2 tablespoons of lemon juice and the powdered pectin. Stir until dissolved.
- Bring the mixture back to a boil over medium-high heat, stirring continuously for one minute.
- Gradually stir in 4 cups of sugar until fully dissolved, then boil for an additional 1 to 2 minutes.
- Ladle the hot jelly into sterilized jars, leaving about 1/4 inch headspace. Wipe the rims and seal tightly.
- Process jars in a boiling water bath for 10 minutes to preserve the jelly.
- Carefully remove jars and let cool undisturbed for 24 hours.
Leave a Reply