
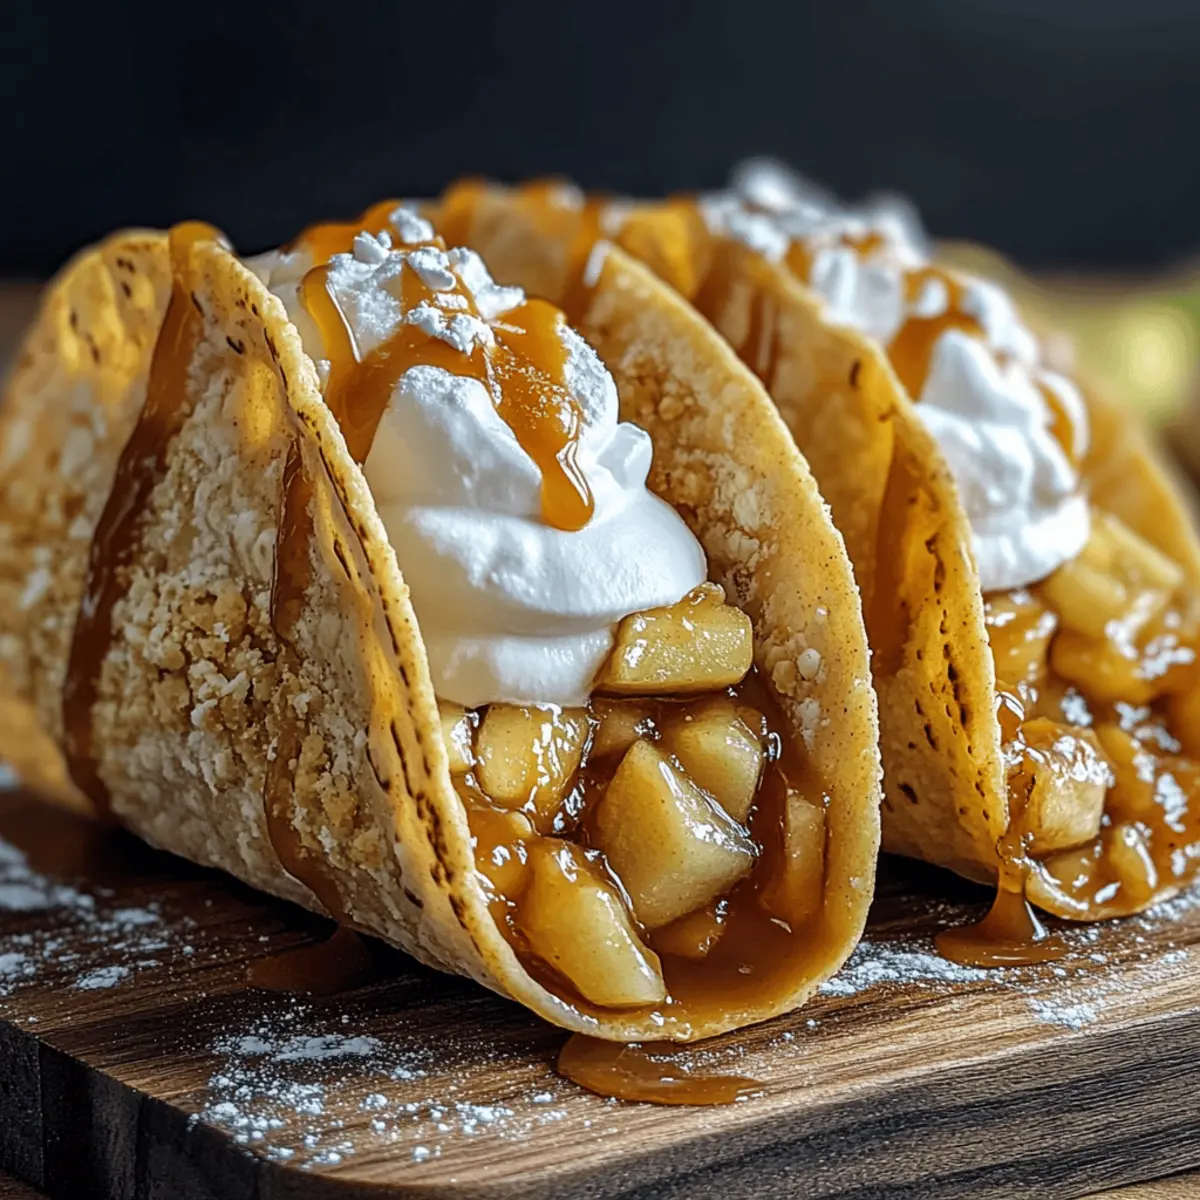
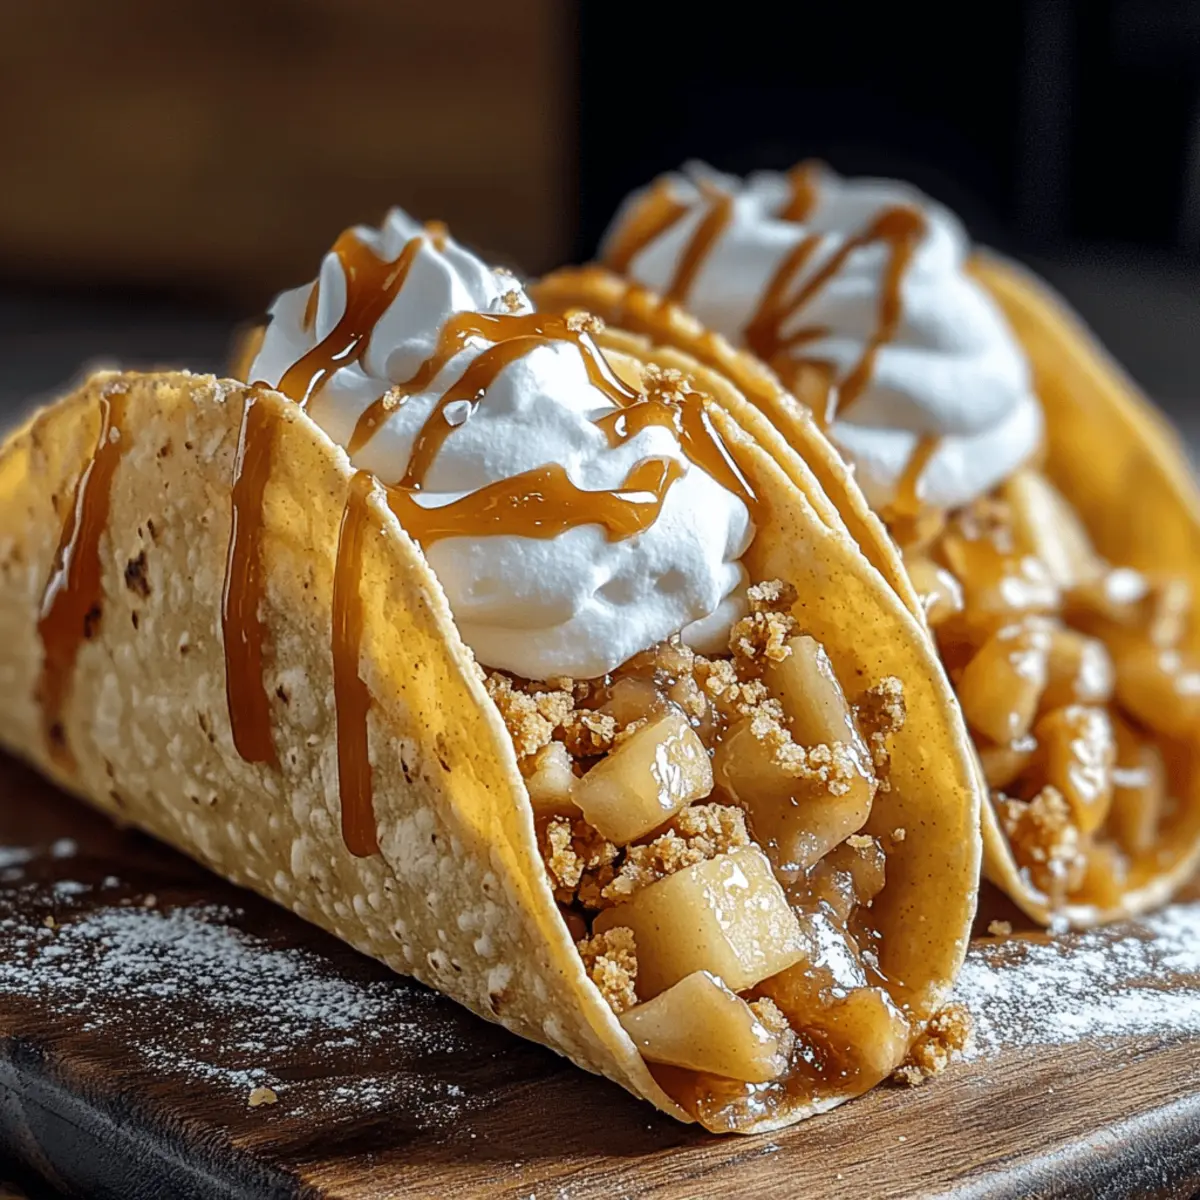
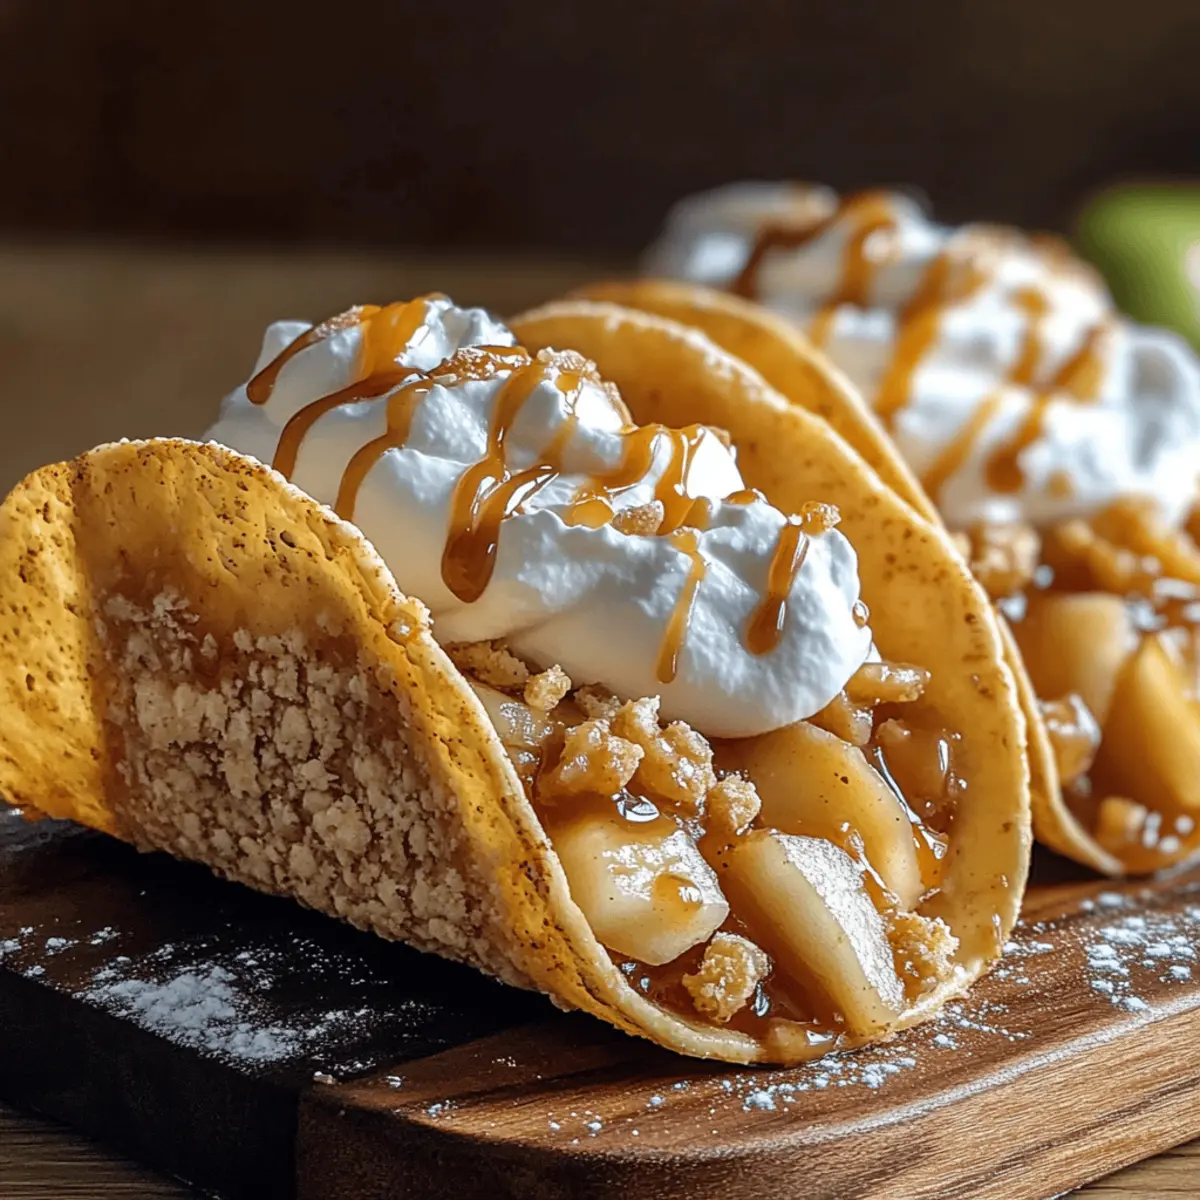
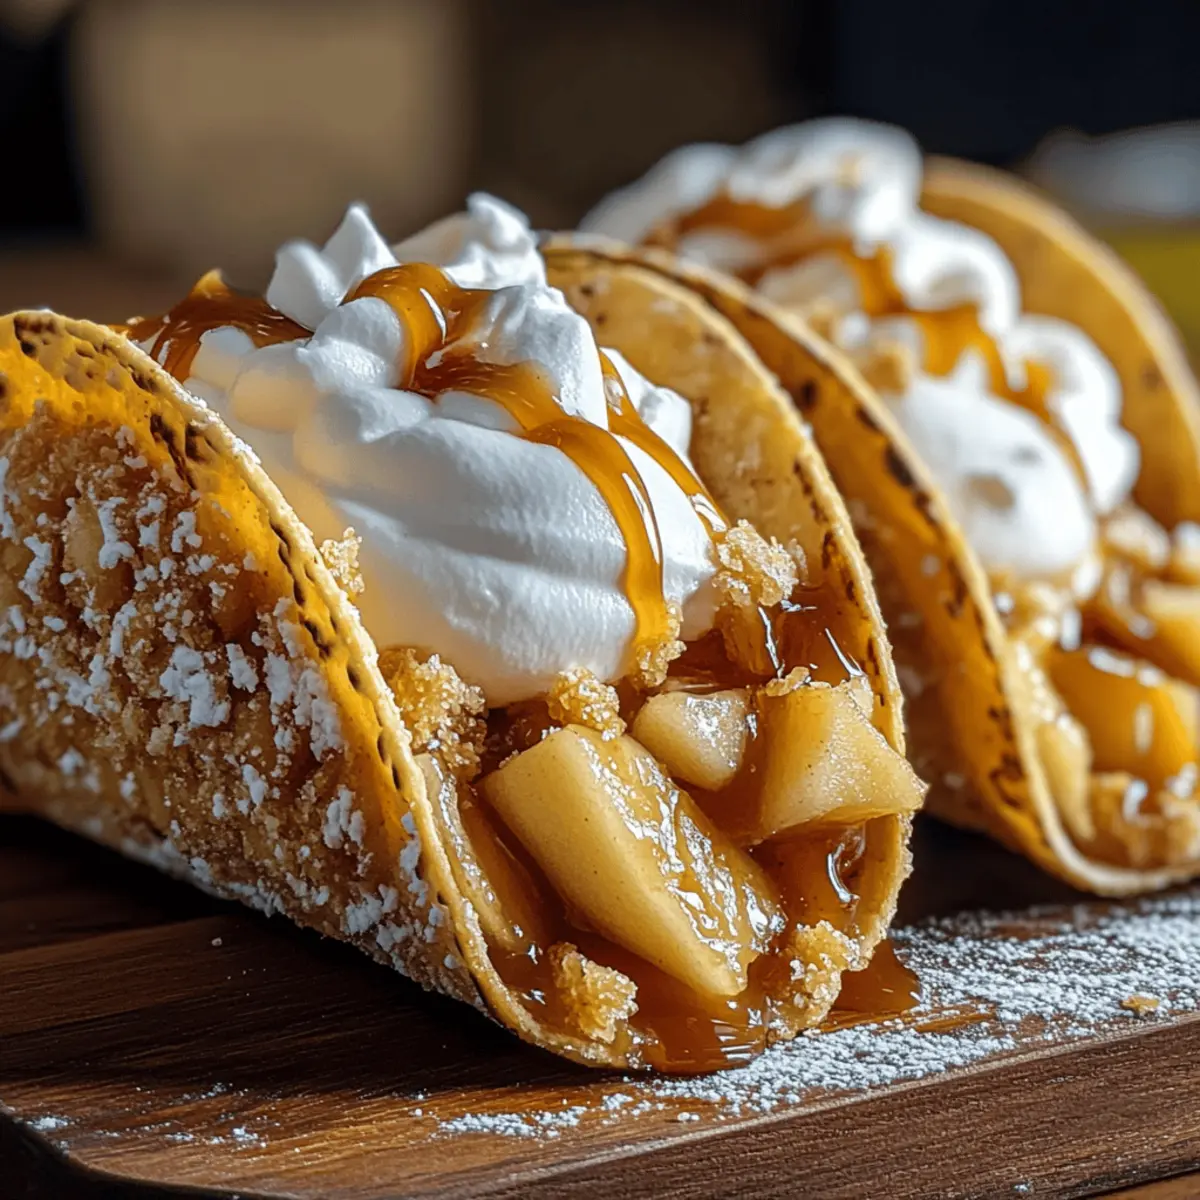
The sweet aroma of cinnamon and warm apples wafted through the kitchen, transporting me back to autumn days filled with laughter and family gatherings. Enter Apple Pie Tacos—a delightful twist on a classic dessert that brings the comfort of apple pie into the palm of your hand. This quick dessert, which takes only about 20 minutes to whip up, is perfect for anyone eager to impress at their next get-together or simply enjoy a homemade treat. Kid-friendly and easy to customize with gluten-free options, these crispy, golden tacos deliver all the nostalgia of apple pie with a playful presentation. Can you imagine the joy of surprising your loved ones with this deliciously fun creation? Let’s dive into the recipe and bring a little joy to your kitchen!
Why Are Apple Pie Tacos a Must-Try?
Unique twist on tradition: These Apple Pie Tacos transform a beloved dessert into a playful, handheld delight that kids and adults alike will adore.
Quick and easy: With just 20 minutes of prep, you can have a delicious dessert ready that’s perfect for any occasion.
Customizable options: Feel free to experiment with fillings and toppings, from pumpkin to berries, making it versatile for everyone’s taste.
Kid-friendly fun: Involve the little ones in assembly for a bonding experience that’s both tasty and entertaining.
Crowd-pleaser guaranteed: Whether at a family gathering or a casual get-together, these tacos are sure to impress. Pair with hot apple cider or vanilla ice cream for a delightful finish!
Apple Pie Tacos Ingredients
For the Taco Shells
• Street Taco Flour Tortillas – Crunchy base for filling; you can cut larger tortillas into quarters for mini tacos.
• Salted Butter – Adds richness and helps crisp the tortillas; substitute with coconut oil for a vegan option.
• Finely Crushed Vanilla Wafer Crumbs – Provides extra crunch and flavor; graham cracker crumbs can be used as an alternative.
For the Filling
• Canned Apple Pie Filling – Easiest option for busy cooks; fresh sautéed apples mixed with brown sugar and lemon make a fancier alternative.
• Heavy Cream – Enriches the filling for a creamy texture; full-fat coconut milk is a great dairy-free substitute.
• Ground Cinnamon – Enhances warmth and flavor; you can use apple pie spice instead for convenience.
For Serving (optional)
• Whipped Cream – A delightful topping that adds creaminess; feel free to use store-bought or homemade.
• Caramel Sauce – Drizzle for extra sweetness; can be homemade or from a bottle for simplicity.
Step‑by‑Step Instructions for Apple Pie Tacos
Step 1: Preheat the Oven
Begin by preheating your oven to 375°F (190°C). This is the ideal temperature for baking those delicious Apple Pie Tacos to a perfect golden crisp. As the oven warms up, gather your ingredients and equipment, including a baking sheet and a wire rack for setting the tortillas after coating.
Step 2: Prepare the Tortillas
Generously brush both sides of your street taco flour tortillas with melted butter. This will not only add a rich flavor but also help the tortillas become wonderfully crispy while baking. Make sure to use about ⅓ cup of melted butter to ensure every bite is decadent.
Step 3: Coat with Crumbs
In a shallow dish, mix finely crushed vanilla wafer crumbs with ground cinnamon. Then, press each tortilla into the mixture, ensuring both sides are thoroughly coated. This step adds delightful crunch and flavor, setting the stage for your Apple Pie Tacos’ exterior.
Step 4: Rest the Coated Tortillas
Place the coated tortillas on a wire rack and allow them to rest for 5 minutes. This resting period helps the crumbs adhere better to the tortillas while also creating a firmer base for when they bake. During this time, you might want to prepare the next step.
Step 5: Shape the Tortillas
Drape the tortillas over the bars of an oven rack or use a taco mold, like an upside-down muffin tin, to shape them. This technique will allow your Apple Pie Tacos to hold their shape during baking while developing that lovely crispy texture you’re aiming for.
Step 6: Bake Until Crispy
Transfer the shaped tortillas to the preheated oven and bake for 8-10 minutes. Keep an eye out for a golden color and a “tappy” sound when you gently knock on them. This indicates they are perfectly baked and crispy, ready to be filled with the sweet apple goodness.
Step 7: Cool the Tortilla Shells
Once baked, let the shells cool for 5 minutes. This cooling time allows them to crisp further, ensuring your Apple Pie Tacos will have that delightful crunch. Be patient—resisting the urge to fill them immediately will pay off in the end!
Step 8: Heat the Apple Filling
In a saucepan over medium heat, combine your canned apple pie filling with heavy cream. Stir the mixture, allowing it to heat up until bubbly and thickened, which should take about 5 minutes. This step infuses the filling with a creamy texture, making every bite of your Apple Pie Tacos heavenly.
Step 9: Optional Flavor Enhancement
For an extra touch of flavor, consider adding a pinch of nutmeg to the filling as it heats. This subtle hint of spice will enhance the warm, comforting taste of the apples. Stir well to seamlessly blend the spices into your filling.
Step 10: Fill and Serve
Once your filling is ready, carefully spoon the warm apple mixture into the crispy taco shells. Finish with a dollop of whipped cream and a drizzle of caramel sauce for that extra indulgence. Your Apple Pie Tacos are now ready to be served, bringing smiles with every delicious bite!
Apple Pie Tacos Variations & Substitutions
Feel free to jazz up your Apple Pie Tacos with these exciting twists and alterations! Your creativity can turn an already scrumptious dessert into something even more delightful.
- Pumpkin Filling: Swap apple filling for a mix of canned pumpkin, cream cheese, and maple syrup for a seasonal treat. It’s like autumn in every bite!
- Berry Medley: Use cherry or blueberry pie filling, and top them with lemon-zest whipped cream for a bright flavor contrast. These fruity alternatives are just as delicious!
- Nutty Surprise: Add chopped toasted pecans to the filling for a rich, crunchy texture, or sprinkle extra crumbs on the shells for a flavor boost. This adds a delightful surprise for every bite.
- Chocolate Drizzle: Drizzle melted chocolate over the finished tacos or mix in chocolate chips into the apple filling for added sweetness. The combination of apple and chocolate is heavenly!
- Gluten-Free Options: Substitute GF tortillas and use almond flour cookies in place of vanilla wafer crumbs for a delicious, gluten-free version. Everyone can enjoy these tasty treats!
- Savory Twist: For a savory alternative, try filling with chicken and apple, drizzled with barbecue sauce, to create a unique dinner option. It’s bold and unexpected!
- Cinnamon Roll Tacos: For a breakfast version, use cinnamon roll dough to form the shells, then fill with cream cheese frosting and sautéed apples. Morning bliss awaits!
- Spice it Up: Add a pinch of cayenne pepper or chili powder to the filling for a warm kick that surprisingly complements the sweetness of the apples. Those who enjoy heat will love this twist!
Don’t forget, these tacos pair wonderfully with a warm cup of cider or a scoop of vanilla ice cream for that extra indulgence!
Make Ahead Options
These Apple Pie Tacos are fantastic for meal prep, allowing you to enjoy homemade desserts even on your busiest days! You can prepare the taco shells and store them in an airtight container at room temperature for up to 24 hours before baking. Additionally, the apple filling can be made in advance and refrigerated for up to 3 days. To maintain quality, ensure the taco shells are completely cool before storing and avoid filling them until right before serving to keep them crispy. When ready to enjoy, simply bake the shells as directed and warm the filling on the stovetop, creating a delightful dessert experience without the last-minute rush!
What to Serve with Apple Pie Tacos
The perfect meal completion is just around the corner, bringing warmth and sweetness to your dining experience.
-
Vanilla Ice Cream: A classic complement that adds creamy richness, enhancing the flavors of the warm apple filling. It’s the ultimate dessert duo!
-
Caramel Sauce: Drizzling this sweet sauce over your tacos adds an indulgent touch, transforming each bite into a delightful experience of gooey goodness.
-
Hot Apple Cider: The warm spices in the cider create a cozy atmosphere, perfectly matching the cinnamon-kissed apple flavors of your tacos.
-
Cinnamon Sugar Dusting: A simple sprinkle of cinnamon sugar elevates the flavors of your tacos, adding an extra touch of sweetness to delight your palate.
-
Whipped Cream: For a fresh finish, a dollop of whipped cream adds softness and lightness, balancing the crispy taco shell and warm filling.
-
Chopped Nuts: Toasted pecans or walnuts can enhance the texture and add a lovely crunch, creating a delightful contrast with the soft apple filling.
-
Hot Chocolate: Pairing these delicious tacos with a rich cup of hot chocolate creates a comforting dessert experience, especially on chilly evenings.
-
Spiced Coffee: A cup of warm spiced coffee adds a kick of flavor, perfectly complementing the sweetness of the Apple Pie Tacos, making it a delightful after-dinner treat.
Storage Tips for Apple Pie Tacos
-
Room Temperature: Store leftover Apple Pie Tacos at room temperature for up to 2 days to maintain their crunchy texture. Keep them covered with a clean kitchen towel.
-
Fridge: If you need to store them longer, place filled tacos in an airtight container in the refrigerator for up to 3 days. This preserves freshness and ensures the filling stays flavorful.
-
Freezer: You can freeze the baked shells for up to a month. Wrap them tightly in plastic wrap and then place in a freezer bag to prevent freezer burn. Reheat before serving.
-
Reheating: When ready to enjoy, reheat the taco shells in the oven at 350°F (175°C) for about 5 minutes until crisp. Reheat any filling gently on the stove or in the microwave for a few seconds.
Expert Tips for Apple Pie Tacos
-
Cool the Filling: Allow the filling to cool slightly before adding it to avoid making the shells soggy and losing that crunchy texture.
-
Bake Until Crisp: Ensure the shells are fully baked; they should sound crispy and “tappy” rather than soggy when lightly knocked.
-
Double-Coat Crumbs: For an extra crunch, consider double-coating the tortillas with the crumb mixture before baking.
-
Flexibility with Tortillas: If your tortillas are too rigid to shape, brush with extra butter or microwave them, wrapped in a damp towel, for a few seconds to soften.
-
Experiment with Fillings: Don’t hesitate to try different fillings, like pumpkin or mixed berries; the Apple Pie Tacos are customizable to fit every taste!
Apple Pie Tacos Recipe FAQs
How do I select the best apples for my filling?
Absolutely! If you choose to make your own apple filling, opt for apples that are firm and slightly tart, like Granny Smith or Honeycrisp. Avoid overly ripe apples with dark spots. For canned filling, check the ingredients for added sugars and preservatives to ensure quality.
What’s the best way to store leftover Apple Pie Tacos?
You can store leftover Apple Pie Tacos at room temperature for up to 2 days, but keep them covered with a kitchen towel to maintain their crispy texture. If you have more leftovers, place them in an airtight container in the fridge, and they’ll last about 3 days.
Can I freeze Apple Pie Tacos for later?
Yes, you can absolutely freeze the baked taco shells for up to a month! Just wrap them tightly in plastic wrap, followed by a freezer bag to prevent freezer burn. When you’re ready to enjoy, reheat the shells in the oven at 350°F (175°C) for about 5 minutes until they’re crisp again. Prepare the filling fresh for the best taste!
What should I do if my taco shells turn out soggy?
Don’t worry; it happens! If your shells are soggy, it could be due to adding the filling while it’s too warm. Allow the filling to cool slightly before spooning it into the shells. Additionally, ensure that the shells are thoroughly baked—they should sound “tappy” and crisp before filling.
Are there gluten-free options for making Apple Pie Tacos?
Very much so! You can easily enjoy Apple Pie Tacos by using gluten-free street taco tortillas. For the crumb coating, simply substitute with crushed almond flour cookies or gluten-free graham cracker crumbs. This way, you can accommodate any dietary restrictions while still creating a delightful treat.
Can I make Apple Pie Tacos ahead of time?
Certainly! You can prepare the shells and filling separately and store them in the refrigerator. Assemble the tacos just before serving to keep the shells crunchy. The shells can be made a day in advance and stored at room temperature, while the filling can be chilled in the fridge for up to 3 days. This makes them perfect for entertaining!
Apple Pie Tacos: A Fun Twist on a Classic Dessert
Ingredients
Equipment
Method
- Preheat your oven to 375°F (190°C).
- Brush both sides of the street taco flour tortillas with melted butter.
- Mix crushed vanilla wafer crumbs with ground cinnamon and press each tortilla into the mixture.
- Place the coated tortillas on a wire rack and allow them to rest for 5 minutes.
- Shape the tortillas over an oven rack or using a taco mold.
- Bake the shaped tortillas for 8-10 minutes until golden and crispy.
- Cool the shells for 5 minutes after baking.
- In a saucepan, combine apple pie filling with heavy cream and heat until bubbly.
- Optionally, add a pinch of nutmeg to the filling.
- Fill the cooled taco shells with the warm apple mixture, and top with whipped cream and caramel sauce.
Leave a Reply