
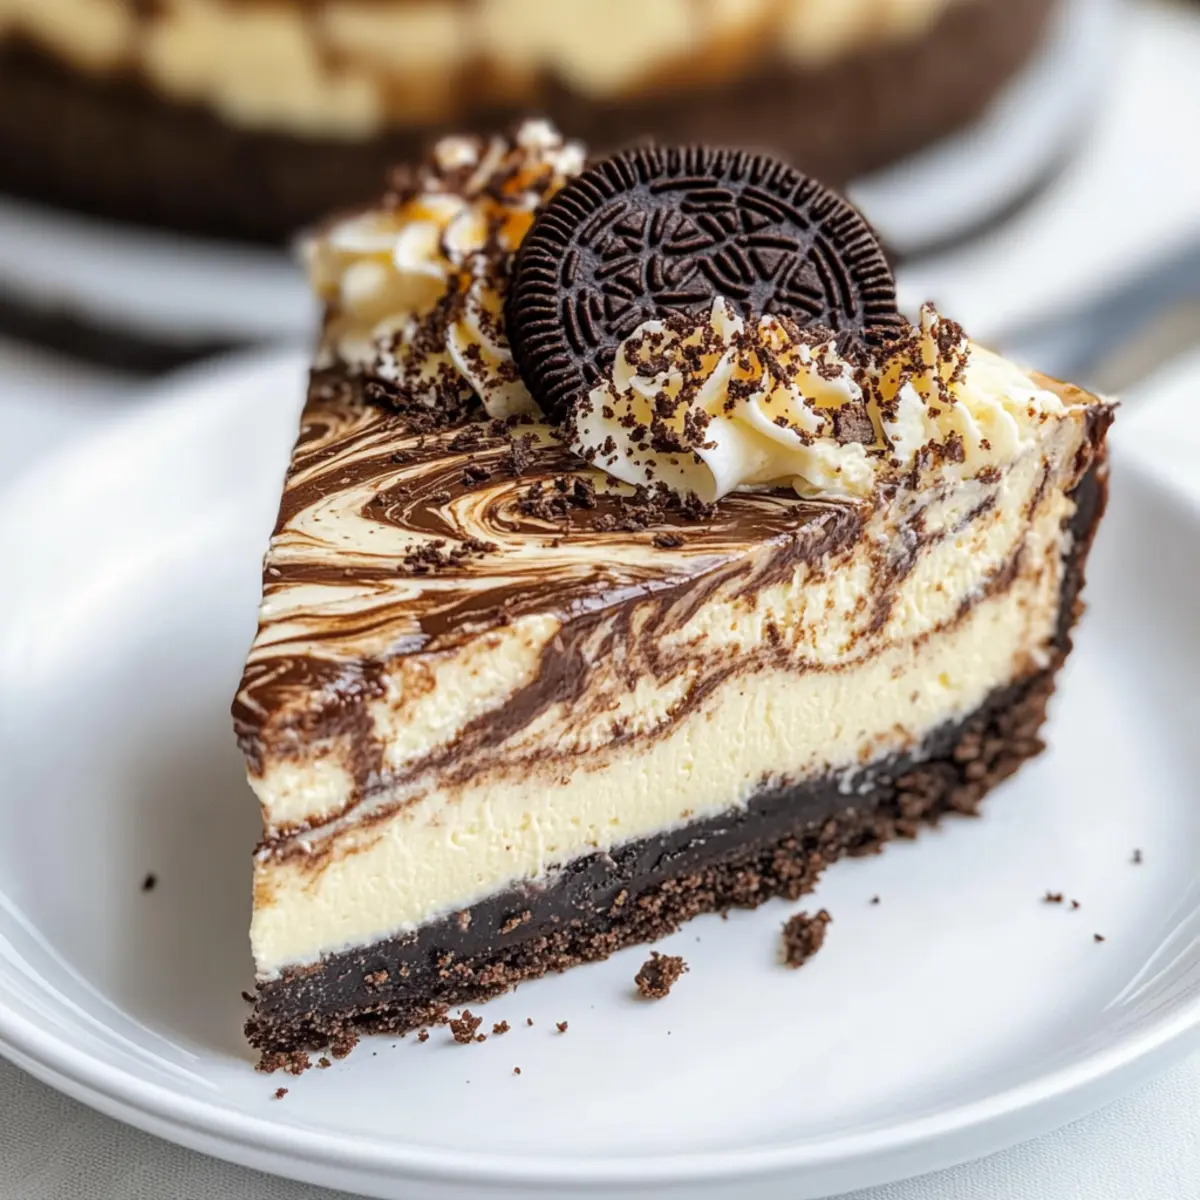
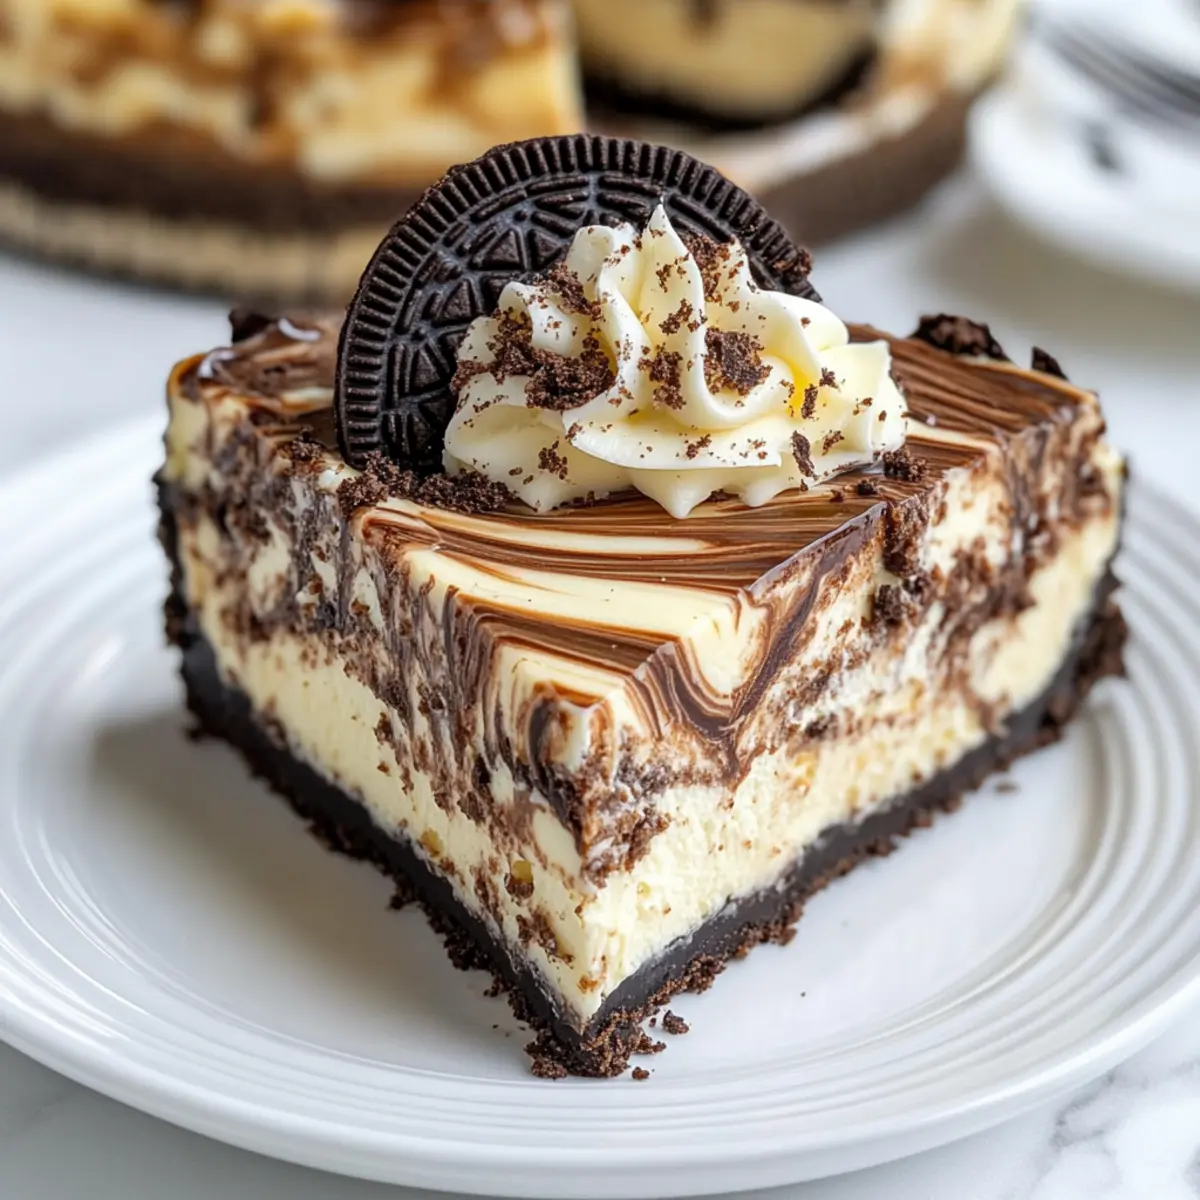
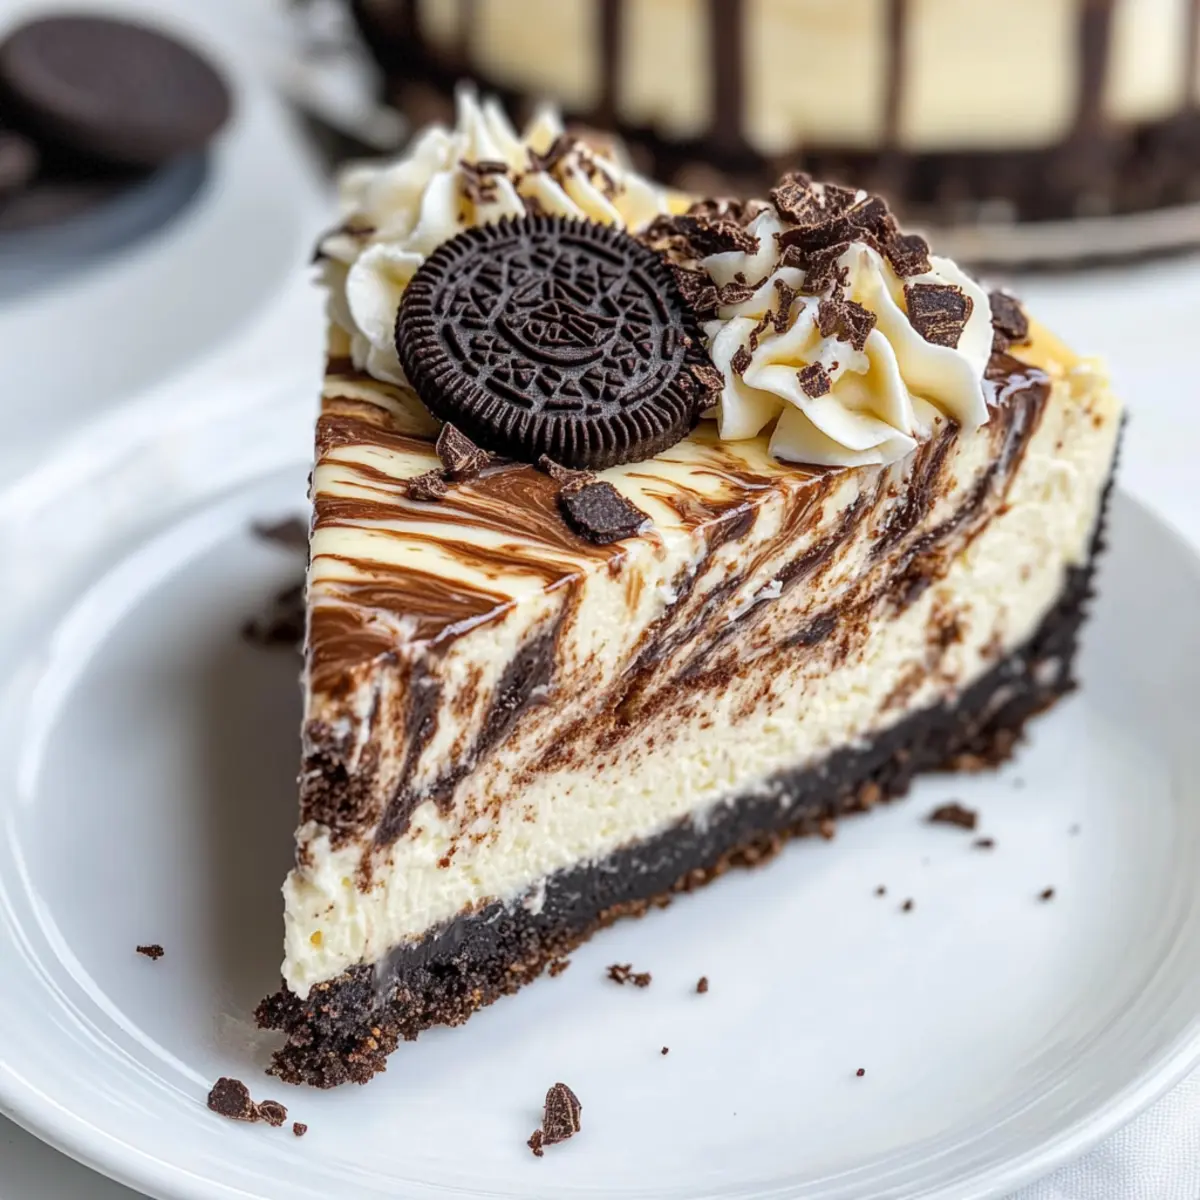
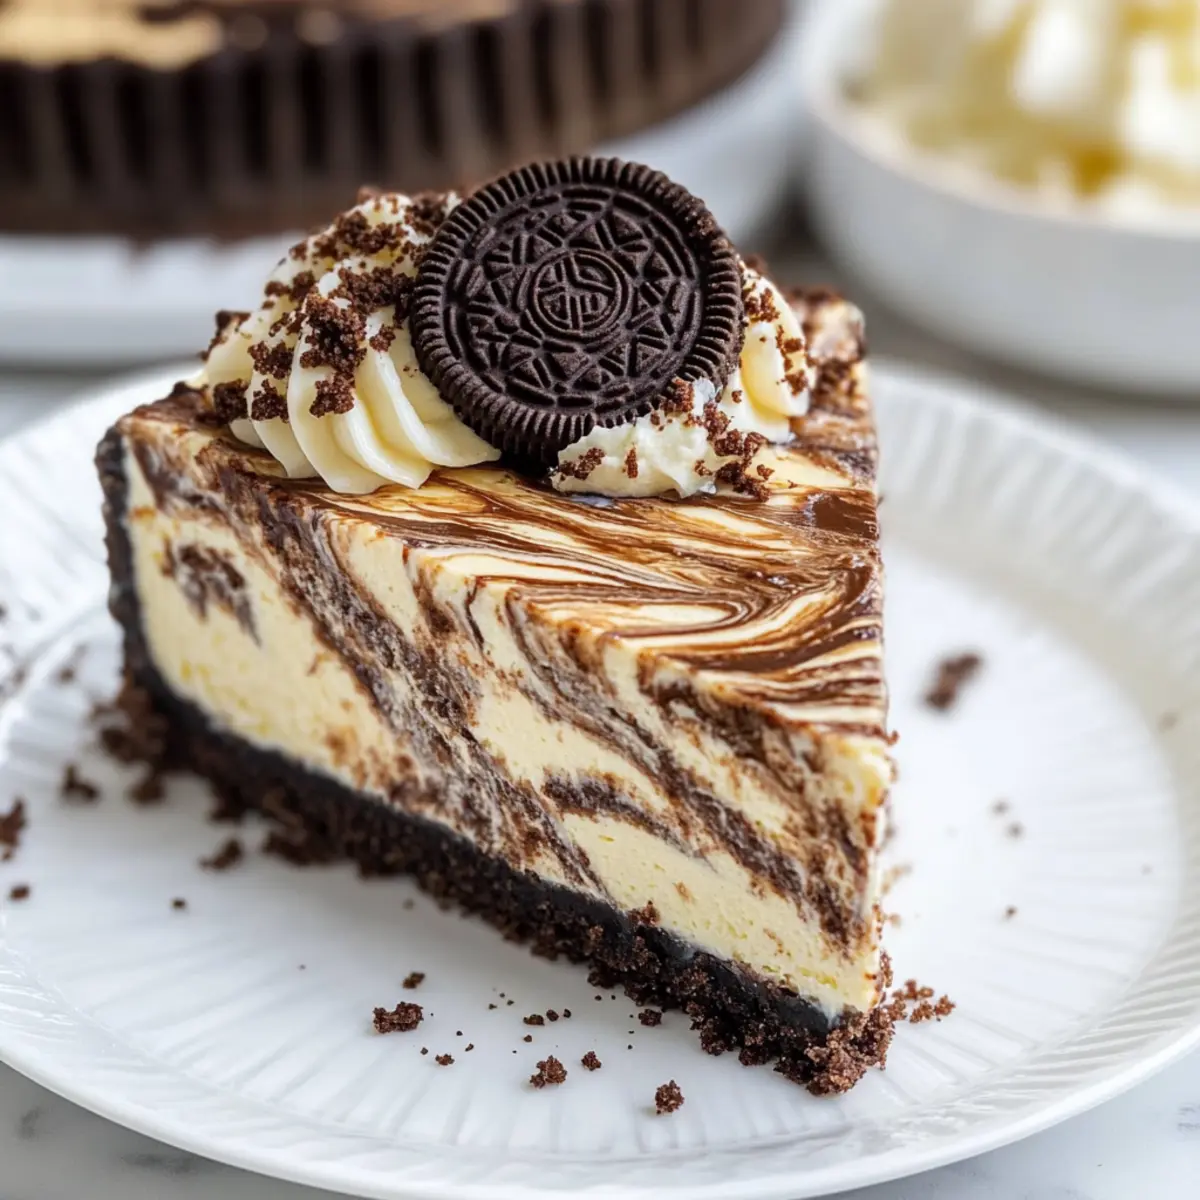
As I stared at the mesmerizing swirls of chocolate and vanilla batter in my mixing bowl, I felt an overwhelming sense of joy—this heavenly marbled cheesecake was about to make my day! The creamy filling, coupled with the delightful crunch of an Oreo crust, creates a rich dessert that’s worthy of any celebration. Not only is this Marbled Cheesecake a showstopper on your table, but it’s also surprisingly simple to make, fitting seamlessly into your busy life. Trust me, whether it’s a birthday bash or a cozy family dinner, this dessert will enchant everyone who takes a slice. Are you ready to dive into this creamy bliss and impress your loved ones with a dessert that’s as beautiful as it is delicious? Let’s get started!
Why is Marbled Cheesecake So Irresistible?
Creamy, Irresistible Layers: Each slice showcases a stunning swirl of rich chocolate and vanilla, making it not just a dessert, but a work of art.
Effortless Indulgence: This recipe requires minimal time and skills, so even novice bakers can create a masterpiece that impresses.
Versatile Delight: Perfect for any occasion, whether it’s a birthday, holiday, or just a cozy night in with friends and family.
Oreo Crust Bliss: The chocolatey Oreo crust adds a delightful crunch that perfectly complements the creamy filling, elevating the overall experience.
Make-Ahead Magic: Prepare it in advance, allowing flavors to meld while chilling; it’s an absolute lifesaver for your busy schedule!
Dive deeper into the world of delectable treats with additional recipes that may also tempt your taste buds, like our delightful Gooey Brownies.
Marbled Cheesecake Ingredients
Indulge in the delightful flavors of a Marbled Cheesecake with this straightforward ingredient list.
-
For the Oreo Crust:
-
Oreo cookie crumbs – A blend of about 20 Oreo cookies creates a sweet and chocolatey base.
-
Melted salted butter – 2 Tbsp helps bind the cookie crumbs together to form a cohesive crust.
-
Granulated sugar – 2 Tbsp adds just the right sweetness to the crust.
-
For the Cheesecake Filling:
-
Granulated sugar – 1 1/3 cups sweetens the filling beautifully, essential for this creamy dessert.
-
Cornstarch – 2 Tbsp helps set the batter, ensuring a smooth and creamy texture without cracking.
-
Full-fat cream cheese – 4 (8 oz.) packages provide the rich base necessary for an indulgent cheesecake.
-
Large eggs – 4 add richness and stability to the cheesecake, making it decadent and fluffy.
-
Full-fat sour cream – 2/3 cup contributes to the creaminess while adding a pleasant tang.
-
Vanilla extract – 1 tsp enhances the flavor profile for an exquisite taste experience.
-
Semi-sweet or dark chocolate chips – 3/4 cup create the chocolate layer that beautifully contrasts with the vanilla batter.
-
For the Topping (Optional):
-
Whipped cream – A dollop adds lightness and serves as a delightful garnish.
-
Chocolate shavings – Sprinkling these on top adds visual appeal and an extra layer of flavor.
Now that you have your ingredients ready, prepare yourself for a baking adventure that leads to a creamy, dreamy Marbled Cheesecake that will dazzle everyone at your table!
Step‑by‑Step Instructions for Creamy Marbled Cheesecake with Oreo Crust
Step 1: Prepare Crust
Preheat your oven to 350°F (175°C). In a mixing bowl, crush about 20 Oreo cookies into fine crumbs and mix them with 2 tablespoons of melted butter and 2 tablespoons of sugar until fully combined. Press this mixture firmly into the bottom of an 8-inch springform pan to form a solid crust. Bake for 12-14 minutes until set, then allow it to cool completely.
Step 2: Reduce Heat
After the crust has cooled, lower your oven temperature to 300°F (150°C). Place a baking tray filled with water on the bottom rack of the oven; this creates steam which helps keep the cheesecake moist as it bakes. This step is crucial in achieving that creamy texture in your marbled cheesecake.
Step 3: Melt Chocolate
In a heatproof bowl, slowly melt ¾ cup of semi-sweet or dark chocolate chips using a microwave in 20-second intervals, stirring in between until smooth. Set the melted chocolate aside to cool slightly while you prepare the cheesecake filling. It’s essential that the chocolate isn’t too hot when mixed, to avoid scrambling the eggs later.
Step 4: Cheesecake Filling
In a large mixing bowl, beat together 4 packages (32 oz.) of room temperature full-fat cream cheese with 1 ⅓ cups of granulated sugar and 2 tablespoons of cornstarch until smooth and creamy. Add in 4 large eggs, one at a time, mixing gently after each addition before incorporating ⅔ cup of full-fat sour cream and 1 teaspoon of vanilla extract for enhanced flavor.
Step 5: Create Chocolate Batter
Carefully scoop out about 1 ½ cups of the creamy cheesecake filling into another bowl. Slowly fold in the cooled melted chocolate, creating a luscious chocolate batter. This step is key for achieving that beautiful marbled effect in your creamy marbled cheesecake; blend until the chocolate is fully integrated but avoid overmixing.
Step 6: Layer and Swirl
Pour dollops of the vanilla cheesecake batter over the crust, followed by spoonfuls of the chocolate batter. Alternate the layers, creating a visually stunning pattern. Use a knife or a skewer to gently swirl the two batters together, achieving a marbled effect that combines rich chocolate and creamy vanilla.
Step 7: Bake Cautiously
Bake your marbled cheesecake for 15 minutes at 300°F (150°C). After that, reduce the oven temperature to 225°F (110°C) and continue baking for an additional 2 hours. Avoid opening the oven door during this time to prevent any temperature fluctuations that could lead to cracking.
Step 8: Cool Gradually
Once the baking time is complete, turn off your oven and allow the cheesecake to sit inside for 1 hour with the door closed. After that, crack the oven door and let it cool for an additional hour. Finally, transfer the cheesecake to room temperature and let it rest for another 2 hours to ensure it sets perfectly.
Step 9: Refrigerate
Once completely cooled, cover the cheesecake with plastic wrap or aluminum foil and refrigerate for 3-4 hours or ideally overnight. This chilling time is essential for the flavors to deepen and for the cheesecake to firm up to the perfect sliceable texture.
Step 10: Serve
When ready to serve your decadent creamy marbled cheesecake, top it with a dollop of whipped cream and sprinkle with chocolate shavings for an extra touch. Use a warm knife to slice through the cheesecake smoothly, revealing those beautiful swirls of chocolate and vanilla.
How to Store and Freeze Marbled Cheesecake
Fridge: Refrigerate your marbled cheesecake, covered with plastic wrap or in an airtight container, for up to 1 week to maintain its creamy texture and flavor.
Freezer: For longer storage, freeze the cheesecake for up to 3 months. Wrap it tightly in plastic wrap and then in aluminum foil to prevent freezer burn.
Thawing: When ready to enjoy, thaw the cheesecake in the refrigerator overnight before serving. This helps preserve the texture.
Reheating: If you prefer serving it slightly warmed, do so by placing slices in the microwave for about 10-15 seconds. Avoid reheating the whole cheesecake, as this may alter its texture.
What to Serve with Creamy Marbled Cheesecake?
The perfect meal is incomplete without delightful companions that enhance your dessert experience.
-
Fresh Berries: Deliciously tart and refreshing, berries add a juicy contrast to the rich cheesecake, complementing its creamy texture beautifully.
-
Whipped Cream: A light dollop of freshly whipped cream provides a lovely companion, elevating each slice to new heights of indulgence and airy sweetness.
-
Chocolate Sauce: Drizzling warm chocolate sauce on the cheesecake deepens its chocolatey essence, creating a decadent harmony between flavors.
-
Coffee or Espresso: A rich cup of coffee balances the sweetness of the cheesecake, enhancing its flavors while creating a sinfully delightful pairing.
-
Caramel Drizzle: The sticky sweetness of caramel contrasts perfectly with the creamy marbled layers, adding an extra layer of indulgence that’s hard to resist.
-
Ice Cream: A scoop of vanilla or chocolate ice cream alongside offers a cool texture, enriching the overall experience of indulgence with every bite.
-
Mint Tea: A soothing cup of mint tea serves as a light, refreshing counterpoint to the rich flavors of the cheesecake, cleansing the palate.
-
Nutty Biscotti: Crunchy biscotti adds a delightful textural contrast and nutty flavor that pairs beautifully while complementing the creaminess of the dessert.
Expert Tips for Marbled Cheesecake
- Room Temperature Matters: Always use room temperature ingredients, especially cream cheese, to ensure a smooth filling without lumps.
- Mind the Mixing: Mix at a low speed and avoid overmixing to prevent incorporating too much air, which can lead to cracks in your marbled cheesecake.
- Careful Cooling: Follow the cooling process precisely to avoid temperature shock, which can cause cracks. Let your cheesecake cool gradually in the oven.
- Baking Water Bath: Using a baking tray with water helps maintain moisture in the oven, preventing the cheesecake from drying out and ensuring that creamy texture.
- Storage Smart: Refrigerate leftover marbled cheesecake for up to a week or freeze it for up to three months. Add your garnishes just before serving for the best presentation.
Marbled Cheesecake Variations & Substitutions
Let your creativity flow as you customize this luscious dessert with exciting swaps and enhancements!
-
Gluten-Free: Substitute the Oreo crust with gluten-free cookie crumbs or a nut-based crust for a delightful crunch.
-
Vegan Twist: Replace cream cheese and eggs with blended silken tofu and a flaxseed mixture for a vegan version that’s just as creamy.
-
Flavor Fusion: Add 1-2 tablespoons of matcha powder to the vanilla batter for a beautiful green tea flavor paired with the chocolate layer.
-
Fruity Delight: Swirl in fruit purees like raspberry or strawberry into the cheesecake batter for a fresh, fruity twist that’s still rich and creamy.
-
Nutty Crunch: Fold in chopped nuts, like walnuts or pecans, to the chocolate layer for a lovely texture and nutty flavor.
-
Spice it Up: Sprinkle a pinch of cinnamon or a touch of espresso powder in the chocolate layer for a warming flavor enhancement.
-
Decadent Drizzle: Serve with a homemade salted caramel sauce or a raspberry coulis drizzled on top for an extra touch of elegance.
-
Chocolate Lovers’ Dream: Increase the amount of chocolate chips to 1 cup for an even richer chocolate experience in every bite.
Explore these delightful variations while also checking out our other delicious dessert recipes to keep your baking adventures exciting!
Make Ahead Options
These Creamy Marbled Cheesecake slices are perfect for meal prep enthusiasts seeking to save time on busy days! You can prepare the crust and cheesecake filling up to 24 hours in advance. Simply make the Oreo crust and allow it to cool completely, then store it covered in the refrigerator. For the filling, mix all the ingredients, but hold off on baking. You can layer the batters and refrigerate the unbaked cheesecake for a day. When ready to bake, simply pop it into the preheated oven and follow the rest of the instructions. This way, you’ll achieve the same delicious, creamy results while making your life a little easier!
Creamy Marbled Cheesecake with Oreo Crust Recipe FAQs
What type of Oreo cookies should I use for the crust?
Absolutely! Use regular Oreo cookies for a sweet and chocolatey base. If you have dietary restrictions, gluten-free Oreo-style cookies make a great substitute. Just ensure they are crushed well to form a cohesive crust.
How long can I store my marbled cheesecake in the fridge?
You can refrigerate your creamy marbled cheesecake, covered with plastic wrap or in an airtight container, for up to 1 week. This helps maintain its luscious texture and flavor.
Can I freeze the marbled cheesecake? If so, how?
Very! To freeze your marbled cheesecake, wrap it tightly in plastic wrap followed by aluminum foil to prevent freezer burn. It can be stored in the freezer for up to 3 months. When you’re ready to enjoy, simply thaw it in the refrigerator overnight for the best texture.
What if my cheesecake cracks while baking?
Don’t worry; it happens to the best of us! To prevent cracks in the future, ensure that your cream cheese is at room temperature and that you mix on low speed to minimize air incorporation. Additionally, using a water bath helps create moisture in the oven, promoting an even bake and reducing the chance of cracks.
Can my marbled cheesecake be adjusted for dietary restrictions?
Absolutely! You can make several substitutions to cater to your dietary needs. For instance, replace eggs with a flaxseed meal mixture (1 tablespoon of flaxseed mixed with 3 tablespoons of water equals 1 egg) for a vegan option. Additionally, use dairy-free cream cheese or yogurt for a lactose-free version. Experimenting with sweeteners like honey or coconut sugar can also be done for a healthier alternative.
How do I know when my marbled cheesecake is done baking?
To check for doneness, gently shake the pan—if the center has a slight jiggle but the edges are set, it’s ready! Because it continues to cook as it cools, removing it when slightly undercooked helps to maintain a creamy, smooth texture.
Creamy Marbled Cheesecake that Melts in Your Mouth
Ingredients
Equipment
Method
- Preheat your oven to 350°F (175°C). Crush about 20 Oreo cookies into fine crumbs and mix with 2 tablespoons of melted butter and 2 tablespoons of sugar until combined. Press into the bottom of an 8-inch springform pan to form a crust. Bake for 12-14 minutes and cool completely.
- Lower oven temperature to 300°F (150°C). Place a baking tray filled with water on the bottom rack to create steam.
- Melt ¾ cup of chocolate chips in a heatproof bowl in the microwave in 20-second intervals, stirring until smooth. Set aside to cool.
- Beat together cream cheese, granulated sugar, and cornstarch until smooth. Add eggs one at a time, then sour cream and vanilla extract, mixing gently.
- Scoop out 1 ½ cups of this filling into another bowl and fold in the melted chocolate until fully integrated.
- Pour dollops of vanilla cheesecake batter over the crust, followed by spoonfuls of the chocolate batter. Swirl together with a knife or skewer.
- Bake for 15 minutes at 300°F (150°C). Then reduce to 225°F (110°C) and bake for an additional 2 hours without opening the door.
- Turn off the oven and let the cheesecake sit for 1 hour with the door closed. Crack the door and cool for another hour.
- Refrigerate covered for 3-4 hours or overnight for best flavor and texture.
- Top with whipped cream and chocolate shavings before serving. Use a warm knife to slice.
Leave a Reply