
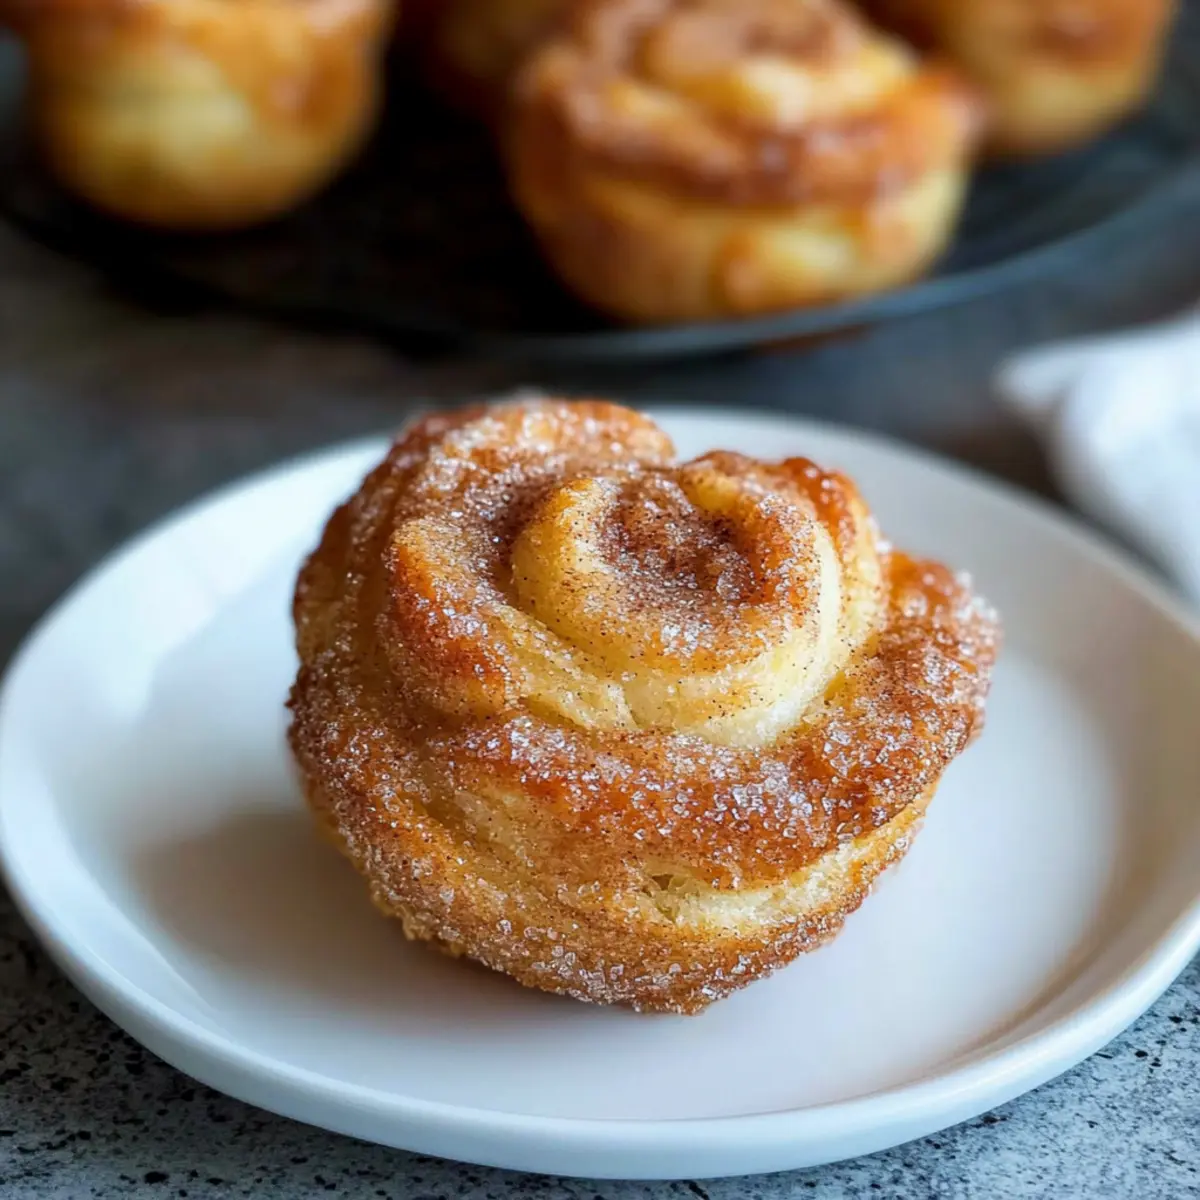
As I pulled the warm trays of Gluten-Free Cruffins from the oven, the sweet aroma enveloped me, instantly transporting me to my favorite bakery. These delightful pastry hybrids combine the crisp, buttery layers of a croissant with the charming shape of a muffin, offering an irresistible treat perfect for any time of day. Not only are these cruffins a showstopper at brunch, but they also cater to those embracing a gluten-free lifestyle without sacrificing flavor or texture. With their flaky layers and endless flavor combinations, you can indulge in both sweet and savory varieties that will satisfy every craving. Ready to embark on a baking adventure that’s sure to brighten your day? Let’s dive into the world of cruffins!
Why are Gluten-Free Cruffins a Must-Try?
Decadent and delicious, these Gluten-Free Cruffins take your taste buds on a delightful journey. Easy to make, even novice bakers can tackle this recipe with confidence. Versatile options allow for both sweet and savory fillings, ensuring there’s a flavor for everyone. Perfect for any occasion, they’re great as a breakfast treat, a brunch star, or a comforting snack alongside your favorite beverage. Flaky layers reminiscent of croissants add a gourmet touch to your homemade baking, making them truly irresistible!
Gluten-Free Cruffin Ingredients
• Dive into the rich and flaky world of this decadent gluten-free treat!
For the Dough
- Active Dry Yeast – Essential for your cruffins to rise and become fluffy; use one packet or 2 ½ teaspoons.
- Cane Sugar (1 tablespoon) – Activates the yeast and helps the dough rise beautifully.
- Milk (1 cup) – Provides the moisture needed to create a rich dough; heat to 110ºF for yeast activation.
- Gluten-Free Flour Blend (3 cups) – The backbone of your cruffins; choose a yeast-friendly blend like Bob’s Red Mill 1:1.
- Cane Sugar (½ cup) – Imparts sweetness that enhances the flavor of the dough.
- Unsalted Butter (6 tablespoons, frozen) – Adds richness and contributes to the flaky texture by being grated into the flour.
- Salt (¼ teaspoon) – Enhances the overall flavor profile of the cruffins.
- Pure Vanilla Extract (1 teaspoon) – Elevates the flavor with a hint of sweetness.
For the Filling
- Cinnamon Sugar Mixture – (½ cup sugar + 2 teaspoons cinnamon) creates a warm, sweet filling that complements the buttery layers.
- Melted Unsalted Butter (3 tablespoons) – Brush this on the dough for a golden crust and added flavor.
Each ingredient plays a crucial role in making these gluten-free cruffins a decadent delight that’s sure to impress!
Step‑by‑Step Instructions for Gluten Free Cruffins
Step 1: Activate the Yeast
Begin by warming 1 cup of milk to 110ºF in a small saucepan. Once heated, pour the milk into a mixing bowl and whisk in 1 tablespoon of cane sugar and your packet of active dry yeast. Allow the mixture to sit for 5 minutes or until it becomes frothy, signaling that the yeast is ready to work its magic in creating your Gluten Free Cruffins.
Step 2: Combine Dry Ingredients
In a large mixing bowl, whisk together 3 cups of gluten-free flour blend, ½ cup of cane sugar, and ¼ teaspoon of salt. This dry mixture is the foundation of your cruffins, providing the structure and sweetness necessary for the dough. Make sure to blend these ingredients well before adding the wet ingredients to ensure an even texture.
Step 3: Incorporate Butter
Take 6 tablespoons of frozen unsalted butter and grate it directly into the flour mixture using a box grater. Use your hands or a pastry cutter to mix thoroughly, ensuring the combination resembles coarse crumbs. This step is crucial for achieving the flaky texture that makes your cruffins special, layering the butter beautifully into the dry ingredients.
Step 4: Combine Wet and Dry Ingredients
Next, pour the frothy yeast mixture and 1 teaspoon of pure vanilla extract into the bowl with the flour mixture. Stir gently but thoroughly until the dough begins to come together. If the dough appears too sticky, you can gradually add more gluten-free flour until it achieves a soft, but workable consistency.
Step 5: Shape the Dough
Dust your work surface lightly with gluten-free flour before transferring the dough onto it. Gently knead the dough a few times, then roll it out into a rectangle approximately ¼ inch thick. This shape and thickness are vital for the cruffins’ characteristic layers, making sure you create a perfect base for filling and rolling.
Step 6: Add Filling and Cut
Brush the dough generously with 3 tablespoons of melted unsalted butter. Evenly sprinkle the cinnamon sugar mixture across the surface. Using a sharp knife or pizza cutter, slice the dough into long strips approximately 1-2 inches wide. This is where your cruffins will gain their delightful spiral shape, so make sure the strips are evenly cut.
Step 7: Roll and Prepare for Rising
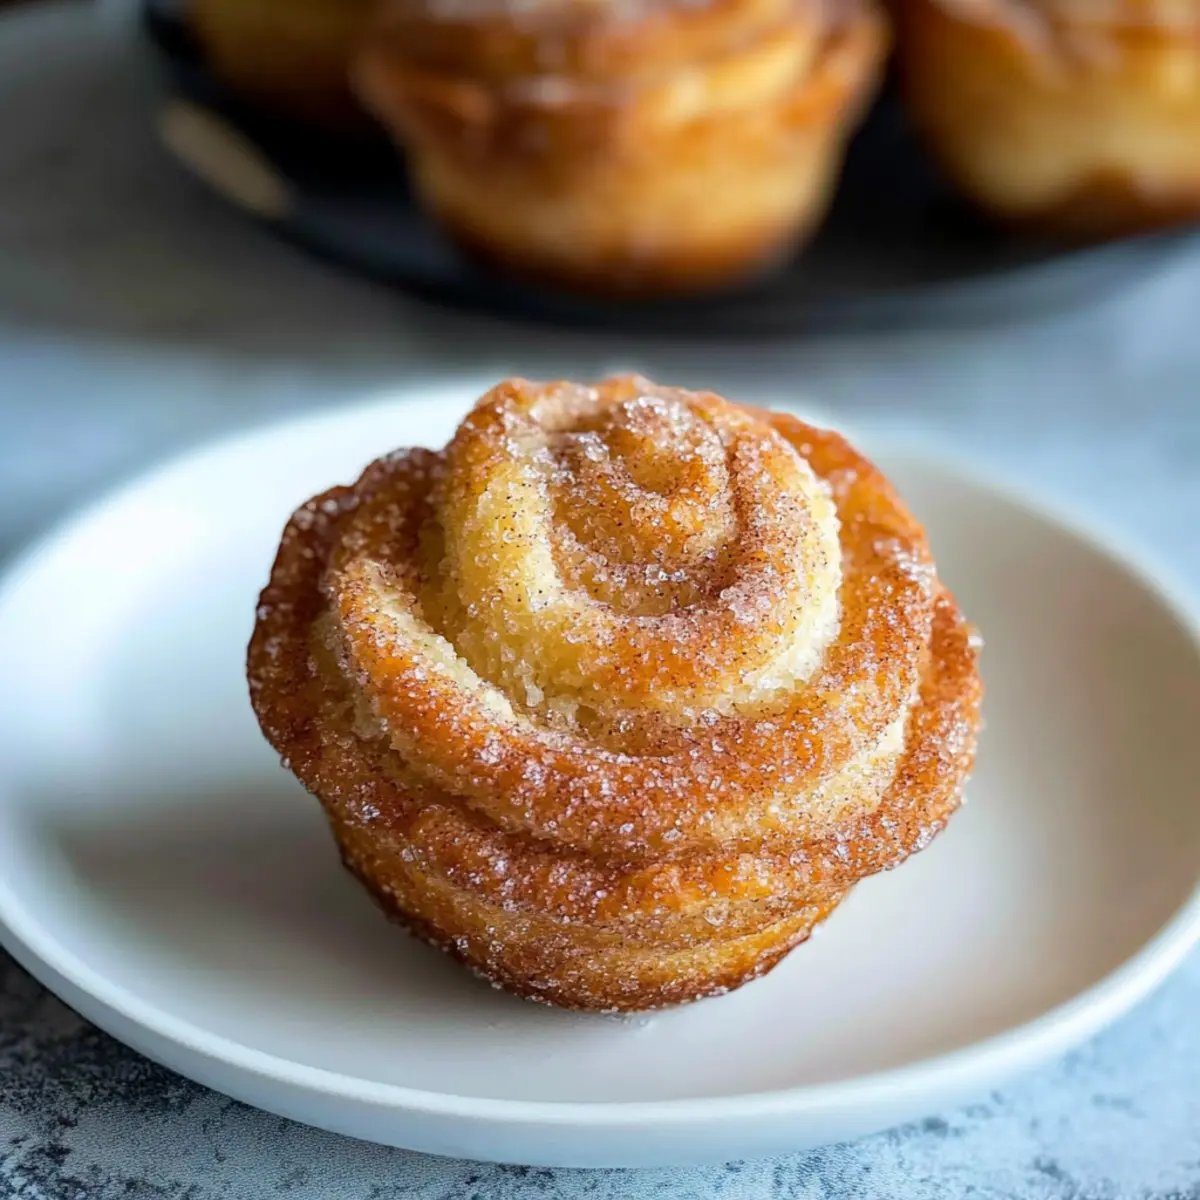
Take each strip and roll it up tightly from one end to the other, forming a spiral. Place the rolled cruffin dough in a greased muffin pan, ensuring the swirl faces up. Cover the pan with a clean kitchen towel and let the cruffins rise in a warm oven for 45 minutes. They should puff up beautifully during this time, ready for the next step.
Step 8: Preheat the Oven
While the cruffins are rising, preheat your oven to 375ºF. Make sure to allow enough time for the oven to reach the desired temperature, ensuring an even bake. This heat will help create the perfect golden crust on your Gluten Free Cruffins, enhancing their flaky texture.
Step 9: Brush and Bake
After the cruffins have risen, carefully remove the towel and brush the tops with more melted butter for a golden finish. Bake in the preheated oven for 25-30 minutes, or until the cruffins are beautifully golden brown and fluffy to the touch. Keep an eye on them towards the end of baking to achieve your desired doneness.
Step 10: Cool and Finish
Once baked, remove the cruffins from the oven and let them cool in the muffin pan for a few minutes before transferring them to a wire rack. If you wish, roll the warm cruffins in the leftover cinnamon sugar for an extra sweet touch. The delightful aroma will surely fill your kitchen, inviting everyone to indulge in these decadent Gluten Free Cruffins!
What to Serve with Decadent Gluten-Free Cruffins
There’s something magical about pairing these delightfully flaky treats with the perfect accompaniments to elevate your meal experience.
- Rich Hot Cocoa: A warm, chocolaty drink that enhances the sweetness of the cruffins, creating a cozy vibe for chilly mornings.
- Fresh Fruit Salad: Adds a burst of color and juiciness, balancing the buttery nature of cruffins with refreshing, bright flavors.
Indulge in the freshness of seasonal fruits like strawberries, blueberries, or citrus, which can lighten up the meal wonderfully.
- Aromatic Coffee: The bold flavors of a steaming cup of coffee create a perfect contrast to the tender, flaky layers of the cruffins, providing a delightful morning experience.
- Savory Herb Butter: Spread this on warm cruffins for an unexpected twist, enhancing the flavors with depth and richness that works well for savory variations.
Delightful with fresh herbs like rosemary or thyme, this pairing can be a game-changer, inviting a sensory adventure.
- Creamy Greek Yogurt: Serve alongside a dollop of yogurt for a protein-packed complement that brings a tangy creaminess, balancing the sweetness of the cruffins beautifully.
- Decadent Chocolate Sauce: Drizzle over warm cruffins for a luxurious dessert-like experience, perfect for an indulgent snack or after-dinner treat.
These pairings not only elevate the cruffins but also create a full meal experience that feels special and satisfying!
Make Ahead Options
These Gluten-Free Cruffins are perfect for meal prep, allowing you to enjoy their decadence with minimal hassle! You can prepare the dough up to 24 hours in advance by following the recipe steps, stopping after rolling the cruffins into the muffin pan. Simply cover tightly with plastic wrap and refrigerate them overnight. This keeps the dough fresh and prevents any unnecessary browning. When you’re ready to bake, bring them to room temperature and let them rise for about 30 minutes before applying the final brush of melted butter and baking. This way, you’ll achieve that flaky, buttery texture with just a bit of advance planning!
Gluten-Free Cruffins: Fun Variations
Feeling creative? Your Gluten-Free Cruffins can easily be customized to match your unique tastes and flavor preferences!
- Sweet Surprise: Add chocolate chips or dried fruit to the dough before rolling for a delightful burst of flavor. These additions create luscious pockets of sweetness that will make each bite even more enjoyable.
- Savory Twist: Incorporate shredded cheese, such as cheddar or goat cheese, and fresh herbs like rosemary or thyme for a savory cruffin that’s perfect for brunch. The combination of flaky layers with melting cheese will have everyone coming back for seconds!
- Nutty Delight: Toss in chopped nuts such as walnuts or almonds for a delightful crunch that pairs beautifully with both sweet and savory fillings, adding texture to contrast the soft layers.
- Fruit-Filled: Swap out the cinnamon sugar filling for fresh fruit preserves or pureed seasonal fruits. Blueberry or raspberry fillings bring a refreshing and fruity note to the cruffins that’s perfect for summer gatherings.
- Pumpkin Spice Party: For a seasonal twist, add pumpkin puree and pumpkin spice to the dough. This warm, aromatic mix will elevate your cruffins to a whole new level, perfect for cozy autumn mornings.
- Spicy Kick: Mix in jalapeños or a few dashes of your favorite hot sauce to the dough for a spicy version. Perfectly paired with cheese, these fiery flavors make for a tasty party treat!
- Herbal Infusion: Consider adding dried herbs like basil or oregano to the dough for an unexpected herbaceous flavor, offering a unique twist. They’ll be delightful alongside a fresh salad or soup.
- Brewed Awakening: Try adding a splash of brewed coffee or espresso into the milk to create a mocha-flavored cruffin, or serve with a hot cup of coffee. It’s a dreamy pairing that coffee lovers will adore!
Ready to explore even more culinary wonders? Consider pairing these delicious cruffins with a steaming cup of coffee for a cozy morning or an afternoon pick-me-up, like a refreshing iced mocha! Don’t forget to check out our tips on making them a delightful meal addition with great options.
How to Store and Freeze Gluten-Free Cruffins
Room Temperature: Keep your Gluten-Free Cruffins in a covered container at room temperature for up to 2 days to maintain their delightful texture and flavor.
Fridge: For longer storage, place them in an airtight container in the refrigerator for up to 3 days, ensuring freshness.
Freezer: To freeze, wrap individual cruffins in plastic wrap and store in a zip-style bag for up to 3 months. Thaw at room temperature before enjoying!
Reheating: To enjoy a warm cruffin again, reheat in a preheated oven at 350ºF for 5-7 minutes, or until warmed through.
Expert Tips for Gluten Free Cruffins
- Butter Freezing: Freeze your unsalted butter overnight before grating to enhance flakiness in your Gluten Free Cruffins.
- Flour Selection: Use a high-quality gluten-free flour blend that rises well with yeast; avoid blends that may lead to a dense result.
- Dough Handling: Always shape the dough before letting it rise for optimal structure; gluten-free dough can only rise well once.
- Moisture Check: Adjust the amount of flour or liquids as needed, depending on the flour’s moisture absorption to keep the dough workable.
- Rising Place: Let the cruffins rise in a warm area, as a cozy environment is essential for proper yeast activation.
Gluten-Free Cruffins Recipe FAQs
What type of gluten-free flour is best for making cruffins?
Choose a gluten-free flour blend that includes xanthan gum or is specifically designed for yeast baking, such as Bob’s Red Mill 1:1 or King Arthur Gluten-Free Measure for Measure. This ensures the cruffins have a good rise and maintain the right texture. Avoid blends that may yield dense or gummy results.
How should I store leftover gluten-free cruffins?
Store your leftover Gluten-Free Cruffins in an airtight container in the fridge for up to 3 days. They will stay fresh and delicious. If you’re not going to eat them within that time, consider freezing them for longer storage!
Can I freeze gluten-free cruffins, and how do I do it?
Absolutely! To freeze cruffins, wrap each individual cruffin in plastic wrap and place them in a zip-style freezer bag. They will keep well for up to 3 months. When you’re ready to enjoy one, simply thaw it at room temperature for a couple of hours, or reheat it in a preheated oven at 350ºF for 5-7 minutes to restore its warmth and flakiness.
What should I do if my cruffins don’t rise properly?
If your cruffins fail to rise, it could be due to inactive yeast. Ensure your yeast is fresh and proof it with warm milk and sugar before using. Additionally, check that your dough is placed in a warm area for rising; cooler environments can hinder yeast activity. If this happens, a warm oven (turned off) or slightly warmed microwave can help!
Are gluten-free cruffins safe for people with nut allergies?
Yes, as long as you use gluten-free ingredients and ensure that all your products are nut-free. Always check labels, especially on your flour blends, as cross-contamination can sometimes occur. If you’re making them for someone with a nut allergy, I recommend using dairy like milk and butter, as some alternatives may contain nuts.
Melt-in-Your-Mouth Gluten-Free Cruffins You’ll Adore
Ingredients
Equipment
Method
- Warm 1 cup of milk to 110ºF, whisk in 1 tablespoon cane sugar and yeast. Let sit for 5 minutes.
- In a bowl, whisk together 3 cups of gluten-free flour blend, ½ cup cane sugar, and ¼ teaspoon salt.
- Grate 6 tablespoons of frozen butter into the flour mixture, mix until resembling coarse crumbs.
- Add the yeast mixture and vanilla extract to the flour mixture, stir until dough forms.
- Knead dough on a floured surface, roll to a ¼ inch rectangle.
- Brush dough with melted butter, sprinkle with cinnamon sugar, cut into strips.
- Roll each strip tightly into a spiral, place in a greased muffin pan, and let rise for 45 minutes.
- Preheat your oven to 375ºF.
- Brush tops with melted butter and bake for 25-30 minutes or until golden brown.
- Allow cooling in the pan for a few minutes before transferring to a wire rack.
Leave a Reply