
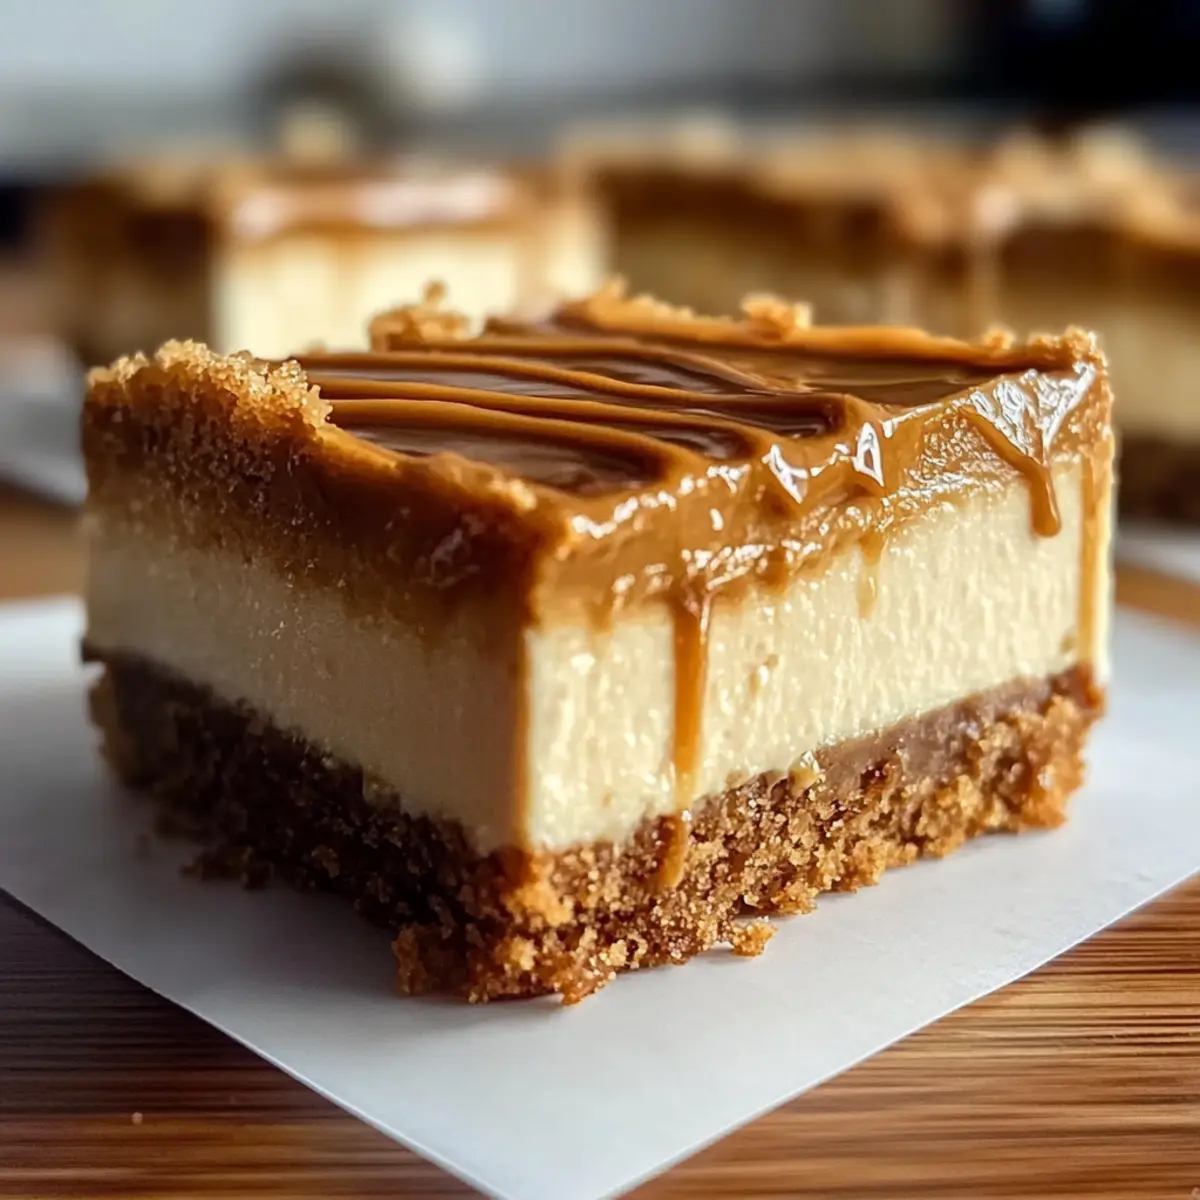
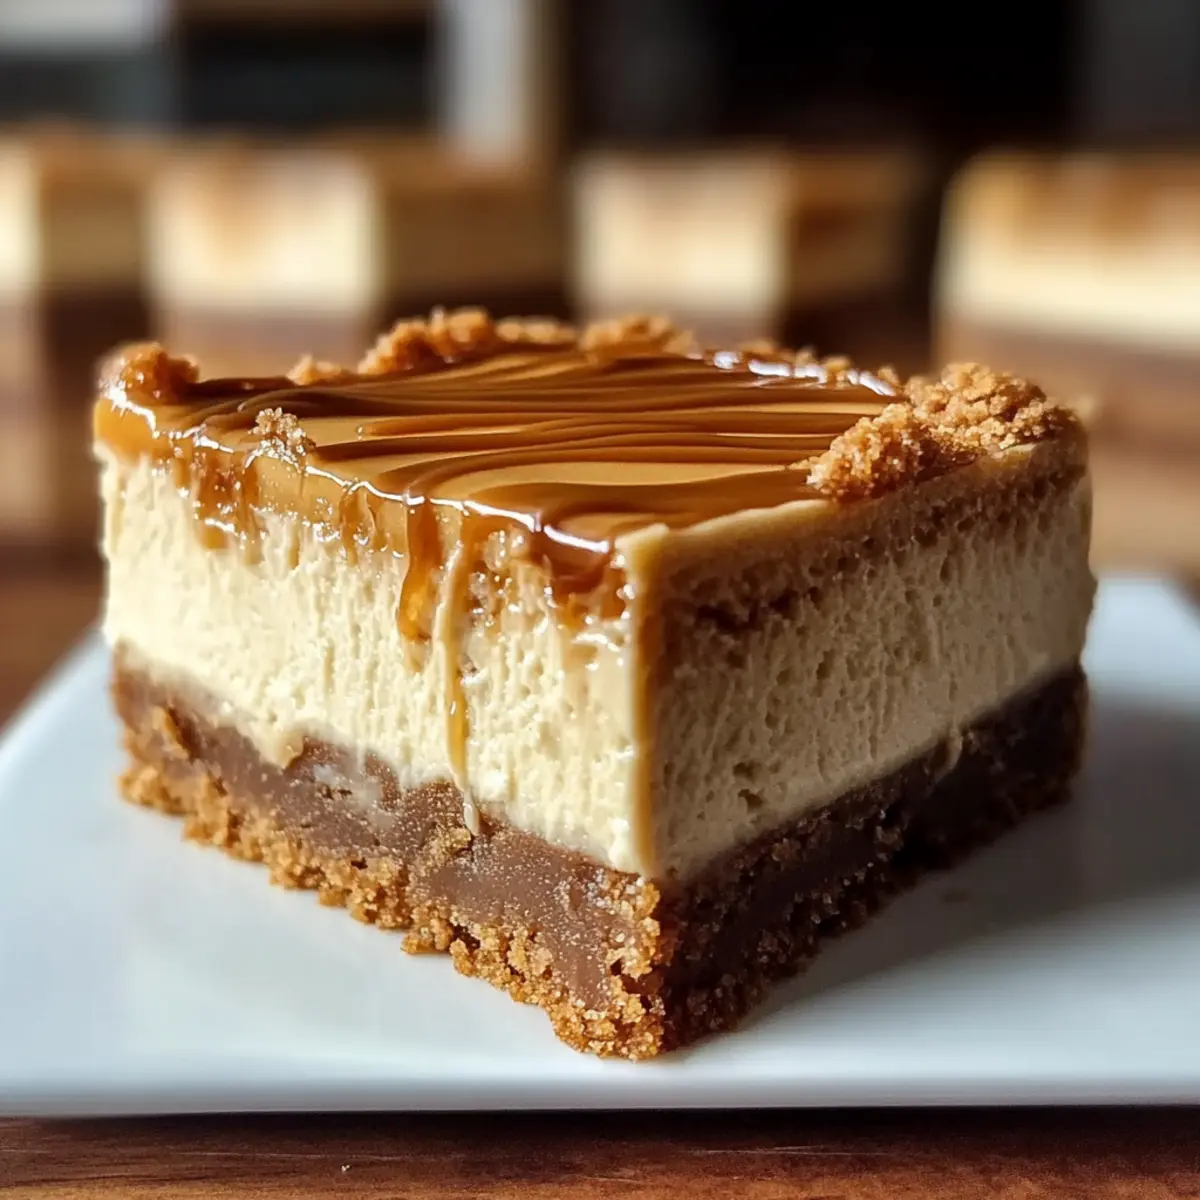
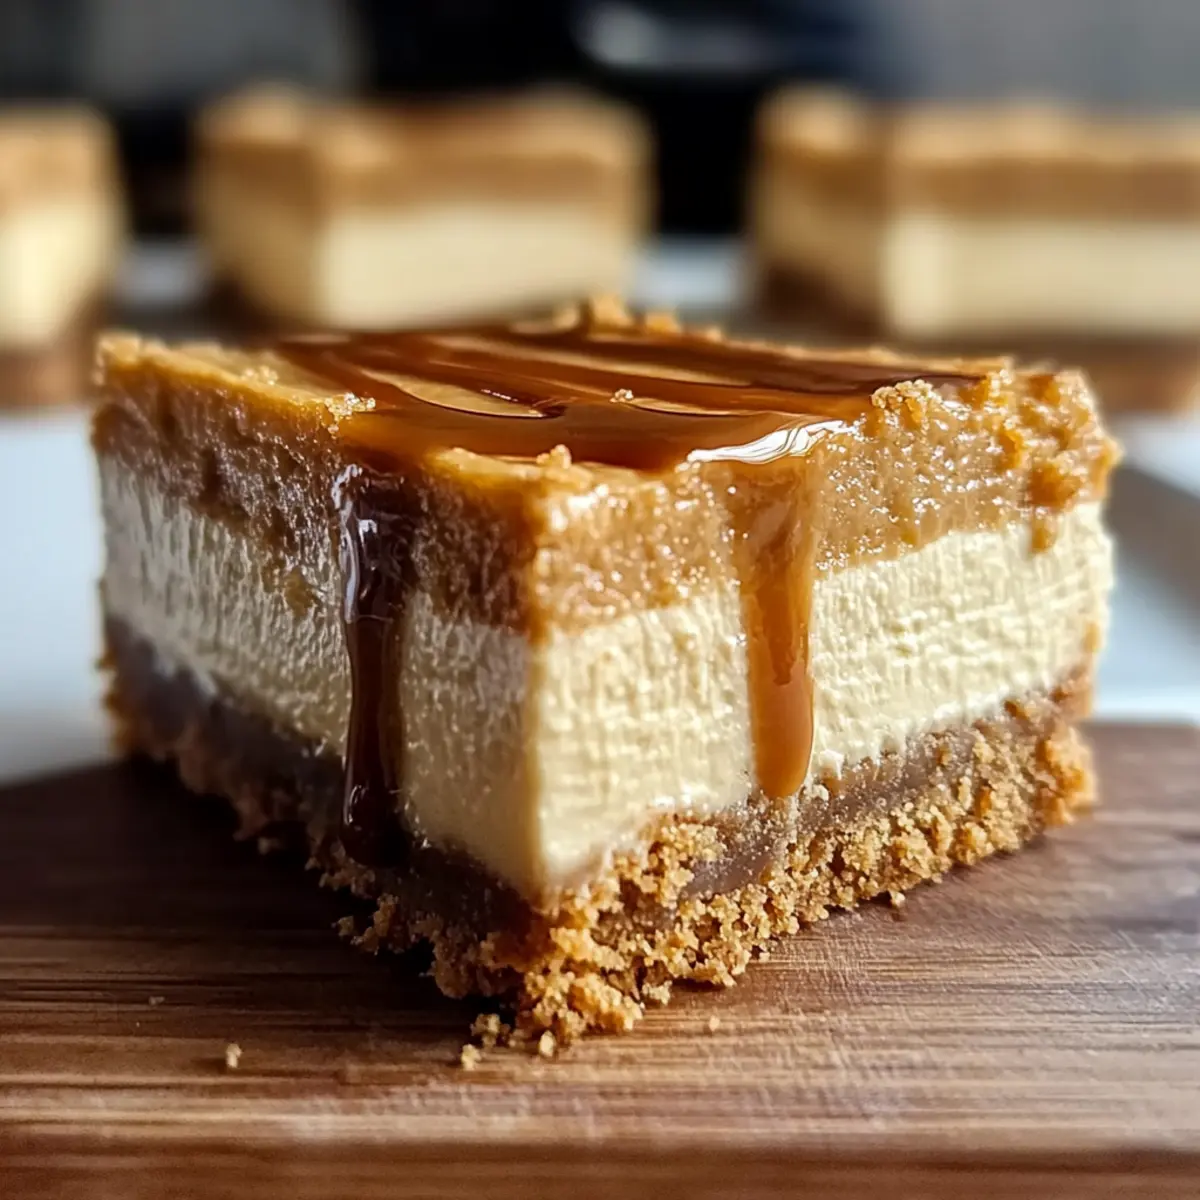
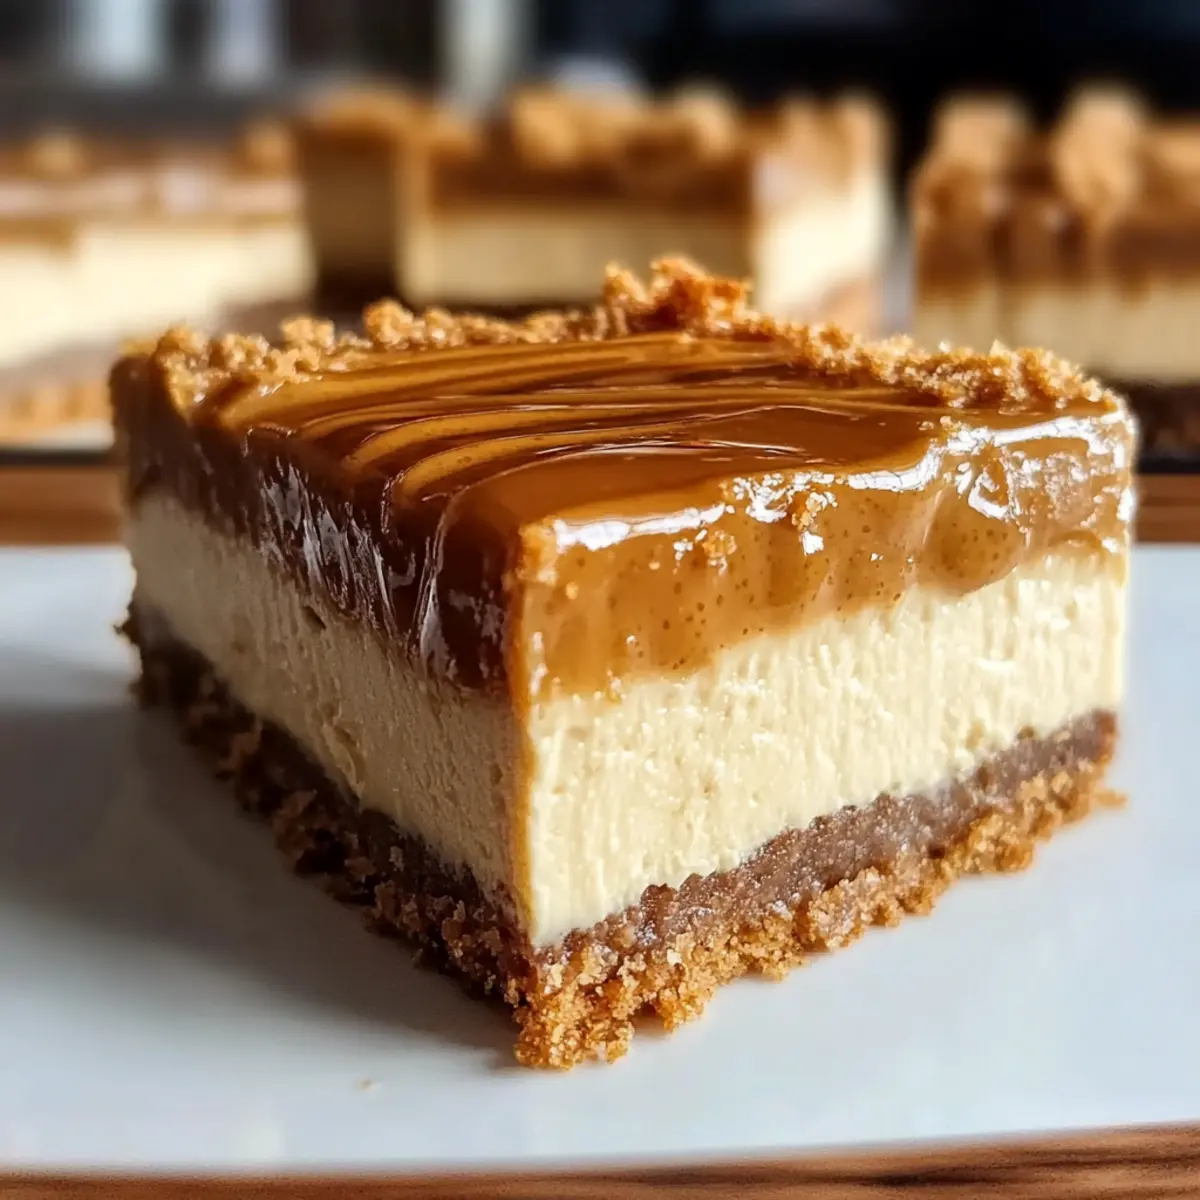
As I stood in my kitchen, I couldn’t help but notice the delightful aroma wafting through the air from my latest creation: Creamy Biscoff Cheesecake Bars. This no-bake dessert is a heavenly combination of a crunchy Biscoff cookie crust, a silky cheesecake filling, and a luscious Biscoff drizzle on top. Perfect for gatherings or a simple indulgent afternoon treat, these bars offer a quick way to impress your friends and family without spending hours in the kitchen. They’re also a delightful twist on traditional cheesecake that will satisfy even the pickiest of sweet tooths. Ready to take your taste buds on an unforgettable journey? Let’s dive into how to make these creamy delights!
Why are these cheesecake bars a must-try?
Unforgettable Texture: Every bite features a velvety creamy filling resting on a crunchy Biscoff cookie base, making for a delightful contrast.
Effortless Indulgence: With a no-bake approach, you can make these delicious bars without the fuss of traditional baking.
Versatile Sweetness: The recipe allows for easy substitutions, whether for dietary preferences or to explore flavors with different cookie butters.
Perfect for Sharing: Ideal for potlucks or casual gatherings, these bars are a crowd-pleaser that will have everyone asking for the recipe.
Make Ahead Magic: They can be prepared up to two days in advance, enhancing the flavors and making meal prep a breeze. Enjoy your dessert journey with these delightful Creamy Biscoff Cheesecake Bars!
Creamy Biscoff Cheesecake Bars Ingredients
For the Crust
• Biscoff Cookies – These provide the perfect crunchy base; feel free to swap with gluten-free cookies for a gluten-free version.
• Unsalted Butter – Adds richness and binds the crumbs together; choose high-quality butter for the best flavor.
For the Cheesecake Filling
• Cream Cheese – Essential for the creamy texture; ensure it’s full-fat and at room temperature for smooth mixing.
• Powdered Sugar – Sweetens the filling beautifully; sift it to avoid lumps for a silky finish.
• Pure Vanilla Extract – Enhances the natural flavors of your cheesecake; substitute with another strong extract if desired.
• Creamy Biscoff Spread – Defines the flavor of these Creamy Biscoff Cheesecake Bars, adding that iconic cookie taste.
For the Topping
• Heavy Whipping Cream – Essential for achieving that light, airy texture; make sure it’s cold before whipping.
• Additional Biscoff Spread – Melt this to create a decadent drizzle over your cheesecake bars; it elevates the taste to new heights!
Step‑by‑Step Instructions for Creamy Biscoff Cheesecake Bars
Step 1: Prepare the Pan
Start by lining a 9×9 inch baking pan with parchment paper, leaving some overhang for easy removal later. This “sling” will help lift out the bars once set. Prepping the pan ensures your Creamy Biscoff Cheesecake Bars can be easily sliced without sticking.
Step 2: Crush the Cookies
Using a food processor, pulse the Biscoff cookies until you achieve fine crumbs. Alternatively, place the cookies in a zip-top bag and crush them with a rolling pin. You should have about two cups of crumbs—this will be the base for your crust.
Step 3: Make the Crust
In a mixing bowl, combine the crushed Biscoff cookies with melted unsalted butter until the mixture resembles damp sand. Make sure all crumbs are evenly coated. This buttery blend will create a deliciously crunchy foundation for your cheesecake bars.
Step 4: Press the Crust
Transfer the cookie mixture into the prepared pan, pressing it firmly into an even layer using your hands or the back of a measuring cup. This step is crucial for a sturdy crust. Once pressed, place the pan in the freezer for 15-20 minutes to allow it to set and firm up.
Step 5: Beat the Cream Cheese
In a large mixing bowl, beat the room temperature cream cheese using an electric mixer until it’s completely smooth and creamy. Scrape down the sides regularly to ensure even mixing. This silky texture will be the base of your Creamy Biscoff Cheesecake Bars filling.
Step 6: Mix in Sugar and Vanilla
Gradually add the powdered sugar and pure vanilla extract to the beaten cream cheese, mixing on low speed until fully incorporated. Continue to beat until the mixture is light and fluffy, ensuring the sweetness balances the rich cream cheese flavor.
Step 7: Add Biscoff Spread
Carefully fold in the creamy Biscoff spread with a spatula until the mixture is uniform. This delectable spread will impart that irresistible cookie flavor throughout your cheesecake filling. Make sure there are no streaks so each bite of your Creamy Biscoff Cheesecake Bars is deliciously consistent.
Step 8: Whip the Cream
In a separate chilled bowl, use an electric mixer to whip the heavy cream until stiff peaks form. This should take about 3-5 minutes. The whipped cream will lighten your cheesecake mixture, giving it that airy texture everyone loves in a no-bake dessert.
Step 9: Fold in Whipped Cream
Gently fold the whipped cream into the Biscoff cheesecake mixture in two parts. Use a spatula to maintain the airiness of the whipped cream, creating a light and fluffy filling for your Creamy Biscoff Cheesecake Bars.
Step 10: Spread the Filling
Once the cream is fully incorporated, pour the cheesecake filling over your chilled crust. Use a spatula to spread it into an even layer, smoothing the top for a polished finish. This layer will create a perfect canvas for the decadent topping to come.
Step 11: Melt Biscoff for Topping
In a small microwave-safe bowl, melt the additional Biscoff spread for about 15-20 seconds until pourable. Stir until smooth, ensuring there are no lumps. This luscious drizzle will elevate your Creamy Biscoff Cheesecake Bars to the next level.
Step 12: Chill and Set
Pour the melted Biscoff spread evenly over the cheesecake filling. Place the pan in the refrigerator, allowing the bars to chill for at least 6-8 hours, or preferably overnight, until fully set. Patience is key for achieving that perfect creamy texture.
Step 13: Slice and Serve
Once set, use the parchment overhang to lift the dessert out of the pan. Place it on a cutting board and slice into squares with a sharp knife. For clean cuts, wipe your knife between slices. Your Creamy Biscoff Cheesecake Bars are now ready to be enjoyed!
What to Serve with Creamy Biscoff Cheesecake Bars
Create a heavenly dessert experience that will tantalize your taste buds and leave everyone craving more.
- Rich Coffee: The bold flavors of freshly brewed coffee provide a delightful contrast to the sweetness of the cheesecake bars, enhancing their creamy goodness.
- Fruity Sorbet: A refreshing raspberry or lemon sorbet adds a burst of acidity that cuts through the richness, making each bite feel light and joyful.
- Whipped Cream Topping: A fluffy dollop of freshly whipped cream adds a light texture, complementing the creamy bars and enhancing their indulgent experience.
- Chocolate Drizzle: Drizzle some warm chocolate over the top to add an extra layer of sweetness and richness, pleasing any chocolate lover’s palate.
- Fresh Berries: Strawberries, blueberries, or raspberries provide a fresh, tart counterbalance, adding color and brightness to the dessert spread.
- Vanilla Ice Cream: Soft, creamy vanilla ice cream melts slightly over the bars, creating a dreamy combination of textures and flavors in every spoonful.
- Decadent Caramel Sauce: Pouring a little homemade or store-bought caramel adds a sweet, buttery dimension that beautifully contrasts the spiced notes of the cookie butter.
- Crisp Apple Slices: Crunchy apple slices offer a fresh, crisp element alongside the richness of the cheesecake, perfect for a refreshing bite.
- Sparkling Water: Refresh your palate with a glass of bubbly sparkling water or soda, making this delightful dessert experience even more enjoyable.
- Chocolate-Covered Pretzels: These add a sweet and salty crunch that provides a fun textural contrast amidst the creaminess of the cheesecake bars.
How to Store and Freeze Creamy Biscoff Cheesecake Bars
Fridge: Store your Creamy Biscoff Cheesecake Bars in an airtight container in the refrigerator for up to 3 days. This will keep them fresh while allowing flavors to meld beautifully.
Freezer: For longer storage, wrap the bars tightly in plastic wrap and then aluminum foil. They can be frozen for up to 2 months. Thaw in the fridge before serving to maintain texture.
Reheating: Since these bars are no-bake, they don’t require reheating. Simply slice and enjoy straight from the fridge or after thawing from the freezer.
Make Ahead Options
These Creamy Biscoff Cheesecake Bars are ideal for meal prep! You can make the crust and cheesecake filling up to 24 hours in advance. Simply prepare the crust and freeze it as instructed, then refrigerate the cheesecake filling in an airtight container. When you’re ready to finish, gently fold in the whipped cream, spread the filling over the chilled crust, and drizzle the melted Biscoff topping. For the best quality, allow the bars to set for at least 6-8 hours after assembly; this deepens the flavors and ensures the perfect creamy texture. Enjoy the convenience and delightful taste of these dreamy dessert bars with minimal effort!
Expert Tips for Creamy Biscoff Cheesecake Bars
Smooth Cream Cheese: Ensure your cream cheese is at room temperature for a lump-free filling. This step significantly enhances the texture of your Creamy Biscoff Cheesecake Bars.
Chill Time Matters: Do not rush chilling! Allowing the bars to set overnight reinforces their structure and richness, crucial for the best flavor and texture.
Clean Slices: For the neatest slices, dip a sharp knife in hot water and wipe it clean between cuts. This keeps your presentation flawless and appetizing.
Quality Ingredients: Use full-fat cream cheese and high-quality butter. These components are essential for achieving the rich, luxurious taste expected from Creamy Biscoff Cheesecake Bars.
Customize Flavors: Feel free to experiment with different cookie butters. This versatility allows you to discover unique flavor profiles while keeping the essence of this delightful dessert.
Creamy Biscoff Cheesecake Bars Variations
Feel free to mix things up and make this delightful treat your own with these fun variations!
- Gluten-Free: Use gluten-free cookies instead of Biscoff to create a deliciously inclusive version of these cheesecake bars.
- Vegan Twist: Substitute cream cheese with a plant-based alternative and use coconut whipped cream for a rich, dairy-free treat that everyone can enjoy.
- Nutty Flavor: Add crushed almonds or walnuts to the crust for an extra crunch and a new layer of flavor. The nuttiness complements the sweetness beautifully.
- Chocolate Lovers: Incorporate a swirl of melted dark chocolate into the cheesecake filling for a decadent chocolatey twist. You could also sprinkle chocolate shavings on top for added texture.
- Spiced Infusion: Stir in a pinch of cinnamon or nutmeg to the cheesecake mixture for a warm, aromatic lift to your flavors.
- Fruit Layer: Top your cheesecake bars with a layer of fresh berries or fruit compote for a vibrant and tangy contrast to the creamy filling.
- Caramel Drizzle: Add a drizzle of caramel sauce alongside or instead of the Biscoff topping for a luscious and sweet experience. The combination of caramel and cookie butter is simply irresistible!
- Biscoff Swirl: For a more marbled effect, let some Biscoff spread swirl into the cheesecake filling before chilling. This adds both a visual element and extra bursts of flavor.
These flavorful alternatives allow you to enjoy your Creamy Biscoff Cheesecake Bars in so many different ways! If you’re in the mood for something refreshing, try serving them with a side of homemade whipped cream or a cup of your favorite coffee, just like in my famous coffee pairing guide. Happy baking!
Creamy Biscoff Cheesecake Bars Recipe FAQs
How do I select ripe ingredients for this recipe?
Absolutely! For this recipe, fresh and ripe cream cheese is crucial for a smooth filling. Make sure it’s full-fat and at room temperature before mixing. As for the Biscoff cookies, they should be crisp and not stale, which can be identified by their crunchiness when crushed.
What is the best way to store Creamy Biscoff Cheesecake Bars?
You can keep your delicious cheesecake bars in the refrigerator in an airtight container for up to 3 days. This method will keep them fresh while the flavors meld beautifully. If you need to store them longer, wrapping them tightly in plastic wrap and then aluminum foil allows for freezing them for up to 2 months. Just remember to thaw in the fridge before serving!
Can I freeze Creamy Biscoff Cheesecake Bars?
Yes, you can! To freeze your cheesecake bars, wrap them tightly in plastic wrap, ensuring no air pockets, and then cover them with aluminum foil. This method helps to prevent freezer burn and maintain flavor. When you’re ready to enjoy them, simply transfer them to the fridge to thaw overnight.
What should I do if my cheesecake mixture is lumpy?
Very! To avoid lumps, ensure your cream cheese is at room temperature before you start mixing. If you nod toward lumps despite your efforts, you can blend the cheesecake filling with a hand mixer for additional smoothness. Alternatively, a fine mesh sieve can help strain out the lumps after mixing, ensuring a velvety texture.
Can I make this recipe gluten-free?
Yes! You can absolutely make Creamy Biscoff Cheesecake Bars gluten-free by substituting the regular Biscoff cookies with gluten-free biscuits or digestive cookies. Just ensure to check the labels on the cookie butter as well, as some brands may contain gluten.
Are there any dietary considerations for pets or allergies?
It’s important to note that this dessert isn’t suitable for dogs or other pets, as it contains high levels of sugar and dairy. Additionally, be cautious of any allergies to ingredients like cream cheese or butter. You might want to seek alternative ingredients, such as dairy-free cream cheese or coconut whipped cream, for those with allergies to dairy or gluten.
Creamy Biscoff Cheesecake Bars for the Ultimate Dessert Fix
Ingredients
Equipment
Method
- Start by lining a 9×9 inch baking pan with parchment paper, leaving some overhang for easy removal later.
- Using a food processor, pulse the Biscoff cookies until you achieve fine crumbs.
- In a mixing bowl, combine the crushed Biscoff cookies with melted unsalted butter until the mixture resembles damp sand.
- Transfer the cookie mixture into the prepared pan, pressing it firmly into an even layer.
- In a large mixing bowl, beat the room temperature cream cheese until smooth and creamy.
- Gradually add the powdered sugar and vanilla extract, mixing on low speed until fully incorporated.
- Carefully fold in the creamy Biscoff spread until the mixture is uniform.
- In a separate chilled bowl, whip the heavy cream until stiff peaks form.
- Gently fold the whipped cream into the Biscoff cheesecake mixture in two parts.
- Once the cream is fully incorporated, pour the cheesecake filling over your chilled crust.
- In a small microwave-safe bowl, melt the additional Biscoff spread for about 15-20 seconds until pourable.
- Pour the melted Biscoff spread evenly over the cheesecake filling and place the pan in the refrigerator.
- Once set, use the parchment overhang to lift the dessert out of the pan and slice into squares.
Leave a Reply