
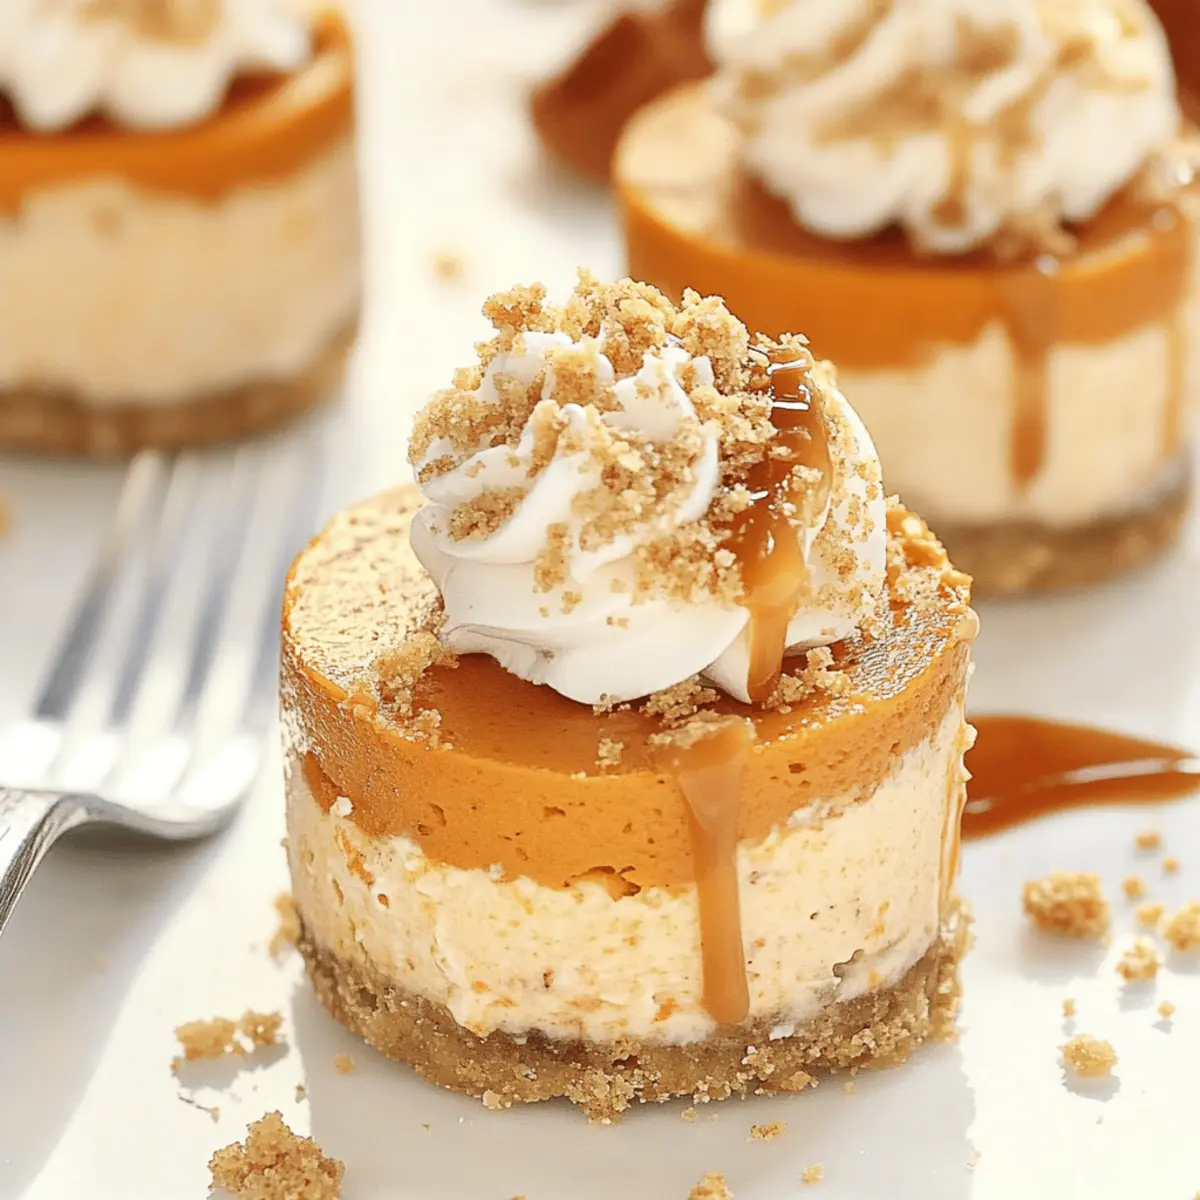
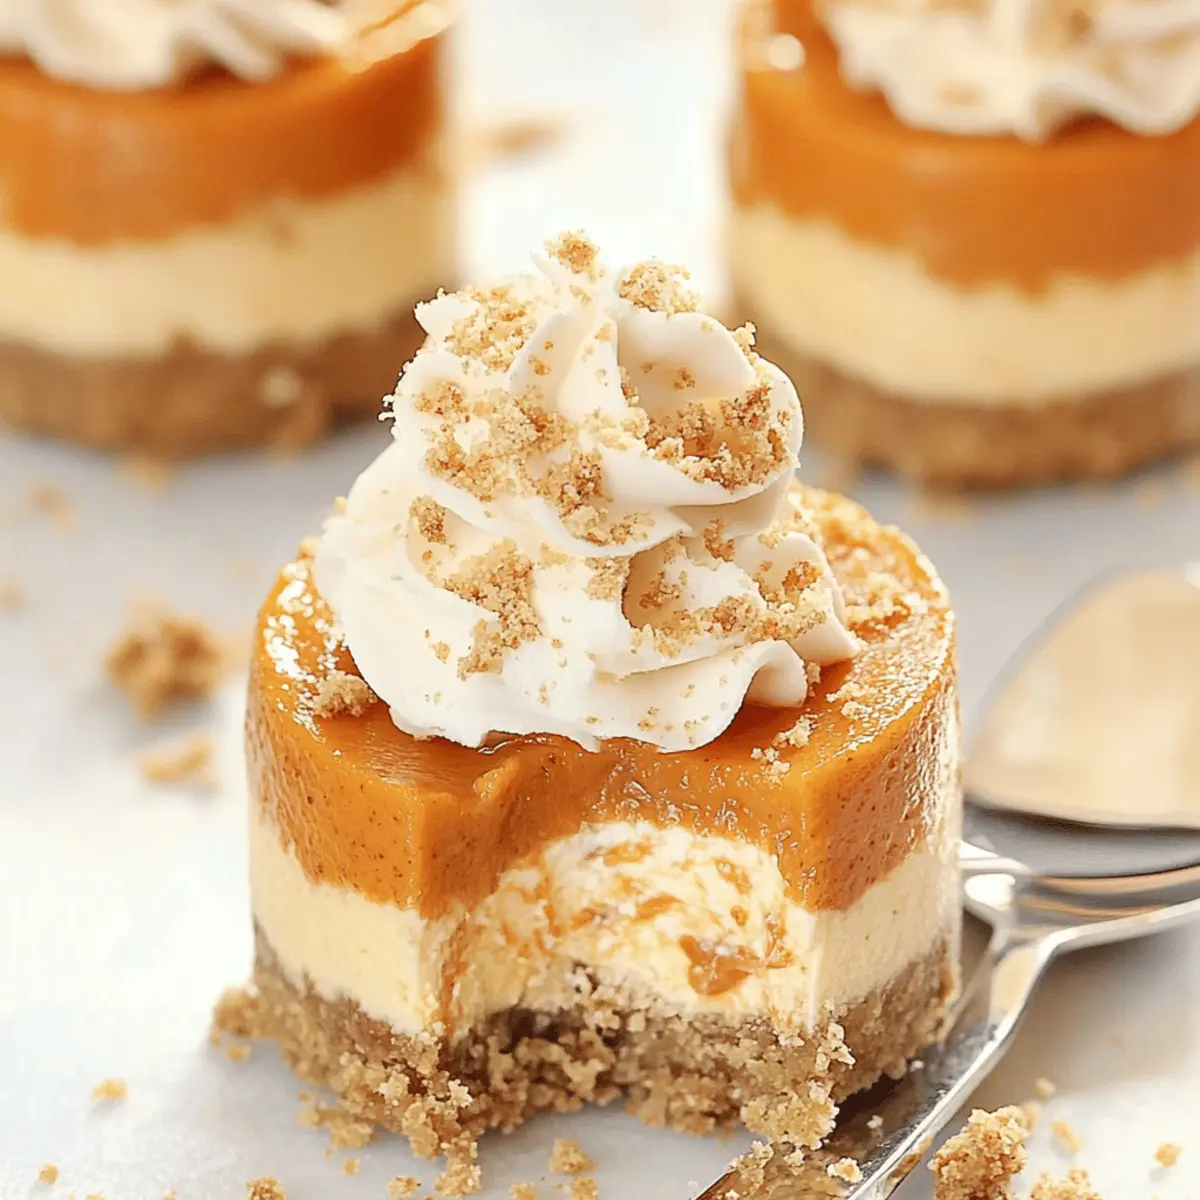
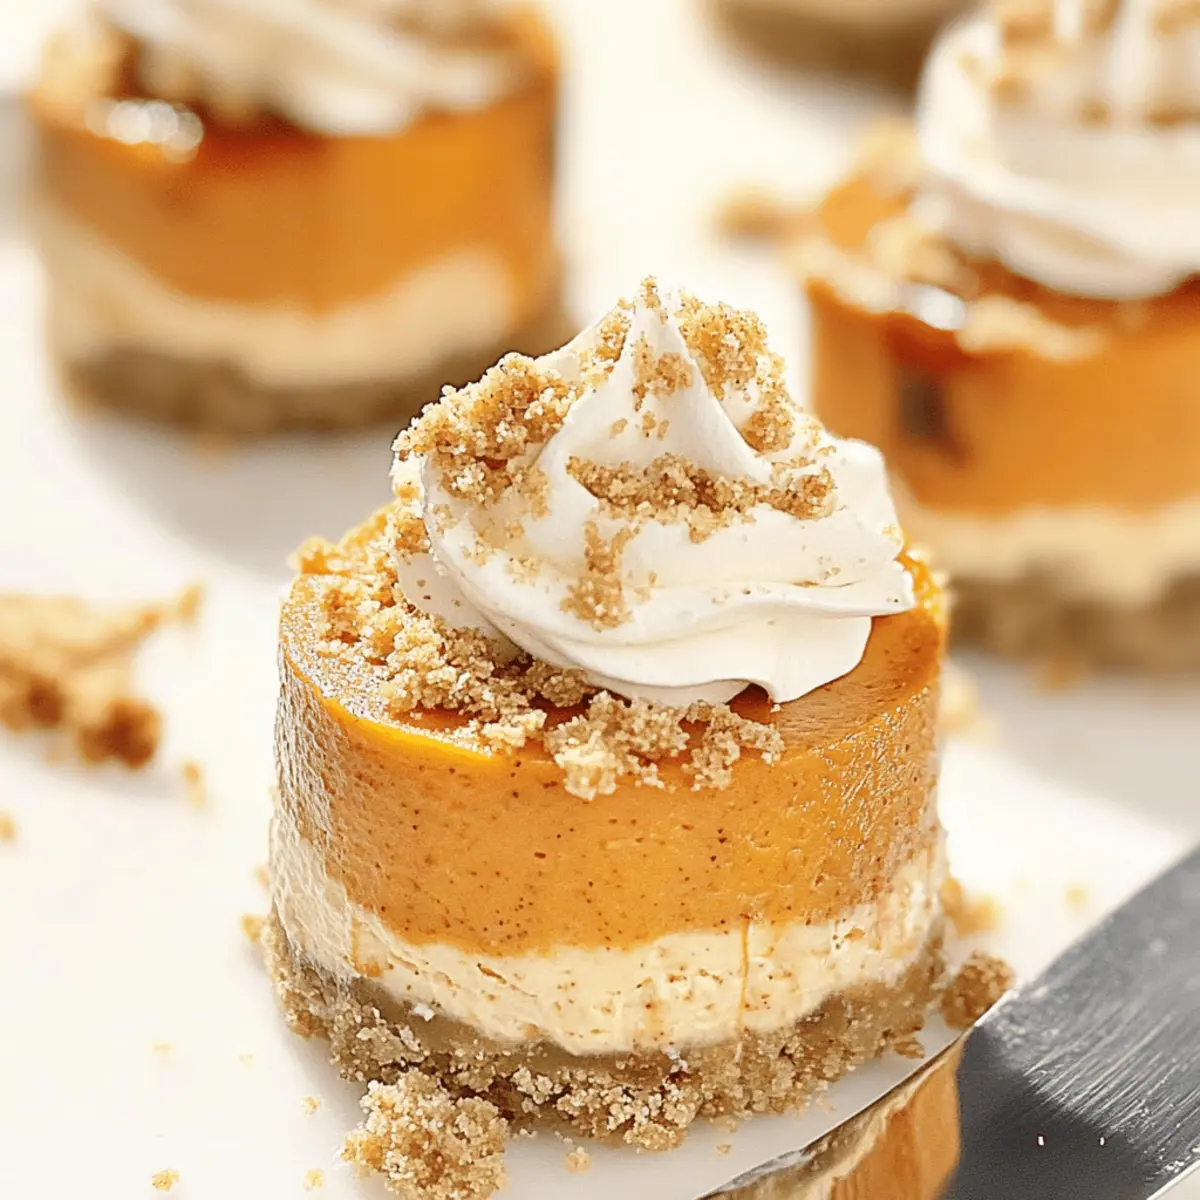
Standing in my kitchen, I couldn’t help but inhale the sweet, spicy aroma wafting from my mixing bowl—just the hint of fall that makes everything feel cozy and festive. That’s how I knew I had to share my No Bake Pumpkin Mini Cheesecakes with you! These delightful bites embody the essence of Thanksgiving, uniting creamy pumpkin goodness with a buttery graham cracker crust. Not only are these mini cheesecakes a festive treat that can be whipped up in no time, but they also eliminate the oven stress, making them your new go-to dessert for gatherings. Each individual serving offers a perfect portion of joy, ensuring everyone leaves satisfied without overindulging. Ready to elevate your holiday menu with a recipe that’s as easy as it is delicious? Let’s dive in!
Why are Pumpkin Mini Cheesecakes a must-try?
Irresistible Flavor: Each bite bursts with the rich taste of pumpkin and a hint of warm spices, offering a delightful twist on traditional pumpkin pie.
No Baking Required: With no oven time needed, these mini cheesecakes are incredibly easy to whip up, making them perfect for busy holidays.
Perfect Portion Sizes: These individual servings ensure everyone gets just the right amount, making it a crowd-pleasing choice for gatherings.
Versatile Variations: Feel free to mix things up! From swapping pumpkin puree for sweet potato to adding chocolate chips, you can customize them to suit your taste.
Chill & Serve: Simply refrigerate, and you’ll have a stunning dessert that’s ready to impress your guests, allowing you to enjoy a stress-free hosting experience.
Pair these delightful treats with a cup of your favorite beverage or serve them alongside Pumpkin Cupcakes Moist for an irresistible dessert table!
Pumpkin Mini Cheesecakes Ingredients
-
For the Crust
-
Graham Cracker Crumbs – Adds structure and a satisfying crunch; substitute with gluten-free graham crackers if needed.
-
Granulated Sugar – Sweetens the crust; consider using brown sugar for a richer flavor profile.
-
Ground Cinnamon – Infuses warm spices into the crust; nutmeg or ginger can add a different kick.
-
Unsalted Butter – Binds the crust ingredients together; feel free to use vegan butter for a dairy-free option.
-
For the Cheesecake Filling
-
Heavy Whipping Cream – Provides lightness and volume; coconut cream is a great non-dairy substitute.
-
Cream Cheese – The creamy base of our filling; dairy-free cream cheese works well for those with dietary restrictions.
-
Powdered Sugar – Ensures a sweet and smooth cheesecake filling; can be swapped with powdered erythritol for a sugar-free option.
-
Pumpkin Puree – The star player that brings rich flavor and color; always opt for 100% pure pumpkin puree for the best results.
-
Vanilla Extract – Lends depth to the flavor; using pure vanilla extract is key for optimal taste.
-
Pumpkin Pie Spice – A blend of spices that enhances the pumpkin flavor; create your own mix using cinnamon, nutmeg, and ginger for a personal touch.
These Pumpkin Mini Cheesecakes are as delightful as they are easy, promising to become a cherished addition to your holiday gatherings!
Step‑by‑Step Instructions for No Bake Pumpkin Mini Cheesecakes
Step 1: Prepare Containers
Begin by arranging 8 baking cups or mini springform pans on a flat surface. Make sure they are evenly spaced to allow for easy filling later. These cups will hold your No Bake Pumpkin Mini Cheesecakes, so ensure they are clean and ready for action as you move on to the crust.
Step 2: Make Crust
In a medium bowl, combine graham cracker crumbs, granulated sugar, ground cinnamon, and melted butter until the mixture resembles wet sand. Press this crumb mixture firmly into the bottom of each baking cup to form a sturdy crust. Chill the cups in the refrigerator for at least 15 minutes to help the crust set as you prepare the filling.
Step 3: Whip Cream
Take a separate mixing bowl and add cold heavy whipping cream. Using an electric mixer, beat it on medium-high speed until stiff peaks form, which should take about 3-5 minutes. The whipped cream should be light and airy, providing that perfect texture for your No Bake Pumpkin Mini Cheesecakes, so be careful not to overwhip.
Step 4: Mix Cheesecake Filling
In another bowl, beat together softened cream cheese and powdered sugar until completely smooth and creamy. Add the pumpkin puree, vanilla extract, and pumpkin pie spice to the mixture, mixing well until combined. This rich filling is key to your pumpkin mini cheesecakes, embodying the flavors of fall and creating a luscious texture.
Step 5: Fold Cream
Gently fold the whipped cream into the cheesecake filling using a spatula. Be careful to incorporate the cream without deflating it, as you want your No Bake Pumpkin Mini Cheesecakes to be light and fluffy. Fold until you see no streaks of whipped cream, ensuring a uniform mixture that is rich and creamy.
Step 6: Assemble
Spoon the pumpkin cheesecake filling over the chilled crusts, filling each cup to the top. Use the back of a spoon or spatula to smooth the tops, creating an even surface. This ensures your mini cheesecakes will look beautifully presented when they are served, ready to impress your guests.
Step 7: Chill
Cover the assembled cheesecakes with plastic wrap and refrigerate for at least 3-4 hours, or preferably overnight, to allow the filling to set. This step is crucial to achieve the perfect texture for your No Bake Pumpkin Mini Cheesecakes, allowing all the flavors to meld beautifully.
Step 8: Garnish & Serve
After chilling, remove the pumpkin mini cheesecakes from the fridge. Before serving, top with a dollop of whipped cream, a drizzle of salted caramel, or a sprinkle of extra graham cracker crumbs or chopped pecans for added flavor and texture. Your delightful pumpkin mini cheesecakes are now ready to be enjoyed!

What to Serve with No Bake Pumpkin Mini Cheesecakes
Imagine a delightful Thanksgiving gathering where every element of the meal beautifully complements your creamy, pumpkin-infused treasures.
-
Autumn Salad: A mix of arugula, candied pecans, and dried cranberries adds a refreshing contrast to the rich cheesecakes, balancing flavors brilliantly.
-
Spiced Apple Cider: Warm or chilled, this seasonal drink enhances the spice notes in your mini cheesecakes, making it a cozy pairing for festive occasions.
-
Chocolate Drizzle Brownies: The fudgy richness of brownies contrasts perfectly with the smoothness of the pumpkin mini cheesecakes, appealing to chocolate lovers.
-
Roasted Brussels Sprouts: Their savory flavor and crispy texture provide a lovely, earthy counterpoint to the sweetness of your pumpkin desserts, making for a well-rounded meal.
-
Vanilla Ice Cream: A scoop of creamy vanilla on the side brings a classic touch that complements the spices of the mini cheesecakes while adding an indulgent treat.
-
Ginger Snap Cookies: Their spicy crunch offers a delightful textural contrast and echoes the flavors in your mini cheesecakes, creating a harmonious dessert experience.
-
Pecan Pie Bars: This addition brings a nutty sweetness that pairs beautifully with the pumpkin flavor, offering another layer of indulgence to your dessert spread.
-
Maple Syrup Drizzle: A simple drizzle on top of the cheesecakes can enhance their sweetness, making each bite feel even more like a festive treat.
-
Sweet Tea: A refreshing glass of iced sweet tea complements the flavors with its sweetness, perfect for mixing things up in your beverage options.
Make Ahead Options
These No Bake Pumpkin Mini Cheesecakes are a fantastic choice for meal prep, allowing you to enjoy a stress-free holiday season! You can prepare the crust up to 24 hours in advance by pressing the graham cracker mixture into the cups and storing them in the refrigerator. The cheesecake filling can also be made ahead and refrigerated for up to 3 days, ensuring it’s fresh and ready when you need it. To maintain quality, cover the cups with plastic wrap, preventing any absorption of odors from the fridge. When ready to serve, simply fill the chilled crusts with the pumpkin mixture, chill for at least 3-4 hours or overnight to set, and garnish before delighting your guests with these delicious treats!
Pumpkin Mini Cheesecakes Variations & Substitutions
Feel free to get creative and adapt these mini cheesecakes to your taste, making them uniquely yours!
- Dairy-Free: Substitute heavy whipping cream and cream cheese with coconut cream and dairy-free cream cheese for a luscious alternative. These swaps ensure everyone can join in on the festivities.
- Gluten-Free: Use gluten-free graham cracker crumbs for the crust to cater to gluten-sensitive guests. A buttery, nutty base will still keep the dessert delicious!
- Sweetener Swap: Replace granulated sugar with maple syrup or agave nectar for a different kind of sweetness. This twist adds a delightful depth to the flavor of your cheesecakes.
- Fruit Purees: Swap out pumpkin puree for other purees like sweet potato or butternut squash for an exciting flavor variation. Each option brings its own unique sweetness, perfect for fall!
- Chocolate Twist: Add mini chocolate chips to the cheesecake batter to up the indulgence factor. The chocolate adds a decadent touch that balances beautifully with the pumpkin flavor.
- Spice It Up: Experiment with different spices, such as ginger or cardamom, in place of pumpkin pie spice. This alternative brings a new aromatic experience, adding warmth to every bite.
- Enhanced Topping: Top with a cranberry compote or spiced apple slices for a pop of tartness and color that makes your dessert plate feel extra festive.
- No Bake Freedom: For those hot summer days, follow this no-bake route with a blend of Greek yogurt and pumpkin puree for a healthier twist on texture and taste.
Get inspired to serve these mini cheesecakes alongside a cup of your favorite coffee or even with Baked Pumpkin Goat cheese risotto for a cozy fall evening!
Expert Tips for No Bake Pumpkin Mini Cheesecakes
-
Room Temperature Cream Cheese: Ensure your cream cheese is at room temperature; this helps achieve a smooth, lump-free filling for your pumpkin mini cheesecakes.
-
Whipping Wisely: When whipping the cream, stop as soon as stiff peaks form. Overwhipping can lead to a grainy texture, affecting your cheesecake’s creaminess.
-
Chill Thoroughly: For the best flavor and texture, chill your cheesecakes overnight. This allows the spices to meld beautifully, enhancing the overall taste experience.
-
Gentle Folding: Fold the whipped cream into the cheesecake mixture carefully to maintain that light, airy consistency that makes these mini cheesecakes so delightful.
-
Garnish Creatively: Elevate your no bake pumpkin mini cheesecakes with unique toppings like candied pecans or a drizzle of maple syrup for an irresistible finish.
How to Store and Freeze Pumpkin Mini Cheesecakes
Fridge: Store leftover pumpkin mini cheesecakes in an airtight container for up to 3 days. This keeps them fresh and tasty for those late-night cravings!
Freezer: If you want to prepare ahead, these mini cheesecakes can be frozen for up to 2 months. Wrap each cheesecake tightly in plastic wrap and then in aluminum foil to prevent freezer burn.
Thawing: To enjoy frozen pumpkin mini cheesecakes, transfer them to the fridge and let them thaw overnight. They’ll be just as creamy and delicious as when you made them!
Reheating: These no bake treats are best served chilled, so no reheating is necessary. Just garnish with whipped cream or your favorite toppings right before serving!
No Bake Pumpkin Mini Cheesecakes Recipe FAQs
What type of pumpkin puree should I use?
Always opt for 100% pure pumpkin puree for the best flavor and texture in your No Bake Pumpkin Mini Cheesecakes. Avoid using pumpkin pie filling, as it contains added sugars and spices that may alter your cheesecake’s balance.
How should I store leftover cheesecakes?
Store leftover pumpkin mini cheesecakes in an airtight container in the refrigerator for up to 3 days. This keeps them fresh and ready for any late-night cravings. You can make them a day in advance for added convenience!
Can I freeze these mini cheesecakes?
Absolutely! These no bake pumpkin mini cheesecakes can be frozen for up to 2 months. Be sure to wrap each cheesecake tightly in plastic wrap followed by aluminum foil to prevent freezer burn. This way, you can enjoy them whenever a sweet craving strikes!
How should I thaw frozen cheesecakes?
To enjoy your frozen pumpkin mini cheesecakes, transfer them to the refrigerator and let them thaw overnight. This gradual thaw helps preserve their creamy texture and luscious flavor. Once thawed, you can garnish and serve them just like fresh ones.
Why is my cheesecake filling not smooth?
If your filling isn’t smooth, it could be due to cold cream cheese. Make sure your cream cheese is at room temperature before mixing to achieve a creamy consistency without lumps. Additionally, when folding in the whipped cream, be gentle to avoid deflating the mixture, which can affect the final texture.
Are these cheesecakes suitable for dietary restrictions?
Yes, they can be adapted! You can use gluten-free graham crackers for a gluten-free option, and substituting cream cheese with dairy-free cream cheese makes them suitable for lactose-intolerant individuals. Always check labels on store-bought ingredients to ensure they meet your dietary needs.
Irresistible Pumpkin Mini Cheesecakes for Effortless Enjoyment
Ingredients
Equipment
Method
- Prepare Containers: Arrange 8 baking cups or mini springform pans on a flat surface.
- Make Crust: Combine graham cracker crumbs, sugar, cinnamon, and melted butter until resembling wet sand. Press into the bottom of cups.
- Chill Crust: Refrigerate the crusts for at least 15 minutes to set.
- Whip Cream: Beat cold heavy whipping cream until stiff peaks form, about 3-5 minutes.
- Mix Cheesecake Filling: In another bowl, beat cream cheese and powdered sugar until smooth. Add pumpkin, vanilla, and spice, mixing well.
- Fold Cream: Gently fold whipped cream into the cheesecake mixture without deflating.
- Assemble: Spoon the filling over the chilled crusts, smoothing the tops.
- Chill: Cover and refrigerate for at least 3-4 hours, preferably overnight.
- Garnish & Serve: Top with whipped cream, salted caramel, or chopped pecans before serving.
Leave a Reply