
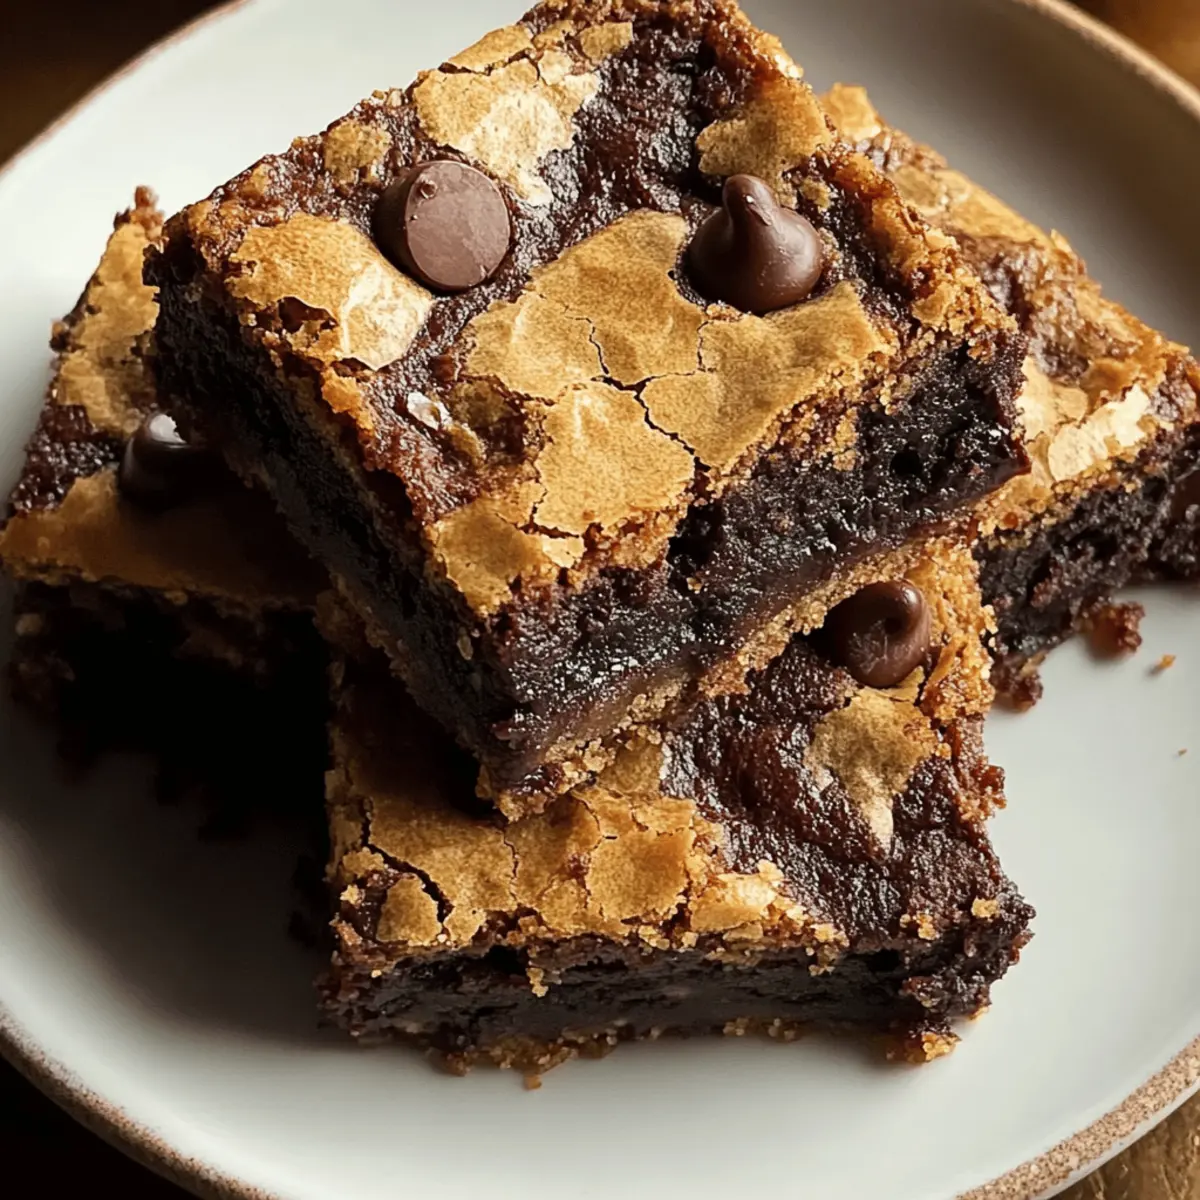
The scent of warm, nutty brown butter fills my kitchen, instantly transporting me to my favorite bakery, where the aroma of fresh-baked goods beckons. If you’re ready to elevate dessert night, you need to try my Brown Butter Brookies—a delightful fusion of cookies and brownies that delivers both chewy and fudgy textures in every bite. Not only are they a breeze to whip up in just 15 minutes of prep, but these brookies are also the perfect crowd-pleaser, sure to impress family and friends. So, whether you’re indulging solo or planning a dessert for a gathering, these brookies will satisfy your cravings and leave you wondering how one recipe could be so versatile. Ready to bake your way to bliss?
Why are Brown Butter Brookies irresistible?
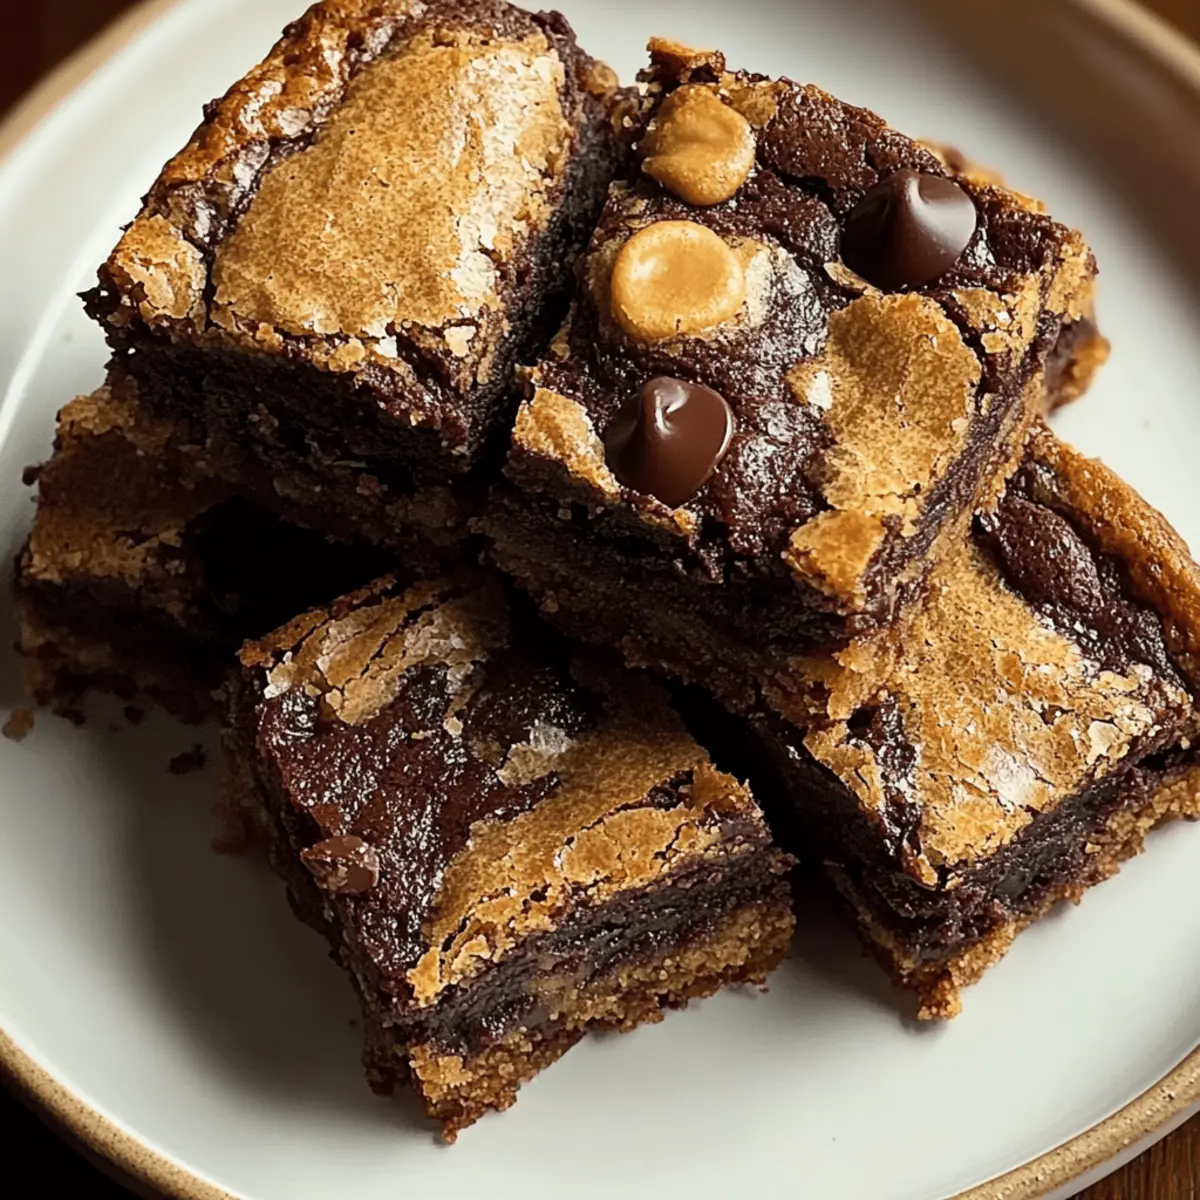
Indulgent flavor: The deep, nutty essence from browned butter blends beautifully with rich chocolate, creating a dessert that tantalizes every taste bud.
Effortless preparation: With just 15 minutes of prep, you can whip up these delicious brookies, making them perfect for spontaneous baking sessions or planned gatherings.
Textural bliss: The combination of chewy edges and fudgy centers creates a satisfying contrast that keeps you coming back for more.
Versatile treat: Serve them warm with a scoop of vanilla ice cream, or enjoy them as is for a delightful snack. These brookies are great for sharing, whether at family gatherings or casual get-togethers.
Inspiring variation: Experiment with different chocolate chips or nuts for a unique twist—check out my recipes for Crockpot Garlic Butter or Garlic Butter Chicken to complement your meal plan!
Brown Butter Brookies Ingredients
For the Brookie Batter
• Unsalted Butter – Provides a rich, nutty flavor when browned, enhancing the overall taste of your Brown Butter Brookies.
• Granulated Sugar – Sweetens the batter and contributes to a chewy texture; substitute with coconut sugar if desired, but expect slight variations in flavor and texture.
• Light Brown Sugar – Adds moisture and a subtle caramel depth; feel free to use dark brown sugar for a richer flavor profile.
• Eggs – Essential for structure and richness; replace with unsweetened applesauce (1/4 cup per egg) for a vegan alternative.
• Vanilla Extract – Enhances flavor and balances sweetness; it’s crucial for achieving that signature taste, so no direct substitutions are recommended.
• All-Purpose Flour – Forms the backbone of the brookies; gluten-free flour blends can work, though results may vary.
• Baking Powder & Baking Soda – These leavening agents are vital for rise and texture; keep them as is for the best results.
• Salt – Enhances flavor and balances the sweetness without needing any substitution.
• Unsweetened Cocoa Powder – Contributes deep chocolate flavor without additional sweetness; omit for a cookie-only version or switch to carob powder.
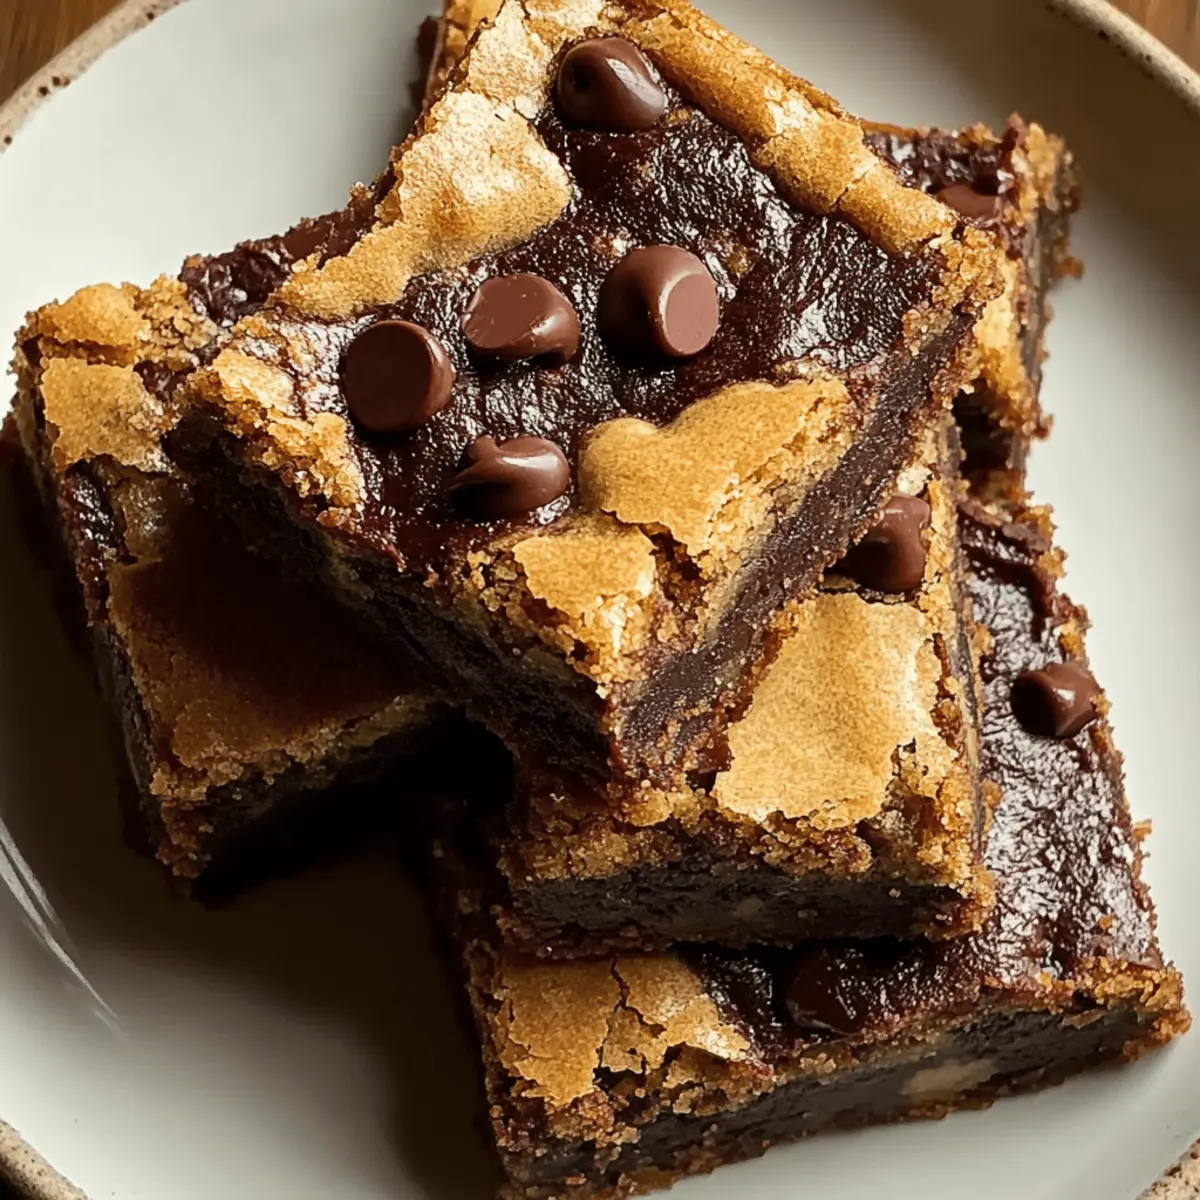
• Semi-Sweet Chocolate Chips – Adds gooey texture in the center; dark chocolate chips can be a great alternative depending on your sweetness preference.
• Chopped Nuts (Optional) – Adds a delightful crunch and extra nuttiness; consider pecans instead of walnuts, or leave them out for a nut-free option.
Step‑by‑Step Instructions for Brown Butter Brookies
Step 1: Preheat the Oven
Begin by preheating your oven to 350°F (175°C). While the oven warms up, prepare a 9×13-inch baking dish by greasing it lightly or lining it with parchment paper. This ensures your Brown Butter Brookies will slide out effortlessly once baked, while also promoting even cooking.
Step 2: Brown the Butter
In a medium saucepan over medium heat, melt the unsalted butter, stirring frequently. Keep an eye on it as it foams and begins to turn golden brown, around 5-7 minutes. Once it releases a nutty aroma and deepens in color, remove it from heat to cool slightly before adding to the mixing bowl.
Step 3: Combine Sugars and Butter
In a large mixing bowl, combine the granulated sugar and light brown sugar with the cooled brown butter. Mix thoroughly with a wooden spoon or spatula until the mixture is smooth and glossy. This rich blend embodies the essence of Brown Butter Brookies and sets a delightful base for your batter.
Step 4: Incorporate the Eggs and Vanilla
Add the eggs to the butter and sugar mixture one at a time, mixing well after each addition to ensure a uniform batter. After combining all the eggs, stir in the vanilla extract to infuse the mixture with warmth and depth. This step is crucial for achieving that luscious texture and flavor in your brookies.
Step 5: Mix the Dry Ingredients
In a separate bowl, whisk together the all-purpose flour, baking powder, baking soda, salt, and unsweetened cocoa powder. This dry mixture is key to providing structure and lift to your Brown Butter Brookies, so ensure it’s well-aerated and blended before gradually adding it to the wet ingredients.
Step 6: Combine Wet and Dry Ingredients
Carefully fold the dry ingredients into the wet mixture using a rubber spatula until just combined. This method prevents overmixing, which could lead to tough brookies. Be cautious to not leave any flour streaks, but a few lumps are perfectly okay in the batter.
Step 7: Add Chocolate Chips and Nuts
Next, gently fold in the semi-sweet chocolate chips and nuts (if using), distributing them evenly throughout the batter. The melted chocolate will create gooey pockets in your brookies while baking, resulting in a delightful texture and rich chocolate flavor that you’ll crave.
Step 8: Spread the Batter
Pour the batter into the prepared baking dish, using a spatula to spread it evenly. Make sure the top is smooth and level for consistent baking. This step ensures that your Brown Butter Brookies will bake beautifully, achieving the perfect chewy edges and fudgy center.
Step 9: Bake to Perfection
Place the baking dish in the preheated oven and bake for 25-30 minutes. Keep an eye on them; once a toothpick inserted into the center comes out with a few moist crumbs, it’s time to remove them from the oven. Don’t overbake, as you want to maintain that fudgy texture.
Step 10: Cool and Slice
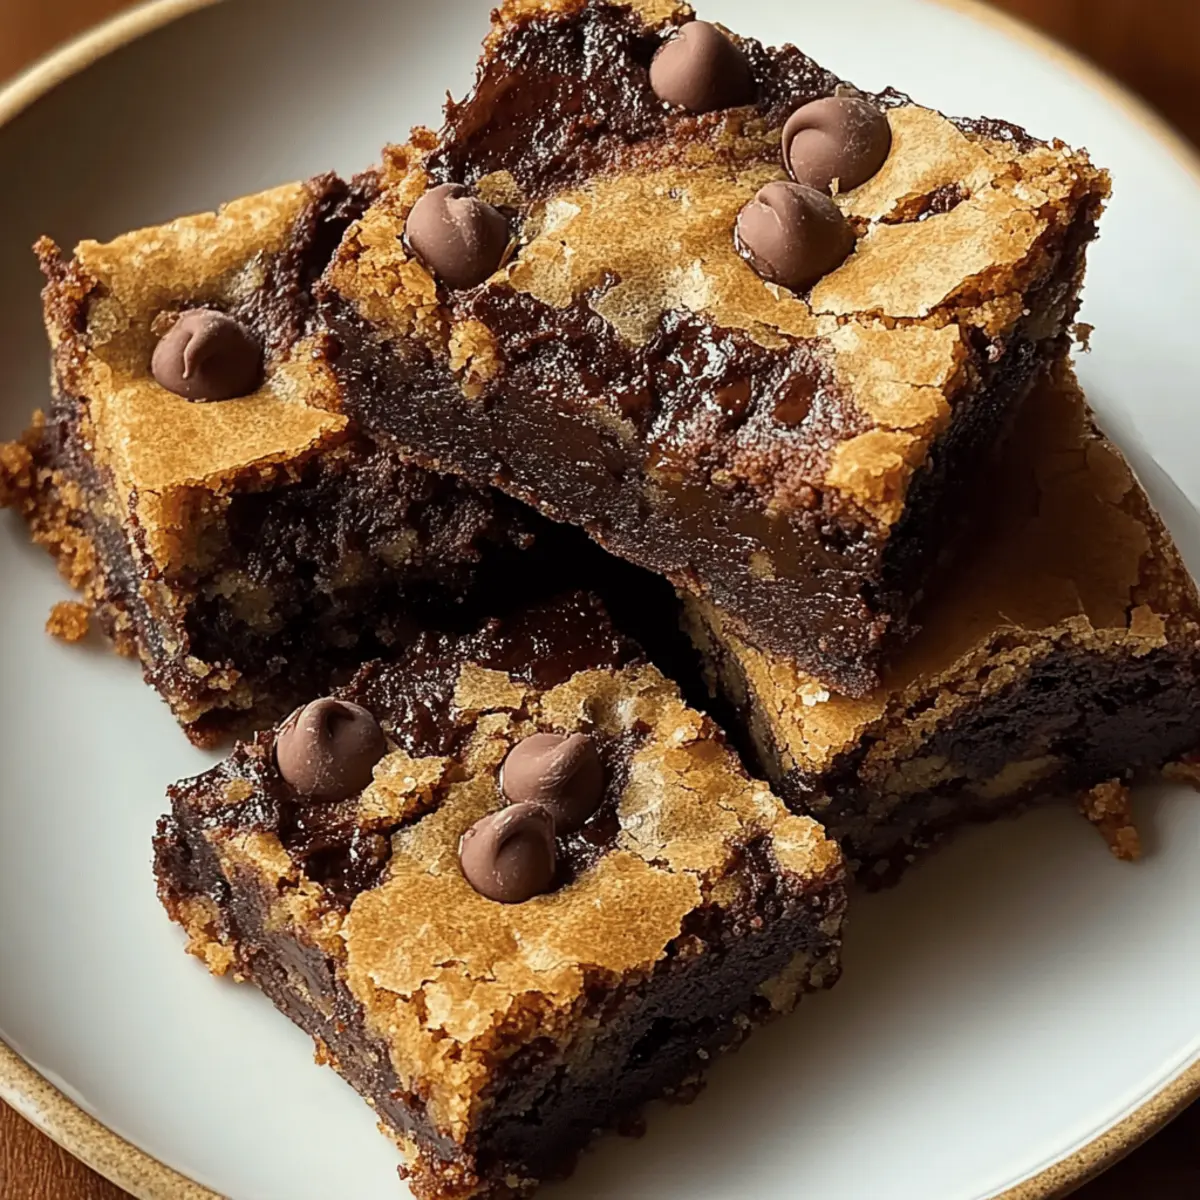
Allow the Brown Butter Brookies to cool in the pan on a wire rack for at least 15 minutes. Once cool, use a sharp knife to slice them into squares. The cooling process helps them set up perfectly, ensuring you get that signature chewy and fudgy experience in every bite.
Make Ahead Options
These Brown Butter Brookies are a fantastic option for meal prep that can save you time on busy weeknights! You can prepare the batter up to 24 hours in advance—just store it in an airtight container in the refrigerator to maintain the rich, fudgy texture. Additionally, you can pre-brown the butter and refrigerate it until ready to mix. Once you’re ready to bake, simply allow the batter to sit at room temperature for about 30 minutes before spreading it in your prepared baking dish and baking as directed. This way, you’ll enjoy the same delicious, gooey results with minimal effort!
What to Serve with Brown Butter Brookies?
The aroma of fresh-baked brookies can fill your kitchen with warmth, creating the perfect backdrop for a cozy dessert gathering.
- Vanilla Ice Cream: A scoop adds a delightful creaminess that contrasts beautifully with the fudgy brookies, making each bite a heavenly experience.
- Espresso or Coffee: The rich, robust flavors of coffee elevate the dessert’s chocolate essence, creating a balanced and indulgent treat moment.
- Fresh Berries: Tartness from raspberries or strawberries brightens the flavors and adds a refreshing element alongside the brookies.
- Whipped Cream: A fluffy dollop on top creates a light contrast to the dense fudginess, enhancing the brookies’ rich taste.
- Chocolate Sauce: Drizzling warm chocolate sauce amplifies the chocolatey goodness, offering extra indulgence for chocolate lovers.
- Nutty Caramel Sauce: The gooey sweetness pairs perfectly with the nutty brown butter, creating a decadent flavor pairing that’s hard to resist.
- Milk or Almond Milk: Serve with a glass of cold milk or almond milk to wash down the sweetness, creating a classic treat experience.
- Coconut Macaroons: Pair these chewy delights with brookies for a delightful texture competition and a hint of tropical flavor.
- Cheesecake Bites: These rich and creamy bites offer a perfect contrast to the brookies, balancing their density with airy lightness.
Brown Butter Brookies Variations & Substitutions
Feel free to get creative and make this recipe your own with these delightful variations!
- Dark Chocolate: Swap semi-sweet chocolate chips for dark chocolate chips for a richer, more intense flavor experience.
- Nut-Free Option: Omit the nuts entirely or replace them with sunflower seeds to keep the crunchy texture without allergens.
- Flour Swap: Use almond flour for a gluten-free option that lends a slightly nutty flavor and moist texture.
- Fruit Addition: Add dried cranberries or chopped cherries for a fruity twist that complements the chocolate perfectly.
- Spice It Up: Sprinkle in a pinch of cinnamon or sea salt to elevate the flavors and add warmth to your brookies.
- Different Sugars: Experiment with brown sugar alternatives, like coconut sugar, for a deeper caramel taste and unique color.
- Vegan Delight: Substitute eggs for chia eggs (1 tbsp chia seeds + 2.5 tbsp water per egg) and use coconut oil instead of butter.
- Serve Style: Serve your brookies warm with a scoop of vanilla ice cream on top or drizzle them with caramel for that extra indulgence.
With so many ways to switch up these Brown Butter Brookies, you can easily tailor them to your family’s tastes—just like my Brown Butter Pumpkin, which adds a seasonal twist! And if you’re in the mood for something savory afterward, be sure to check out the comforting flavors of Crockpot Garlic Butter. Happy baking!
How to Store and Freeze Brown Butter Brookies
Room Temperature: Store completely cooled brookies in an airtight container at room temperature for up to 3 days for the best flavor and texture.
Fridge: If you prefer, keep the brookies in the refrigerator where they can last for up to 1 week. Just make sure they’re in an airtight container to prevent them from drying out.
Freezer: For longer preservation, freeze your brookies for up to 3 months. Wrap them tightly in plastic wrap or aluminum foil before placing them in a resealable freezer bag to avoid freezer burn.
Reheating: To enjoy warm brookies, reheat in the microwave for about 10-15 seconds or in the oven at 350°F (175°C) for about 5-10 minutes, just until warmed through.
Expert Tips for Brown Butter Brookies
• Monitor Butter Closely: Watch the browning process carefully to prevent burning. You’re looking for a golden hue and a nutty aroma.
• Mixing Matters: Avoid overmixing the batter; this can toughen the brookies. Mix until just combined for the best texture.
• Check Doneness: Use a toothpick to test for doneness. Aim for a few moist crumbs—this ensures that your Brown Butter Brookies stay fudgy and delicious.
• Cool Before Slicing: Let the brookies cool in the pan for at least 15 minutes. This allows them to set, making slicing easier and ensuring perfect edges.
• Experiment with Add-Ins: Feel free to personalize your brookies by substituting different types of chocolate chips or adding nuts for that extra crunch.
Brown Butter Brookies Recipe FAQs
How do I know if my brown butter is ready?
Absolutely! The key to perfect brown butter is to watch it closely. Melt the unsalted butter over medium heat, stirring frequently. You’ll know it’s ready when it turns a golden-brown color and emits a nutty aroma, which usually takes about 5-7 minutes. Just be mindful not to let it burn!
How should I store leftover Brown Butter Brookies?
Very! To keep your brookies fresh, allow them to cool completely, then store them in an airtight container at room temperature for up to 3 days. If you want to keep them longer, pop them in the refrigerator, where they’ll last for up to a week. Just make sure they’re sealed tight to retain their goodness.
Can I freeze Brown Butter Brookies?
Absolutely! If you have extras, wrap your cooled brookies tightly in plastic wrap or aluminum foil and place them in a resealable freezer bag. They will remain delicious for up to 3 months. When you’re ready to enjoy them, simply thaw in the fridge overnight or at room temperature for a few hours.
What if my brookies turn out too cakey?
Oh no! If that happens, it usually means the batter was overmixed, which can lead to a thicker, cake-like texture rather than the desired fudginess. Next time, make sure to mix only until just combined, and don’t forget to check them for doneness with a toothpick—aim for a few moist crumbs!
Are Brown Butter Brookies suitable for people with nut allergies?
I often make these nut-free! The recipe includes optional chopped nuts for added flavor and crunch, so you can simply omit them to make the brookies safe for those with nut allergies. Of course, always double-check for cross-contamination if you’re serving someone with severe allergies.
Can I substitute ingredients in this recipe?
Very! If you need alternatives, you can use salted butter instead of unsalted—just reduce added salt slightly. For a vegan option, replace the eggs with 1/4 cup of unsweetened applesauce per egg. Different types of chocolate chips can also be swapped in based on your taste preference, but keep in mind these substitutions may slightly alter flavor and texture.
Brown Butter Brookies: Ultimate Chewy Chocolate Bliss
Ingredients
Equipment
Method
- Preheat your oven to 350°F (175°C) and prepare a 9x13-inch baking dish.
- Melt the unsalted butter in a medium saucepan over medium heat, stirring frequently until golden brown.
- Combine granulated and light brown sugars with the cooled brown butter in a large mixing bowl until smooth.
- Add eggs one at a time, mixing well after each addition, then stir in the vanilla extract.
- Whisk together the flour, baking powder, baking soda, salt, and cocoa powder in a separate bowl.
- Fold the dry ingredients into the wet mixture until just combined, avoiding overmixing.
- Gently fold in chocolate chips and nuts until evenly distributed.
- Spread the batter evenly into the prepared baking dish.
- Bake in the oven for 25-30 minutes, checking doneness with a toothpick.
- Cool in the pan on a wire rack for at least 15 minutes before slicing.
Leave a Reply