
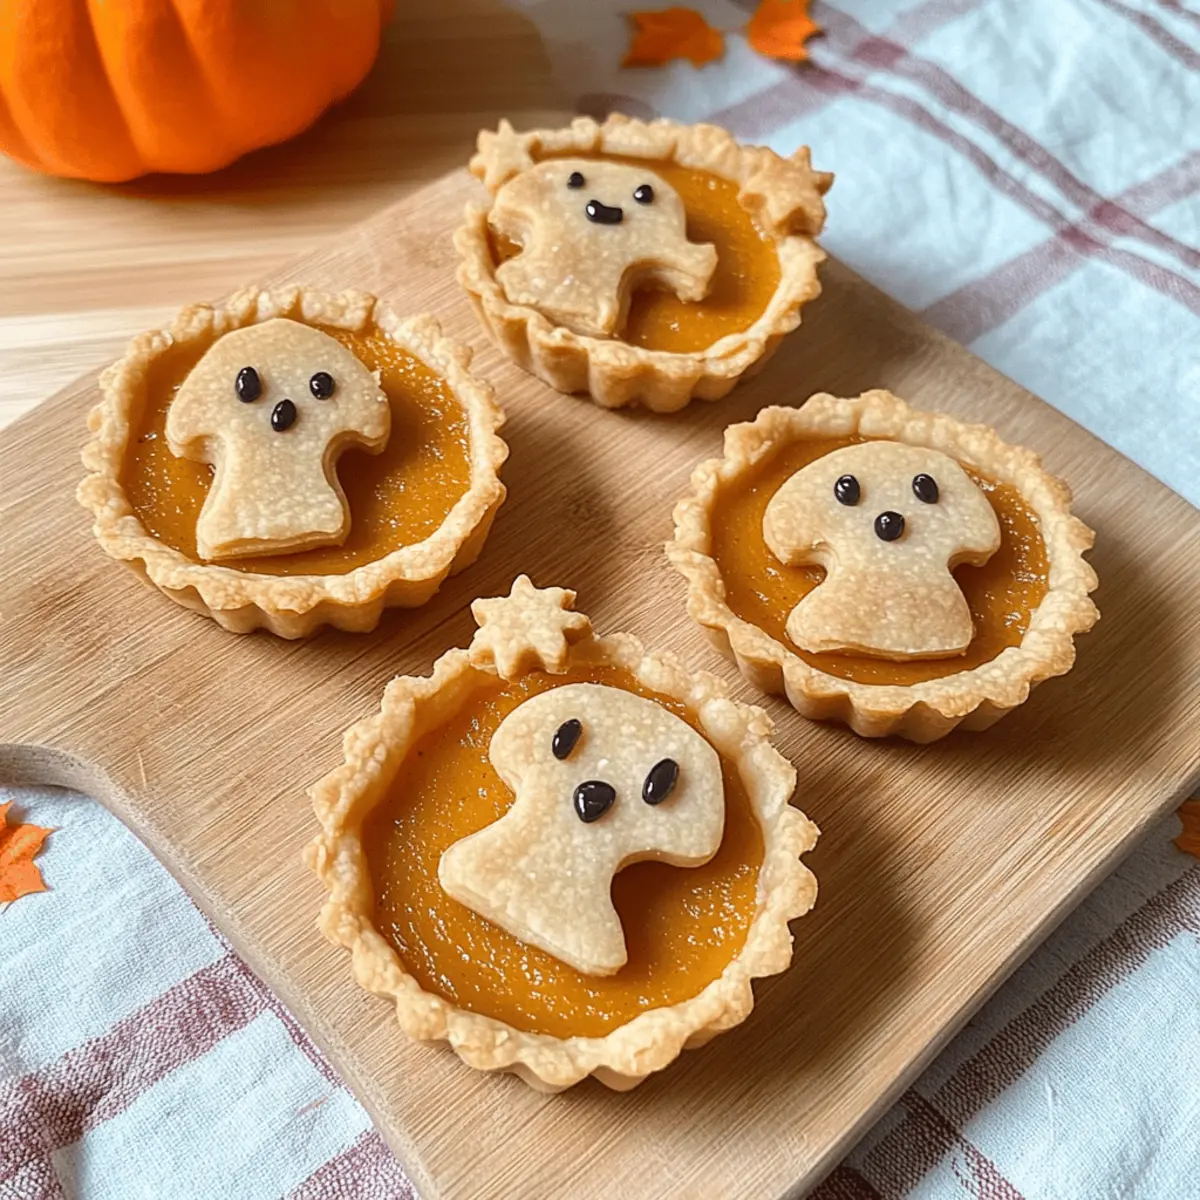
As I placed the first batch of tarts in the oven, the sweet, spicy aroma of pumpkin filled my kitchen—transporting me straight into the heart of fall. These Halloween Pumpkin Tarts with Ghost Decorations are not just desserts; they’re tiny, festive bites that bring warmth and joy to any gathering. With a creamy pumpkin filling nestled in a flaky crust, they make the perfect quick treat for celebrations or cozy nights in. Plus, the playful ghost decorations are a fun way to involve the whole family in the kitchen! It’s impressive how easy this recipe is while still being a delightful crowd-pleaser. Are you ready to add some sweetness to your Halloween festivities?
Why Are These Halloween Tarts So Special?
Bite-sized Bliss: These adorable tarts pack a punch of flavor in every tiny bite, making them perfect for sharing or saving for yourself!
Effortless Elegance: With simple ingredients and easy preparation, you can whip up these treats without breaking a sweat—ideal for busy schedules!
Family Fun: Get everyone involved in creating the spooky ghost decorations, making these tarts a fun family activity that brings everyone together.
Versatile Recipe: Whether you stick to pumpkin or mix it up with sweet potato, you can tailor these tarts to suit your taste or dietary needs.
Crowd-Pleasing Delight: Their charming appearance and scrumptious flavor will leave your guests raving, whether at Halloween parties or intimate fall gatherings.
For more delightful pumpkin flavors, check out these Pumpkin Cupcakes Moist or indulge in Brown Butter Pumpkin cookies!
Halloween Pumpkin Tarts Ingredients
For the Crust
• Pie Sheets – Use store-bought or homemade pie pastry for a sturdy base.
For the Filling
• Pumpkin Purée – Provides the signature creamy texture and fall flavor. Ensure it’s 100% pure pumpkin, not pumpkin pie filling.
• Sweetened Condensed Milk – Adds a rich sweetness and creamy consistency; feel free to substitute with evaporated milk for a lighter version.
• Egg – This ingredient binds everything together and gives richness to your tarts.
• Pumpkin Pie Spice – A warm blend that enhances the pumpkin flavor; it’s a must for that authentic taste.
• Cinnamon – Use both ground and for sugar; it deepens flavor and adds a hint of warmth.
• Salt – Just a pinch to balance out the sweetness.
For the Decorations
• Unsalted Butter – Brush this on decorations for a golden finish; margarine works too if preferred.
• Sugar – Sweetens the cinnamon sugar used on the ghostly decorations—those will beautifully crunch on top!
As you gather these ingredients, you’re already setting the stage for making delightful Halloween Pumpkin Tarts that both look and taste enchanting!
Step‑by‑Step Instructions for Adorable Pumpkin Tarts with Spooky Ghost Decorations
Step 1: Preheat the Oven
Begin by preheating your oven to 425°F (220°C). This initial blast of heat is essential for creating a perfectly baked crust. While the oven warms up, gather your ingredients to ensure everything is at hand as you create these delightful Halloween Pumpkin Tarts.
Step 2: Mix the Filling
In a large mixing bowl, combine the pumpkin purée, sweetened condensed milk, egg, pumpkin pie spice, cinnamon, and salt. Use a whisk or spatula to blend until the mixture is smooth and thoroughly combined. This creamy filling is what makes the tarts irresistibly delicious, so take your time to ensure it’s well mixed.
Step 3: Prepare the Crust
Using a rolling pin, roll out your pie sheets on a floured surface until they’re about 1/8 inch thick. Cut out circular shapes slightly larger than the muffin tin holes. Firmly press each circle into the tin to ensure a snug fit, allowing the crust to hold the luscious filling that defines your Halloween Pumpkin Tarts.
Step 4: Fill the Tarts
Scoop the prepared pumpkin filling into each pastry shell, filling them just to the top. Use a small spoon or a piping bag for precision; you want each tart brimming with that creamy goodness. This careful filling will help create a beautiful presentation for your baked tarts once they’re finished.
Step 5: Bake the Tarts
Place the muffin tin in the preheated oven and bake at 425°F for 15 minutes. Then, reduce the temperature to 350°F (175°C) and continue baking for another 15 minutes. The tarts should puff slightly and the edges of the crust will be golden brown, revealed by a lovely aroma wafting through your kitchen.
Step 6: Make Decorations
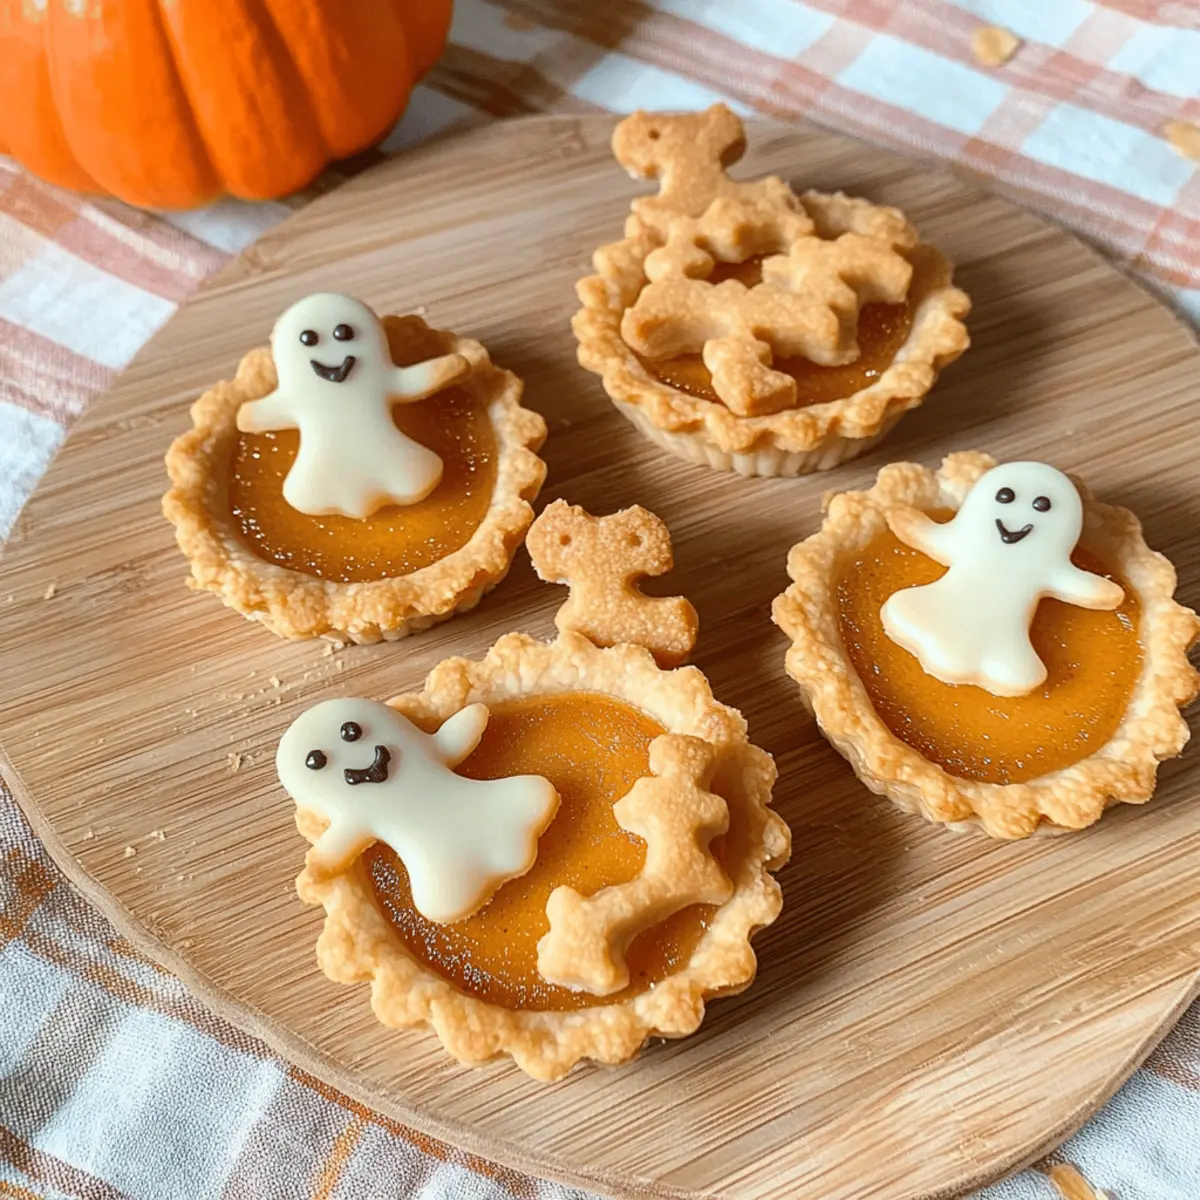
While the tarts are baking, take any leftover dough and roll it out again. Cut out fun ghost shapes using small cookie cutters. Brush each shape with melted butter and sprinkle them with cinnamon sugar for a sweet finishing touch. Bake these decorations at 450°F for 6 to 8 minutes until they’re golden and crisp.
Step 7: Finishing Touch
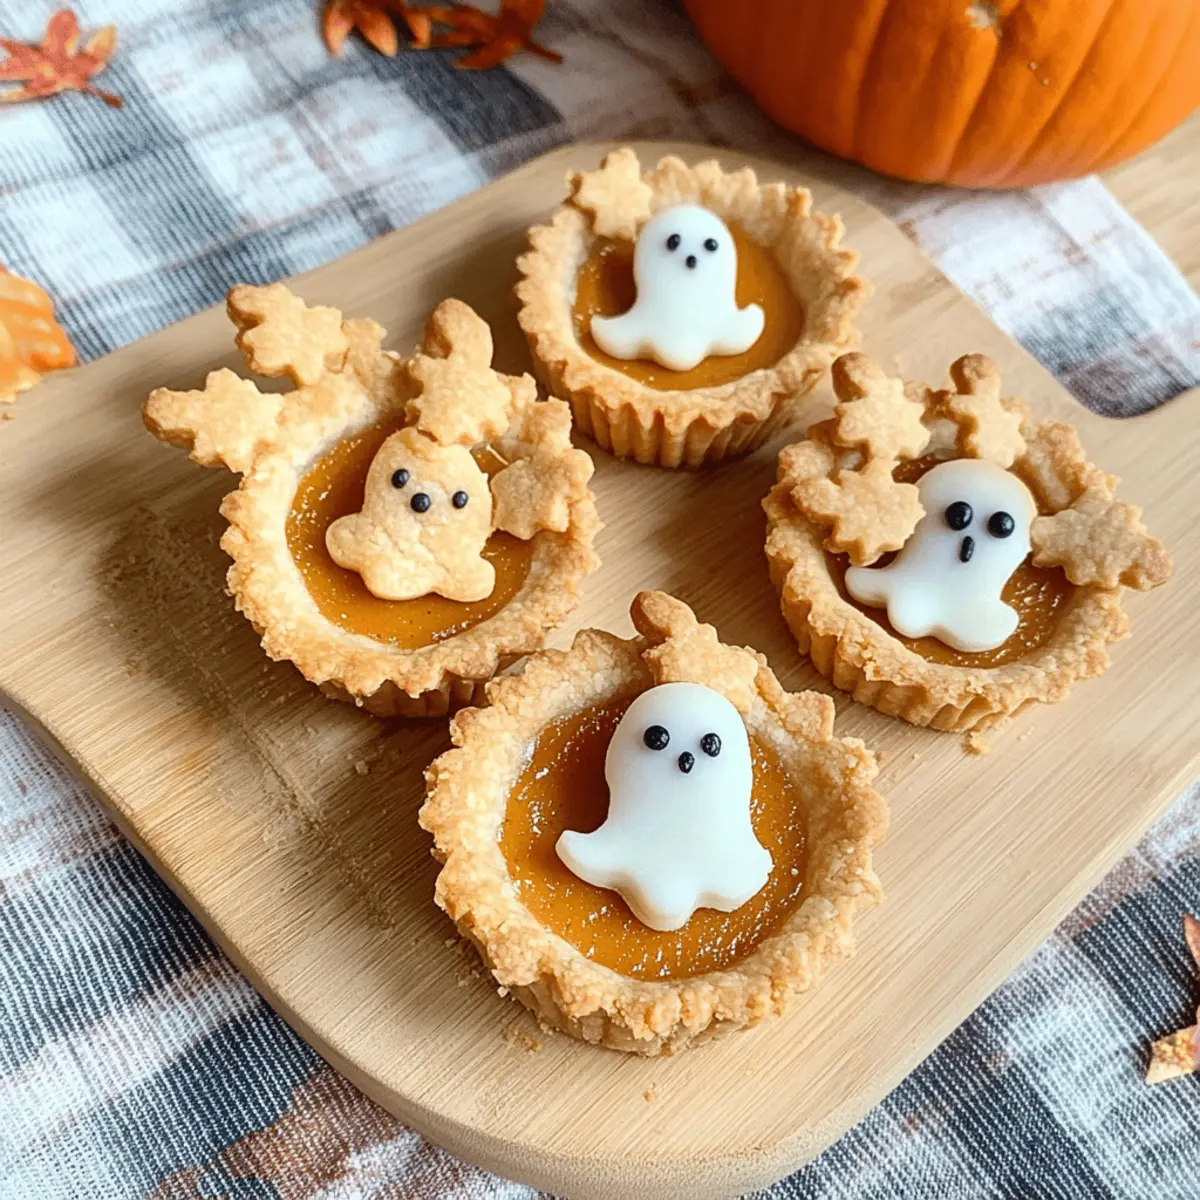
After baking, let your Halloween Pumpkin Tarts cool slightly before gently placing the ghost decorations atop each tart. This whimsical touch not only enhances their seasonal charm but also adds a delightful crunch. Serve these adorable tarts warm or at room temperature for your guests to enjoy!
What to Serve with Adorable Pumpkin Tarts with Spooky Ghost Decorations
As the delightful aroma of your freshly baked tarts fills the air, it’s time to consider perfect accompaniments that enhance the festive spirit of your gathering.
-
Whipped Cream: A soft dollop of lightly sweetened whipped cream adds a heavenly, fluffy texture that complements the tarts’ creamy filling beautifully. It’s a classic companion that makes every bite feel extra special.
-
Cranberry Sauce: The tartness of cranberry sauce contrasts wonderfully with the sweetness of the pumpkin tarts, creating a refreshing burst that awakens the taste buds. This combination is perfect for fall festivities and brings a vibrant color to your dessert table.
-
Apple Cider: Warm, spiced apple cider is a quintessential fall drink that pairs perfectly with the flavors of pumpkin. Its cozy warmth enhances the experience, making it a perfect pairing for your Halloween festivities.
-
Chocolate Drizzle: A drizzle of melted chocolate over the tarts introduces a rich, indulgent element that’s hard to resist. This treat combines the earthiness of pumpkin with a touch of decadence—ideal for chocolate lovers!
-
Vanilla Ice Cream: Creamy vanilla ice cream melting against warm pumpkin tarts creates a tantalizing contrast. Each bite offers a delightful combination of hot and cold, sweet and spiced, transporting you to dessert heaven.
-
Spiced Nuts: A small bowl of spiced nuts adds a crunchy element, inviting guests to nibble as they enjoy the tarts. The nutty flavors resonate with the warm spices in the pumpkin, enriching the overall experience.
-
Gingerbread Cookies: These cookies, with their warm spices, echo the flavors of the tarts while providing a delightful texture and visual appeal. They can serve as an interactive treat alongside your pumpkin delights!
Expert Tips for Halloween Pumpkin Tarts
-
Chill the Crust: Ensure your pie crust dough is chilled before rolling. This helps prevent shrinking and maintains a perfect shape during baking.
-
Smooth Filling: Blend your pumpkin filling thoroughly for a creamy texture. Lumps can lead to uneven cooking, affecting the final taste of your Halloween Pumpkin Tarts.
-
Precise Baking: Keep an eye on your tarts in the oven! If a toothpick comes out clean after the second bake, they’re ready to enjoy. Adjust baking time based on your oven’s nuances to get that ideal crust.
-
Fun Decorations: Use cookie cutters for fun shapes, but ensure they’re small enough to fit atop the tarts. This will create delightful ghost decorations that add both charm and crunch.
-
Pre-baking Prep: Prepare the crust and filling in advance for a quicker assembly later. This is especially helpful if you plan to serve these tarts for a big gathering!
How to Store and Freeze Halloween Pumpkin Tarts
Airtight Container: Store baked tarts in an airtight container at room temperature for up to 3 days to maintain their delicious texture and flavor.
Refrigeration: If you won’t consume the tarts within 3 days, refrigerate them for up to a week. Just ensure they are covered to prevent drying out.
Freezing: For longer storage, freeze the tarts (without decorations) for up to 2 months. Wrap them tightly in plastic wrap, then place them in a freezer-safe bag.
Reheating: To enjoy, thaw overnight in the fridge, then warm in a preheated oven at 350°F for about 10 minutes before serving. Enjoy your Halloween Pumpkin Tarts with all their original deliciousness!
Halloween Pumpkin Tarts Variations & Substitutions
Feel free to get creative with these Halloween Pumpkin Tarts—each twist adds a delightful surprise to your festive experience!
-
Sweet Potato Swap: Use sweet potato purée instead of pumpkin for a flavor twist that’s equally creamy and delicious.
-
Chocolate Lovers: Mix in mini chocolate chips to the pumpkin filling for a sweet surprise that’ll satisfy any sweet tooth. It’s a delightful contrast to the pumpkin base!
-
Spice It Up: Enhance the flavor with a dash of nutmeg or allspice in place of, or alongside, the pumpkin pie spice for a more complex flavor profile.
-
Gluten-Free Option: Substitute regular pie sheets with gluten-free pastry dough to make these tarts perfect for those with dietary restrictions. You won’t miss a beat, and they’ll still be an absolute hit!
-
Nutty Crunch: Add finely chopped nuts, such as pecans or walnuts, into the filling for added texture and a delightful crunch in every bite. It gives a special touch that is sure to please.
-
Pumpkin Spice Decor: Instead of cinnamon sugar, make your ghost decorations with a mix of pumpkin spice and sugar for an extra kick of fall flavor. Your guests will love the aromatic twist!
For a festive flavor exploration, you may also enjoy these sweet treats like Pumpkin Snickerdoodles Fall or dive into velvety comfort with Homemade Pumpkin Coffee. Let the pumpkin magic unfold!
Make Ahead Options
These Halloween Pumpkin Tarts are perfect for busy home cooks looking to save time during the holidays! You can prepare the crust and filling up to 24 hours in advance. Simply roll out the pie sheets and cut them into shapes, then store them covered in the refrigerator. The filling can also be made ahead and kept in an airtight container. When you’re ready to treat your guests, just fill the crusts with the chilled pumpkin mixture and bake as instructed. This method ensures your tarts will stay just as delicious and maintain their delightful texture, giving you more time to enjoy the festivities!
Halloween Pumpkin Tarts Recipe FAQs
What type of pumpkin purée should I use?
Absolutely! Make sure to use 100% pure pumpkin purée and not pumpkin pie filling. It’s essential for achieving that rich, creamy texture and authentic flavor in your Halloween Pumpkin Tarts!
How should I store my baked Halloween pumpkin tarts?
You can store your baked tarts in an airtight container at room temperature for up to 3 days. If you have leftovers after that time, refrigerating them will allow you to keep them fresh for up to a week. Just remember to cover them properly to prevent drying out!
Can I freeze Halloween pumpkin tarts?
Yes, you can freeze your tarts for longer enjoyment! Wrap them tightly in plastic wrap and place them into a freezer-safe bag. They should be good for up to 2 months. When you’re ready to indulge, simply thaw them overnight in the fridge and reheat them in a preheated oven at 350°F for about 10 minutes to restore their delightful texture.
What if my filling is too lumpy?
The key here is to mix your filling until it’s completely smooth before pouring it into the crusts. If you find your filling is still lumpy, you might consider blending it with a hand blender or food processor until it reaches that velvety consistency. This ensures even cooking and a delightful bite!
Are there any common allergens in this recipe?
Yes, do note that this recipe contains egg and dairy (via the sweetened condensed milk). If you or your guests have allergies, consider using alternatives like flax eggs (the binding agent) and almond or coconut milk for a dairy-free option. For more allergy-friendly alternatives, feel free to reach out!
Can I make these tarts ahead of time?
Very! You can prepare the crust and filling in advance. Simply assemble and bake shortly before serving for the best flavor and texture. To save time, I often mix everything the day before and bake them fresh on the day of the event. This keeps them warm and delicious!
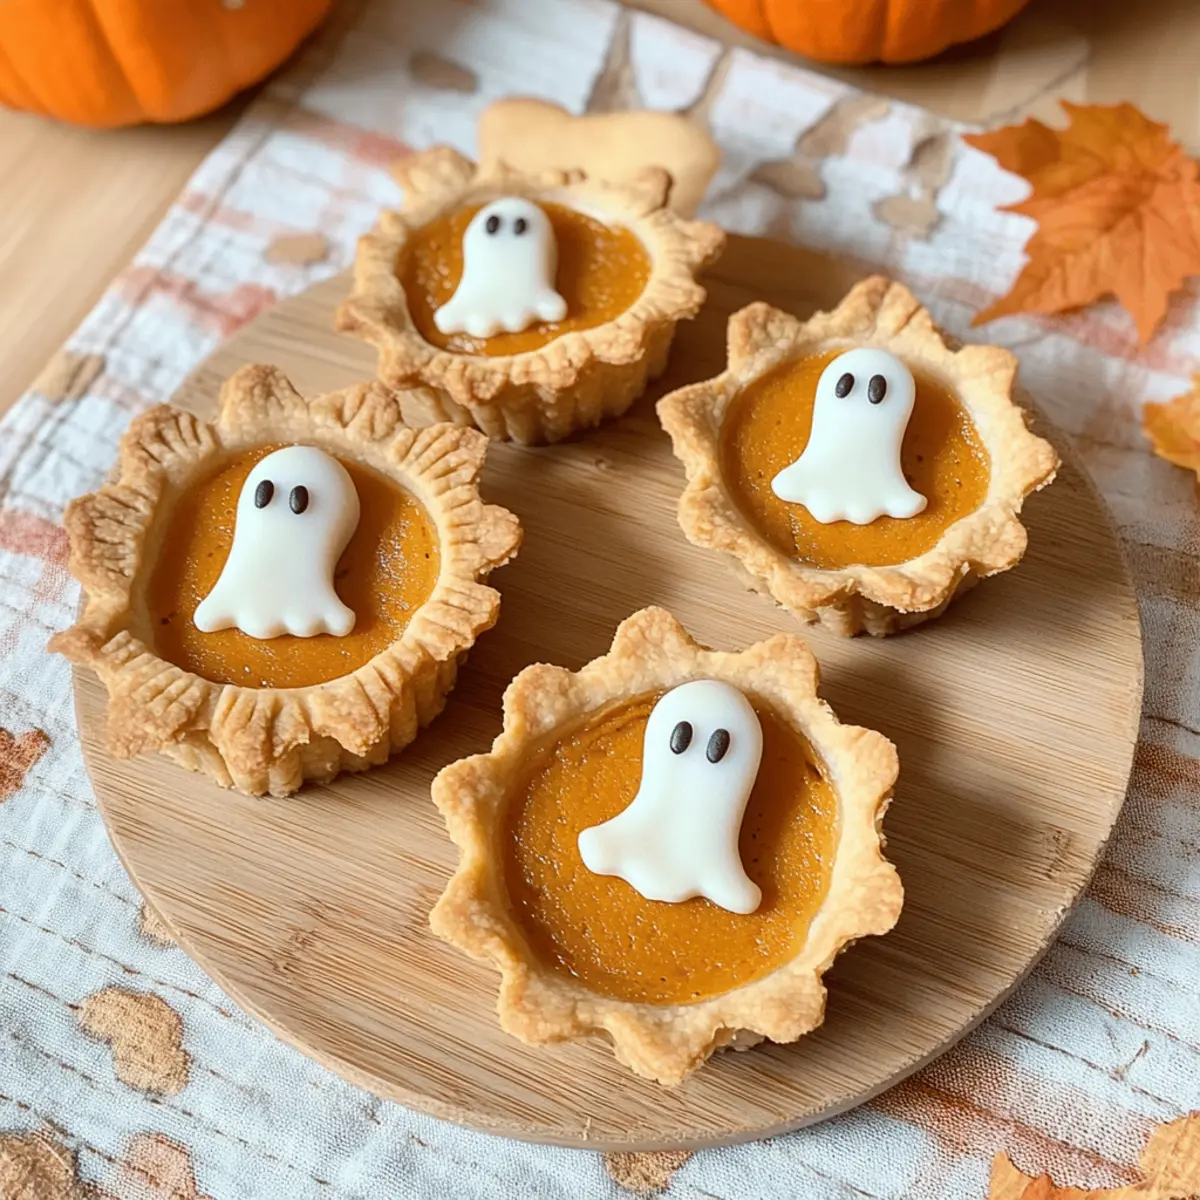
Delicious Halloween Pumpkin Tarts with Spooky Decorations
Ingredients
Equipment
Method
- Preheat your oven to 425°F (220°C).
- In a large mixing bowl, combine the pumpkin purée, sweetened condensed milk, egg, pumpkin pie spice, cinnamon, and salt. Mix until smooth.
- Roll out your pie sheets on a floured surface until about 1/8 inch thick. Cut out circular shapes slightly larger than the muffin tin holes and press into the tin.
- Scoop the pumpkin filling into each pastry shell, filling them just to the top.
- Bake at 425°F for 15 minutes, then reduce to 350°F (175°C) and bake for another 15 minutes.
- Roll out any leftover dough and cut out ghost shapes. Brush with melted butter and sprinkle with cinnamon sugar. Bake at 450°F for 6 to 8 minutes.
- Let the tarts cool slightly and place the ghost decorations on top before serving.
Leave a Reply