
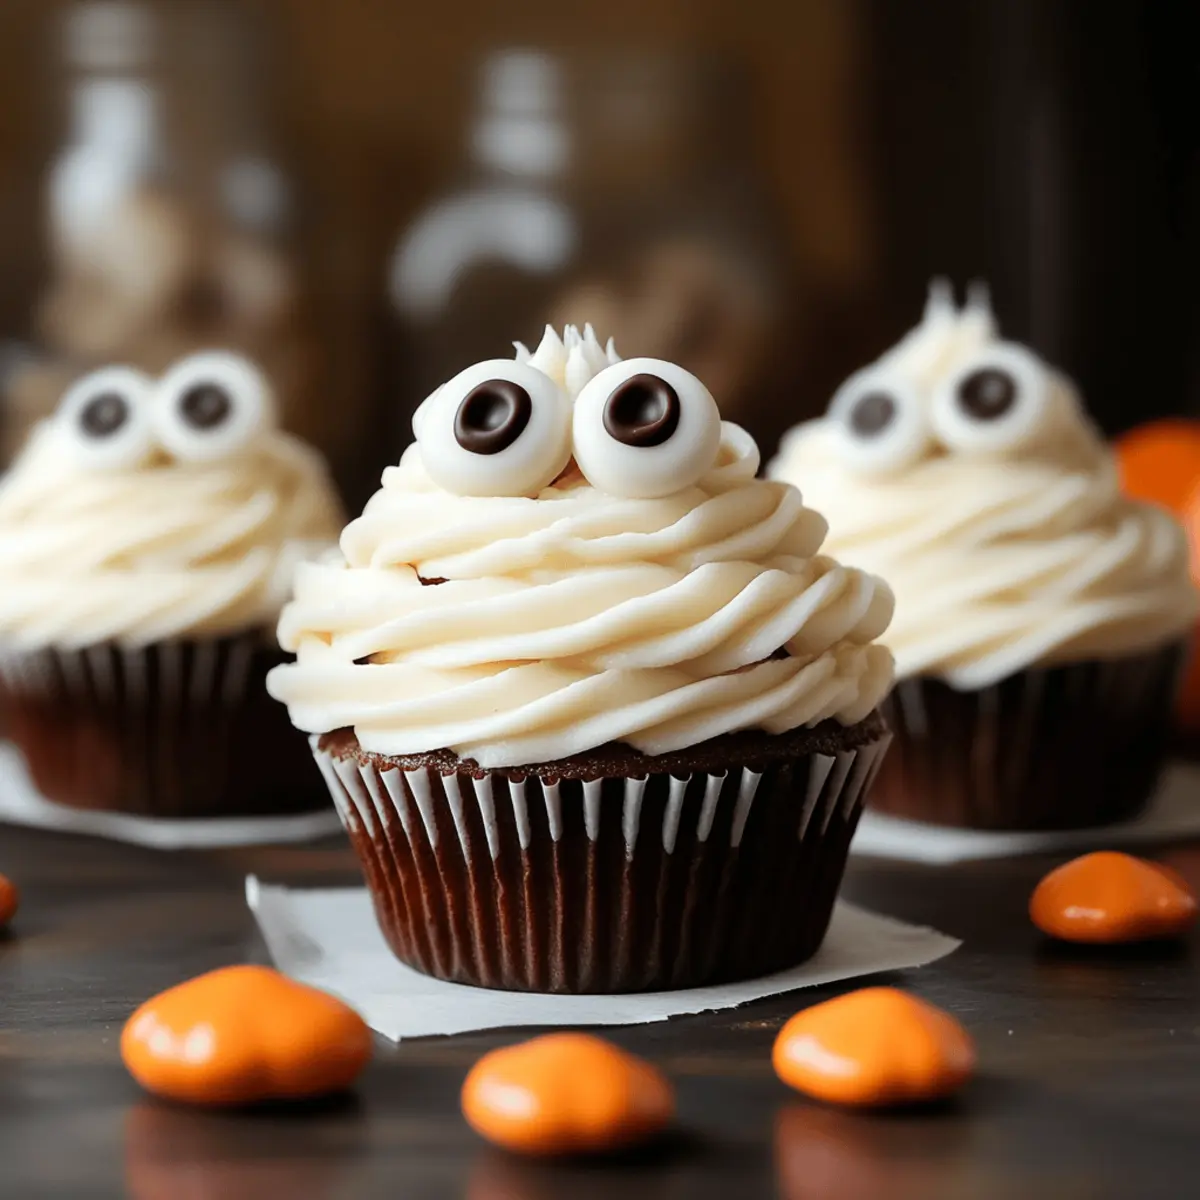
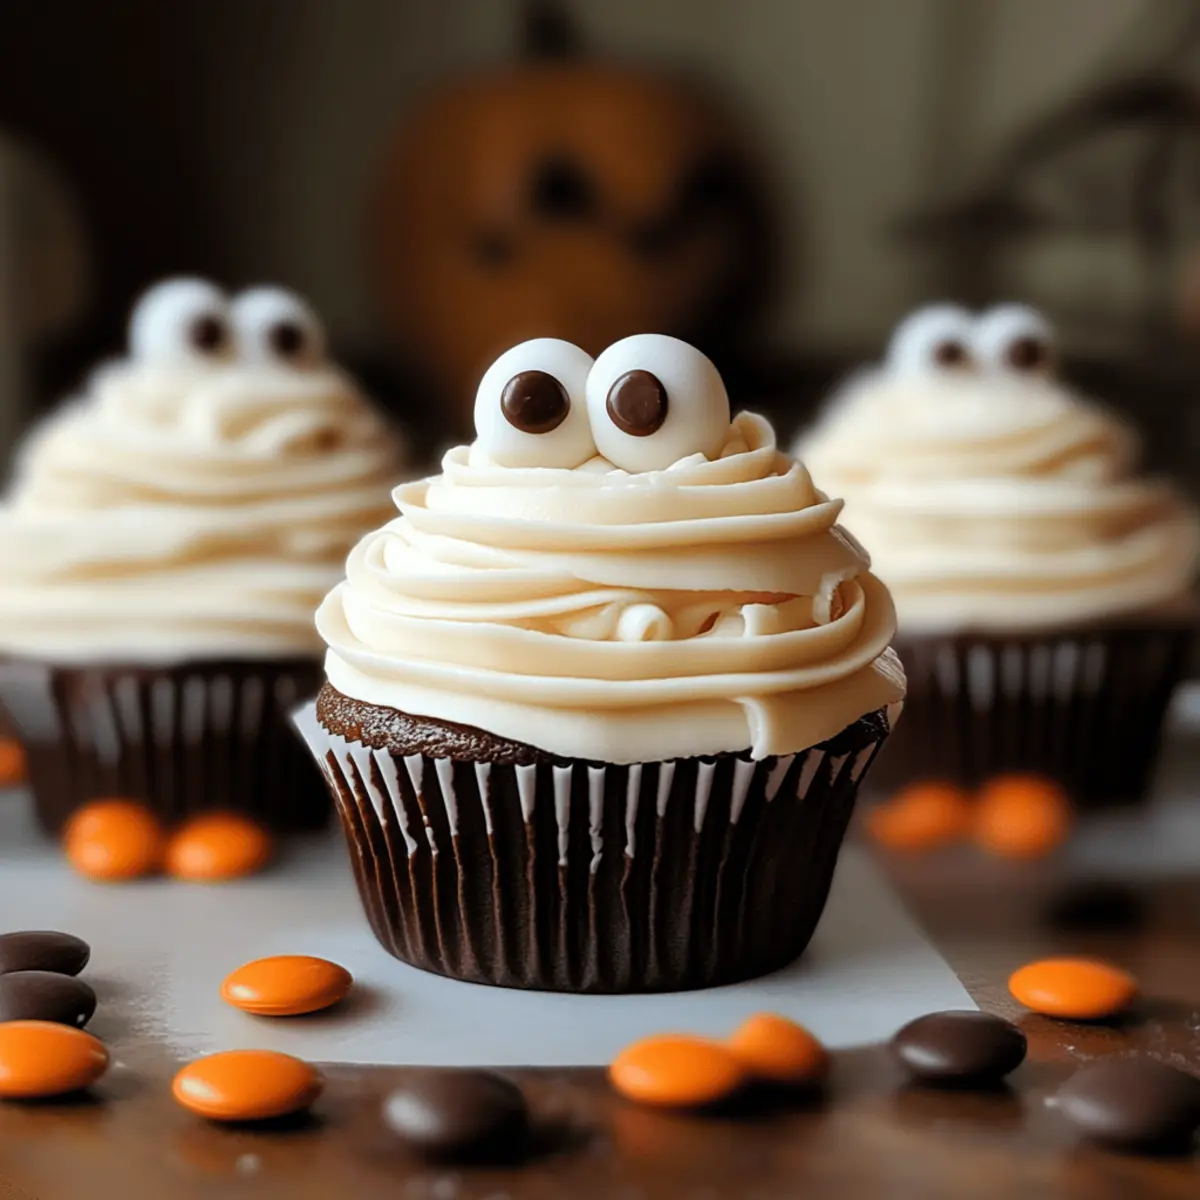
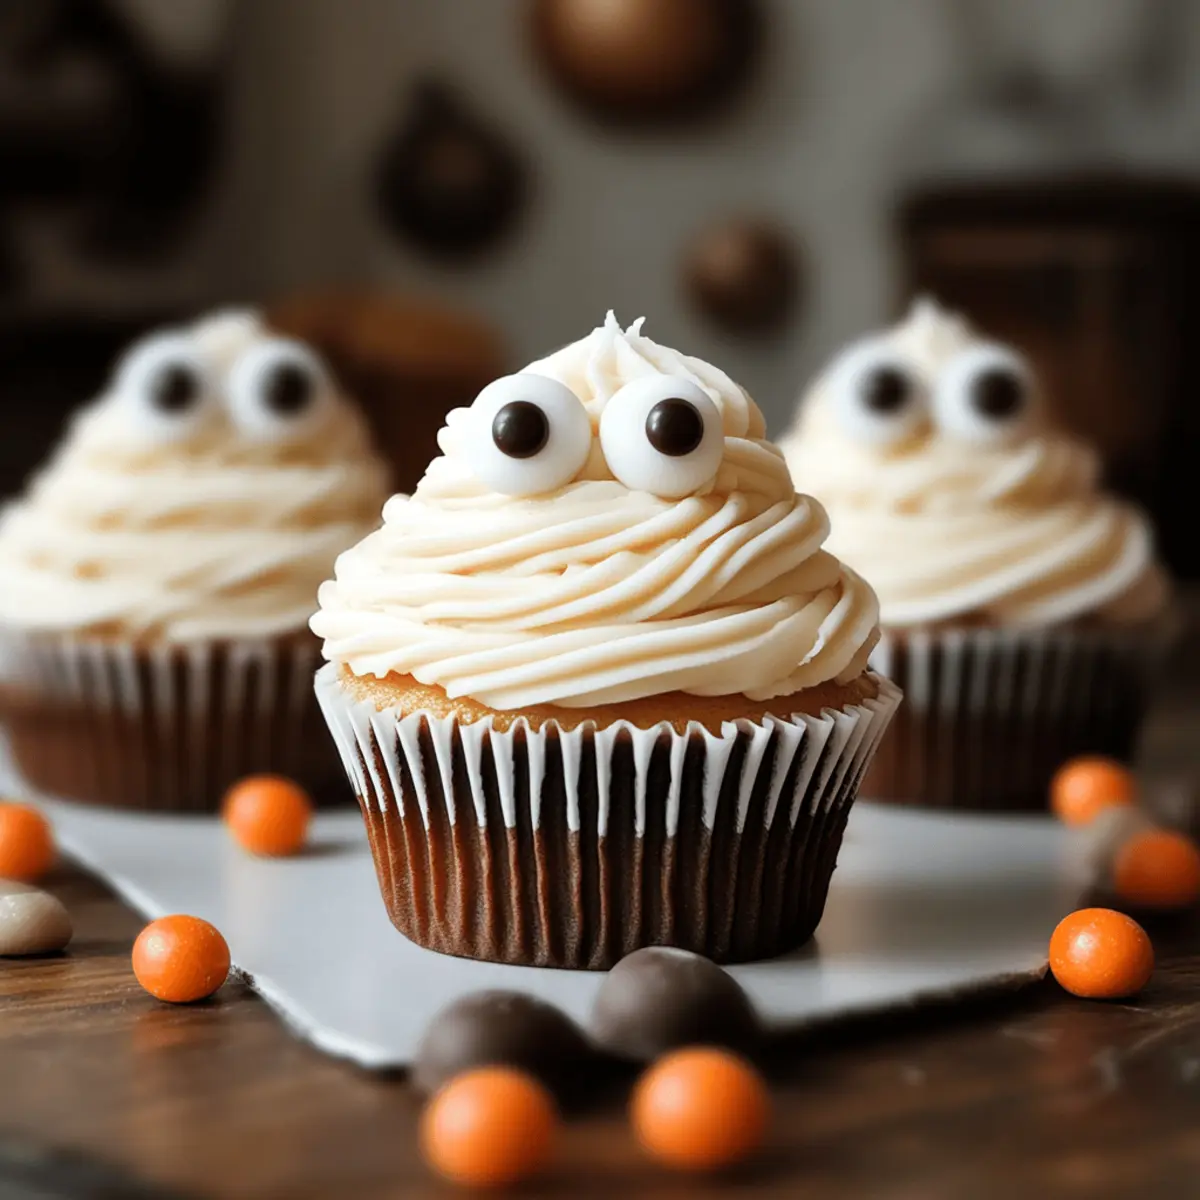
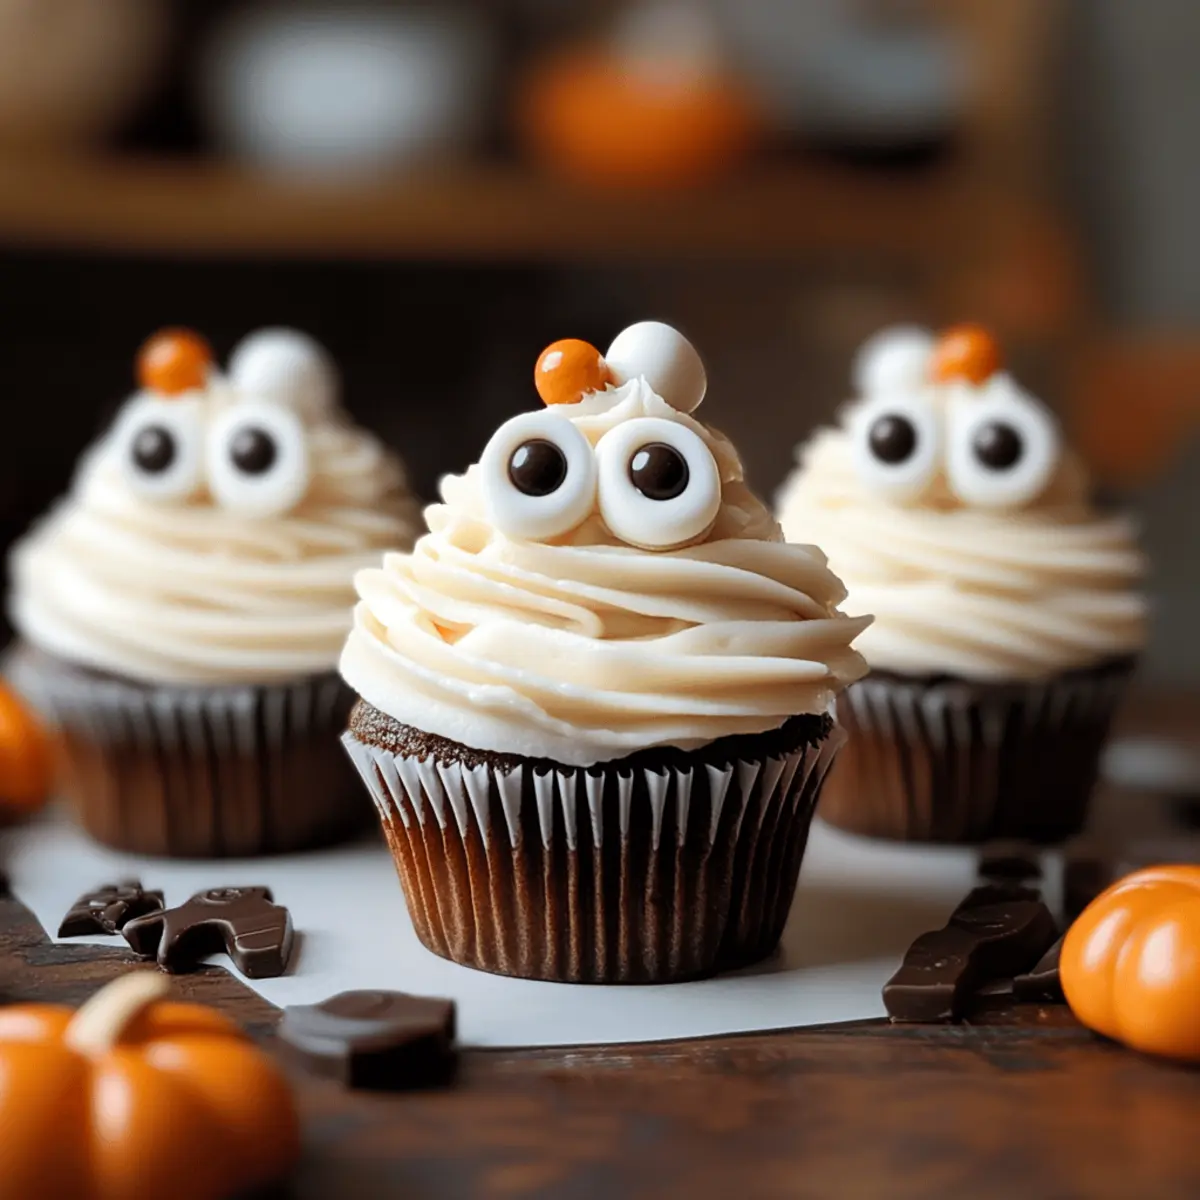
As Halloween approaches, the excitement in my kitchen rises, and I can’t help but think of creative ways to delight the little ghouls and goblins in my life. These Mummy Cupcakes are the answer—adorable treats that bring smiles and a dash of spooky fun to any gathering. Packed with moist, fluffy goodness and dressed in a swirled white frosting that mimics bandages, these cupcakes are as easy to make as they are to enjoy. Whether you whip up a homemade batter or use a box mix, they’re the perfect low-sugar, kid-friendly dessert to share at school parties or Halloween festivities. Add whimsical candy eyes for a playful touch, and you’ve got yourself a crowd-pleaser that keeps the fast food at bay! Ready to impress with your baking skills this spooky season? Let’s dive into how to create these delightful Mummy Cupcakes!
Why Choose Mummy Cupcakes?
Adorable Presentation: These Mummy Cupcakes are not just delicious; they’re also visually captivating, with frosting that evokes the playful spirit of Halloween.
Kid-Friendly Fun: Perfectly designed to engage kids, these treats are a fun way to introduce them to baking, making it a delightful family activity.
Versatile Serving Options: Whether for school celebrations or neighborhood parties, these cupcakes fit right in as festive, attention-grabbing desserts.
Dietary Flexibility: With options for gluten-free and dairy-free ingredients, everyone gets to join the spooky celebration without compromise.
Quick to Prepare: Use a box mix for a speedy treat, or opt for a homemade batter for that personal touch.
Low-Sugar Delight: Satisfy sweet cravings while keeping it healthier with low-sugar variants, making it a guilt-free indulgence.
These Mummy Cupcakes are sure to impress and are a fantastic alternative to fast food. Want more spooky ideas? Check out these Pumpkin Cupcakes Moist or Low-Sugar Halloween Treats that your little ghosts and goblins will love!
Mummy Cupcake Ingredients
For the Cupcakes
• Cupcake Base – Use a homemade batter for a personal touch, or a box mix for quick preparation.
For the Frosting
• Buttercream Frosting – This creamy topping mimics mummy bandages; tint it with white gel food coloring for that spooky look.
For the Decorations
• Candy Eyeballs – These fun treats bring the mummy to life, making them irresistibly cute for kids.
• Chocolate Ganache/Melted Chocolate – Use this for additional details like stitches or cracks, enhancing the spooky effect.
• Edible Marker – A creative way to add tiny details for your mummy’s personality.
For Dietary Variations
• Low-Sugar Cake Mix – Perfect for keeping sweetness in check without sacrificing taste.
• Dairy-Free Buttercream – Great for accommodating those with dairy restrictions without losing out on flavor.
• Gluten-Free Cupcake Base – Ensures everyone can enjoy these delightful Mummy Cupcakes!
Step‑by‑Step Instructions for Mummy Cupcakes
Step 1: Bake the Cupcakes
Preheat your oven to 350°F (175°C) and line a cupcake pan with 12 baking cups. If using a box mix, prepare the batter according to package instructions, pouring the mixture evenly into each cup. If making from scratch, follow your favorite recipe to create a delightful cupcake base. Bake for 18-20 minutes, or until a toothpick inserted comes out clean. Allow the cupcakes to cool completely on a wire rack.
Step 2: Prepare the Buttercream Frosting
While your cupcakes cool, make the buttercream frosting. In a large mixing bowl, beat together softened butter and powdered sugar until light and fluffy, about 3-5 minutes. If desired, add a few drops of white gel food coloring to achieve the classic mummy look. Mix until fully combined and the frosting is smooth. Set aside until the cupcakes are cooled.
Step 3: Add the Candy Eyes
Once the cupcakes are completely cooled, take a small amount of the buttercream and place it on each cupcake as a “glue” for the candy eyeballs. Gently press two candy eyeballs into the frosting on each cupcake, spacing them slightly apart to give a fun, spooky look. This step adds personality to your Mummy Cupcakes, making them even more delightful for kids.
Step 4: Pipe the Mummy Bandages
Fill a piping bag fitted with a star tip with the remaining buttercream frosting. Starting at the top of each cupcake, pipe crisscrossing lines of frosting to mimic mummy bandages. Avoid piping over the candy eyes to keep them visible. Make sure to vary the angles and thickness of the lines for a more authentic look as you create your spooky Mummy Cupcakes.
Step 5: Add Decorative Details
For an extra spooky touch, take melted chocolate, chocolate ganache, or an edible marker to create details like stitches or cracks on the frosting. Use a toothpick to draw small lines or dots if you’re using chocolate. This step will enhance the fun and creativity of your Mummy Cupcakes, giving each one its unique character.
Step 6: Chill Before Serving
Refrigerate the finished Mummy Cupcakes for about 10-15 minutes. This will help the frosting firm up slightly, ensuring that your decorations stay in place and look their best. After chilling, your cupcakes will be all set for a festive Halloween gathering, ready to impress little goblins and guests alike with their adorable spooky charm!
Make Ahead Options
These Mummy Cupcakes are fantastic for busy home cooks looking to save time during the festive season! You can bake the cupcakes up to 24 hours in advance—just ensure they are completely cooled before storing them in an airtight container at room temperature. The buttercream frosting can also be made ahead and refrigerated for up to 3 days; simply bring it to room temperature and re-whip before decorating. When you’re ready to impress, simply apply the frosting, add the candy eyeballs, and pipe on the mummy bandages. With these make-ahead tips, you’ll have spooktacular treats ready to go with minimal last-minute effort, ensuring they taste just as delicious as when freshly made!
How to Store and Freeze Mummy Cupcakes
Room Temperature: Keep Mummy Cupcakes in an airtight container at room temperature for up to 2 days to maintain their moistness.
Fridge: If you’d like to extend their freshness, refrigerate in an airtight container for up to 5 days, ensuring the frosting remains intact.
Freezer: For longer storage, freeze un-frosted cupcakes in an airtight container for up to 3 months. Thaw in the fridge before decorating and serving.
Reheating: If stored in the fridge, let the cupcakes come to room temperature before serving. For a quick warm-up, place frosted cupcakes in the microwave for 10-15 seconds. Enjoy your Mummy Cupcakes!
What to Serve with Mummy Cupcakes?
Nothing pairs better with spooky treats than delightful side dishes that complete the festive atmosphere!
-
Witch’s Brew Punch: This fun, fruity beverage adds a magical touch to your Halloween spread, refreshing guests of all ages with its vibrant flavors.
-
Goblins’ Grilled Cheese: Crispy, cheesy sandwiches cut into Halloween shapes offer a delightful contrast to the sweetness of cupcakes—perfect for balancing flavors!
-
Spider Veggie Platter: A creative mix of fresh veggies arranged like creepy crawlers, this healthy snack adds a crunchy texture that complements the softness of cupcakes.
-
Cauldron Chili: A warm, hearty chili can provide a savory counterpoint, making your dessert table more substantial and comforting during chilly Halloween nights.
-
Mummy Dogs: Wrap hot dogs in crescent roll dough to create mummy figures that add a playful, savory option kids will adore alongside the sweet cupcakes.
-
Pumpkin Patch Salad: A light and colorful salad with pumpkin seeds or orange bell peppers brings a touch of freshness, balancing the richness of your Mummy Cupcakes.
By combining these ideas with Mummy Cupcakes, you’ll create a magical and memorable Halloween feast that pleases both kids and adults alike.
Expert Tips for Mummy Cupcakes
-
Cool the Cakes: Ensure cupcakes are completely cooled before applying frosting to avoid melting and mess.
-
Piping Perfection: If your buttercream frosting is too soft, chill it briefly to make piping easier and more precise when creating mummy bandages.
-
Creative Customization: Feel free to personalize your Mummy Cupcakes with different candies or decorations—experimenting can lead to delightful surprises!
-
Make-Ahead Magic: Prepare these cupcakes a day in advance for convenience—just store them in an airtight container at room temperature.
-
Dietary Adjustments: Use gluten-free or dairy-free options within the recipe for inclusive treats without compromising on fun or flavor.
Mummy Cupcakes Variations & Substitutions
Customize your Mummy Cupcakes to suit your taste and dietary needs with these fun ideas! Embrace your creativity and enjoy tweaking this spooky treat into something truly your own.
-
Dairy-Free: Substitute traditional buttercream with dairy-free butter or coconut cream for the frosting without sacrificing creaminess.
-
Gluten-Free: Use a gluten-free cake mix or flour blend to create a cupcake base that everyone can enjoy at the Halloween gathering.
-
Low-Sugar: Choose a low-sugar cake mix and sweetener alternatives like stevia or erythritol in your frosting to keep things sweet and healthy.
-
Chocolate Lovers: Drizzle melted chocolate over the frosting for a delicious, chocolaty twist that adds richness to your Mummy Cupcakes.
-
Fruit-Flavored: Infuse your cupcakes with flavors by adding orange or lemon zest to the batter, giving them a refreshing taste alongside the spooky frosting.
-
Unique Toppings: Instead of traditional candy eyes, use mini marshmallows, gummy candies, or licorice pieces to create your own whimsical, spooky characters.
-
Nut-Free: Ensure a nut-free option by using nut-free butter substitutes and confirming that your cake mix is free from cross-contamination.
For more delightful treats, consider making these Pumpkin Cupcakes Moist for an autumn-inspired alternative. And if looking for fun Halloween ideas, don’t miss out on these Low-Sugar Halloween Treats that little ones will adore!
Mummy Cupcakes Recipe FAQs
How do I choose ripe ingredients for the cupcakes?
Absolutely! For the best Mummy Cupcakes, ensure your eggs are fresh and at room temperature for optimal mixing. If you’re using fruits or purees as a mix-in, choose those that are ripe but not overripe, as dark spots can indicate spoilage. Fresh ingredients contribute to the softness and flavor of the cupcakes!
What is the best way to store leftover Mummy Cupcakes?
Very good question! To keep your Mummy Cupcakes fresh, store them in an airtight container at room temperature for up to 2 days. If you want to preserve them longer, refrigerate them for up to 5 days. Just be sure to cover the frosting well to avoid any absorption of fridge odors.
Can I freeze Mummy Cupcakes for later use?
Absolutely! To freeze your Mummy Cupcakes, do not frost them first. Place the un-frosted cupcakes in an airtight container or freezer bag, separating layers with parchment paper to prevent sticking. They can last up to 3 months in the freezer. When you’re ready to enjoy them, simply thaw in the fridge overnight and decorate before serving!
What should I do if my buttercream frosting is too soft for piping?
If you find your buttercream frosting is too soft, don’t worry! Chill it in the refrigerator for 10-15 minutes to help firm it up. Once it’s set, give it a good mix before placing it in the piping bag. If necessary, you can also add a little extra powdered sugar, a tablespoon at a time, until you achieve the desired consistency.
Are Mummy Cupcakes suitable for kids with allergies?
Great point! To accommodate various dietary restrictions, consider using gluten-free cupcake bases and dairy-free buttercream for your Mummy Cupcakes. Always double-check ingredient labels for any allergens, such as egg or nut traces, particularly in candy decorations. By customizing your ingredients, you can ensure everyone at the party enjoys these festive treats!
How long can I leave decorated Mummy Cupcakes out before serving?
You can leave your decorated Mummy Cupcakes out at room temperature for 1-2 hours before serving, which is perfect for parties or gatherings. However, if you’re preparing them in advance, refrigerate them as mentioned previously to keep the frosting intact until it’s time to serve. Enjoy your spooky treats!
Mummy Cupcakes: Spooktacular Treats for Halloween Fun
Ingredients
Equipment
Method
- Preheat your oven to 350°F (175°C) and line a cupcake pan with 12 baking cups. Prepare box mix or homemade batter as preferred. Bake for 18-20 minutes until a toothpick comes out clean. Cool on a wire rack.
- Make the buttercream frosting by beating softened butter and powdered sugar until light and fluffy. Optionally, add white gel food coloring for the mummy effect.
- Once cooled, use a small amount of buttercream on each cupcake to glue candy eyeballs on top.
- Fill a piping bag with the remaining buttercream and pipe crisscrossing lines of frosting to mimic mummy bandages.
- Use melted chocolate or an edible marker to add details like stitches or cracks.
- Chill finished cupcakes for about 10-15 minutes to firm up the frosting before serving.
Leave a Reply