
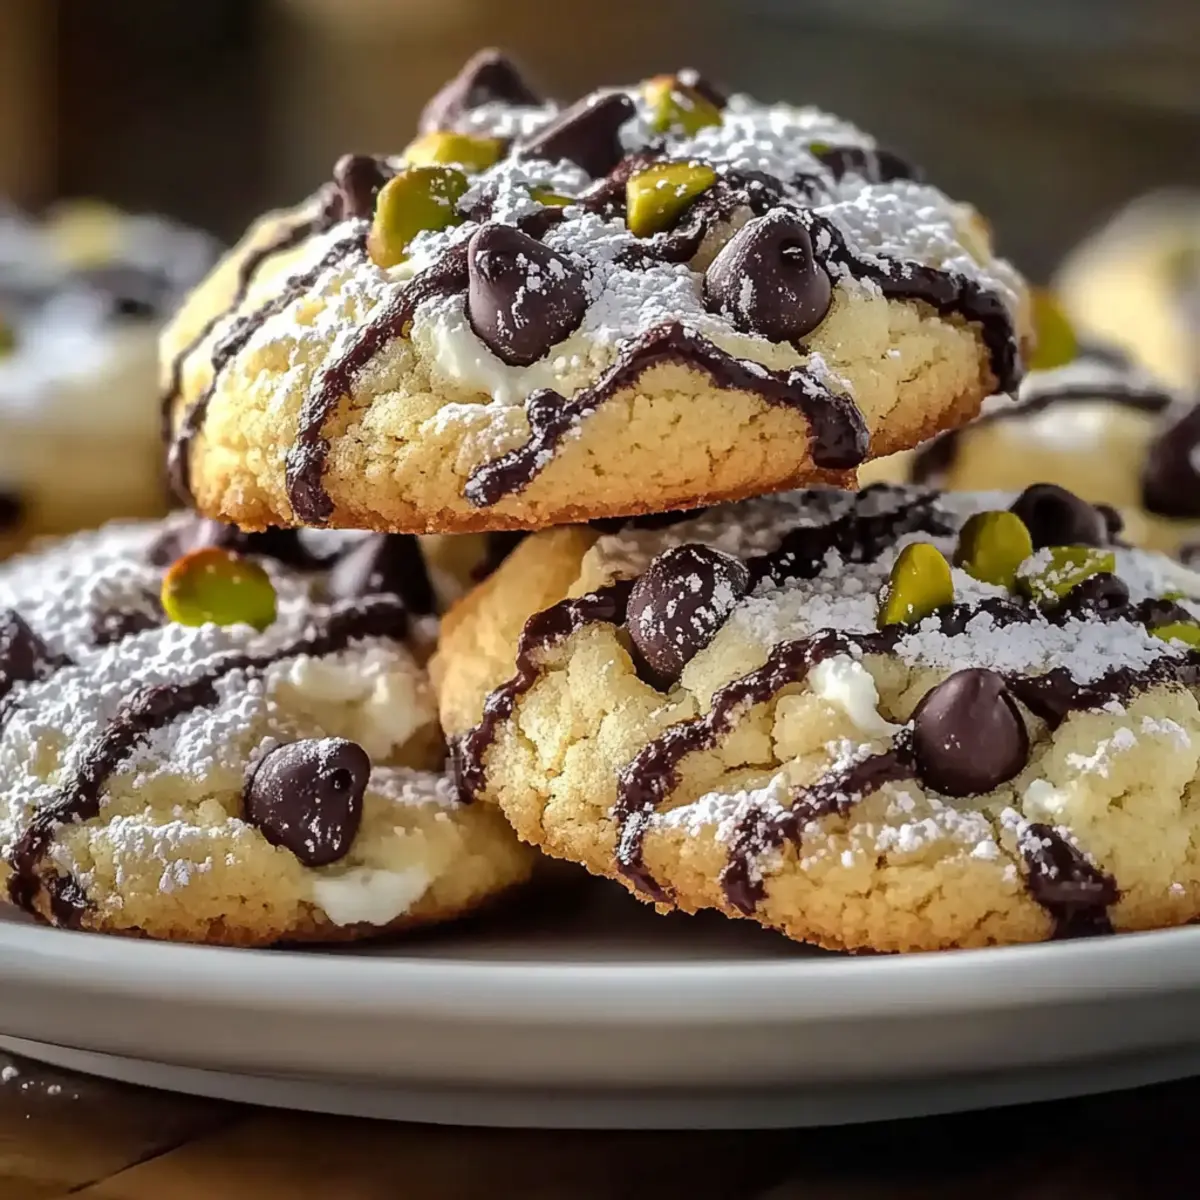
A waft of sweet citrus mingles with the comforting scent of baking as I pull a tray of Cannoli Cookies from the oven. These delightful bites marry the crisp shell of traditional cannoli with a creamy, ricotta-filled heart, making them a unique gem in the world of homemade treats. Not only do they satisfy your sweet tooth in minutes, but this recipe also invites you to create lasting memories in the kitchen, perfect for sharing with friends and family. With just six easy steps, you’ll have a wonderfully decadent dessert that feels a bit more special than your run-of-the-mill cookie. Ready to indulge in these irresistible Cannoli Cookies? Let’s dive into the deliciousness together!
Why are Cannoli Cookies a must-try?
Deliciously Unique: Cannoli Cookies offer a delightful twist on a classic dessert, combining the best of both worlds—a crunchy exterior and a creamy, rich ricotta filling.
Quick and Easy: In just six simple steps, you can whip up a batch of these treats, making them an ideal option for both novice and experienced bakers alike.
Versatile Ingredients: Experiment with flavors by swapping in mascarpone for a creamier filling or adding spices like cinnamon for a warm touch.
Perfect for Sharing: These cookies are a guaranteed crowd-pleaser, making them perfect for gatherings, parties, or a cozy family dessert night. Don’t forget to also check out my Brown Butter Cookies for another delectable treat!
Quick Storage Tip: Easily store them for up to three days, or freeze for longer enjoyment—because who can resist such deliciousness?
Cannoli Cookies Ingredients
For the Dough
- All-Purpose Flour – Used as the base for structure; remember to sift for a lighter cookie.
- Granulated Sugar – Adds essential sweetness and helps achieve a lovely crispy edge.
- Ricotta Cheese (¼ cup for dough) – Provides moisture; for a richer experience, mascarpone can be used instead.
- Large Egg – Binds everything together and adds richness; make sure it’s at room temperature for best results.
- Vanilla Extract – Elevates flavor and sweetness; a nice touch that complements the ricotta.
- Lemon Zest – Infuses brightness; feel free to swap with orange zest for a different citrus twist.
For the Filling
- Ricotta Cheese (¼ cup for filling) – This gives a creamy texture; essential for that classic cannoli flavor.
- Mini Chocolate Chips – These provide delightful texture and sweetness; consider dark chocolate for a richer taste.
- Chopped Pistachios – Adds a lovely crunch; walnuts or almonds are great alternatives for a nutty flavor.
For Dusting
- Powdered Sugar – The finishing touch that adds sweetness and presentation, making your Cannoli Cookies irresistible.
Step‑by‑Step Instructions for Cannoli Cookies
Step 1: Preheat the Oven
Begin by preheating your oven to 350°F (175°C). This ensures it’s ready to achieve that perfect golden crust on your Cannoli Cookies. While the oven warms up, gather your mixing bowls and measuring cups, preparing your workspace for a delightful baking experience.
Step 2: Mix Dry Ingredients
In a medium mixing bowl, whisk together the all-purpose flour and granulated sugar until well combined. This step is crucial for ensuring an even distribution of sweetness in the dough. The mixture should appear light and airy, a good sign that you’re on the right track to creating the perfect Cannoli Cookies.
Step 3: Prepare the Wet Mixture
In a separate large bowl, mix together the ricotta cheese, large egg, vanilla extract, and lemon zest. Stir until the mixture is smooth and creamy, with no lumps remaining. This will create a rich base that adds moisture to your Cannoli Cookies, making them irresistibly tender and flavorful.
Step 4: Combine Wet and Dry Ingredients
Gently fold the wet ingredients into the flour mixture using a spatula, taking care not to overmix. Stop once everything is just combined. The dough should be soft and slightly sticky, a lovely balance that will form the delicate shells of your Cannoli Cookies.
Step 5: Rest the Dough
Cover the dough with a clean kitchen towel and let it rest for 30 minutes at room temperature. This resting period allows the flour to hydrate fully, resulting in a more manageable dough that yields tender Cannoli Cookies. Use this time to prepare your baking sheets with parchment paper.
Step 6: Roll Out the Dough
After resting, roll out the dough on a lightly floured surface to about ¼ inch thickness. Using a sharp knife or pizza cutter, cut the rolled dough into 2×3 inch rectangles. Keep an eye on the dough’s thickness; it should be just right to create a crisp exterior while holding the delicious filling.
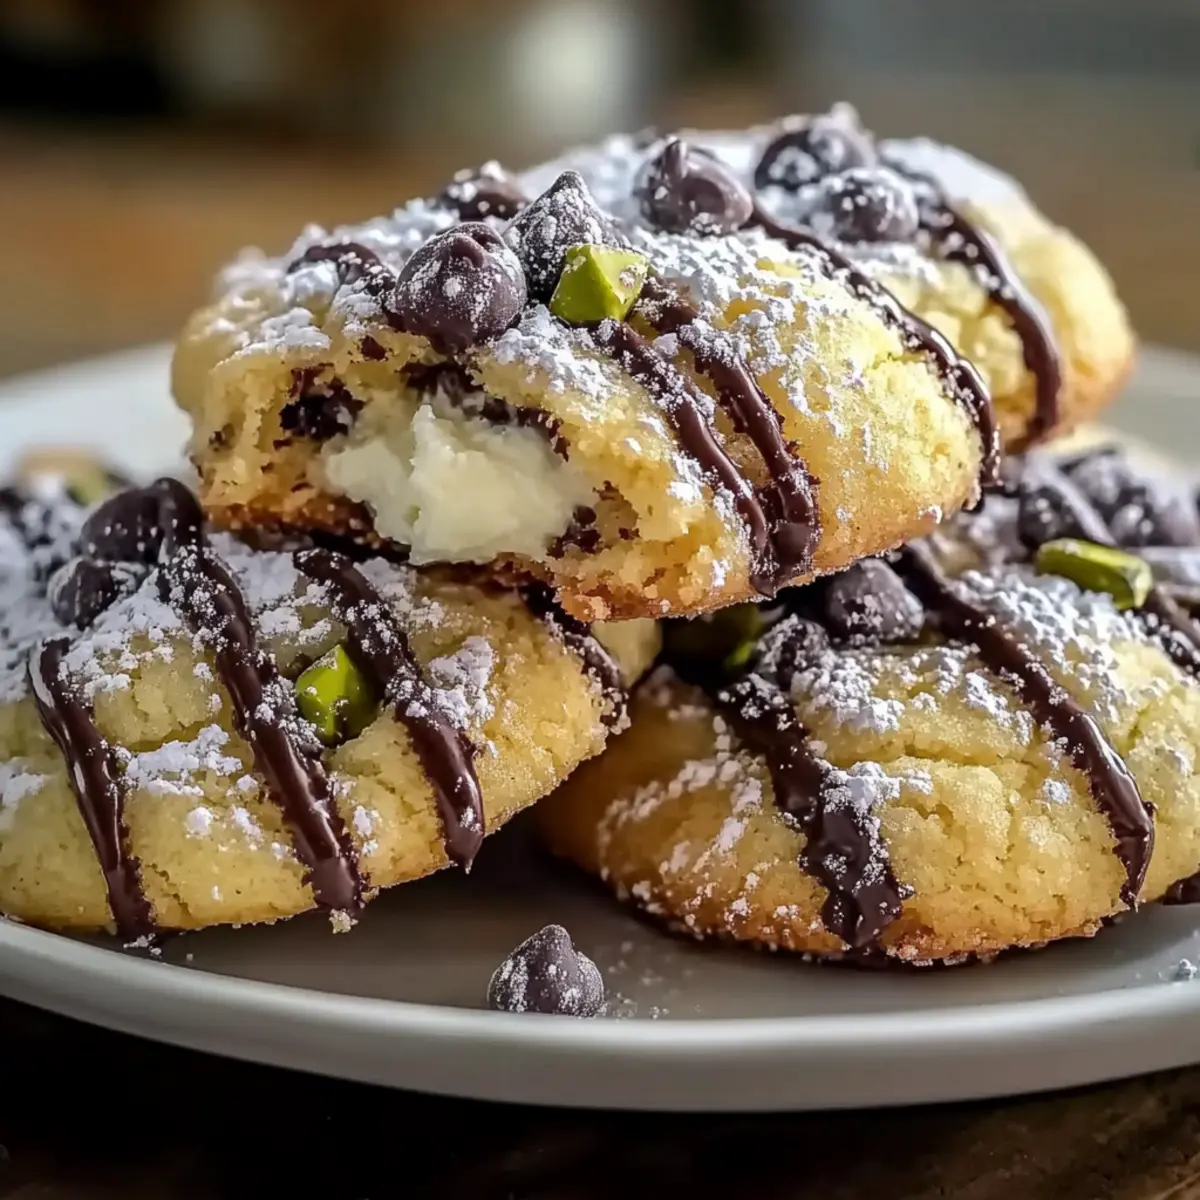
Step 7: Prepare the Filling
In a medium bowl, combine the ricotta cheese, mini chocolate chips, and chopped pistachios for the filling. Mix until evenly distributed. This creamy filling will bring a delightful surprise to your Cannoli Cookies, making them even more irresistible—just like the classic cannoli!
Step 8: Assemble the Cookies
Take a spoonful of the filling and place it at one end of each dough rectangle. Carefully fold the dough over to encase the filling, pinching and sealing the edges tightly to prevent leakage during baking. Your Cannoli Cookies should now resemble little packages of deliciousness ready to bake.
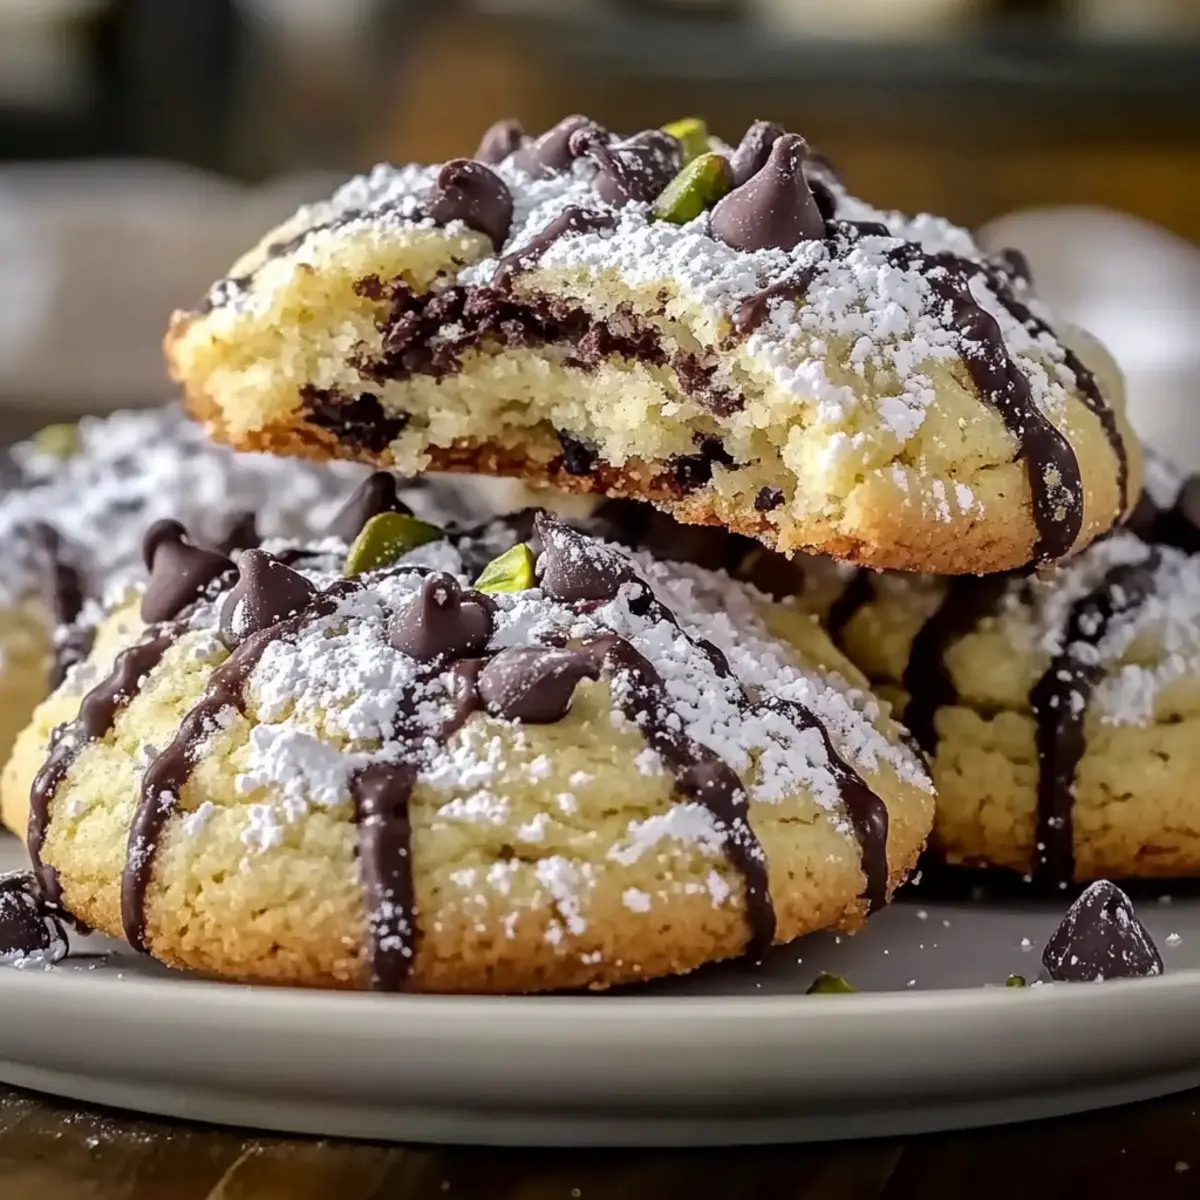
Step 9: Bake to Perfection
Place the filled Cannoli Cookies on your prepared baking sheets, ensuring they are spaced apart to allow for expansion. Bake in the preheated oven for 15-18 minutes, or until they are golden brown. The cookies should appear crisp and ready to bring joy to your family and friends.
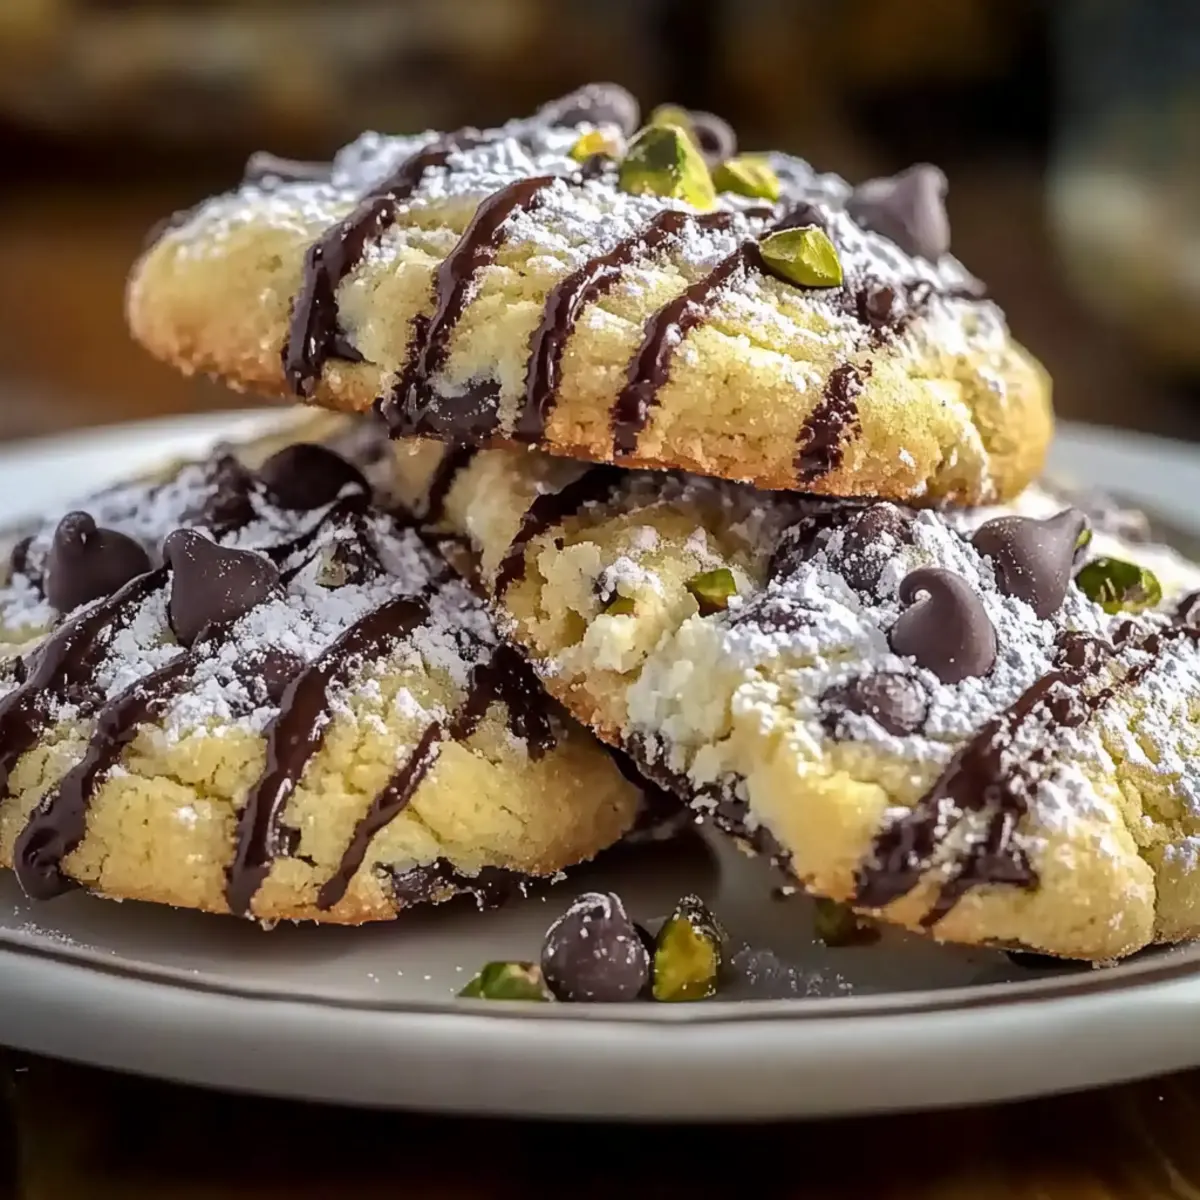
Step 10: Cool and Dust
Once baked, remove the trays from the oven and let the Cannoli Cookies cool on wire racks. Once completely cooled, dust them generously with powdered sugar for that charming touch. The sweet finish makes these cookies even more delightful, ready for sharing or enjoying with a cup of coffee!
Storage Tips for Cannoli Cookies
Room Temperature: Store Cannoli Cookies in an airtight container at room temperature for up to 3 days. This helps maintain their delightful texture while keeping them fresh for enjoying.
Freezer: For longer storage, wrap each cookie tightly in plastic wrap and place them in a freezer-safe bag. They will stay fresh in the freezer for up to a month. Thaw at room temperature when ready to indulge.
Reheating: If you prefer warm cookies, gently reheat Cannoli Cookies in a preheated oven at 300°F (150°C) for about 5 minutes. This will restore their crispness without compromising the creamy filling.
Layering: To prevent sticking when storing in layers, place parchment paper between the cookies. This keeps them looking as beautiful as they taste!
Make Ahead Options
These Cannoli Cookies are perfect for meal prep enthusiasts! You can prepare the cookie dough up to 24 hours in advance and refrigerate it, which not only saves time but also allows the flavors to meld beautifully. Simply mix the dry ingredients and the wet mixture, combine them, and wrap the dough tightly in plastic wrap. Additionally, you can make the filling (ricotta, chocolate chips, and pistachios) and store it separately in an airtight container for up to 3 days. When you’re ready to enjoy your Cannoli Cookies, roll out the dough, fill, and bake as directed for freshly baked treats that are just as delicious as if made in one go!
Cannoli Cookies Variations & Substitutions
Feel free to unleash your creativity and tailor your Cannoli Cookies to suit your tastes and preferences!
-
Mascarpone Upgrade: Swap ricotta for mascarpone for an ultra-creamy filling. This adds a luxurious richness that takes these cookies to the next level.
-
Fruit Medley: Replace chocolate chips with dried fruits such as cherries or apricots for a sweet, chewy twist. The fruity burst perfectly complements the creamy filling!
-
Citrus Swap: Change out lemon zest for orange or lime for a different citrus flair. Each option brings a unique brightness to the cookies.
-
Nutty Alternatives: Instead of pistachios, try walnuts, almonds, or even hazelnuts for a fun crunch. Each nut offers a distinctive flavor that enhances your cookies.
-
Spice It Up: Add warmth with spices like cinnamon, nutmeg, or ginger. A sprinkling of these can elevate your cookies from delightful to extraordinary.
-
Gluten-Free Option: Use a gluten-free all-purpose flour blend for a gluten-free version of these Cannoli Cookies. Just ensure it has a starch component for the best results.
-
Heat Factor: For a little kick, consider adding a pinch of cayenne pepper to the dough. This unexpected warmth will contrast beautifully with the sweetness of the filling.
-
Chocolate Lover’s Delight: Incorporate cocoa powder into the dough for a chocolatey twist, and add dark chocolate chips for ultimate indulgence. These will satisfy every chocolate craving!
Remember, each variation is an opportunity to create your own special twist on these delicious Cannoli Cookies! While you’re experimenting, you might also enjoy my Cider Cheesecake Cookies or the fun flavors of Candy Corn Cookies. Happy baking!
What to Serve with Cannoli Cookies
Indulging in Cannoli Cookies creates a comforting moment that’s even better when paired with complementary bites and sips.
-
Espresso: A bold, rich coffee enhances the sweet flavors of the cookies, creating a delightful after-dinner treat. Sip it slowly to savor the experience!
-
Vanilla Ice Cream: The creamy, cold treat provides a lovely contrast to the warm, crispy cookies and adds a touch of indulgence with every bite.
-
Fresh Berries: Juicy strawberries or raspberries add a refreshing burst of flavor, balancing the sweet richness of the Cannoli Cookies beautifully.
-
Limoncello: This Italian lemon liqueur brightens up the tasting experience, mirroring the citrus notes in the cookies for a harmonious dessert pairing.
-
Chocolate Sauce: Drizzling a bit of warm chocolate sauce over the top creates a decadent experience, bringing an extra layer of sweetness to your enjoyment.
-
Chopped Nuts: Serve alongside a small bowl of roasted pistachios or almonds for a crunchy contrast that accentuates the creamy filling.
-
Mint Tea: A soothing herbal tea with refreshing notes cuts through the richness of the cookies, providing a perfect palate cleanser between bites.
-
Cheesecake Squares: For an elevated dessert platter, pairing Cannoli Cookies with mini cheesecake squares adds variety and layers of flavors that guests will adore.
Expert Tips for Cannoli Cookies
-
Room Temperature Ricotta: Ensure your ricotta cheese is at room temperature for a smoother filling. Cold ricotta can result in a lumpy texture that ruins the dreamy consistency of your Cannoli Cookies.
-
Gentle Mixing: Avoid overmixing the dough. It should be tender and slightly sticky; too much mixing can lead to tough cookies, compromising their delightful texture.
-
Perfect Baking Time: Keep a close eye on your cookies while they bake. Aim for a golden brown color but avoid letting them get too dark, as this can affect the flavor and texture of your Cannoli Cookies.
-
Parchment Paper Layers: When storing your Cannoli Cookies, use parchment paper between layers to prevent them from sticking together. This helps maintain their crispness and makes for easy access later.
-
Flavor Variations: Don’t hesitate to experiment with different fillings. Mixing in spices like cinnamon or swapping chocolate chips for dried fruits can give your Cannoli Cookies a unique twist each time you bake.
Cannoli Cookies Recipe FAQs
What type of ricotta should I use for Cannoli Cookies?
Absolutely! For the best results, use whole milk ricotta cheese, as it provides creaminess and moisture. Ensure it’s at room temperature to achieve a smooth and lump-free filling. Low-fat ricotta can be used, but it may not yield the same rich texture.
How should I store leftover Cannoli Cookies?
To keep your Cannoli Cookies fresh, store them in an airtight container at room temperature for up to 3 days. If you want to enjoy them longer, wrap each cookie tightly in plastic wrap and place them in a freezer-safe bag. They can be frozen for up to a month!
Can I freeze Cannoli Cookies?
Very! To freeze them, let the baked cookies cool completely first. Then, wrap each cookie individually in plastic wrap and place them in a freezer-safe bag, making sure to remove as much air as possible. When you’re ready to enjoy, thaw them at room temperature and consider reheating in a low oven for a few minutes to restore their texture.
What if my dough is too sticky?
If your Cannoli Cookies dough ends up too sticky, don’t worry! Sprinkle a little more flour onto your work surface and gently incorporate it into your dough. Work quickly to avoid overmixing, as this could impact texture. If it’s very sticky, chilling the dough in the refrigerator for about 15 minutes can also help make it easier to handle!
Are Cannoli Cookies suitable for those with nut allergies?
Be mindful! If you have nut allergies, feel free to skip the chopped pistachios in the filling and substitute them with something crunchy like sunflower seeds or simply add more mini chocolate chips for sweetness. Just ensure that your other ingredients do not contain any cross-contamination warnings.
What flavors can I add to the filling for variation?
The more the merrier! You can experiment by adding a teaspoon of cinnamon or a splash of almond extract to the filling for additional flavor. Substitute mini chocolate chips with dried fruits like raisins or cherries for a lovely twist. You can even swap the ricotta for mascarpone cheese for an ultra-creamy filling!
Irresistible Cannoli Cookies with Creamy Ricotta Filling
Ingredients
Equipment
Method
- Preheat your oven to 350°F (175°C). Prepare your workspace.
- In a medium bowl, whisk together flour and sugar.
- In a large bowl, combine ricotta, egg, vanilla, and lemon zest until smooth.
- Gently fold wet ingredients into dry ingredients.
- Cover dough with a towel and let it rest for 30 minutes.
- Roll out the dough to 1/4 inch thickness and cut into rectangles.
- Mix filling ingredients until evenly distributed.
- Place filling at one end of each dough rectangle, fold and seal.
- Bake for 15-18 minutes until golden brown.
- Cool on wire racks and dust with powdered sugar.
Leave a Reply