
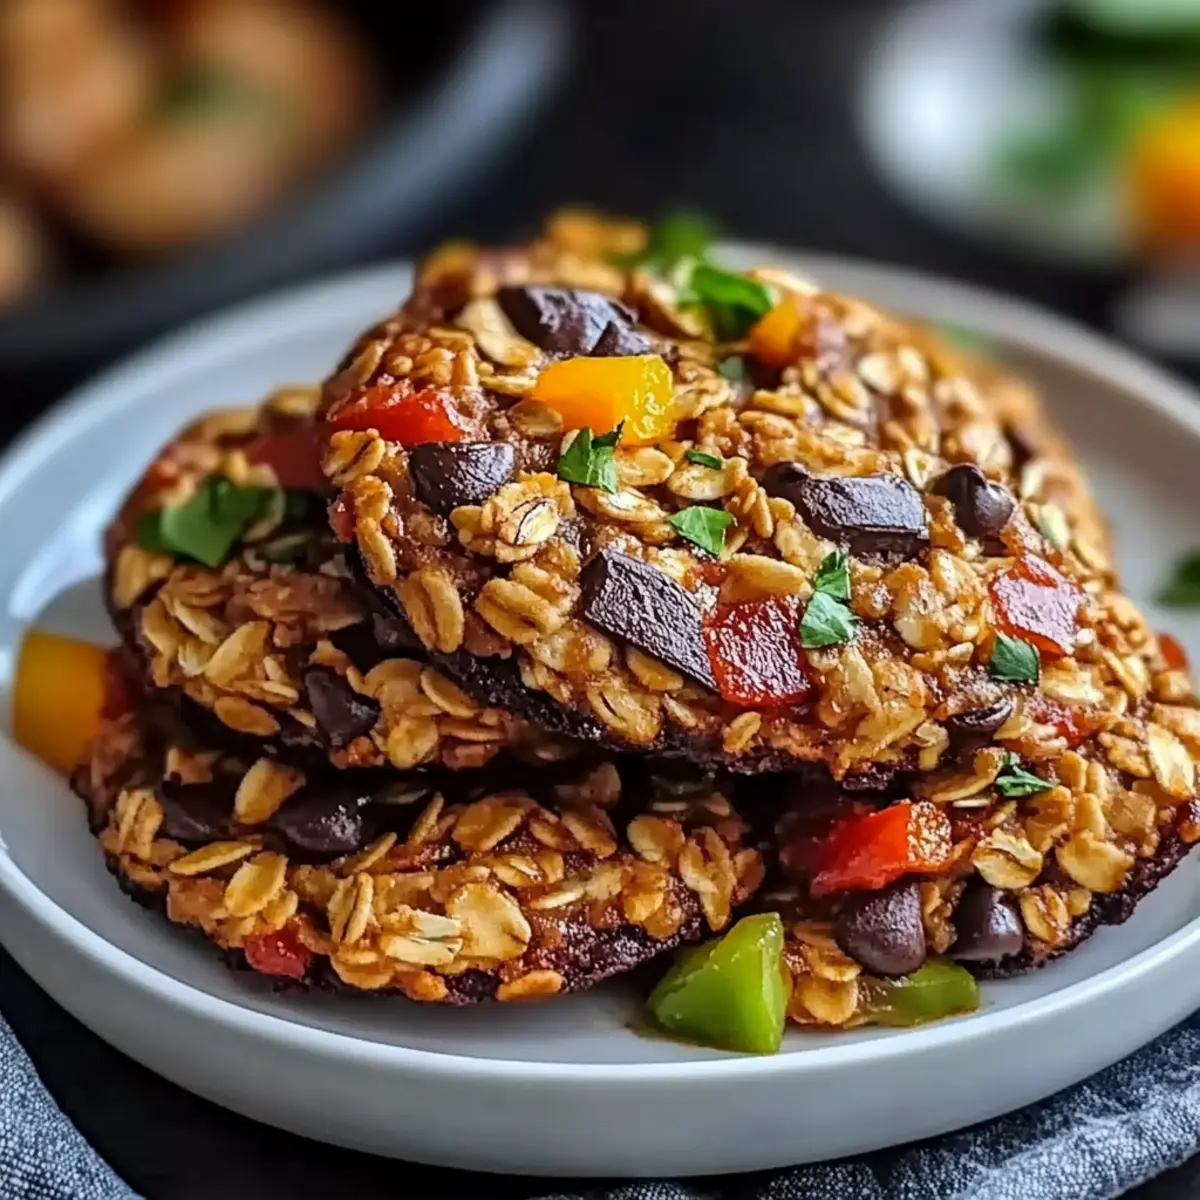
As I stood in my kitchen, the scent of warm chocolate began to wrap around me like a cozy blanket, instantly transporting me to my childhood baking days. Today, I’m excited to share my recipe for 4-Ingredient Gluten-Free Chocolate Oat Cookies, a delightful treat that balances indulgence with health. These cookies are not only incredibly quick to whip up, but they also cater to gluten-free diets, making them the perfect solution for anyone tired of store-bought snacks. With just a handful of simple ingredients, you can create a chewy, satisfying cookie that feels like a comforting hug. Ready to bring a sense of nostalgia into your kitchen? Let’s dive into making these scrumptious cookies that will become your new go-to snack!
Why are these cookies a must-try?
Simplicity: With just four ingredients, these cookies come together quickly, making them ideal for busy lives.
Deliciously Healthy: Each cookie is a guilt-free indulgence that packs fiber and protein, helping you stay satisfied without the sugar crash.
Versatility: Customize easily! Experiment with nut butters or add dried fruits for unique flavors that suit your palate.
Gluten-Free Delight: Perfect for those with dietary restrictions, ensuring everyone can enjoy a sweet treat without worry.
Crowd-Pleasing Flavor: The combination of oats and dark chocolate delivers a flavor-packed experience that even kids will love! Enjoy these cookies with a glass of almond milk or crumbled over yogurt for breakfast; the options are endless!
4-Ingredient Gluten-Free Cookie Ingredients
• Dive into making these delightful cookies with just four simple ingredients!
For the Cookies
- Oats – Use certified gluten-free oats for a completely gluten-free treat.
- Nut Butter (e.g., almond or peanut) – This adds creaminess and helps bind everything together; sunflower seed butter can substitute for nut-free versions.
- Honey or Maple Syrup – Acts as a natural sweetener; feel free to swap with agave syrup for a vegan option.
- Dark Chocolate Chips – Infuse your cookies with rich chocolate flavor; for a vegan twist, use dairy-free chocolate options.
Step‑by‑Step Instructions for 4-Ingredient Gluten-Free Chocolate Oat Cookies
Step 1: Preheat the Oven
Begin by preheating your oven to 350°F (175°C). While it’s heating, prepare a baking sheet by lining it with parchment paper. This will prevent the cookies from sticking and make cleanup effortless. Take a moment to enjoy the anticipation of the delicious aroma that will soon fill your kitchen!
Step 2: Mix the Base Ingredients
In a large mixing bowl, combine your certified gluten-free oats, nut butter of choice, and the sweetener (honey or maple syrup). Use a sturdy spatula or spoon to stir until the mixture is thick and homogeneous. You want a dough-like consistency that holds together well, indicating you’re ready to proceed!
Step 3: Incorporate Chocolate Chips
Next, fold in the dark chocolate chips gently with your spatula, making sure they’re evenly distributed throughout the mixture. This step is where the magic happens—each cookie will be a delightful burst of rich chocolate flavor. Ensure they’re well mixed but avoid overworking the dough to keep it chewy.
Step 4: Shape the Cookies
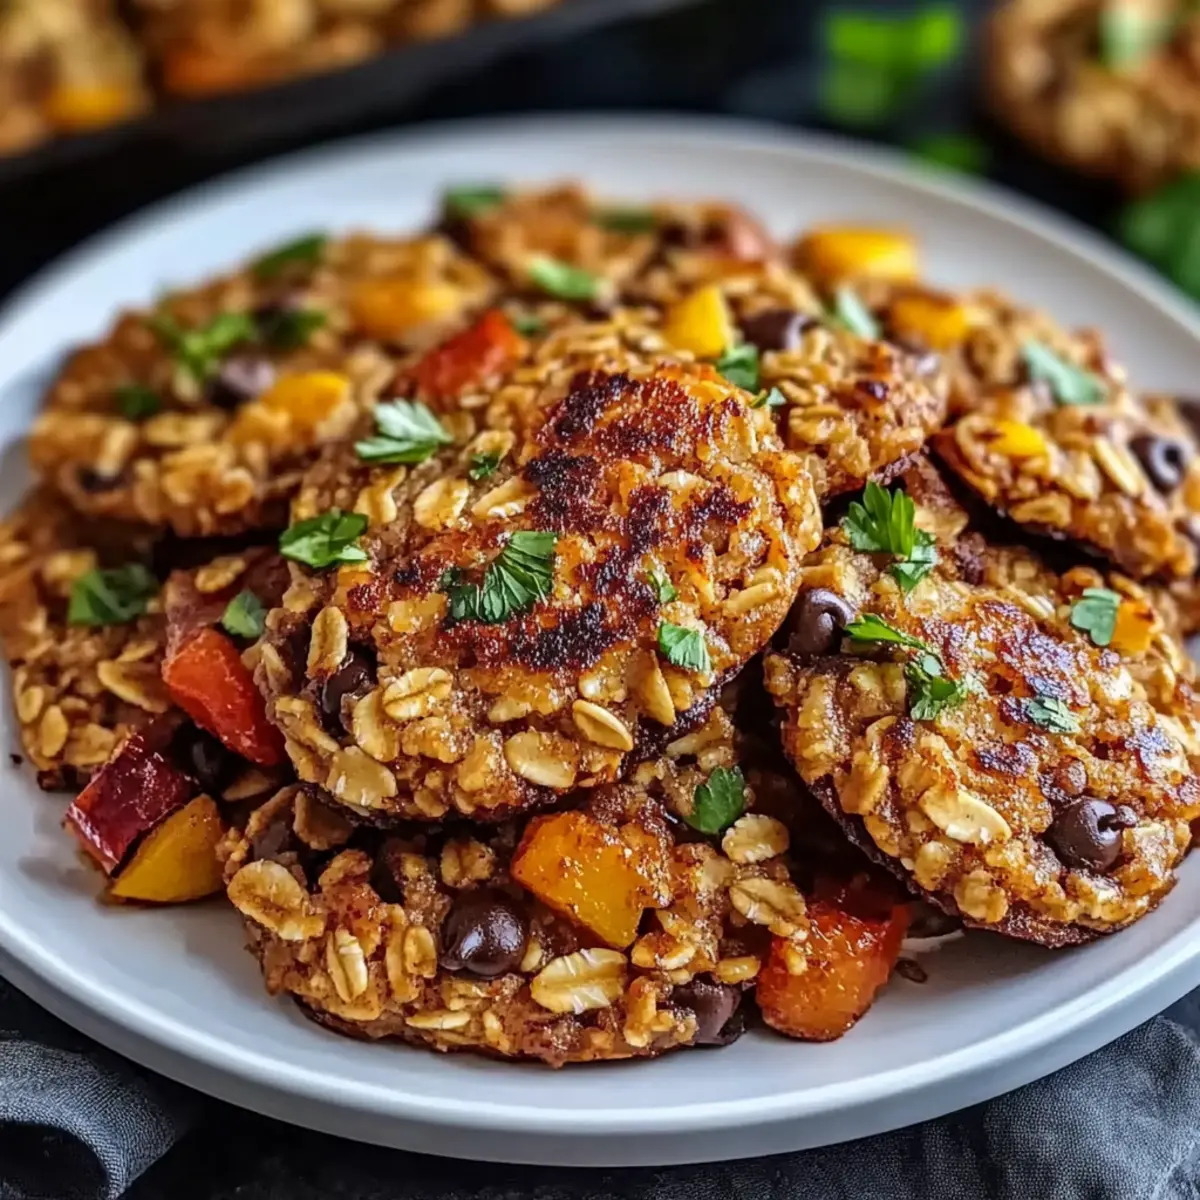
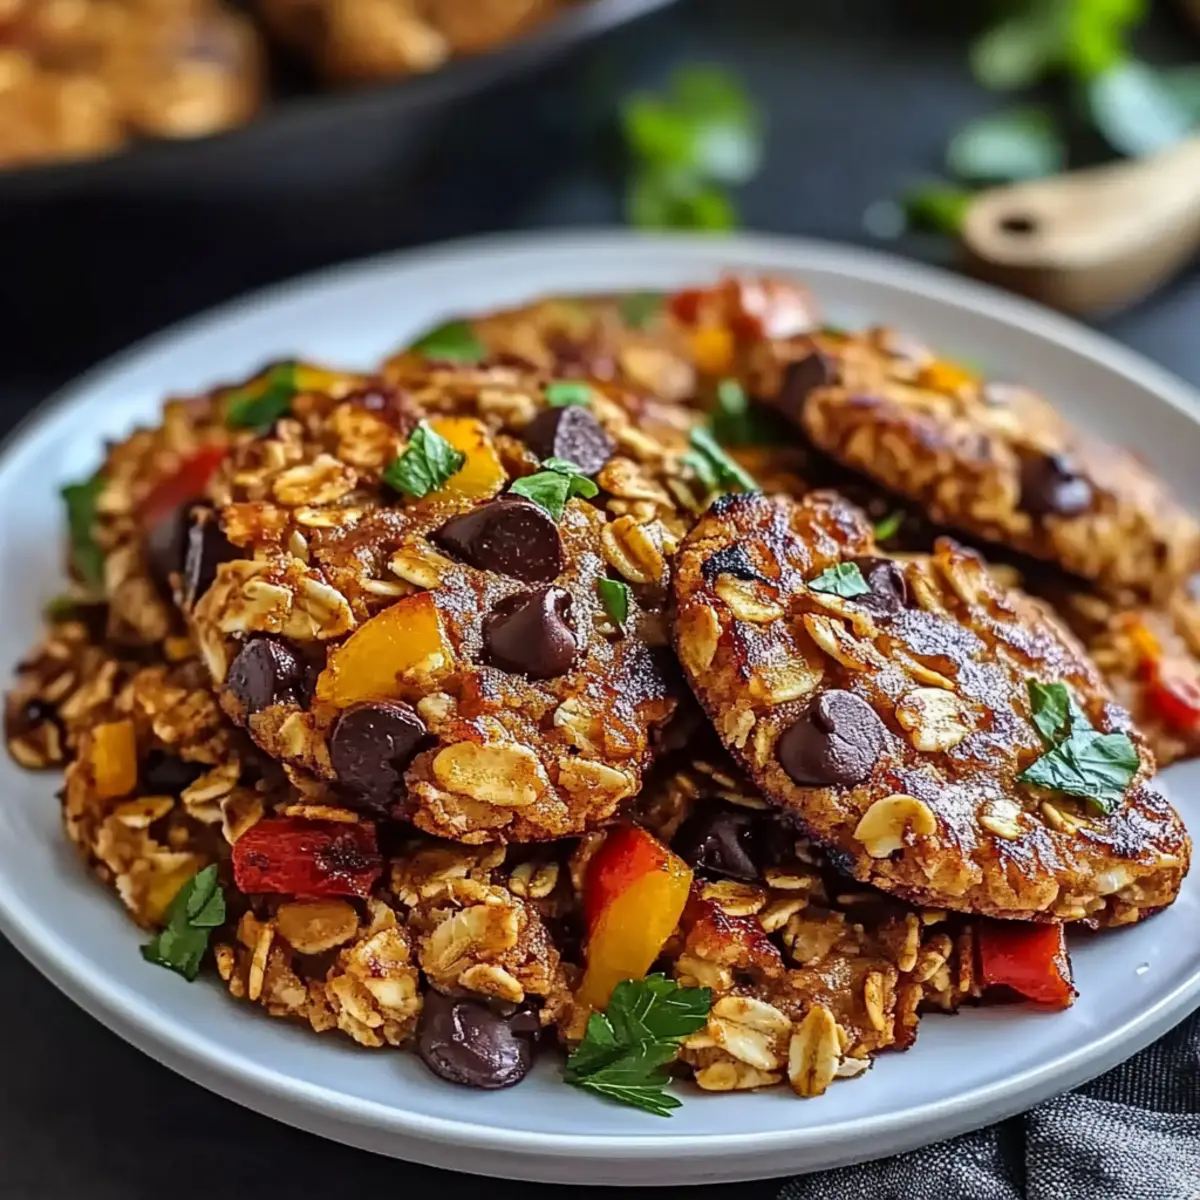
Using a tablespoon or cookie scoop, scoop out portions of the cookie dough and place them onto the prepared baking sheet. Make sure to leave about 2 inches between each scoop to allow for spreading as they bake. You should aim for roughly 12 cookies, each about the size of a golf ball.
Step 5: Bake to Perfection
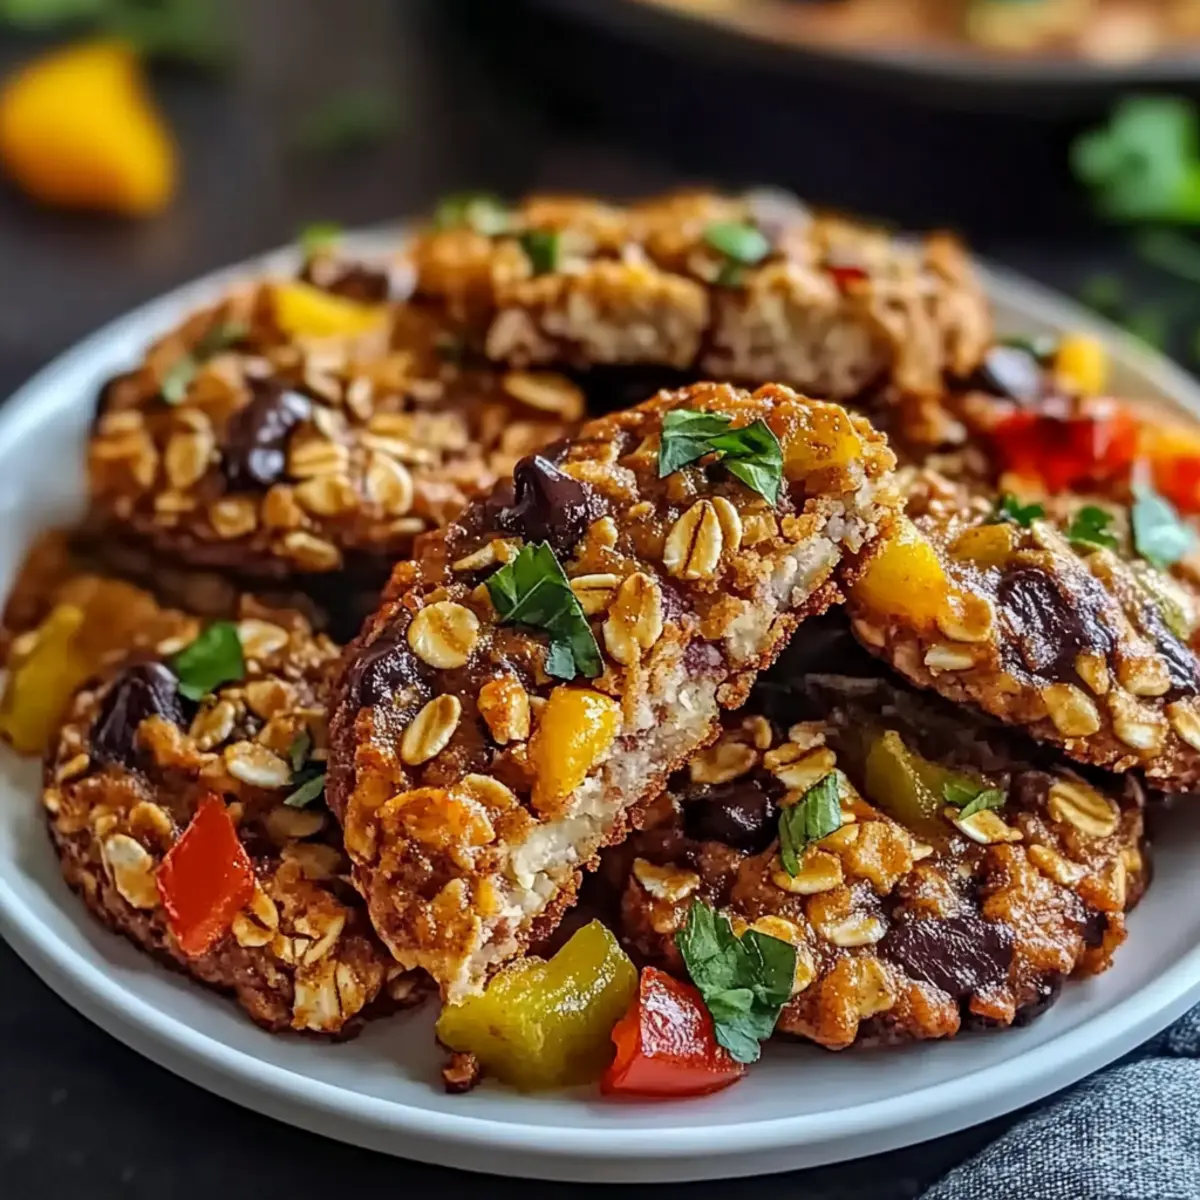
Pop your baking sheet into the preheated oven and bake for 10-12 minutes. Keep an eye on the cookies—look for golden edges and a soft center that appears slightly underbaked. This is crucial for achieving that perfectly chewy texture in your 4-Ingredient Gluten-Free Chocolate Oat Cookies.
Step 6: Cool and Enjoy
Once baked, remove the cookies from the oven and let them cool on the baking sheet for about 5 minutes. This helps them firm up and makes for easier transfer. Finally, use a spatula to transfer the cookies to a wire rack to cool completely, allowing you to taste their deliciousness without the wait!
Variations & Substitutions for Cajun Chicken and Rice
Feel free to customize this dish and let your culinary creativity shine through! The world of flavors awaits.
- Gluten-Free: Use gluten-free soy sauce to ensure a completely gluten-free dish without sacrificing that savory flavor.
- Spicy Kick: Add a teaspoon of cayenne pepper or crushed red pepper flakes for an extra heat boost that will tantalize your taste buds.
- Vegetable Medley: Include sliced bell peppers, zucchini, or green beans for a colorful and nutritious addition that complements the dish beautifully.
- Cauliflower Rice: Swap regular rice with cauliflower rice to lighten up the dish and make it lower in carbs while maintaining the delicious Cajun flavors.
- Smoky Flavor: Incorporate smoked paprika to enrich the dish with a deep, smoky aroma that amplifies the classic Cajun taste.
- Protein Swap: Use shrimp or sausage as an alternative protein for a delightful twist on the traditional recipe; each brings its unique character to the dish.
- Herb Infusion: Fresh herbs like parsley or thyme can be added at the end for a fresh burst of flavor that brightens the whole meal.
- One-Pan Wonder: If you love the simplicity of one-pan meals, try it with just the chicken and rice; you might experience the magic of rustic cooking at its best!
These adjustments open up a world where you can enjoy the flavors of Chicken Fajita Rice or even the comforting essence of Bbq Chicken Rice, letting you explore different culinary paths while keeping the heart of Cajun cooking alive. Enjoy your flavorful journey!
What to Serve with 4-Ingredient Gluten-Free Chocolate Oat Cookies
As you savor the rich chocolatey goodness of these cookies, consider what delightful accompaniments will elevate your snack experience even further.
-
Chilled Almond Milk: This creamy, nutty beverage beautifully balances the sweet intensity of the cookies, creating a comforting blend.
-
Fresh Berries: Bright, juicy berries like strawberries or raspberries add a refreshing contrast and pack a healthy punch, perfect for a well-rounded snack.
-
Greek Yogurt Parfait: Layer these cookies with creamy yogurt and your favorite fruits for a satisfying breakfast or dessert that feels indulgent yet nutritious.
-
Coffee or Espresso: A warm cup of coffee complements the chocolate flavor, enhancing every bite and providing the perfect afternoon pick-me-up.
-
Nut Butter Dip: Create a delicious dip with almond or peanut butter for a rich, protein-packed side that invites extra indulgence with every cookie.
-
Coconut Ice Cream: For a sweet treat, pair your cookies with a scoop of creamy coconut ice cream; the tropical taste brightens the chocolate flavor.
-
Homemade Trail Mix: Mix nuts, seeds, and dried fruits together for a crunchy, satisfying side that adds texture while being ridiculously easy to prepare!
How to Store and Freeze 4-Ingredient Gluten-Free Chocolate Oat Cookies
Room Temperature: Store cookies in an airtight container at room temperature for up to 1 week to maintain their chewy texture and freshness.
Freezer: For longer storage, freeze the cookies in a single layer on a baking sheet, then transfer to a freezer-safe bag or container for up to 3 months.
Defrosting: To enjoy, simply thaw cookies at room temperature for about 30 minutes or microwave them for a few seconds for that freshly baked taste.
Reheating: If you prefer warm cookies, reheating them in the microwave for about 10 seconds will give back some of their delightful chewiness!
Make Ahead Options
These 4-Ingredient Gluten-Free Chocolate Oat Cookies are perfect for meal prep enthusiasts! You can prepare the dough up to 24 hours in advance by mixing all the ingredients and storing the dough in an airtight container in the refrigerator. To maintain their delightful texture, keep the cookies raw until you’re ready to bake; this way, they’ll be just as fresh and chewy. Alternatively, you can scoop the cookie dough onto the baking sheet and freeze individual dough balls for up to 3 months. When you’re ready to bake, simply preheat the oven and add about two extra minutes to the baking time for that fresh-baked goodness! Enjoy effortless snacking with this time-saving approach!
Expert Tips for 4-Ingredient Gluten-Free Cookies
-
Room Temperature Ingredients: Ensure all ingredients are at room temperature to help them blend smoothly and achieve the right texture in your cookies.
-
Avoid Overbaking: Keep a close eye on your cookies in the oven. Taking them out when they’re slightly underbaked ensures the perfect chewy texture, as they’ll firm up as they cool.
-
Uniform Sizing: Use a cookie scoop for consistent cookie sizes. This promotes even baking and allows each 4-Ingredient Gluten-Free chocolate oat cookie to cook uniformly.
-
Be Creative: Don’t hesitate to experiment with different nuts or dried fruits. Adding a pinch of sea salt can enhance the flavor and elevate your cookie experience.
-
Storage Solution: Store your cookies in an airtight container at room temperature for up to a week, or freeze for longer periods. This keeps them fresh and ready to enjoy anytime!
4-Ingredient Gluten-Free Chocolate Oat Cookies Recipe FAQs
How do I select the right oats for this recipe?
Absolutely! It’s essential to use certified gluten-free oats to ensure that your cookies are safe for those with gluten sensitivities or celiac disease. Look for oats that specifically say “gluten-free” on the package to avoid any cross-contamination. If you find oats with dark spots all over, it’s best not to use them as they could be old or spoiled.
How should I store my cookies, and how long will they last?
Very! To keep your 4-Ingredient Gluten-Free Chocolate Oat Cookies fresh, store them in an airtight container at room temperature for up to 1 week. Make sure to keep them in a cool, dry spot to maintain their chewy texture. If you’re not planning to eat them all in that timeframe, freezing is a fantastic option!
Can I freeze the cookies, and how do I do it?
Absolutely! Freezing these cookies is easy and a great way to keep snacks on hand. Here’s how you can do it: After shaping the cookies, place them in a single layer on a baking sheet and freeze until solid. Then, transfer them to a freezer-safe bag or container. They can be stored in the freezer for up to 3 months. When you’re ready to enjoy, simply thaw them at room temperature for about 30 minutes or pop them in the microwave for a few seconds for that freshly-baked feel.
What should I do if my cookie dough is too dry?
If you find your cookie dough is crumbly and won’t hold together, don’t worry! You can add a tablespoon of nut butter or a little more sweetener to help it come together. Conversely, if it’s too wet, add a few more oats to thicken it up. It’s all about finding that perfect balance!
Are these cookies safe for those with allergies?
Yes, indeed! While these cookies are gluten-free, it’s essential to check the labels of your ingredients, especially the nut butter and chocolate chips, to ensure they do not contain allergens like dairy or tree nuts if you have sensitivities. If you’re making these for someone with severe allergies, consider using sunflower seed butter and dairy-free chocolate. Always prioritize safety first!
Can I substitute the nut butter for a different option?
Certainly! If you’re looking for a nut-free version, sunflower seed butter is a fantastic alternative. It has similar binding properties and flavor profile. If you’re not allergic to nuts but prefer something different, almond butter or cashew butter also work wonderfully, providing a rich taste that complements the oats and chocolate beautifully!
Cajun Chicken and Rice: A Flavor-Packed One-Pan Delight
Ingredients
Equipment
Method
- Heat the olive oil in a large skillet over medium heat.
- Add the diced chicken and cook until browned, about 5-7 minutes.
- Stir in the bell peppers, onion, and celery, cooking until soft.
- Add the rice, chicken broth, and Cajun seasoning, bringing to a boil.
- Reduce the heat and simmer, covered, for 15-20 minutes until the rice is tender.
- Remove from heat and fold in the green onions before serving.
Leave a Reply