
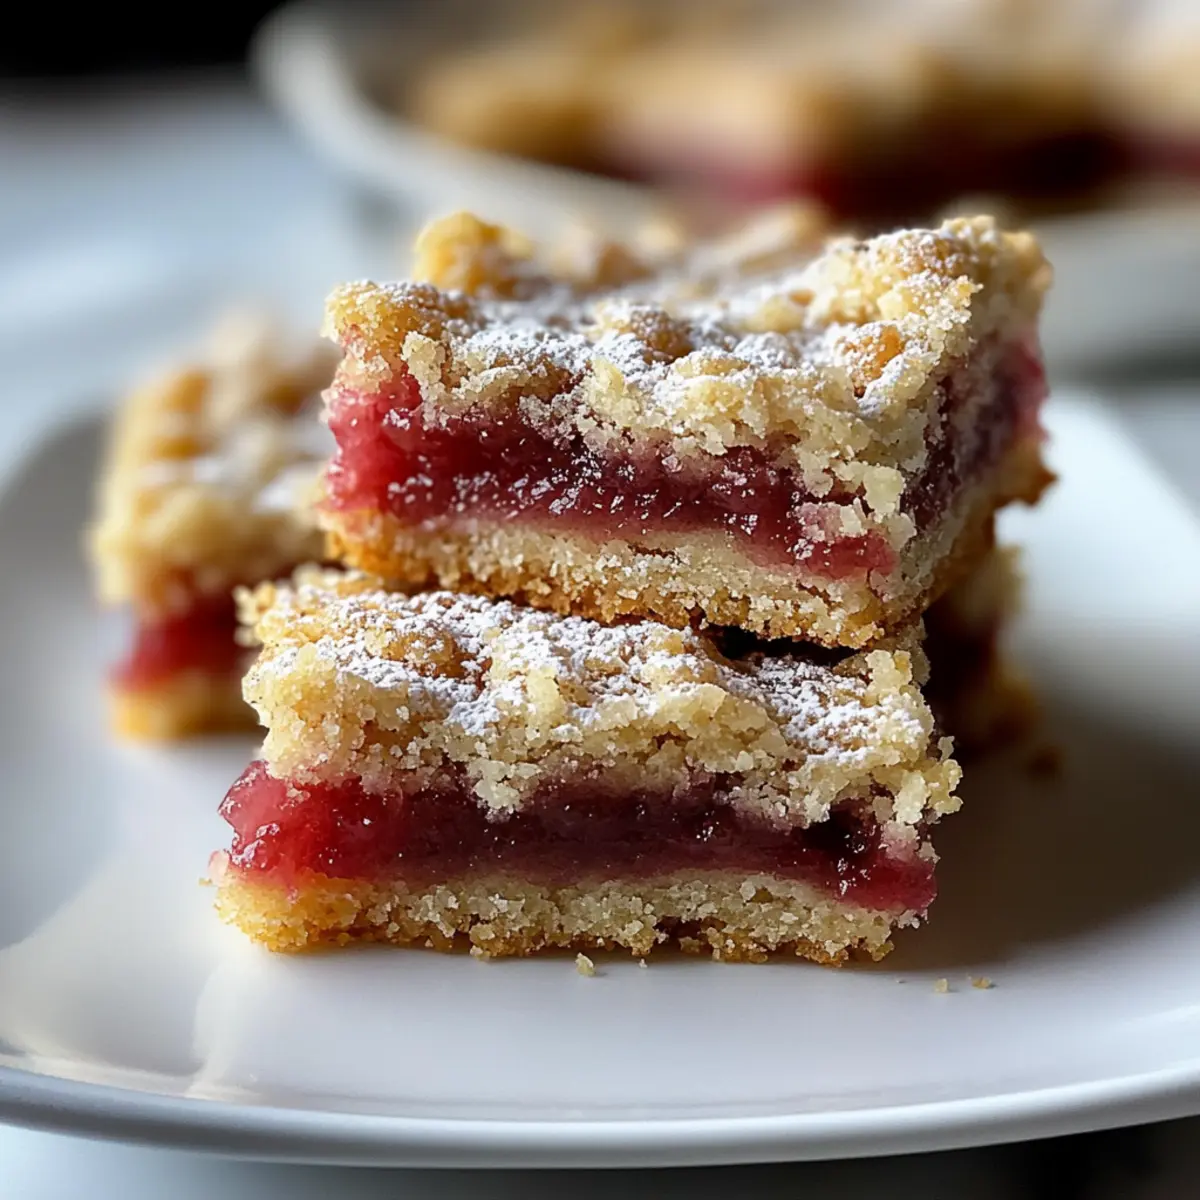
As I rummaged through my kitchen one sunny afternoon, I stumbled upon a bunch of vibrant rhubarb, its sharp scent whisking me back to my grandmother’s garden. Inspired by this treasure, I set out to make Irresistible Rhubarb Dream Bars. These delightful treats encapsulate the blissful harmony of tangy rhubarb and a buttery shortbread crust, making them a superb option when craving a refreshing dessert. Not only are they a quick and simple recipe to whip up, but they also adapt effortlessly to various dietary needs, offering gluten-free and vegan alternatives. Best of all, they bring joy and charm to any gathering, without demanding hours in the kitchen. Curious to discover how to create these stunning bars that will impress your friends and family? Let’s dive into the recipe!
Why Make Rhubarb Dream Bars?
Quick and Simple: You’ll find this recipe is a breeze to whip up, perfect for busy bakers and lovers of homemade treats.
Unique Flavor: The combination of tart rhubarb and a sweet, buttery crust creates a delightful, balanced flavor that satisfies any sweet tooth.
Versatile Options: With easy substitutions for gluten-free and vegan needs, everyone can enjoy these bars!
Impressive Presentation: Their beautiful layers make for a stunning dessert that’s great for gatherings, bringing smiles to faces without the fuss.
Nostalgic Touch: Reminiscent of grandma’s kitchen, they evoke warm memories of springtime traditions. Whether paired with whipped cream or ice cream, these bars are a treat you won’t forget.
Rhubarb Dream Bars Ingredients
For the Crust
- All-Purpose Flour – Provides structure; can be swapped with a 1:1 gluten-free blend for gluten-free bars.
- Powdered Sugar – Adds sweetness and creates a smooth texture; no substitutes needed for a perfect finish.
- Cold Butter (Cubed) – Contributes flakiness; keep it cold to achieve the desired texture, or use vegan butter for a dairy-free option.
For the Filling
- Chopped Rhubarb – This tart filling is the star of the show; fresh is best, but thawed frozen rhubarb (drained well) works too—just add an extra tablespoon of flour if needed.
- Granulated Sugar – Sweetens the rhubarb filling; feel free to adjust to taste without substitutes.
- Eggs – Serve as a binding agent; for a vegan alternative, use flax eggs (2 tbsp ground flaxseed + 5 tbsp water).
- Vanilla Extract – Enhances flavor; using it is optional, but it adds a lovely aroma.
With these simple yet essential ingredients, you’ll be on your way to creating scrumptious Rhubarb Dream Bars that everyone will adore!
Step‑by‑Step Instructions for Rhubarb Dream Bars
Step 1: Preheat and Prepare
Begin by preheating your oven to 350°F (175°C). Grease a 9×13-inch baking pan with butter or cooking spray to ensure easy removal of the bars later. This vital first step sets the perfect stage for your Rhubarb Dream Bars, helping to achieve that golden crust everyone loves.
Step 2: Mix the Crust
In a large mixing bowl, whisk together 1 cup of all-purpose flour and ½ cup of powdered sugar until fully combined. Next, using a pastry cutter or your fingers, cut in ½ cup of cold, cubed butter until the mixture resembles coarse crumbs, with some pea-sized bits remaining. This will create the flaky, buttery base for your dessert.
Step 3: Bake the Crust
Once your mixture is ready, press it firmly and evenly into the bottom of the prepared baking pan. Bake it in the preheated oven for about 15 minutes, or until the edges turn lightly golden brown. This will form a solid foundation for your tart filling, ready to support the delicious rhubarb layer.
Step 4: Prepare the Filling
While the crust is baking, take 2 cups of chopped rhubarb and combine it with ¾ cup of granulated sugar in a medium bowl. Let this mixture sit for about 10 minutes, allowing the rhubarb to release its juices. This step is crucial for achieving the sweet-tart flavor that defines your Rhubarb Dream Bars.
Step 5: Combine Wet Ingredients
In another mixing bowl, lightly beat 2 eggs and then mix in 2 tablespoons of all-purpose flour along with 1 teaspoon of vanilla extract. Stir until you have a smooth mixture, then fold in the rhubarb and sugar mixture. This creates a lovely, cohesive filling that’s both sweet and tangy for your bars.
Step 6: Assemble and Bake Again
After the crust has baked, pour the rhubarb filling evenly over the hot crust, ensuring it spreads out nicely. Place the pan back in the oven and bake for an additional 30 to 35 minutes. The filling should be set and slightly golden on top, signaling that your Rhubarb Dream Bars are almost done.
Step 7: Cool and Chill
Once baked, remove the pan from the oven and allow the bars to cool in the pan for at least 15 minutes. Then, transfer it to the refrigerator and chill for at least one hour. Cooling is essential for firming up the filling, enabling clean cuts when you slice these dreamy bars.
Step 8: Slice and Serve
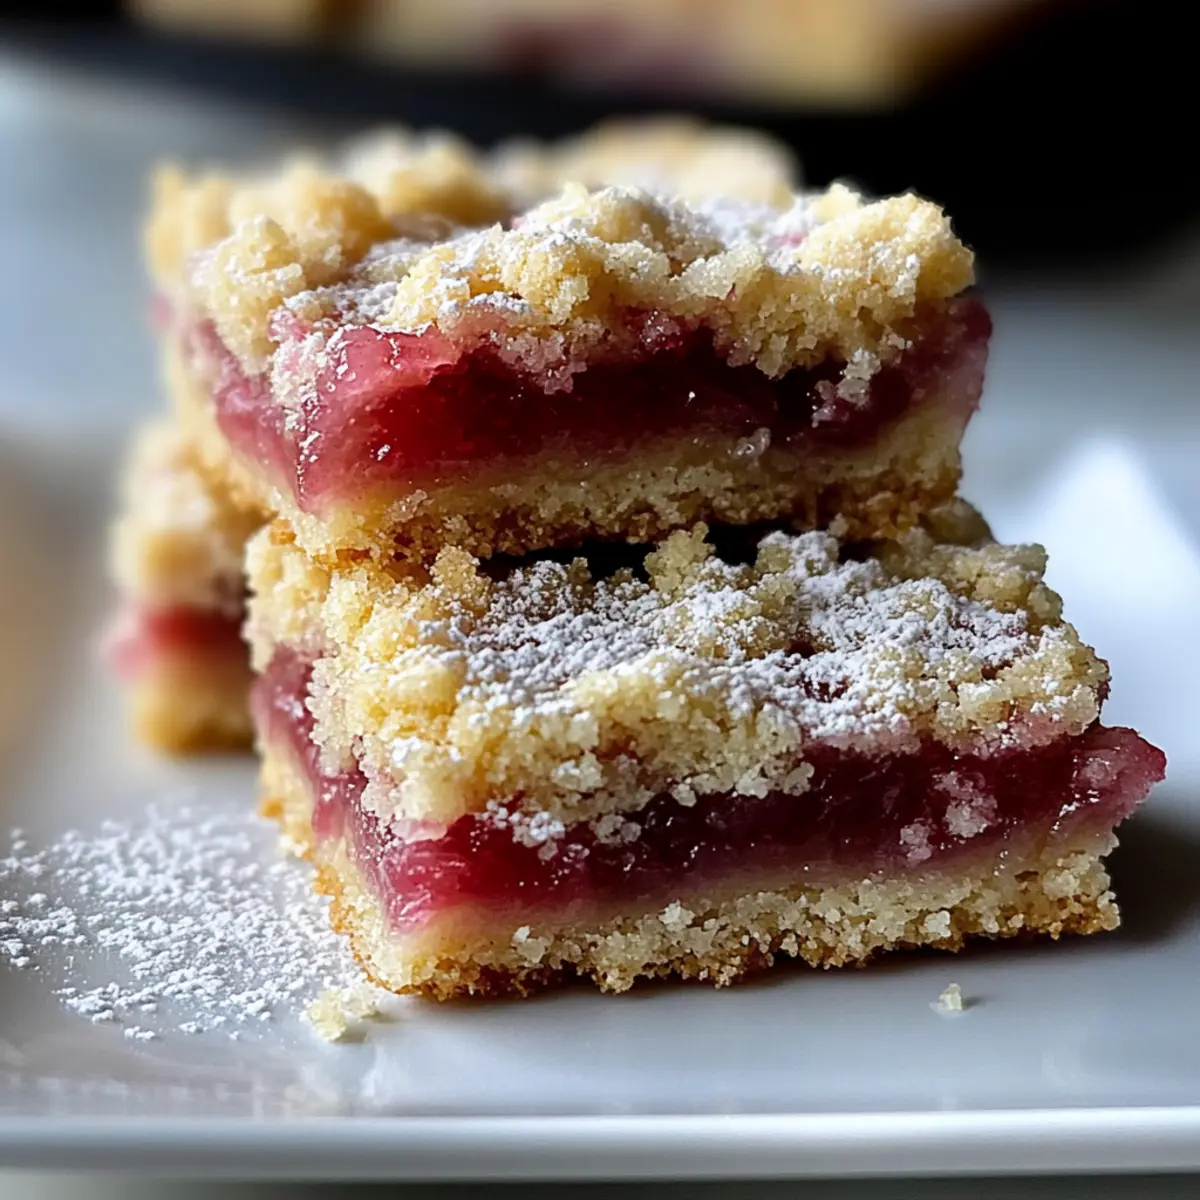
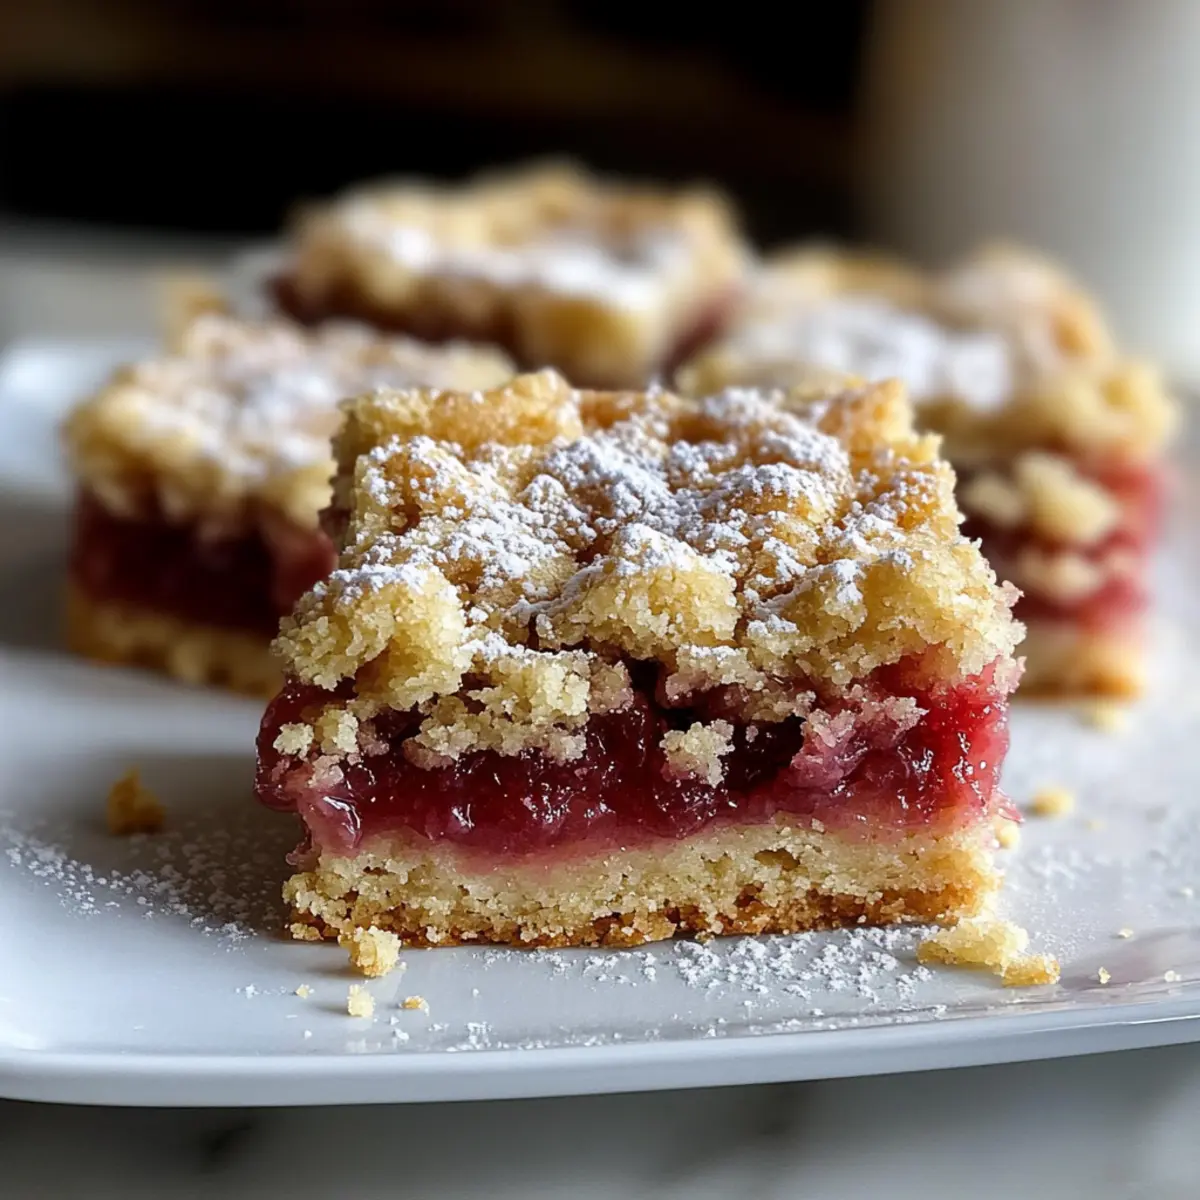
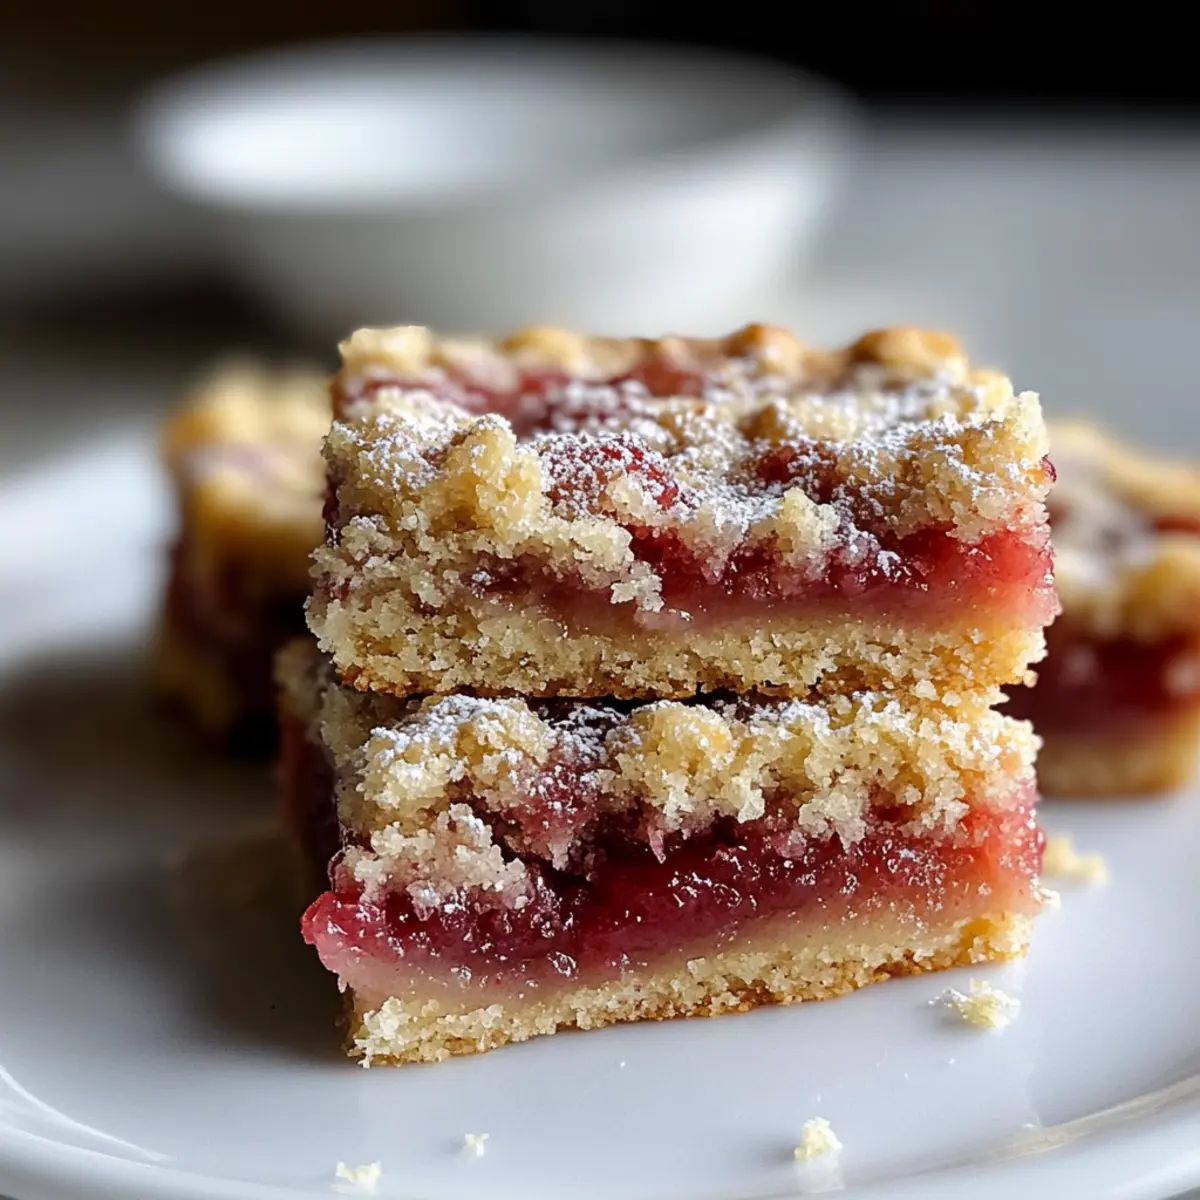
After chilling, carefully slice your Rhubarb Dream Bars into squares or rectangles using a sharp knife. For best results, wipe the knife between cuts to keep the edges neat. Serve these delightful treats chilled or at room temperature, and enjoy the sweet, tangy flavors that are sure to impress everyone!
Expert Tips for Rhubarb Dream Bars
- Cool Completely: Ensure the bars cool fully for clean, smooth slices. This prevents any messy edges when serving.
- Use Fresh Ingredients: Always opt for fresh rhubarb to enhance flavor and texture. If using frozen, drain well to avoid a soggy filling.
- Chill Before Cutting: Refrigerate the bars for at least an hour after cooling for neater cuts and a firmer texture in your Rhubarb Dream Bars.
- Precision in Measurement: Accurately measuring ingredients, especially flour, avoids a dense crust and ensures the perfect balance of flavors.
- Creative Variations: Don’t hesitate to explore creative variations, like adding a sprinkle of cinnamon or substituting fruit for the filling, to create your own twist on the classic Rhubarb Dream Bars.
How to Store and Freeze Rhubarb Dream Bars
- Room Temperature: Enjoy your Rhubarb Dream Bars at room temperature for 1 day; after that, refrigerate to keep them fresh.
- Fridge: Store leftovers in an airtight container in the fridge for up to 5 days, ensuring they stay moist and delicious.
- Freezer: For longer storage, freeze the bars between layers of parchment paper. They will keep well for up to 3 months; thaw overnight in the refrigerator before serving.
- Reheating: If you prefer them warm, gently reheat in the microwave for 15-20 seconds or until just warmed through, but be cautious to avoid melting the texture!
Rhubarb Dream Bars Variations
Feel free to sprinkle a little creativity into your baking with these delightful twists and substitutions!
- Gluten-Free: Swap all-purpose flour for a 1:1 gluten-free blend to make these bars accessible for everyone.
- Vegan: Substitute eggs with flax eggs (2 tbsp ground flaxseed + 5 tbsp water) and use vegan butter in the crust for a dairy-free delight.
- Berry Bliss: Replace rhubarb with fresh strawberries or blueberries for a sweet, fruity variation that’s equally scrumptious.
- Nutty Addition: Incorporate chopped almonds or walnuts into the crust for a delightful crunch that complements the soft filling beautifully.
- Flavored Crust: Add lemon zest or almond extract to the crust for an extra layer of flavor that brightens every bite.
- Spiced Up: A pinch of cinnamon in the filling can elevate the flavor, especially if you swap rhubarb for apples or pears.
- Coconut Twist: Mix in shredded coconut into the crust for a tropical flair and additional texture that pairs well with the tartness of rhubarb.
- Caramel Drizzle: Once cooled, drizzle some salted caramel over the top for a rich, indulgent finish that’ll wow any dessert lover.
As you explore these variations, consider pairing your Rhubarb Dream Bars with a scoop of ice cream or a dollop of whipped cream. If you’re looking for more delicious recipes, you might enjoy Pumpkin Oatmeal Bars or a warm slice of Churro Cheesecake for a delightful contrast to the refreshing flavors in these bars!
Make Ahead Options
These Rhubarb Dream Bars are a fantastic option for busy home cooks looking to save time! You can prepare the crust up to 24 hours in advance; simply press the mixture into the baking pan, cover it tightly with plastic wrap, and refrigerate. The filling can also be made a day ahead—mix the chopped rhubarb with sugar and store it separately. On the day of serving, just pour the filling over the chilled crust and bake as directed for that delightful, fresh-out-of-the-oven taste. To maintain the quality, ensure everything is well-covered to avoid drying out. With a bit of advance prep, you’ll have these dreamy bars ready to impress with minimal effort!
What to Serve with Irresistible Rhubarb Dream Bars
Looking to elevate your dessert game? Pair these delightful bars with complementary flavors and textures for an unforgettable experience.
- Whipped Cream: Light and airy, it adds a creamy contrast to the tartness of the rhubarb, enhancing every bite.
- Vanilla Ice Cream: The classic combination brings coolness to the table, making each and every square of Rhubarb Dream Bars even more indulgent.
- Fresh Berries: Juicy strawberries or blueberries not only add a pop of color but also complement the sweet-tart flavors beautifully. They elevate the dessert visually and add a refreshing bite.
- Lemon Zest: A sprinkle of fresh lemon zest can brighten up each serving, enhancing the tangy notes of the rhubarb filling. It adds a fragrant twist that makes every bite sparkle.
- Cinnamon Sugar Dusting: A light dusting over the top creates a lovely warmth and a hint of spice, providing added depth to the sweet flavors.
- Mint Leaves: A few fresh mint leaves add a burst of freshness and a pop of green that visually appeals, contrasting the rich filling of the bars.
- Sparkling Water: A bubbly, refreshing drink is the perfect palate cleanser between bites, making every taste feel light and revitalizing.
- Earl Grey Tea: The subtle bergamot notes in this tea pair harmoniously with the rhubarb, providing a sophisticated touch that impresses at afternoon gatherings.
Rhubarb Dream Bars Recipe FAQs
How do I know if my rhubarb is ripe?
Absolutely! Look for rhubarb stalks that are firm and vibrant in color—deep red or a mix of green and red is ideal. Avoid stalks with dark spots all over or wilting leaves, as these are signs of overripeness. Fresh rhubarb should feel crisp and snap easily when bent.
What’s the best way to store leftover Rhubarb Dream Bars?
For storage, place your leftover Rhubarb Dream Bars in an airtight container and keep them in the fridge for up to 5 days. This keeps them moist and ready for a quick snack or dessert. If you’d like to enjoy them longer, freezing is a great option!
Can I freeze Rhubarb Dream Bars?
Certainly! To freeze, first let the bars cool completely. Then, cut them into squares and layer them between sheets of parchment paper in an airtight container or freezer bag. They can be frozen for up to 3 months. When you’re ready to enjoy, simply thaw overnight in the refrigerator before serving—they’ll taste just as delightful!
What can I do if my filling looks runny after baking?
Very! If you notice your filling looks runny, it might be due to excess moisture from the rhubarb, especially if you’ve used frozen rhubarb. To fix this, make sure to drain any excess liquid before mixing in your filling. For next time, consider adding an additional tablespoon of flour to help bind everything together if you’re using frozen rhubarb.
Are Rhubarb Dream Bars safe for pets, or do they contain allergens?
Rhubarb is toxic to pets, particularly dogs and cats, so it’s best to keep these bars away from furry friends. As for allergens, this recipe contains gluten and eggs. For a gluten-free version, substitute with a gluten-free flour blend, and for a vegan option, use flax eggs instead. Always check ingredient labels for possible allergens!
Dreamy Rhubarb Dream Bars for Your Sweet Cravings
Ingredients
Equipment
Method
- Preheat your oven to 350°F (175°C) and grease a 9x13-inch baking pan.
- In a large bowl, whisk together the flour and powdered sugar. Cut in the cold butter until it resembles coarse crumbs.
- Press the mixture firmly into the bottom of the prepared pan and bake for about 15 minutes until lightly golden.
- In a medium bowl, combine the chopped rhubarb and granulated sugar, allowing it to sit for about 10 minutes.
- In another bowl, beat the eggs, then mix in the flour and vanilla extract. Fold in the rhubarb mixture.
- Pour the filling over the baked crust and return to the oven to bake for an additional 30 to 35 minutes.
- Remove from oven and cool for at least 15 minutes before refrigerating for 1 hour.
- Slice the bars into squares and serve chilled or at room temperature.
Leave a Reply